
Lilac Sugar for Skincare
Lise

Today, we’re going to make a little something that only requires 2 ingredients: lilacs and sugar!
Although you could use this for baking (lilacs are edible), we’re going to be using our lilac sugar for skincare. But first things first.
Lilac Sugar, LisaLise Style
There are already many lilac sugar how-to’s on the net, but the ones I have seen all involve layering lilacs and sugar in a jar and then capping the jar and waiting for the fragrance to infuse.
My method is a bit different and dare I say, maybe even a bit faster. Are you ready to get busy? Great!

You’re going to need freshly picked lilacs (whichever color/fragrance you prefer - the fragrance does differ!). Pick your lilacs on a dry sunny day - they should not be rain-soaked.
Pluck some blossoms from your lilacs.
Note that the blossoms on the tray do not have any green bits. Getting the blossoms off of lilacs without the green bit takes a little bit of patience, but happily you don’t need loads and loads of blossoms to make this batch of lilac sugar.
What you see pictured above is pretty much the total amount of what I used.

Here’s my process
1. Place approximately a cupful of sugar in a bowl. (I used unbleached cane sugar)
2. Add the blossoms
3. With the back of a spoon (or similar), crush/press/squish the blossoms into the sugar. Keep breaking them up and working them into the sugar. The mixture is going to get a little moist during this process.
4. Spread the mixture on a baking paper lined tray
5. Place a layer of blossoms ‘face side down’ on the sugar. (If you’ve ever seen enfleurage in progress, then you know exactly where I got this idea from).
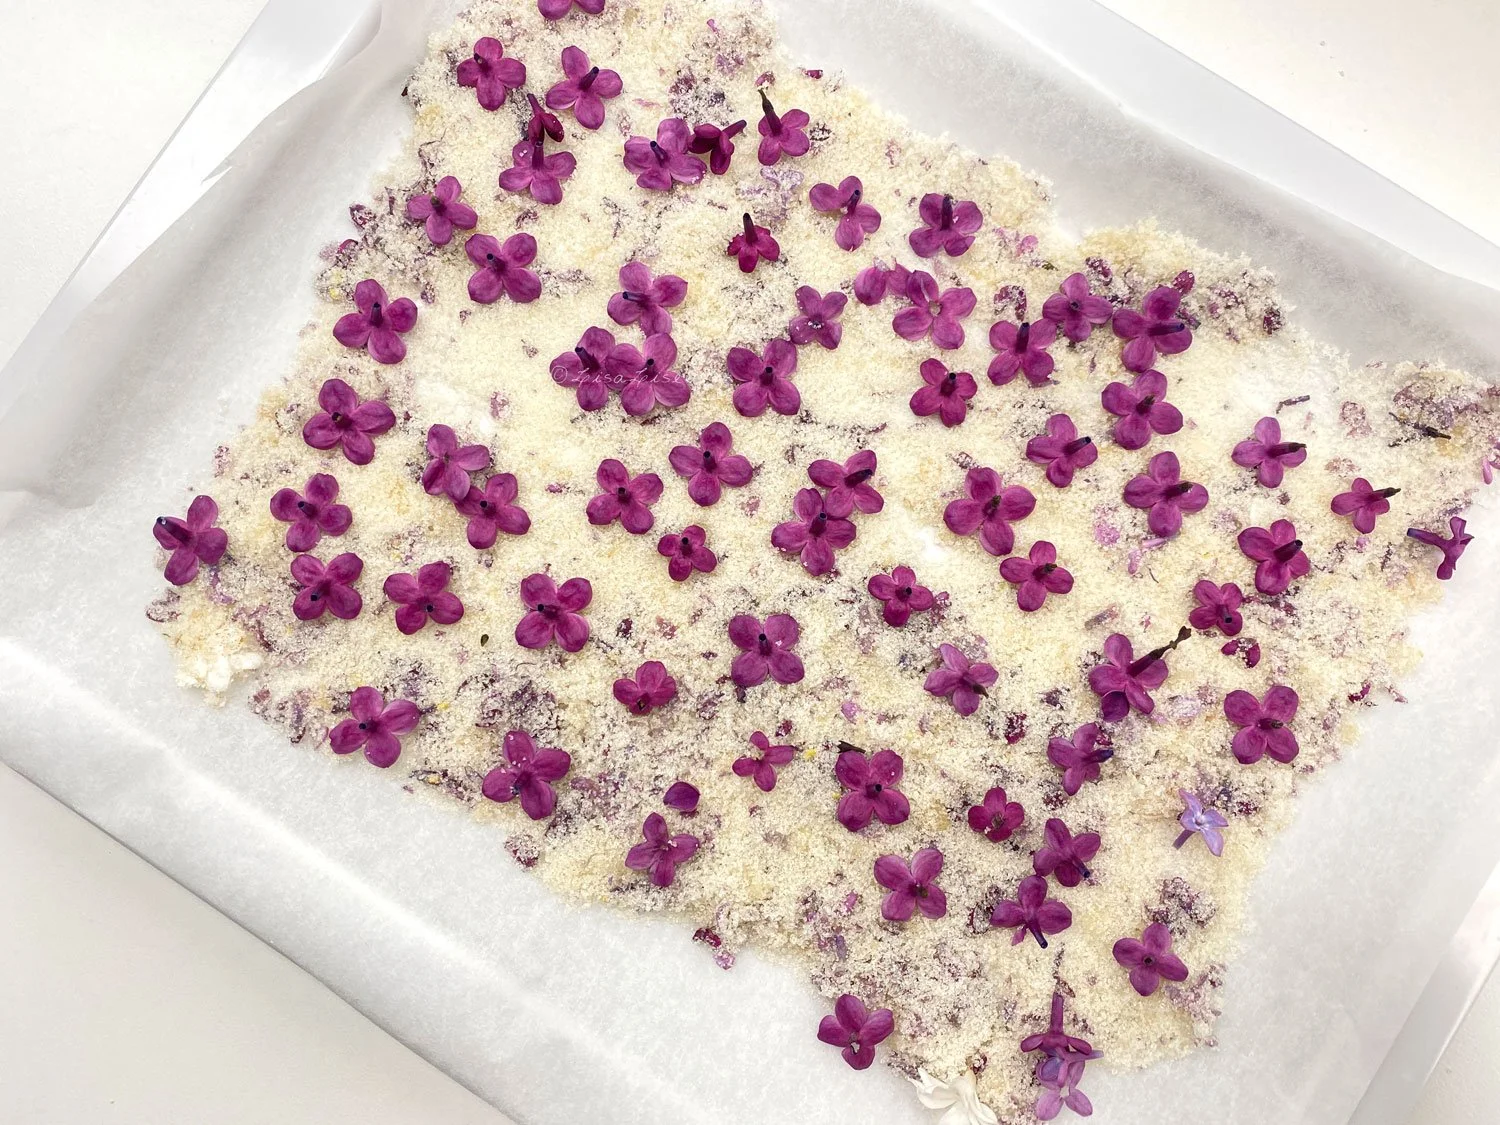
6. Cover the tray carefully with a loosely-woven cloth (I used a double layer of ‘European cheesecloth’ pictured below). This will keep the mixture free of unwanted dust etc and allow the blossom juice to evaporate and the sugar to dry out.

7. Allow the blossoms to dry completely (they will go darker and shrivel up as you see pictured above). It can be helpful during this time to stir (and break up) the mixture a few times. The layer of blossoms that were on top will get worked into the mixture.
8. When the mixture is completely dry (mine took 2 days), transfer the sugar to a jar and seal it.
If you want to set aside a few of the whole blossoms, then pick them out of the mixture before packaging the sugar.
Next up, we’re going to use this sugar in a lovely luxurious and easy to make skincare product!
Stay tuned!
Do Tell
Do you make your own lilac sugar? What’s your favorite method? Please feel free to share in a comment below.
