Contact LisaLise

Please use the form on the right to contact LisaLise.

Majestic Court 5, St. Mary's Street
Mellieha
Malta

LisaLise offers online education of natural plant-based cosmetics via e-books and courses

LLBlogHEADER2020-3.gif

Shop Blog

A look inside the LisaLise natural cosmetics lab with free formulas, DIY how-to's, ingredients tips, sneak peeks, and more.

Filtering by Category: Balms

Lab Tips: Cleaning Away Fats

Lise

Any anhydrous mixture with a large percentage of butters and/or waxes is inevitably going to leave a layer of product on your equipment that can be a major chore to remove.

Fats and waxes don't just magically melt away with a bit of detergent and water - especially if they have had time to set up and cool. And your water pipes will thank you for not pouring melted fats and waxes into them because they WILL harden into a clogged mass and cause all kinds of plumbing hell that costs a fortune to repair (can you tell I speak from experience?).

So today, I’m going to share a simple and effective way to clean your containers and tools after making a batch of balms, solid lotion bars, or other fat-rich products without causing plumber anxiety.

Work Fast and Work Warm

While containers and tools are still warm, wipe away excess product with a paper towel (or 2).

To work warm, you have to act immediately after pouring. While this is easiest from a cleaning perspective, it’s not always possible, so if your equipment has cooled and the product has stiffened up and set, gently reheat just enough to where you can easily wipe away the fats.

If you have been using a water bath, it’s just a question of placing the container back over the warm water briefly. If your heat source has cooled in the meantime and you happen to have a microwave available, place any (microwave safe) containers in the oven and do a few short bursts of heat to soften and remelt the product so it can be wiped away.

Don’t Skimp on the Paper Towel

With beakers or glass containers, wipe the inside with paper towel to remove as much excess as possible.

Do your best to remove everything (read: change the paper as often as needed). I generally use between 3-5 sheets of paper towel for each beaker.

When your beaker (or glass container) looks like this (slightly frosted), it is relatively easy to clean away any remainder with ordinary detergent and hot water.

Some folks have suggested saving the fatty paper towels to use as fire starters. I think this sounds like a useful idea but am not a fire starting expert, so if you have tried this or have any additional tips, please feel free to share!

Every Last Bit

Finish the cleanup process with a pass of boiling water (or dip into a basin of boiled water) before drying and storing your equipment. This will remove every last bit of residue.

Alternative Cleanup Methods

You can also use a (70% solution) of isopropyl alcohol to break down fats. Simply spray the solution onto/into the container, let sit momentarily and then wipe the fats away. This may need to be repeated a few times depending on how much there is to remove.

A 70% solution means it is a mixture of 70% isopropyl alcohol with 30% distilled water. If you have access to both ingredients, you can easily make your own .

Baking soda is said to be useful for removing fats but as I haven't tried this on my cosmetic making equipment, I am unsure of how best to use it. Perhaps making a paste with it and applying? If you have tried this please feel free to share your experiences.

Do Tell

If you have any tips for cleaning fats off of equipment, please feel free to share in a comment below.

Introducing Tutorials

Lise

I’m pretty excited to be able to introduce you to my very first tutorial - right here on the website!

Squee!

If you have been following me for a while, you already know I love working with botanicals of all types for all kinds of things. One increasing interest in recent years has been creating flavour oils. It began with lip balms in mind, but as I started getting more and more into combining ingredients to smell nice as well as taste nice, I kept coming up with even more things I wanted to try.

I’m not even going to mention how long my to-do list is at the moment.

This particular challenge (capturing the flavours of a classic gin and tonic) has taken much longer than I expected (that seems to be a bit of a pattern when I start out thinking I can ‘knock something out relatively quickly’). Many of the initial batches started out well, but then the fragrance faded, or flavour changed, or something else went annoyingly wrong.

Fast forward 3 years and a few more batches than I originally thought were going to be necessary, and finally I could say I was happy with the results.

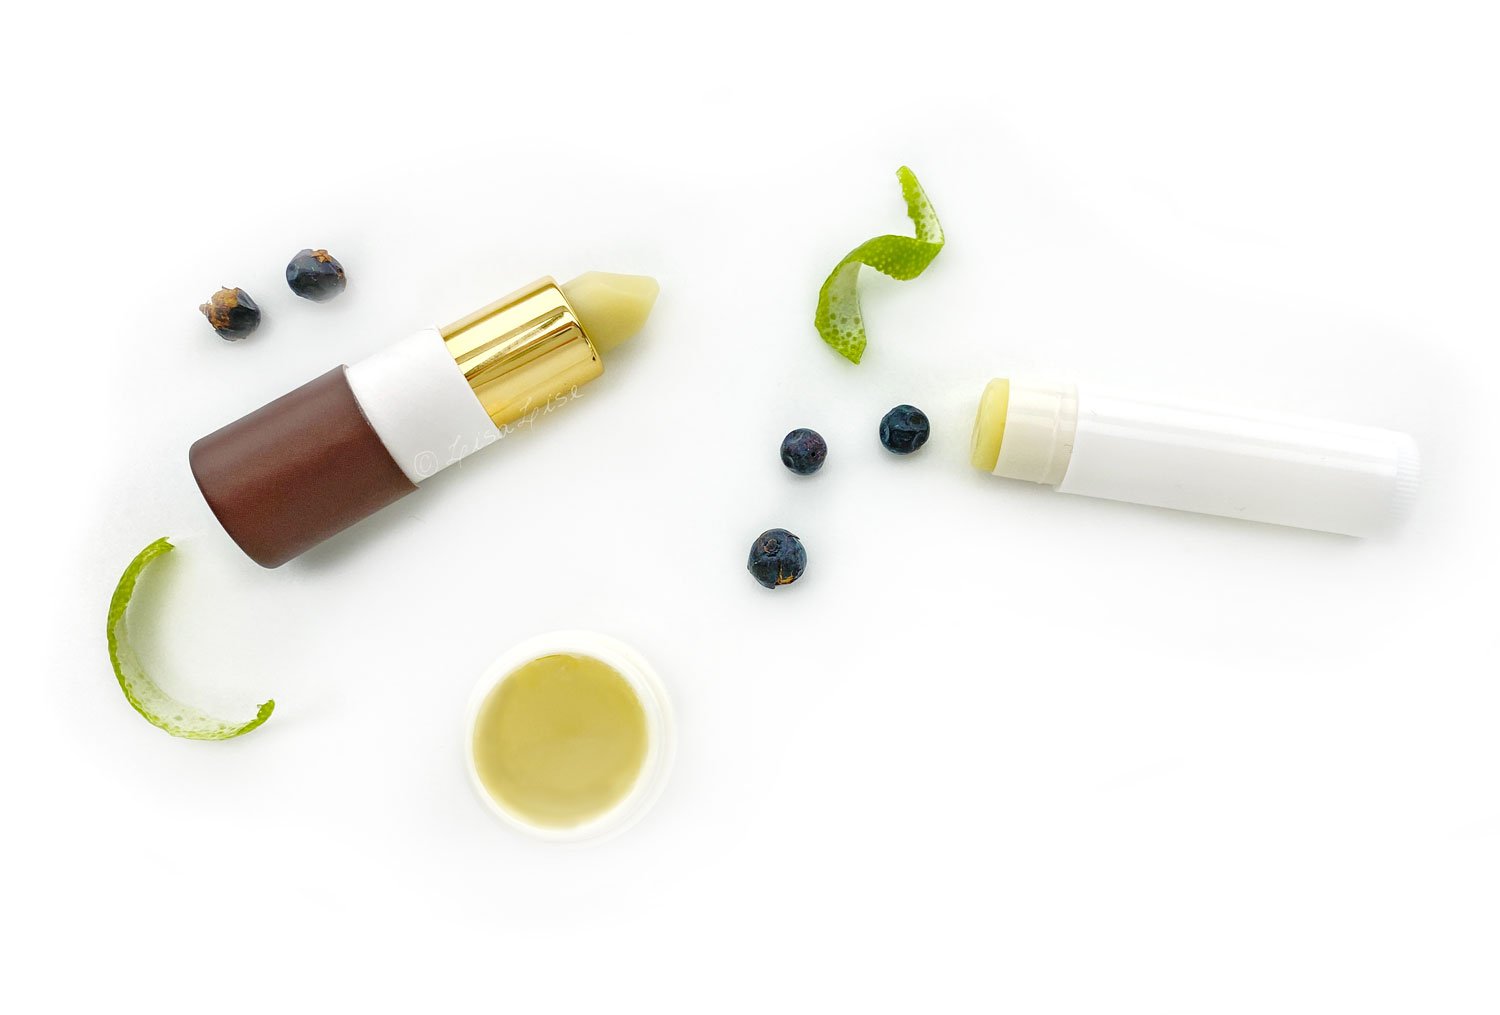
The star of this tutorial is making the flavour oil (which is super for several different products), but I’ve also created a couple of lip balm formulas to use the flavour oil in: a vegan version and a version featuring beeswax.

Wouldn’t you know the balms also took a bit longer than expected to get right (I’m looking at you vegan waxes), but as it turned out, quite a bit of it was solved when I got the flavour oil right.

Does this sound complicated? Well, before I had figured out how to do it, it was, but when you know how to do it, it’s not that complicated. (Isn’t that true of so many things?)

Are you a little curious about getting busy making your own?

Click the picture below to read more.

PS: The formulas for both of these balms as well as the flavour oil are free for LisaLise Club members. If you think you might want to check out becoming a member, click the picture below.

How to Make Your Own Make-Up Base for Pencils

Lise

Today, I'm going to show you how to make a base mixture that can be used to make your own color cosmetics such as lip pencils, eye pencils, eyebrow pencils, and even blush sticks.

You're probably wondering how it is possible to create a texture that is equally good for all these uses. A lip pencil needs to go on smoothly yet be firm enough to where the tip doesn't break off at application. An eye pencil needs to be softer, smoother, and not even come close to feeling draggy on the skin. For cheek application, a firmer texture is ideal.

How is it possible to tick ALL these boxes?

Because I say so.

(insert wink and smile here)

I've been experimenting, testing, tweaking, and meticulously logging my results for a few years now and finally succeeded in creating an exquisitely sublime texture that is great for all of these uses. It holds pigment well, has great slip and staying power without feeling the least bit tacky or sticky - on MY skin.

So, if you have skin similar to mine, this base is perfection.

Skin type plays a major role in which texture/stiffness/glide-factor feels and performs best. But even if this base doesn't turn out to be 100% perfection for your skin, feel free to use it as a starting point and tweak to your heart's content until you have your own version of awesomeness.

Let's Make a Make-Up Pencil Base

This is enough for a 50 gram batch. Is 50g a lot or a little?

For reference:

  • Eyebrow and lipliner pencils generally contain 2-3 grams

  • Lipstick is generally between 6-10 grams (depending on the container)

So this batch is enough for about 4 lipsticks and 10 eyebrow pencils.

LisaLise's Make-up Pencil Base

Ingredient Grams
Cetearyl Alcohol 20.5
Jojoba (oil) 19.5
Beeswax 9.5
Vitamin E Antioxidant 0.5

Method

  1. Weigh ingredients

  2. Transfer wax, jojoba and cetearyl alcohol to a heatproof glass container

  3. Melt slowly over low heat until thoroughly melted

  4. Remove from heat

  5. Add E-vitamin and stir thoroughly

  6. Pour mixture into container

  7. Allow to cool completely (without lid)

  8. When set, store cool and dark until use.

TIP

Do not place the base into the refrigerator until it is fully cool or you risk condensation droplets (which are bad news for this preservative-free product).

TIP

A wine refrigerator has the perfect storage temperature (or, if you have a dedicated ingredients refrigerator, set the temp to the warmest possible temperature - that's about the same as a wine refrigerator)

Substitutions

Feel free to make all the substitutions and changes you like, but expect the texture, feel, and glide to change with EACH and ANY alteration. May I politely refer you to the bit above where I wrote about tweaking and testing for years. I've probably done as many different versions and tried as many different ingredient combinations as can be imagined.

That said, there are LOADS of different ways to do a base like this and get it right, so don't be afraid of making changes to achieve what YOU prefer.

How to Make a Make-Up Pencil with the Base

  1. Weigh out the amount you need and place in a heatproof container

  2. Melt slowly until thoroughly melted

  3. Add desired pigment mixture

  4. Test color on skin (BEFORE transferring to your container!)

  5. Add more pigment (or base) and test again until happy with the coverage and look

  6. Stir thoroughly and transfer to your final (containers)

  7. Allow to set

  8. Pat self on back for making your own awesome stuff!

Do Tell

If you decide to give this a try, I'd love hear how it turns out for you and if you made any changes. Please feel free to share in a comment below.

Interested in making your own water-based lip tint? The book below shows you how to make your own glycerine extracts and includes a formula for lip tint.


Dandelions and Skincare - What Does Science Say?

Lise

When I started researching dandelion’s possible uses for skincare some years ago, I was pretty impressed at what this common plant has to offer.

Useless weed?

Ahem.

Think again.

Even science has declared dandelions 'warrant further study'.

(Science usually says this kind of thing when it finds evidence that traditional remedies aren’t all fairy tales and fantasy). I seem to be seeing that happening more and more these days.

And the truth is, there is a wealth of hidden treasure in this multifunctional and bountiful plant.

Shall we take a closer look at dandelions?

Dandelions Have Healing Properties

Science agrees the chemical composition of Taraxacum officinale (that's the botanical name for dandelion) makes it helpful and useful for numerous medical conditions and ailments.

Dandelions are

  • Antioxidative

  • Anti-inflammatory

  • Antimicrobial (to some degree)

  • Diuretic

  • Tonic

All this medicinal magic from a 'weed' most homeowners are busy trying to banish from their gardens.

Extraction Methods are Up for Discussion

The most up to date scientific articles I have found on dandelions seem to be focused on examining which plant part has the most to offer in the way of actives.

Some studies are focused on the root while others are studying plant parts and their constituents in correlation to what time of year they are harvested before extraction.

Extraction methods are also being studied to determine which is most efficient. Ethanol extraction seems to be getting the most attention in the scientific community, although there are a few scientific souls looking into oil extraction. Check the links below for more information.

LisaLise Soothing Dandelion Balm Experiment

Pictured here: side-by-side infusions in 2 different oils. On the left, dandelion blossoms in sunflower oil and on the right, leaves-and-stems in sweet almond oil.

I combined the 2 finished macerations with a few other other plant-based soothing ingredients in a test balm (pictured at the top of this post).

This is a bit typical of the way I work - a combination of research, trying out ideas, and experimentation.

What started me on this dandelion research was a comment about dandelions for pain relief. Admittedly, the commenter was taking dandelion internally (by the drop as a tincture), but the idea of trying it in topical application was the basis for the infusions and a foot balm for tired aching feet.

You know when you have been on your feet all day and your feet start yelling at you to sit down? That kind of tired and aching.

I got such a great response from my extensive test team (foot left and foot right) that I have done many batches since and have even handed out a samples to a few willing testers.

Dandelion TIP

If you want to get max bang for your buck, try doing oil extractions with the alcohol intermediary method using all plant parts. I split up the parts of the planet so I can also combine oils.

Do Tell

Do you use dandelions in any of your skincare products? Please share what your experiences are in a comment below!

More About Dandelions: Nerdy Stuff

Dandelion (taracum officinale and T Mongolicum), Erik Yarnell, Kathy Abascal (LINK)

Taraxacum Officiale herb as an Antiinflammatory Medicine, American Journal of Advanced Drug (LINK)

Taraxacum- a review on its phytochemical and pharmacological profile (LINK)

Anti inflammatory evaluation of the methanolic extract of taraxacum officinale in LPS stimulated human umbilical vein endolethial cells (not oil extracted, but still interesting) (LINK)

Topical herbal Therapies and Alternative and Complementary Choice to Combat Acne (LINK)

Taraxacum: an overview (Science Direct) (LINK)

Qualitative and Quantitative analysis of phytochemicals of Taraxacum Officinale (LINK)

If you want to make a few balms with me, please check out the ebook below.

How to: Green Beauty Soap-Free Facial Cleanser

Lise

We're going to be making a soap-free facial cleanser today. Even if you've never tried making your own skincare products before, this cleanser might be the perfect project to start with. And if you are a practiced artisan, you may still want to give it a whirl because it's such an effective and skin-pampering cleanser.

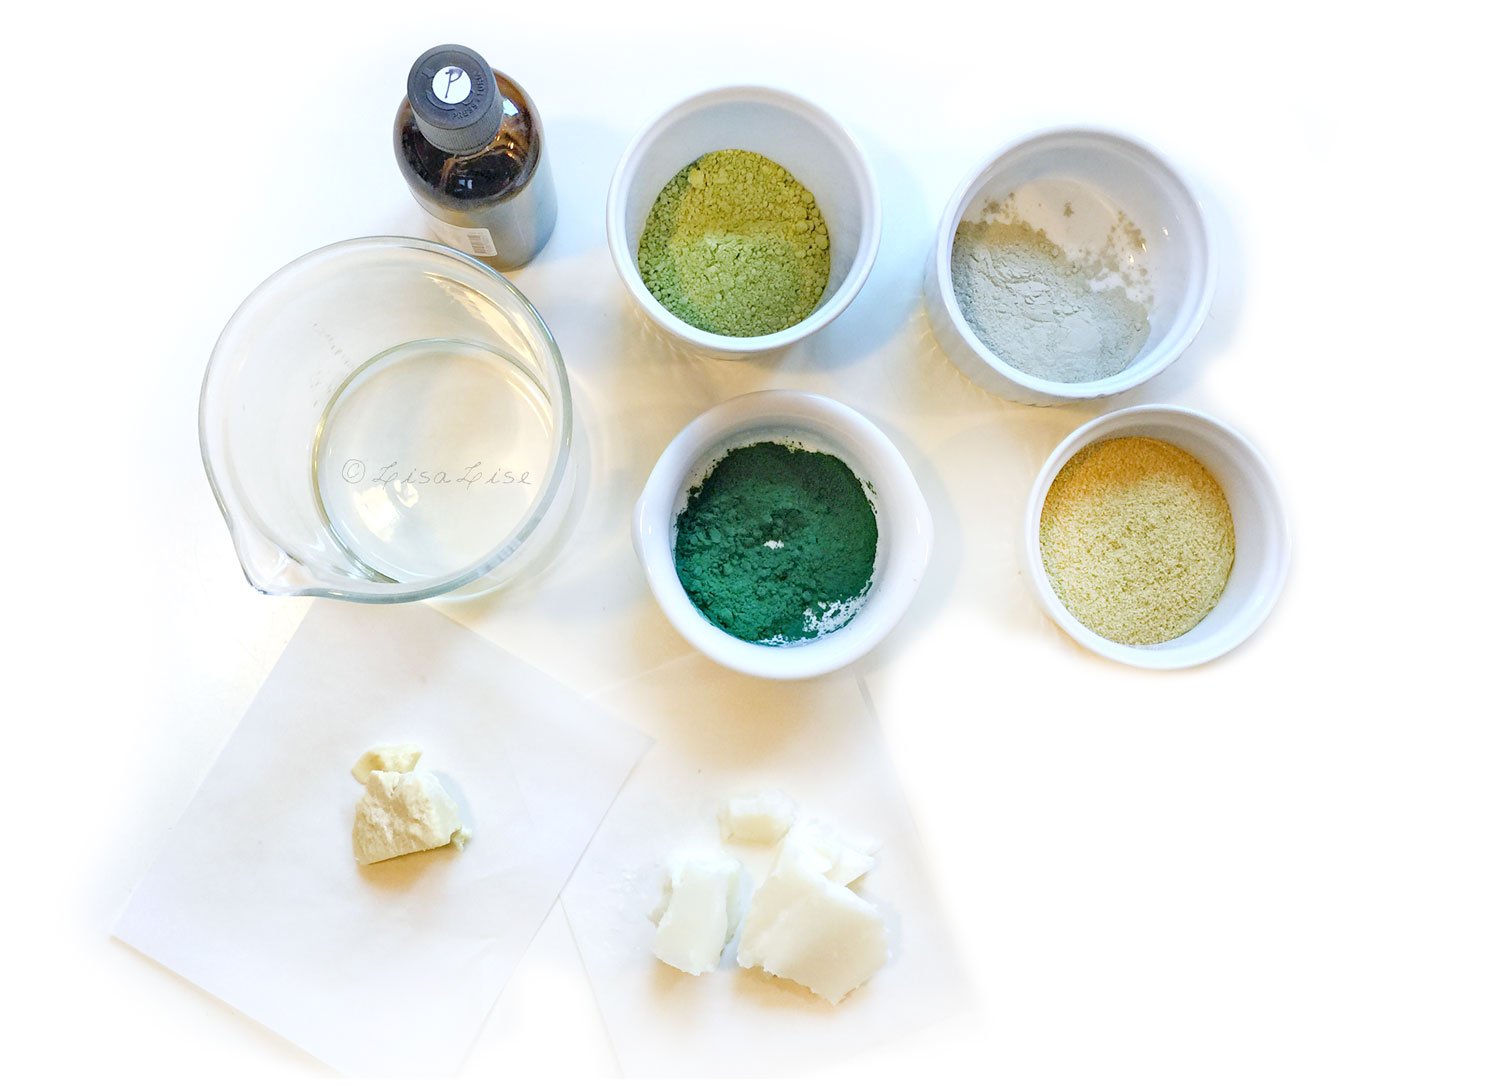
The green beauty cleanser features green clay, spirulina, green tea, and chamomile and is great for normal to dry skin types. I'm betting it also may perform well with combination skin.

Here's how to make 100g.

LisaLise's Green Beauty Soap Free Cleanser

Phase Ingredient % / Grams
A Cocoa Butter 8.0
A Refined Palm Oil 24.0
A Castor Oil 31.0
B Green Clay 12.0
B Chamomile Powder 8.0
B Green Tea Powder 8.2
B Spirulina 8.0
C Broad Spectrum Preservative* 0.8

*I used phenonip, but preservative can be optional - read more below

Method

  1. Slowly melt phase A ingredients over a water bath until they are thoroughly melted

  2. Remove from heat

  3. Add Phase B (dry ingredients), stir to combine thoroughly

  4. Add phase C (this can be optional - read more below)

  5. Pour into container

  6. Chill for 15-30 minutes until set

  7. Add a label (remember the date)

  8. Store at room temperature

  9. Use with unabandoned joy

About the Ingredients

This combo of fats and oils works beautifully on my (mature) skin, and also usually makes the perfect texture (not too runny and not too stiff), but you can replace these with your preferred combination of fats and butters. If you do make substitutions, expect to do a bit of tweaking to get the texture and spreadability to what you like.

The same goes for any clays and dry ingredients you want to replace. In cleansers of this nature, the dry ingredients are going to behave differently depending on what you are using, and the texture of the final product can change dramatically.

You'll have to experiment with what works best for you, but if you're brand new to making this kind of cleanser, I recommend trying the original formula first and then making any desired adjustments or changes in the second batch.

If you have no other options but to substitute one ingredient with another, replace with ingredients that have similar density and/or weight. Example: the refined palm oil might be substituted with illipe, sal or shea butter.

TIP: Be prepared that almost ANY replacement can affect the final texture.

Here’s the cleanser right after pouring up.

Preservative in a Water-Free Product?

Even though this is an anhydrous formula, I chose to add a preservative because of the intended use of this product: moisture does have a chance of being introduced to the mixture during use - most especially if you dip wet fingers into the jar.

If you are willing to be meticulous about using and storing the face cleanser so that no moisture gets in the jar, feel free to leave out the preservative.

I wrote a post about how to know when to use a preservative right here if you want to read more about this.

Using the Cleanser

For a single application, use approximately 1 teaspoon of cleanser

  1. Apply to moistened skin

  2. Massage gently using circular motions

  3. Wipe away with a moistened cloth or cotton rounds

Because there is no emulsifier in this formula, trying to rinse the cleanser away with nothing but water is going to be a bit of a chore (and won't do your water pipes any favours either). For best results, gently wipe off, then finish with a spritz of skin mist.

In my experience, using non-emulsified cleansers allows for a few extra (precious) moments of self pampering, and that just makes the whole cleansing process an enjoyable ritual.

Do Tell

Have you ever made and used a soap free cleanser? What did you think of it? PLease feel free to share in a comment below.

If you’re interested in making self-preserving cleansers and your own self-preserving glycerine extracts, you might be interested in the bundle offer below.

Course Enrolment for Emulsions Essentials at Tisserand Institute now open!

Classes start August 30th, so be quick as a bunny and click the button below to sign up and join me for this 4-week course on hand-stirred emulsions!

Footsie Tootsie Balm

Lise

Balms are often associated with cold and winter, but even in the heat of mid summer, a balm can be the best thing imaginable. This one has proven to be a fabulously foot-friendly product - perfect after a long day of holiday sightseeing.

After testing the blend of infused oils and macerated oils featured in this post, the ingredients proportions were tweaked ever so slightly and then made into this balm.

I can attest that it helps soothe my tired, achey and arthritic feet.

The working title of the original oil blend became the inspiration for the name of this product: Footsie Tootsie Balm.

Want to make your own balms? The book below can show you how.