Contact LisaLise

Please use the form on the right to contact LisaLise.

Majestic Court 5, St. Mary's Street
Mellieha
Malta

LisaLise offers online education of natural plant-based cosmetics via e-books and courses

LLBlogHEADER2020-3.gif

Shop Blog

A look inside the LisaLise natural cosmetics lab with free formulas, DIY how-to's, ingredients tips, sneak peeks, and more.

Filtering by Category: Lotion

Formulating on the Fly - Emulsion with DIY Emulsifier

Lise

In this previous post, the lovely and generous Heike Käser taught us how to make our own Sugar Ester emulsifier that can be used in much the same way as one normally uses Sucragel (read: it can be used for both cold-mix and heated emulsions).

After making my own first batch of the emulsifier, I was so excited about testing it out, I made an on-the-spot, ‘on the fly’ emulsion.

You: What, Lise?! You didn’t sit down first and calculate everything and then bring out scales and weigh everything properly and write everything down??

Me: Nope. I jumped straight into it with my freshly made emulsifier (but did bring out the scales and notebooks and weighed and wrote everything down as I was working).

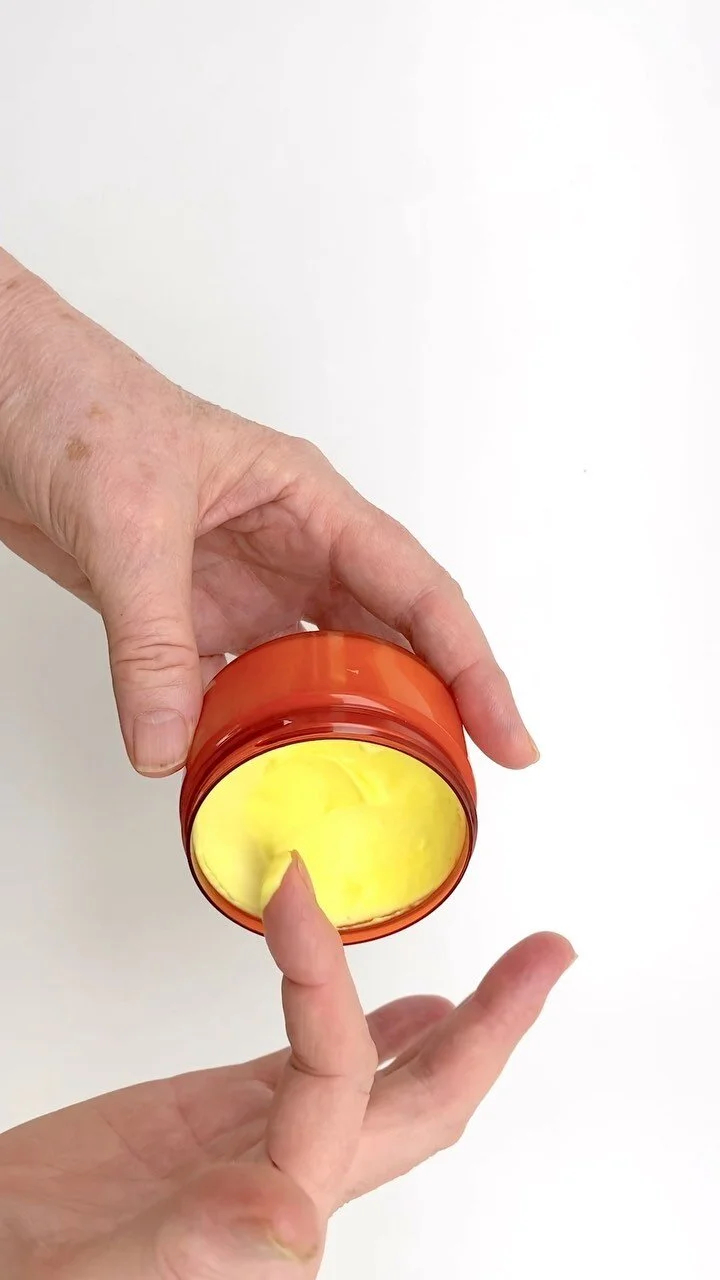
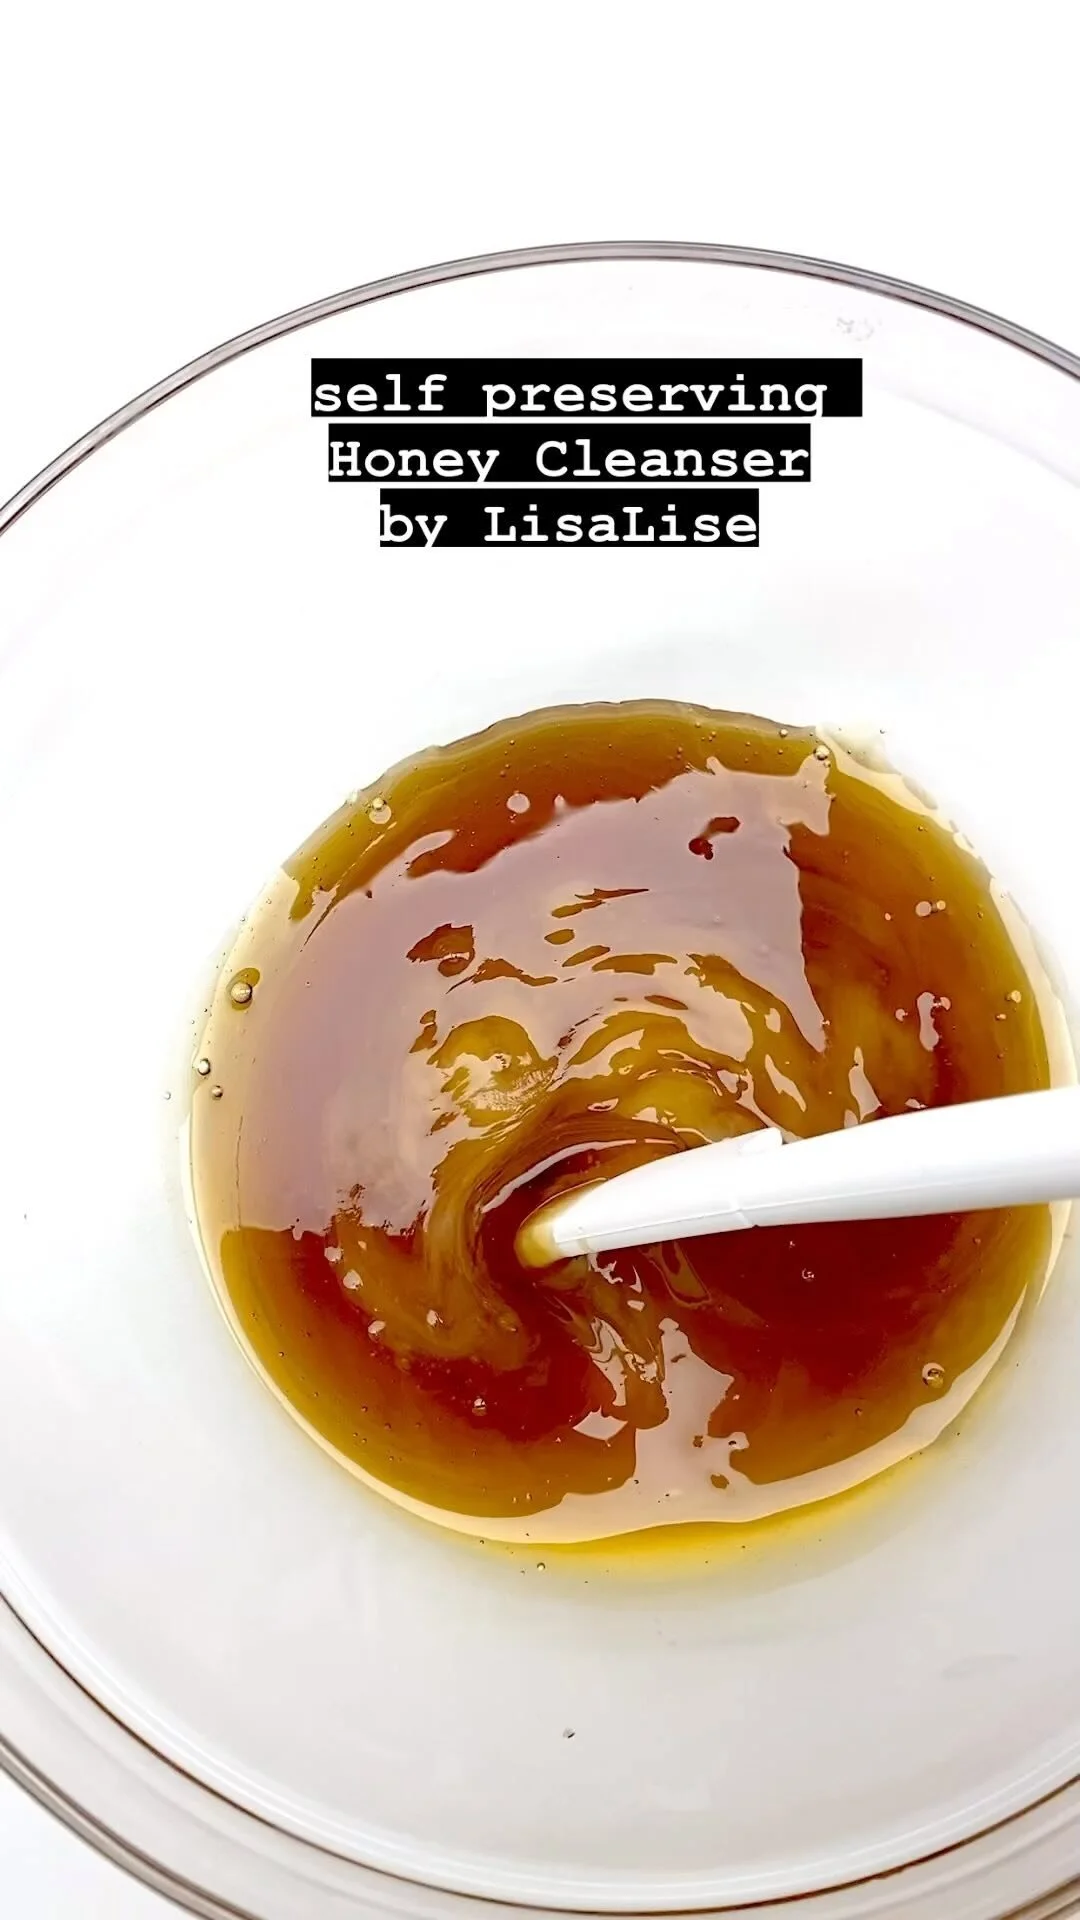
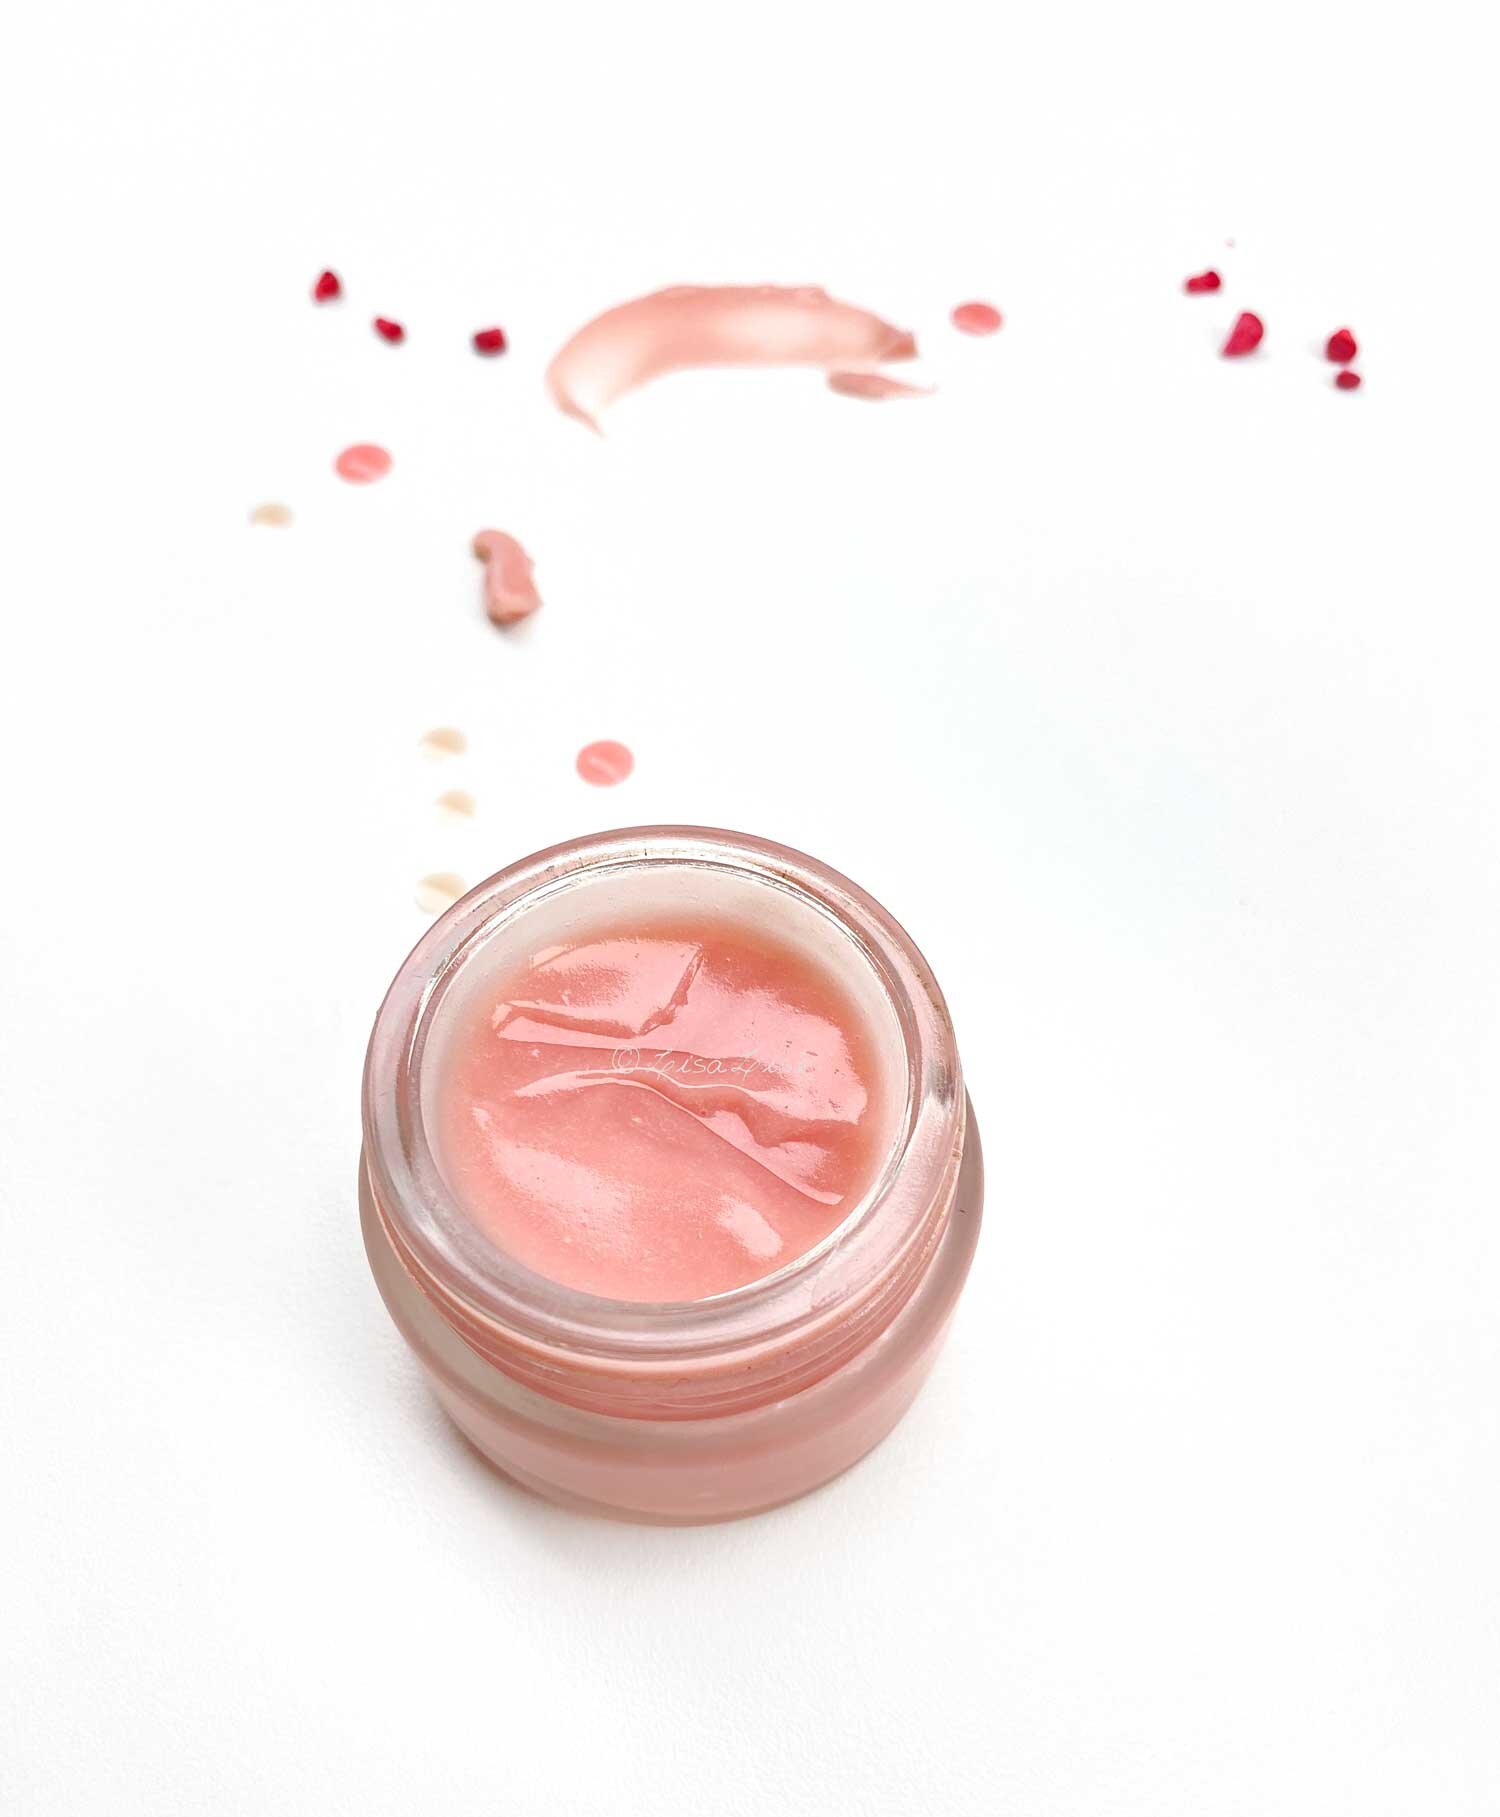
Pictured above: my first emulsion using this handcrafted emulsifier.

Today, we’re going to take a look at how to formulate on the fly.

Warning (and TOP TIP)

Don’t skip any of the steps or you’ll never be able to recreate your formula (and wouldn’t that be annoying if your very first batch turns out to be the most pristine perfection you have ever made?)

Here’s How I Made This Emulsion

  1. Have every ingredient at room temperature

  2. Weigh up desired amount of emulsifier and note weight

  3. Weigh up more oil than you think you may need and note weight

  4. Add oil slowly and work in thoroughly until the texture is appealing (see notes on stirring method below)

  5. Weigh container with remaining (unused) oil and note weight (math to be done later)

  6. Weigh up water phase (using same procedure as oil)

  7. Add water phase to mixture bit by bit and work in thoroughly until the texture is appealing

  8. Note weight of remaining water

  9. Check pH (this one was good to go)

  10. Weigh emulsion

  11. Calculate and add preservative

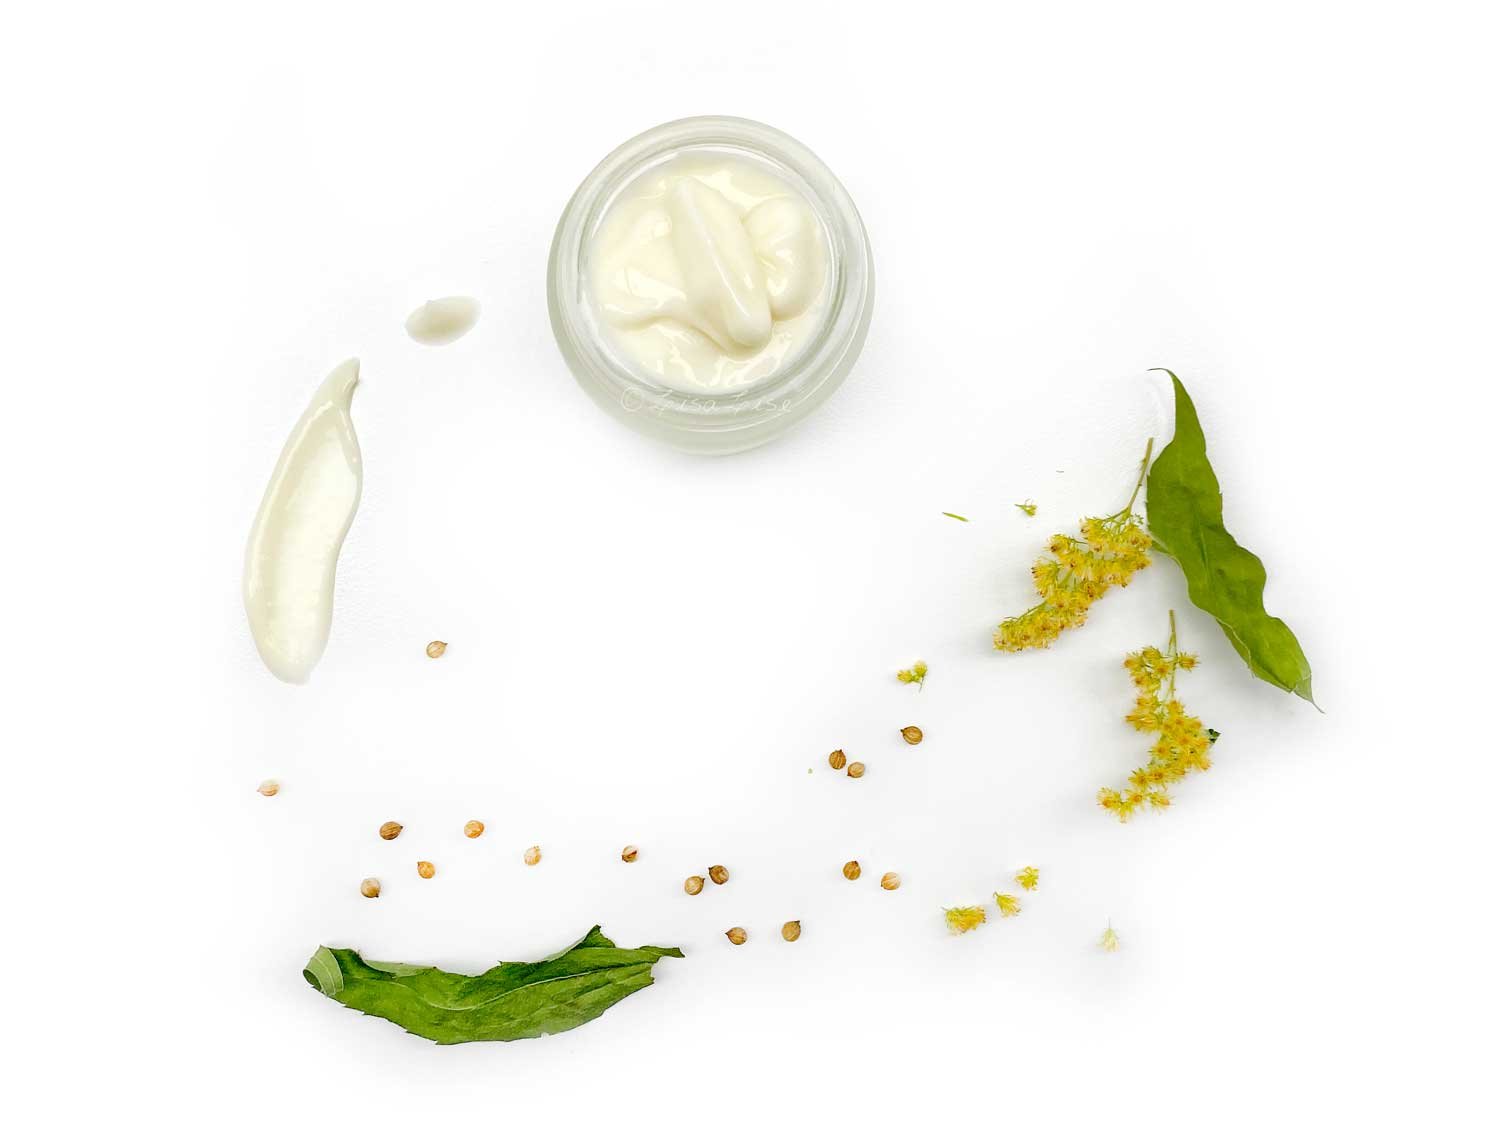
  12. Transfer to final container ( the pot you see pictured above).

The Last (and Very Important) Step

After all the on-the-fly fun at the workbench, there is an important final step: grab a cup of your favorite beverage and sit down to do the math to determine the exact percentages of the ingredients used so you can finalize your formula.

Skipping this step can have dire consequences if you discover you have created perfection and want to make another batch but realize you didn’t take enough notes to do the necessary math. (Don’t say I didn’t warn you)

Stirring Method

Heike’s suggested method for using this DIY emulsifier includes using a high speed mixing tool after all ingredients have been mixed, but I decided to see what would happen if I simply did everything using my regular hand-stirring technique.

Spoiler alert: the texture is a winner.

Obviously, a few repeat performances are necessary before this can be pronounced a full success.

Ingredients in this Emulsion

  • Handcrafted emulsifier (see how to make it here)

  • Coriander seed oil

  • Handcrafted goldenrod hydrosol

  • Preservative (I used Naticide)

Emulsion Impressions

This is a very oil-rich emulsion where a little goes a long way. The cream feels super lightweight yet decadently rich and goes on smoothly with absolutely no soaping or tackiness.

It smells amazing too (but then again, I chose ingredients that smell amazing).

This wont be my last batch, but I will probably be combining a few oils for future batches. An emulsion this oil-rich can be quite greasy feeling on the skin if you use more than a small amount and because I am a hopeless slatherer, few drier feeling oils will need to be included.

Finally, let me share a couple of extra tips from Heike

  • Be mindful of pH. Sucrose stearate is sensitive to acidic ingredients. To avoid separation, dilute any acids (such as lactic acid, etc) before adding them to your mixture.

  • The emulsion may turn out thinner with the addition of alcohols, acids, or if you employ vigorous stirring.

Do Tell

Have you ever formulated on the fly? Did you remember to take notes?

How to Make Lotion Bars

Lise

lotionbarsetup2021-1500.jpg

Has it been a while since we've done a how-to around here?

Yes!

Shall we make something quick and easy that won't break the budget?

Yes!

How about a soothing, moisturizing lotion bar?

Yay!

Why Lotion Bars?

Lotion bars are often described as 'solid lotion'. They are easy to use; simply rub the bar between hands. The bar will soften slightly and start to melt. The softened mixture is then applied to arms, legs, feet, hands - anywhere you need a moisture boost.

The multi-functionality of a lotion bar makes it great for all climates, seasons, places, and purposes. A lotion bar is long-lasting, compact, and water-free – perfect for popping into your purse or baggage.

Lotion Bar Basic Guideline

This basic guideline will give you a range of textures (depending on the climate you live in and time of year it is).

LisaLise's Lotion Bar Ingredient Guideline

Ingredient Percent
Oils 30 - 45
Waxes 20 - 25
Butters 30 - 40
Antioxidant 0.5 - 1.0

NOTE: It is important that your total adds up to 100%.

For an all-round solid texture that doesn’t feel too draggy, you might start with a formula that looks something like this:

LisaLise’s All-Round Lotion Bar

Ingredient Percent
Oils of choice 41.0
Beeswax 23.0
Shea Butter 18.0
Mango Butter 17.0
Vitamin E Antioxidant 1.0

Method

  1. Weigh ingredients and add oils and wax to beaker or other heatproof container

  2. Melt waxes and oils slowly over low heat until thoroughly melted (water bath is ideal)

  3. Remove from heat, add butters (which are at room temperature and have been cut into small uniform pieces so they melt evenly) and stir until fully melted

  4. Add antioxidant

  5. Continue stirring until the mixture turns opaque and starts to thicken.

  6. Pour into molds and let set in a refrigerator for about 30 - 60 minutes (or until fully set)

  7. Unmold and enjoy!

Tip: Experiment with different ingredient combinations and make very small batches at a time. Remember to keep notes so you can recreate your successes.

Extra Tip: Do NOT measure cosmetics ingredients by volume. A 'teaspoon' of wax is not an accurate measurement. Measuring by weight is the only way to be sure of exactly how much of each ingredient is in your product.

Get Creative

Lotion bars can be fancied up or simplified to your hearts (and skins) desire.

For the bars pictured above, I used a very simple combination of beeswax, coffee-infused jojoba, and shea butter with e-vitamin as my chosen antioxidant.

Note that butters have different hardnesses. Feel free to mix the butters you prefer. Harder butters will give you a more solid bar, softer butters will (obviously) result in a softer bar.

You can substitute beeswax with rice bran wax, berry wax, or any other skin-friendly wax. Using other waxes is going to require a bit of experimentation to get the consistency to your desire. With vegan waxes, I find a combination usually works best.

The oil doesn’t have to be one oil - it can be a blend of different oils.

Tip: if you are using heat-sensitive oils, do not heat them, but add them as the mixture is cooling (pour in a slow steady stream while stirring constantly to avoid lumping)

Warning: If you do not keep detailed notes on your experiments and batches, this is going to happen: your very first batch will be the most perfect, luxurious lotion bar on the planet. It will make your skin sing and be pure unadulterated pleasure to use. People will flock to you asking to buy. News will spread and several major cosmetics companies will beg you to let them mass produce and sell your fabulous creation. You will then spend the next 10 years trying to recreate your formula because you were convinced you would be able to remember exactly what you did.

Don't say I didn't warn you.

Do Tell

Do you make lotion bars? What’s your favorite ingredient combination?

For more anhydrous formulas, check out the book below.

Follow me on Instagram for up to the minute peeks at what I’m working on

How to Make Fresh Raspberry Face Cream

Lise

Raspberrycreamsetup.jpg

Loads of people who have caught the glycerite-making bug have asked me ‘What can I use my glycerites in? Formulas rarely call for very much glycerine/glycerite.’

So I decided to see if it was possible to create a lovely face cream with a whopping amount of hand-crafted glycerite that didn’t feel tacky or draggy.

And wouldn’t you know, I succeeded.

This raspberry cream is absolutely divine (if I do say so myself), is fabulously pink, has a massive 30% glycerite (yes, THAT much), and I have been so pleased with the result, I just had to share it with you.

Fair warning on the color: it looks really fabulously pink right after you make it, but will fade slowly but surely as time passes. I took pictures of it after 3 months that you can check below. It morphed into quite a pleasant baby-pink color. Mind you, it has been packaged in a frosted clear jar and stored in my bathroom where it has been exposed to quite a bit of daylight. I’m guessing if you package this in a UV safe jar, it will keep the color a lot longer.

This batch makes 100 g (about 3.5 oz).

LisaLise’s Raspberry Cream Delight Formula

Phase Ingredient Grams
A Freshly Boiled Demineralized Water 40.0
A Aloe Vera Juice 10.0
A Raspberry Glycerite 30.0
B St. John's Wort Infused Olive Oil 8.0
B Olivem 1000 Emulsifying Wax 6.0
B Cetyl Alcohol 2.0
C Extracts of Choice 3.0
C Broad Spectrum Preservative 1.0
Here are phases A and B ready to be heated.

Here are phases A and B ready to be heated.

METHOD

  1. Heat phases A and B in separate containers over a hot water bath until fully melted (about 70 C)

  2. As soon as phase B has fully melted, remove both phases from the heat.

  3. Pour phase B into phase A in a slow steady stream while stirring continuously. Take care not to introduce air into the mixture. Your stirring tool (I use a whisk) should be in constant contact with the bottom of the container. TIP: the emulsions book lined below gives you a blow by blow the hand-stirring technique I have used for yonks (that means a long time).

  4. Continue stirring at a comfortable speed. The mixture will emulsify and thicken as it cools.

  5. At 40 C, add phase C ingredients and stir to incorporate fully.

  6. Check pH and adjust if necessary. (You may also want to check pH before adding phase C ingredients if you are using any extracts/preservative with specific pH requirements)

  7. Transfer to jars

  8. Pat yourself on the back for making all-natural fabulousness.

Extracts

The pictured batch has 1.5% raspberry extract, 0.5% Algica (in gel form), and 1% additional raspberry glycerite.

Preservative

For this batch, I used 1.0% Spectrastat (from Inolex). If the preservative you use calls for a different dosage, adjust the amount of water accordingly.

Glycerite

I used a self-preserving fresh raspberry glycerite in the pictured batch, but you could also make a strawberry (or other fruit) glycerite and change the whole scent profile. You can even replace the glycerite with glycerine, but obviously, your cream won’t have the fragrance or popping color from the glycerite. There’s a link below to my glycerites book if you want to see more.

Oil

Use any red oil you like (consider buruti, unrefined palm oil, etc). If you use a different fruit glycerite, choose an oil with a color that will complement your glycerite.

Here is the cream after 3 months. The color has faded some, but then, it is packaged in a clear container and has been exposed to daylight since making, so this isn’t too bad as color fading goes.

Here is the cream after 3 months. The color has faded some, but then, it is packaged in a clear container and has been exposed to daylight since making, so this isn’t too bad as color fading goes.

If you don’t already make your own glycerites and want to get busy, the book below will show you how.

The cream in this post is stirred by hand. The book below shows you my hand-stirring technique (and also has a selection of formulas you may want to make too.

Raspberry Cream Delight

Lise

raspberrycream.jpg

Here’s what happens when you combine handcrafted fresh-raspberry glycerite with St. Johns Wort infused oil and make an emulsion: pink fabulousness.

This is batch one of this product so it’s a bit early to say how it performs except to say I am loving it so far. The pink color will in all likelihood fade over the nest weeks, but we’ll see by how much and how fast.

Meantime, I am considering sharing this formula with you if it behaves nicely.

Fingers crossed!

If you want to make your own glycerites, check the e-book below. (click the picture to learn more)

Soapy Lotion Bars for Sensitive Skin

Lise

chamsoapybars.jpg

I developed these bars last year as part of a series of solid skin and haircare products. The task I set myself for this product was to create a cleansing bar that doubled as a moisturizer. This batch contains chamomile, oatmeal and honey - 3 very gentle and skin-friendly ingredients.

Testing is going well but I am still not completely happy with how these can optimally be used and stored after use. They are a bit soft-ish and have a tendency to crumble which can make them a bit fiddly to use. On the other hand, they do wonders (for my skin) and make the most glorious, creamy, emulsion-type cleansing lotion when they are wet, so perhaps the challenge is more about reformatting the shape and size.

More to come on that!

Developing and Testing Solid Lotion Bars

Lise

solidlotionbars.jpg

These may look like a small collection of pebbles but they are a few of the solid lotion bars I have been developing and testing for a while now. The source of different colors is the carrier oils, essential oils, butters, and waxes used.

Although the base ingredients are somewhat similar in each of these, each bar has a different scent and feel. By tweaking the proportions of the ingredients in a lotion bar, it is possible to create an entire array of tactile differences. Glide, slip, skin feel, and fragrance appeal - everyone has their own preference and needs.

As time has passed I find myself grabbing the yellowish bar as often as I reach for a lip balm, while the white bar has become my go-to for legs and feet. The green bar is an all-over body favorite when my skin is feeling extra dry.

As the green beauty revolution moves forward and we all look to more climate friendly solutions, I predict a growing interest in solid lotions of all kinds.