Contact LisaLise

Please use the form on the right to contact LisaLise.

Majestic Court 5, St. Mary's Street
Mellieha
Malta

LisaLise offers online education of natural plant-based cosmetics via e-books and courses

LLBlogHEADER2020-3.gif

Shop Blog

A look inside the LisaLise natural cosmetics lab with free formulas, DIY how-to's, ingredients tips, sneak peeks, and more.

Filtering by Category: Feedback

Why Get Started Making Plant Extracts for Cosmetics

Lise

Learning how to make your own extracts for cosmetics is both super easy and at the same time not as easy as it might appear. The basics can quickly be outlined, but it takes dedicated practice to master.

I have been making all kinds of herbal extracts (specifically for cosmetics) for many years, but would still not call myself a master. Maybe I will in a few more years or so, but meantime, I am constantly learning and discovering new plant synergies, refining my methods and trying different raw materials.

In truth, learning how to make extracts of all kinds has proven to be as involved, multifaceted, and fascinating as learning how to formulate natural cosmetics.

All You Need is to Want To

While making extracts could be described as 'a journey with no end in sight', it really is easy to get started – it doesn't require much more than raw desire (and no special equipment is needed).

And it can't be dismissed that having the ability to compose and produce your own botanical extracts with confidence is truly empowering.

So where does one begin?

There are countless fabulous raw materials to work with - from botanicals to spices to fresh vegetables and fruits. There are numerous solvents to choose from: oil, vinegar, alcohol, glycerine, water – and it's even possible to combine solvents in different ways.

There is also an entire range of method options; from a simple infusion that is ready within an hour to an overnight slow-heat maceration to a several-step multi-medium process that takes weeks.

Which is best? Or most correct?

They might all be.

It depends entirely on what you want to achieve

  • an all natural colorant for your emulsion?

  • a powerful antioxidant for your face serum?

  • a natural fragrance for your balm?

  • a skin soothing addition to a shower gel?

All of these (and much much more) are possible with the right extract.

Can you see what I mean by a journey with no end in sight?

The Perfect Extract Starts in Your Mind (and Notebook)

Allow me to give you a tip about getting started: It's much easier to approach extract making if you know the intended end use before you start pulling out equipment and raw materials.

When you have a clear vision of what you expect your extract to do and (where you expect it to function), you will have laid the groundwork for which solvent, production method, and raw materials to focus on.

Example: a (water-soluble) glycerite is going to be a much better match for a skin mist than an anhydrous product that would require additional ingredients in order to be incorporated into the formulation.

Why Don’t You Tell me Everything?

One of the reasons I wrote the book Get Started Making Plant Extracts for your Cosmetics was to offer an overall introduction to the vast world of extract making - because it is truly an area where the possibilities are endless.

Not long ago, a customer wrote and asked me why there aren't there any specific amounts listed or detailed method instructions in the book.

It's a perfectly understandable question.

One would imagine it shouldn't be all that much effort to include an easy peasy guideline for each type of extract as the book includes a description of different solvents.

Here's what I replied:

"When it comes to making extracts (regardless of whether they are oil, water, vinegar, glycerine, alcohol or mixed medium), ingredient quantities are going to vary greatly and will always depend on which raw material (as well as the condition of the raw material), which solvent(s), and which extraction method or combination of methods is used. A 'general guideline' with listed amounts would have to include so many exceptions-to-the-rule that it would quite simply not be useful.

I am guessing it would take me a few years to write a comprehensive guide to extract making for cosmetics (and that probably wouldn't even cover everything)."

She wrote me back that she 'appreciated learning that there was more to this than meets the eye' and 'that's probably why so many of the things that you try on the internet turn out with mixed results'.

Explaining the complexities of extract making without making everything seem too arduous is a bit of a balancing act I still struggle with, because making extracts for cosmetics it is not difficult when you are confident about what you're doing. The best news? It doesn't take too terribly much effort to get to the point where you do feel confident.

Want to Get Started?

If you are an absolute beginner to extract making and want an overview, this e-book is for you.

If you want to get started with an overview as well as get busy making right away, this e-book bundle offer is for you.

Additionally, you will find specific listed amounts, calculation charts, and detailed information on the complete process of some different extract types in the books below.

I’d like to extend my kind gratitude to Lorena for inspiring me to write this article.

LisaLise Books With Specific Extract Formulations

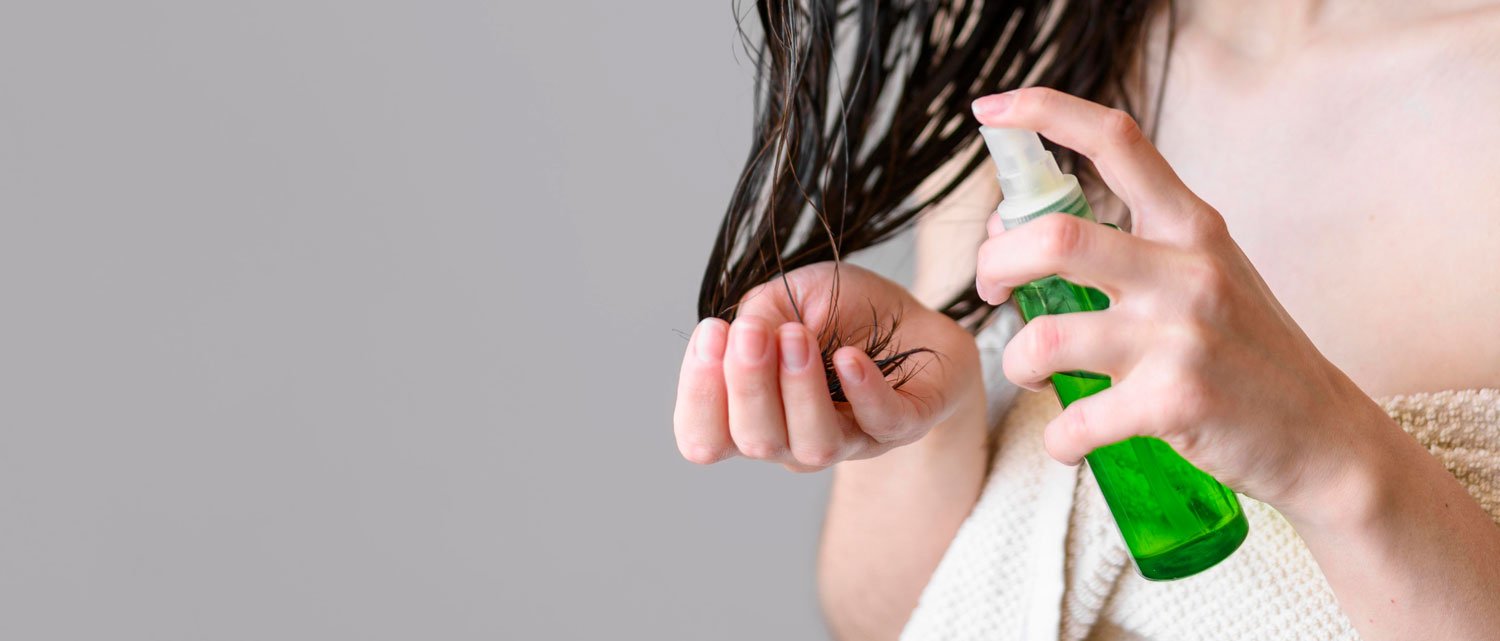
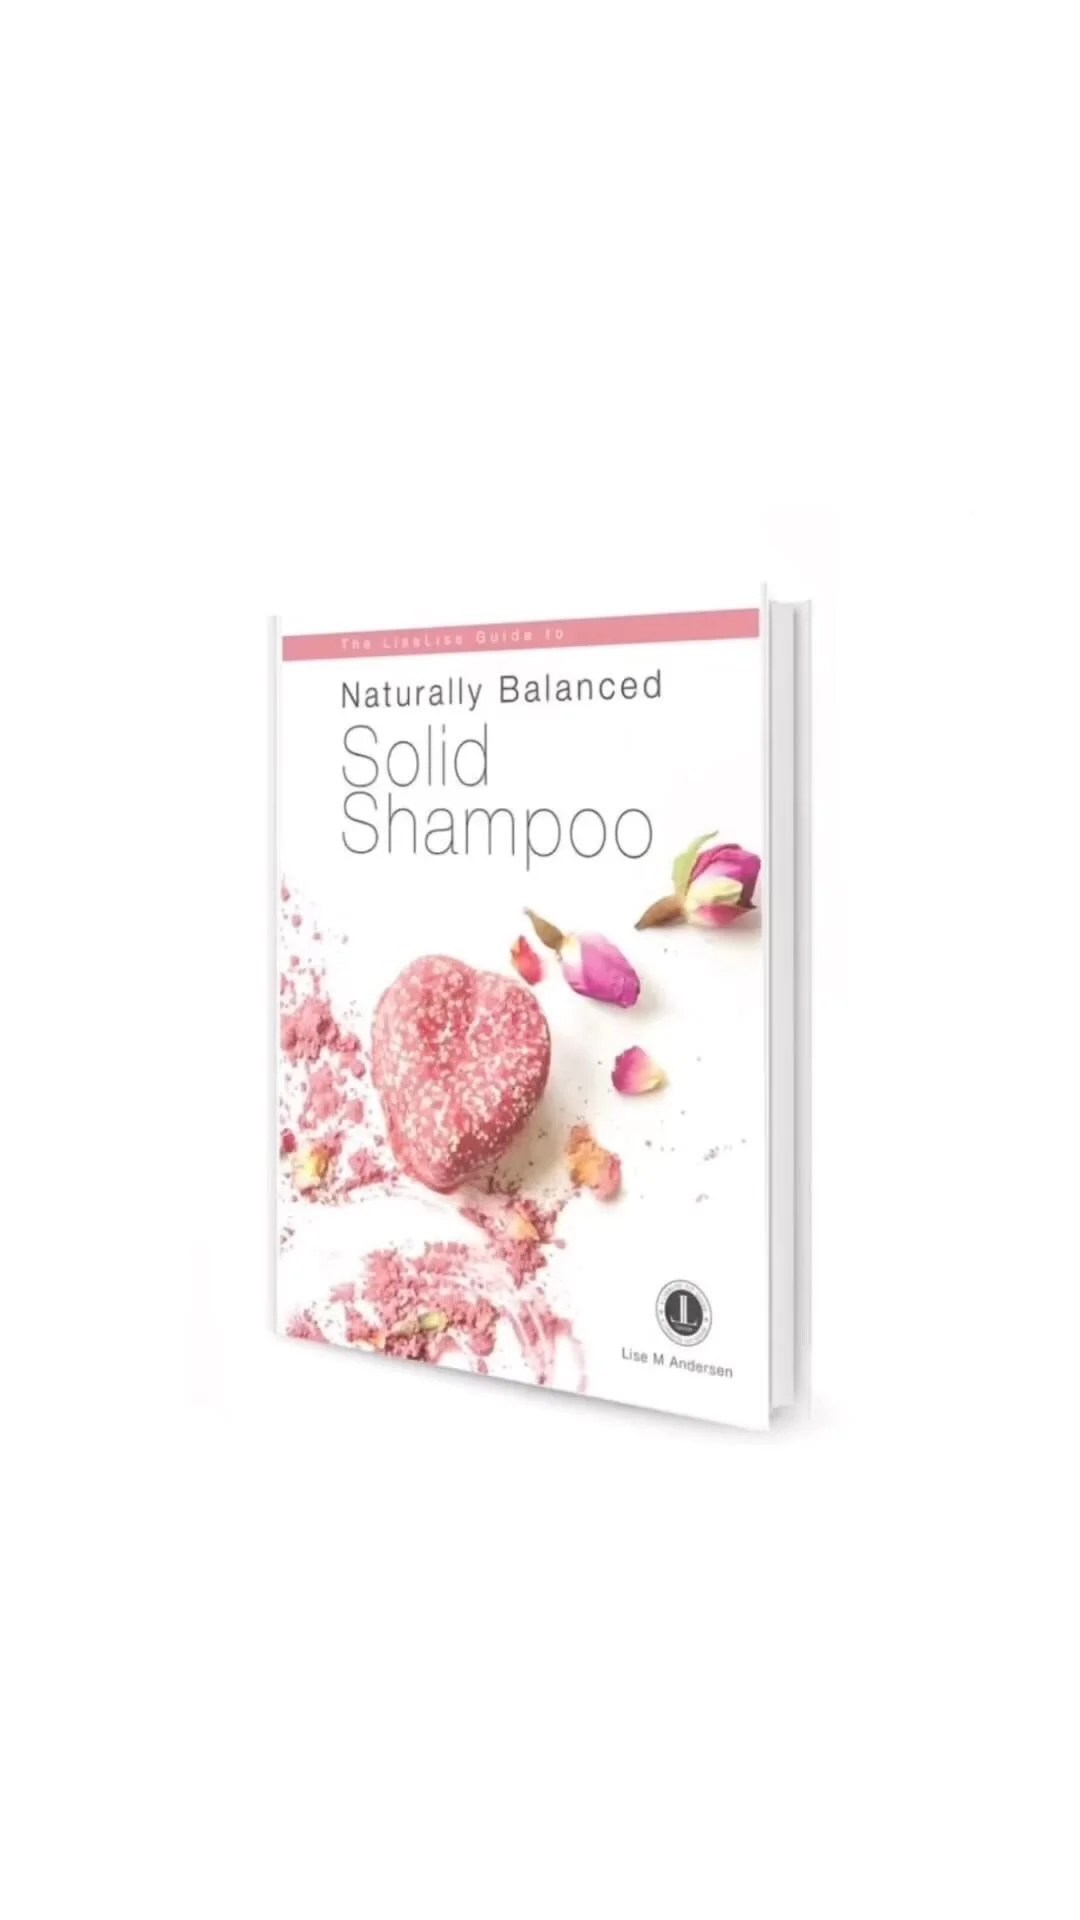
The shampoo book has a section on making vinegar tinctures (that are used in the formulas in the book)

The book below has a section on making vinegar tinctures (used in the formulas in the book), and it’s also available in Spanish here

The bath book has a section on making aromatic powders (used in the formulas in the book)

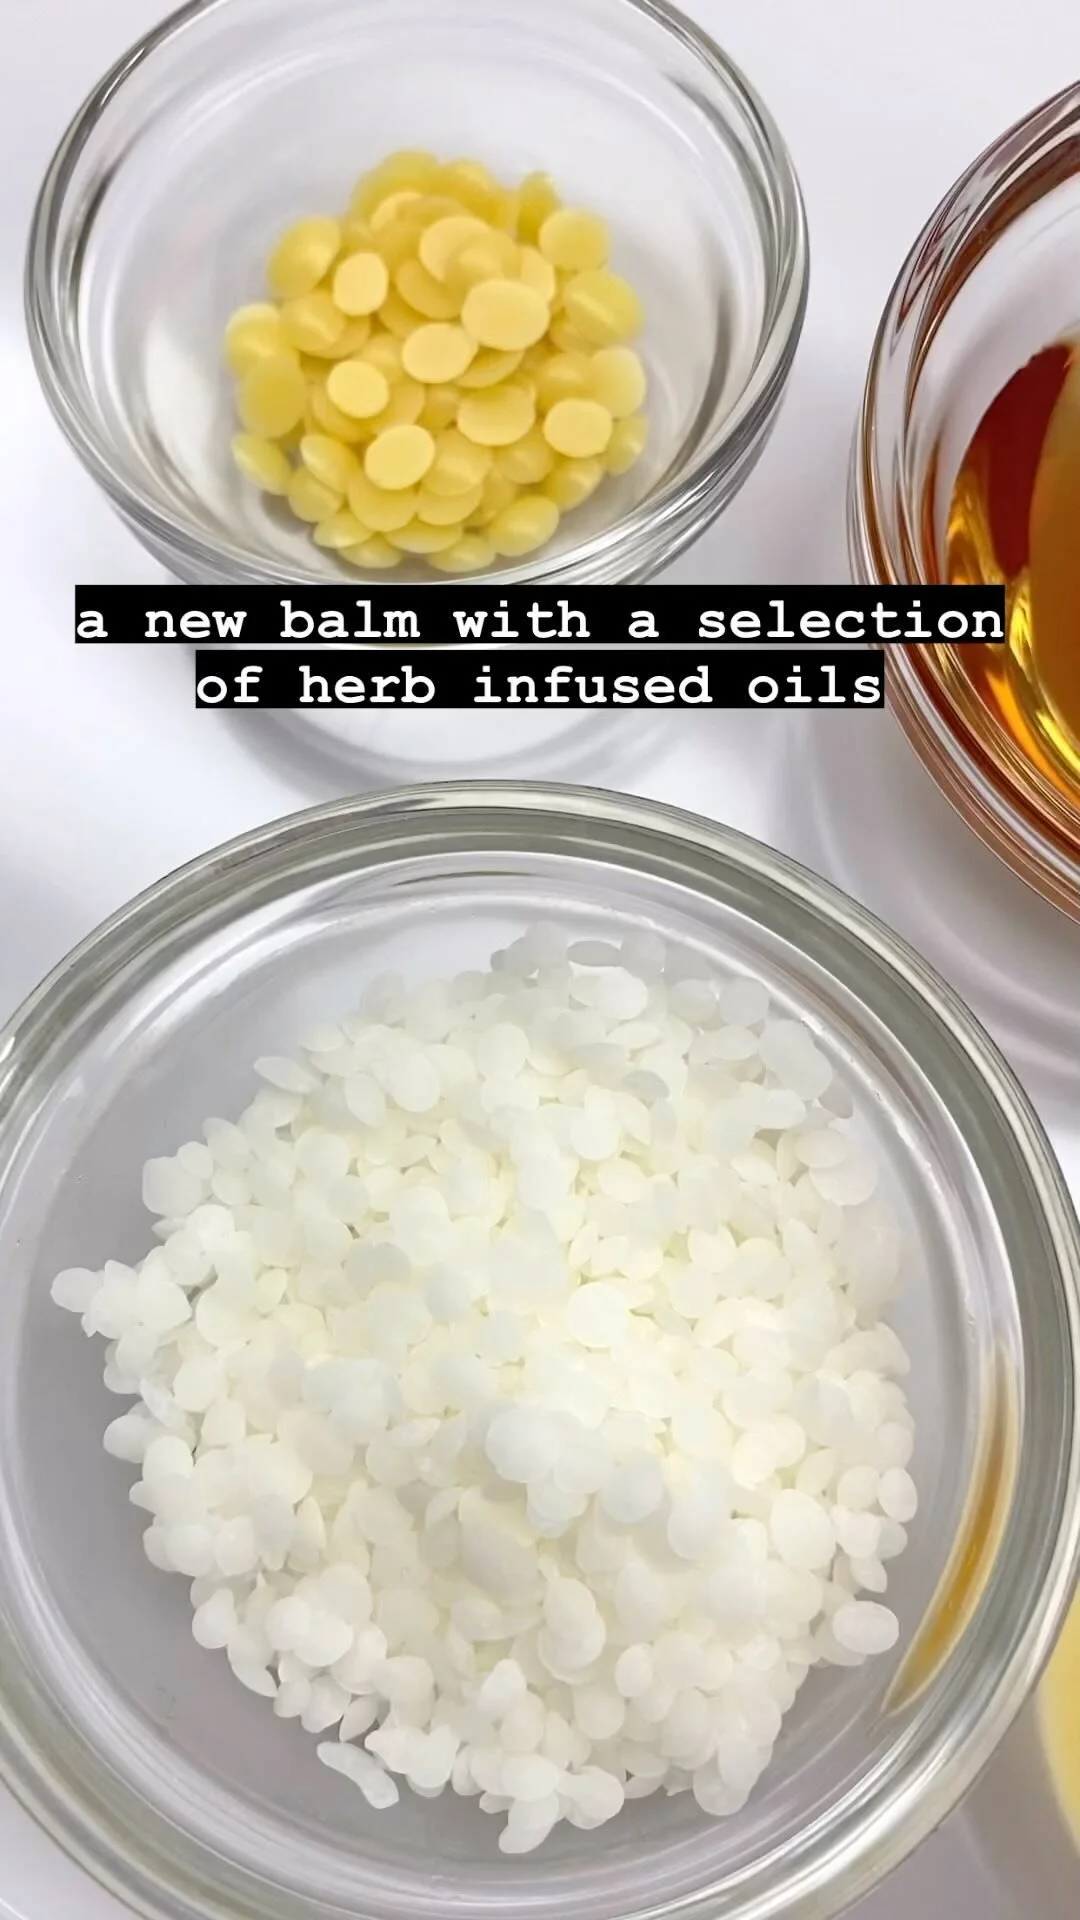
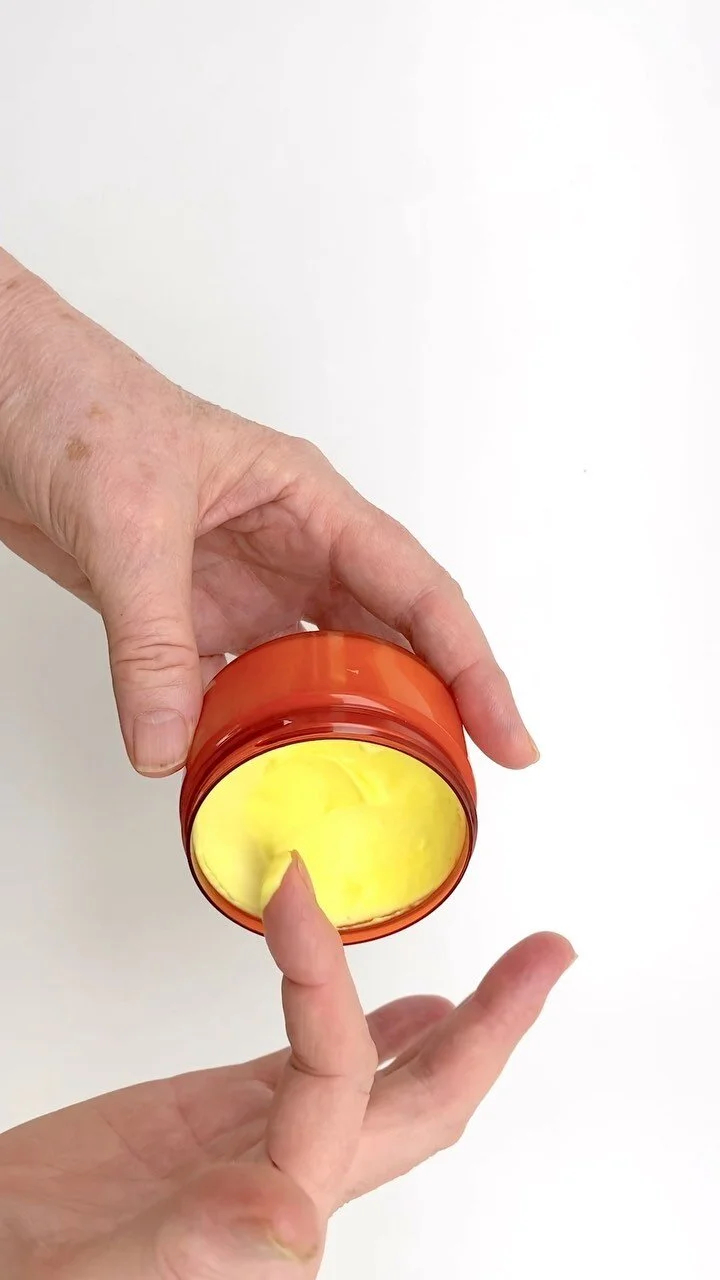
The balm book has oil infusion and (some) glycerine infusion instruction for the formulas in the book

The glycerites book is a complete guideline to making glycerites

GMP in a Home Setting

Lise

I recently received an email from a lovely customer who bought the e-book you see pictured here.

She wrote me that her mind was ‘blown away’ at the thought that it was even possible to achieve acceptable GMP in a home setting. She thanked me profusely for ‘opening her eyes’ to the possibilities and of course made me feel all warm and fuzzy with her kind words.

I have worked at home for many years and have also moved around a lot so my workspace has been situated in all different kinds of settings.

Some of my them have presented me with quite a few challenges too. Over the years, a few tips and tricks have accumulated.

The fact that I have always been a fan of working with botanicals has most certainly added to the GMP challenge as well.

This book is available in Spanish too — just click the picture below to read more.

How to Know When to Use a Preservative

Lise

“If a product is anhydrous, surely a preservative isn't necessary?”

“An emulsion requires a preservative – no matter what, right?”

Preservatives are (understandably) a challenge for many artisan formulators. Knowing how (and when) to include them is among the most common type of questions I get from my readers, clients, and students.

I wish there was an easy one-size-fits-all answer.

There are so many different types of cosmetics (and methods of making) that it can be confusing to sort through all the ‘if’s, but’s, and maybes’ of cosmetic preservation.

This article is my attempt at an answer to the many of you who have asked. Please note this is a general guide and will not be able to answer every question you may have.

Rules and Exceptions

Also, as it is with many rules, there are going to be exceptions. For example: despite what you may have been taught/have heard about cosmetics with water content, it is indeed possible to make a safe, long-lasting emulsion without adding a preservative. It is also possible to make an anhydrous product that can result in mouldy growth. Sometimes, including a preservative is going to be a judgement call you will have to make depending on the ingredients you are using, your production method, how your product is packaged, stored, and even how it is used by your customer.

In the guide below, I’ve created categories for the types of formulations and included a few tips as well. I hope you find it useful !

Anhydrous Products

Anhydrous: Minimal Exposure to Moisture

This includes water-free products that have a minimal chance of the contents being exposed to moisture during storage and use.

Examples of ‘minimal moisture’ products are:

  • Face oil

  • Body oil

  • Massage oil

  • Balm

  • Leave-on oleogels

  • Lotion bars

  • Ointments

  • Hair wax

  • Body butters (water-free)

PRESERVATIVE: Unnecessary

TIPS 
  • Addition of an antioxidant can help retard rancidity

  • Body butter is a term that is used to describe both completely water-free products as well as rich emulsions.

Anhydrous: Some Exposure to Moisture

These are products that have some chance of introduction of moisture during use such as:

  • Cleansing balms

  • Body scrubs

  • Oil-to-milk cleansers

  • Pressed powder makeup

PRESERVATIVE: Judgement Call

TIPS
  1. Packaging can be a deciding factor (for example if the product is dispensed instead of dipped into).

  2. Adding specific instructions can also be a deciding factor (‘keep contents free of moisture- use within 3 months’, etc)

  3. Although pressed powder makeup is anhydrous, note that some people will wet their makeup brush before dipping into the product, thereby introducing moisture. If you are selling your products and risk customers (mis)using them in this manner, consider adding preservative or including a disclaimer on the label.

Anhydrous: Moisture Exposure Unavoidable

This includes products where introduction of moisture to the content during use product is a given and includes examples such as:

  • Tooth powders

  • Wet and apply color cosmetics

  • Cleansing powders/grains

  • Cleansing balms (packaged in jars where the product is dipped into)

  • Exfoliating scrubs (packaged in jars where the product is dipped into)

PRESERVATIVE: Recommended / Judgement Call

TIPS
  1. Products such as cleansing powders/grains can be preservative free if explicit instructions are included on the label that the contents must be kept free of moisture. Consider packaging that allows the product to be dispensed without introduction to moisture for optimal shelf life without added preservatives.

  2. Some scrubs can be preservative free if sold with spoon/scoop to dispense the product along with clear instruction on the label to keep the contents moisture free.

Anhydrous After Production With High pH

These are products that use water/liquids during production but are cured/dried before use and also have a high pH (generally pH 9-10).

Examples include products such as

  • Cold process soap

  • Hot process soap

  • Beldi soap

PRESERVATIVE: Unnecessary

Anhydrous After Production

These are products that use water/liquids during production but are cured/dried before they are used and include:

  • Bath bombs

  • Shower steamers

  • Solid shampoo bars

  • Solid (SYNDET) body wash bars

  • Solid conditioner bars

PRESERVATIVE: Unnecessary (in most cases), Judgement Call

TIPS
  1. Microbial testing may be the deciding factor.

  2. Packaging could be an integral part of the formula. Storage and use could be with explicit instructions. Example: individually wrapped portions/bath bombs that are used immediately after unwrapping.

Products with Water Content

Very Low Water Content

These are products that are predominantly anhydrous but contain a small percentage of ingredients that contain water (such as extracts, tinctures, etc.)

Examples of this type of product includes:

  • Cleansing balms (some types)

  • Balms (some types)

  • Stick deodorants

  • Hair styling products (some types)

  • Body butters (some)

PRESERVATIVE: Judgement Call

TIPS
  1. Microbial testing may be the deciding factor.

  2. Packaging could be an integral part of the formula to avoid additional introduction of moisture.

Some Water Content

These products have some content of water but it is not the dominant ingredient. Examples of products of this type can:

  • Salves

  • Oil-rich lotions

  • Rich, thick creams

  • Emulsified body butters

PRESERVATIVE: (Generally) Necessary

TIPS
  1. Packaging can be a deciding factor as to how much and which type of preservative is required

High Water Content

Water is the predominant ingredient in these products and generally listed first in ingredients list. Examples include:

  • Water-based serums

  • Lotions

  • Creams

  • Skin tonics

  • Cream Cleansers

  • Liquid shampoos

  • Liquid hair conditioners

  • Ready to use face masks

  • Water-based gels (hydrogels)

PRESERVATIVE: (Almost Always) Necessary

TIPS 
  1. Packaging can be a deciding factor as to how much preservative is required. Examples: products that are dispensed (pump bottle, serum bottle) or packaged in airless containers may not require as much preservative as a product that is packaged in a wide-neck jar that is dipped into.


Find More (from LisaLise) About Preserving Cosmetics

Overpreserving - as Bad as Underpreserving.

Download a free Natural Preservatives e-book right here

Hurdle Technology - the new Norm for Cosmetics Preservation

Preservative Free Cleansers with Hurdle Technology


Do Tell

Do you work with preservatives in your products? Which kinds of products do you normally add preservative to?

PS: The products in the books below are all preservative free

Easy Cucumber and Clay Face Mask

Lise

ccmask-2-1500.jpg

It's at least a zillion years since we did a fresh food mask around here. Correction: it's a zillion years since we even did a mask how toaround here.

That changes right now!

Do you have a bit of cucumber?

A bit of clay?

You've already got the basics at hand. Let's get busy!

Fresh Cucumber Juice

This is a super simple mask that adds extra toning and soothing action due to the secret ingredient: fresh cucumber juice.

You: Fresh cucumber juice? I don't have all kinds of fancy equipment for juicing cucumbers, and I'm not really inclined to use hours on this.

Me: I don't have fancy juicing equipment either and cucumber juice making is really a snap!

You’ll need

  • small bowl (I used a single portion ramekin)

  • grater

  • coffee filter or muslin/cheesecloth

  • cucumber

  • hands

ccmask1-UPDATED-1500.jpg

Here's how Easy it is to Make

  • Peel the cucumber

  • Place the filter in your small bowl

  • Grate about 2-3 tablespoons of cucumber into the coffee filter

  • Now, pick the filter up, gently close it so you can squeeze the liquid into the bowl. You don't even need strong hands to do this – honest.

CCmaskSQUEEZE-1500.jpg
  • Add about 2 teaspoons of your preferred clay to the cucumber juice (see picture at top)

Tip:

Don't stir! If you let the clay absorb the liquid by itself, you'll have a lovely, lump-free texture.

For extra skin-boosting oomph, add any (or all) of the following:

  • 1 teaspoon of raw honey

  • 1/2 teaspoon of olive, avocado, or almond oil

  • 3-4 drops essential oil of choice

Use the mask immediately after making. The mixture can be applied with a brush, but the back of a teaspoon works well too.

Clay Mask Tip

Do not let a clay mask dry on your face (clay only does it’s clay magic while it is moist). Wet a natural sponge and gently remove the mask when it starts drying. If you want more leave-on time, spritz the mask to keep it moist.

Which Clay?

Check my Cosmetics Clay Guide for an overview of the different clays. The clay I’m using in the shown example is rhassoul clay - great for a deep cleanse!

Do Tell

Have you ever made fresh cucumber juice and used it in a mask?


How Salt Can be Useful for Skincare

Lise

saltbars-1500.jpg

There is a member of my family who suffers from atopic dermatitis. The gentleman in question gets a bright red rash on his entire neck area at the slightest irritation (even his own perspiration regularly triggers a reaction). He even has to be mindful of which fabrics he wears and has lived with this condition for much of his life.

Several times, I have mentioned to him that his skin might react well to using a Himalayan Crystal Salt bar and offered to set him up with my own favorite salt treatment. At every occasion, the reply has been a polite but firm 'no thanks' with a tone that clearly indicated he sounded as if it I was suggesting he try some kind of voodoo involving ancient rituals and dead chickens.

Now, I realize most men aren't big on talking about skin care, but this fellow has been particularly resistant. To be fair, he is very mindful of which products he uses, so I can't in all honesty place him in the 100% stereotype 'guys can't be bothered with skincare' slot – but he has been brick-wall resistant to my suggestion of using salt.

Then He Got Spa

Not too terribly long ago, he and his wife treated themselves to a spa-weekend where he experienced a salt pool treatment for the first time. Although his immediate reaction to the super-salty water was redness and a slight stinging on his neck, the redness soon dissipated. Subsequently, his neck was unusually calm and rash-free for several days (I was duly informed by a secret undercover agent who was on the scene).

Not That I Care, But by the Way

When I saw him next, he approached me in a very roundabout, guy-that-doesn't-want-to-seem-too-interested kind of a way. Looking the other way and halfway mumbling, he said:

‘Uhmmm, that salt stuff you do. How does that work exactly?'

So I showed him.

handbar.jpg

In my hand, a Himalayan Crystal Salt Bar. The pinkiness (yes, that’s a real word that I made up for things with pink hues) is due to a content of iron oxides, but let's just enjoy that color for a moment, shall we?.

To use:

  1. Wet the bar. Rub it between your hands. The salt will dissolve a bit and create a salty solution.

  2. Apply the salty solution to your skin.

  3. The next part is very important: allow the skin to AIR DRY.

That's it.

Super helpful tip: do not be tempted to apply the bar directly to your wet skin unless you like brushing salt crystals off of your legs and arms as well as the inside of your clothes. You’re welcome.

Why Does it Work?

Among other things, the content of magnesium improves hydration and helps reduce inflammation.

You may have heard that Himalayan Crystal Salts have the richest mineral content and are among the planets finest and purest.

However.

I've been digging around for evidence of some of the claims attached to Himalayan Crystal Salt regularly (on and off) and have to date been unable to find any scientific documentation on any of the claims. Note: I started digging at least 10 years ago.

One of the standard claims is that Himalayan Salt contains no less than 87 minerals, but various tests don’t seem to have found that many minerals. I believe the top scorer is 60 to date.

If you want to read a critical view about Himalayan pink salt, check this article by Harriet Hall at ‘Science Based Medicine’ where she goes into more detail. Mind you, she looks at the claims of this salt with internal use.

As my main interest (and experience with) this salt is external use, I can say it has worked beautifully for my skin for many years. It also seems to be doing an excellent job on the family member 'who finally came around' and now uses his salt bar daily.

A Bit of Evidence

There is some study on the benefits of mineral-rich salts for skin ailments, and this article shows that it does help and even improves skin barrier function.

Do Tell

Have you ever tried using a salt bar? Did it benefit you?

Tip: The book below makes use of salts for skincare in easy-to-make formulas. Click the picture of you want to read more.

The Natural Skin and Hair Softener - Mallow

Lise

mallowfloweronpaper-1500.jpg

I fell head over heels in love with this plant ages ago. Mallow (INCI: Malva Sylvestris) is not only beautiful, it has some lovely (and surprising) properties that make it a great addition to a skin and/or hair care product.

The name derives from the Latin Malva which means soft, or capable of softening. The plant pictured above was picked straight from my garden where it was (uninvited and) thriving amongst a few vegetables that had been planted. But one cannot help but forgive it as it is such a beautiful plant.

Where's it From

Mallow is native to Europe, North Africa, and Asia. Not only is it related to the Marsh Mallow plant, it also has similar properties.

Throughout history, Mallow has been used where Marsh Mallow was otherwise unobtainable. Both the flowers and leaves have a history of medicinal use.

Internal Uses

The young leaves of the plant are edible when boiled and is reputed to have been served up as vegetables in some regions. I haven't tried eating them – mostly because I have never read any descriptions that included words like 'tasty' or 'delicious' – only words such as 'edible'.

Mallow has been more popular for medicinal uses. For example, mallow tea is said to be an effective help for soothing and calming dry coughs. The natural mucilage content of this plant makes it an excellent choice for battling any kind of irritation of the mucous membranes.

I purchase dried mallow from a local herbalist and the packaging includes instructions for brewing tea (along with a warning not to consume more than 3 cups a day).

What Mallow has to Offer Skin

Mallow makes good on it's name by offering soothing and softening properties. It has traditionally been used as a poultice for sores, psoriasis, boils, bites, and other wounds.

Mucilage content translates directly to emollience. Dropping a few flowers into bathwater is said to provide skin softening properties.

In addition, mallow is mildly astringent which makes it an ideal addition to skin cleansers and tonics.

What Mallow has to Offer Hair

Added to a rinse, an infusion of mallow leaves and roots helps soften hair and enhance elasticity – especially damaged and fragile hair.

At the right proportions, a mallow infusion will become a gel-like liquid that can be used straight up as a conditioning shampoo for damaged hair, and it will even work to soften your hands while you’re massaging your scalp with it.

Makes Grey Go Away - So They Say

The color of mallow flowers is incredibly powerful. In the old days (you know, before phones and computers), its striking blue pigment was used as a rinse to cover greying hairs.

While mallow could be a healthy natural hair dye on some types of hair, be aware that this plant stains everything it touches. A single flower and single drop of water is enough to create a very visible inky-blue stain (my sink can verify this).

I’ve tried using mallow as a colorant. Once and never again. Read my adventures of mallow as a hair colorant here.

Do Tell

Have you worked with Mallow? How about Marshmallow?

Thinking about making your own extracts but haven’t a clue where to start? Then the book below might be just for you.