Contact LisaLise

Please use the form on the right to contact LisaLise.

Majestic Court 5, St. Mary's Street
Mellieha
Malta

LisaLise offers online education of natural plant-based cosmetics via e-books and courses

LLBlogHEADER2020-3.gif

Shop Blog

A look inside the LisaLise natural cosmetics lab with free formulas, DIY how-to's, ingredients tips, sneak peeks, and more.

Filtering by Category: Formulations

Slow Beauty Cleansing Milk

Lise

Pictured: A batch of my Slow Beauty Cleansing Milk featuring Rose and Soapnut. I did a series of these cleansers a few years back to test out a few different ingredient combos as well as to test the limits and capabilities of this particular emulsifier. The rose and soapnut combination performed beautifully repeatedly.

The best part? It's relatively easy to make.

This formula utilises a COSMOS certified and organic emulsifier (and oil thickening agent) that can be used either hot or cold (which is kind of cool if you ask me).

Today I'm going to show you how I made this cold process emulsion.

Spoiler alert: there's a reason the title includes 'Slow Beauty'.

COSMOS Emulsifier

After fooling around with Sucragel a while and discovering its quirks, I think the positives outweigh the negatives - especially in a DIY or small batch setting. It seems the jury is still out on whether or not Sucragel does well for larger batch sizes and I'm assuming this is because of the mentioned quirks, but we'll get into those in a minute.

What's in an Emulsifier

Sucragel is pretty widely available. I tried using it from a couple of suppliers as it is always a good idea to try ingredients from different suppliers. There can be differences in how an ingredient performs - even if it has the same INCI.

The INCI of the Sucragel I am using here is as follows: Glycerin, Prunus Amygdalus Dulcis oil, Sucrose laurate, Citrus Aurantium Dulcis fruit water

Because this is a glycerine based ingredient, adding more glycerine to your formula could be a bit overkill, so if you are thinking of adding your own glycerites to an emulsion where you are using Sucragel, you'll probably want to keep it at a lower percentage.

Depending on the texture you are aiming for, you can dose sucragel from 6 - 20% of your formula. This emulsion has a creamy, non-greasy feel and a viscosity that is my idea of cleansing milk perfection.

Because I had some bottles that held about 150 ml, my batch size here is calculated for 150 gr.

Shall we get busy?

LisaLise's Slow Beauty Cleansing Milk with Rose & Soapnut

Phase Ingredient Grams
A Demineralised Water 63.0
A Xanthan Gum 0.8
A Soapnut (dry extract) 3.0
A Rosewater 23.8
A Broad Spectrum Preservative of choice 0.9
B Rose Infused Castor Oil 42.0
B Sucragel 16.5

Method

  1. Combine phase A ingredients and allow to sit for 15 minutes.

  2. Combine phase B by slowly adding the oil to the sucragel bit by bit and stirring until homogenous with each addition. When combined, let stand for 15 minutes.

  3. Stir phase B again.

  4. Add phase A to Phase B little by little, stirring well in between additions.

  5. Adjust pH if necessary

  6. Transfer to container

Sucragel Quirks

Fair warning: it can seem arduous transforming Sucragel and oil into a homogenous whole. My supplier recommends adding the oil to the sucragel ‘drop by drop’ and stirring until thoroughly incorporated in between additions.

Admittedly, this process takes a bit of patience but the good news is, it can be done by hand and without the use of electrical mixers with excellent results.

I’ve tried using different stirring implements (both 'electrified' and 'non electrified'), adding the oil to the sucragel faster (or in larger amounts at a time), stirring less, and just about every combo I could think of to speed the process up.

My experience to date is: the slower you go, the better and more stable a result you get. Read: if you even try to rush it, you really risk an unstable emulsion. Also my experience: using a wide, flexible spatula to work the ingredients together gives the best results.

And now you know why I call this is a 'slow beauty' formula. So if you don't have time to 'get your zen on', do wait for a day when you're ready to give slow-making a go.

pH Notes

The ingredient variations I made to my own batches all resulted in pH levels ranging between 4.7 - 5.5, so no pH adjustment has been necessary.

Ingredients Notes

Soapnut Extract

Soapnut dry extract is not the same as powdered soapnut and will give you quite different results if you try replacing a dry extract with a powder. Stay tuned for a post explaining (and showing) the differences)

If you can't access dry soapnut extract but have soapnuts, you could try doing a decoction and replacing half of the water amount in this formula with your decoction.

Infused Castor Oil

This is quite in line with the slow-going-ness of this formula. I made my own rose-infused castor oil by adding dried rose petals to castor oil and allowing the mixture to cold infuse for a couple of months before straining and using the oil. Depending on the quality and freshness of the dried roses you use, this will add a lovely note of rose to your product.

You could replace the rose with any herb you prefer (lavender and rosemary come to mind as possibilities).

If you don't want to make an oil infusion, just use castor oil.

Rosewater

I made most of my batches with hydrosol, but to be a bit experimental, tried one batch with food grade rosewater (the kind you will find at specialty supermarkets). It worked beautifully and definitely won't be the last time I use rosewater of this type in a cleanser.

Preservative

I used benzyl alcohol in my experimental batches and it performed quite well. Estimated average shelf life: 8 - 12 months.

Do Tell

Have you worked with Sucragel before? What were your experiences? And if you have used Sucragel to make larger batches and are willing to share your thoughts, please feel free to drop a comment below!

Introducing Tutorials

Lise

I’m pretty excited to be able to introduce you to my very first tutorial - right here on the website!

Squee!

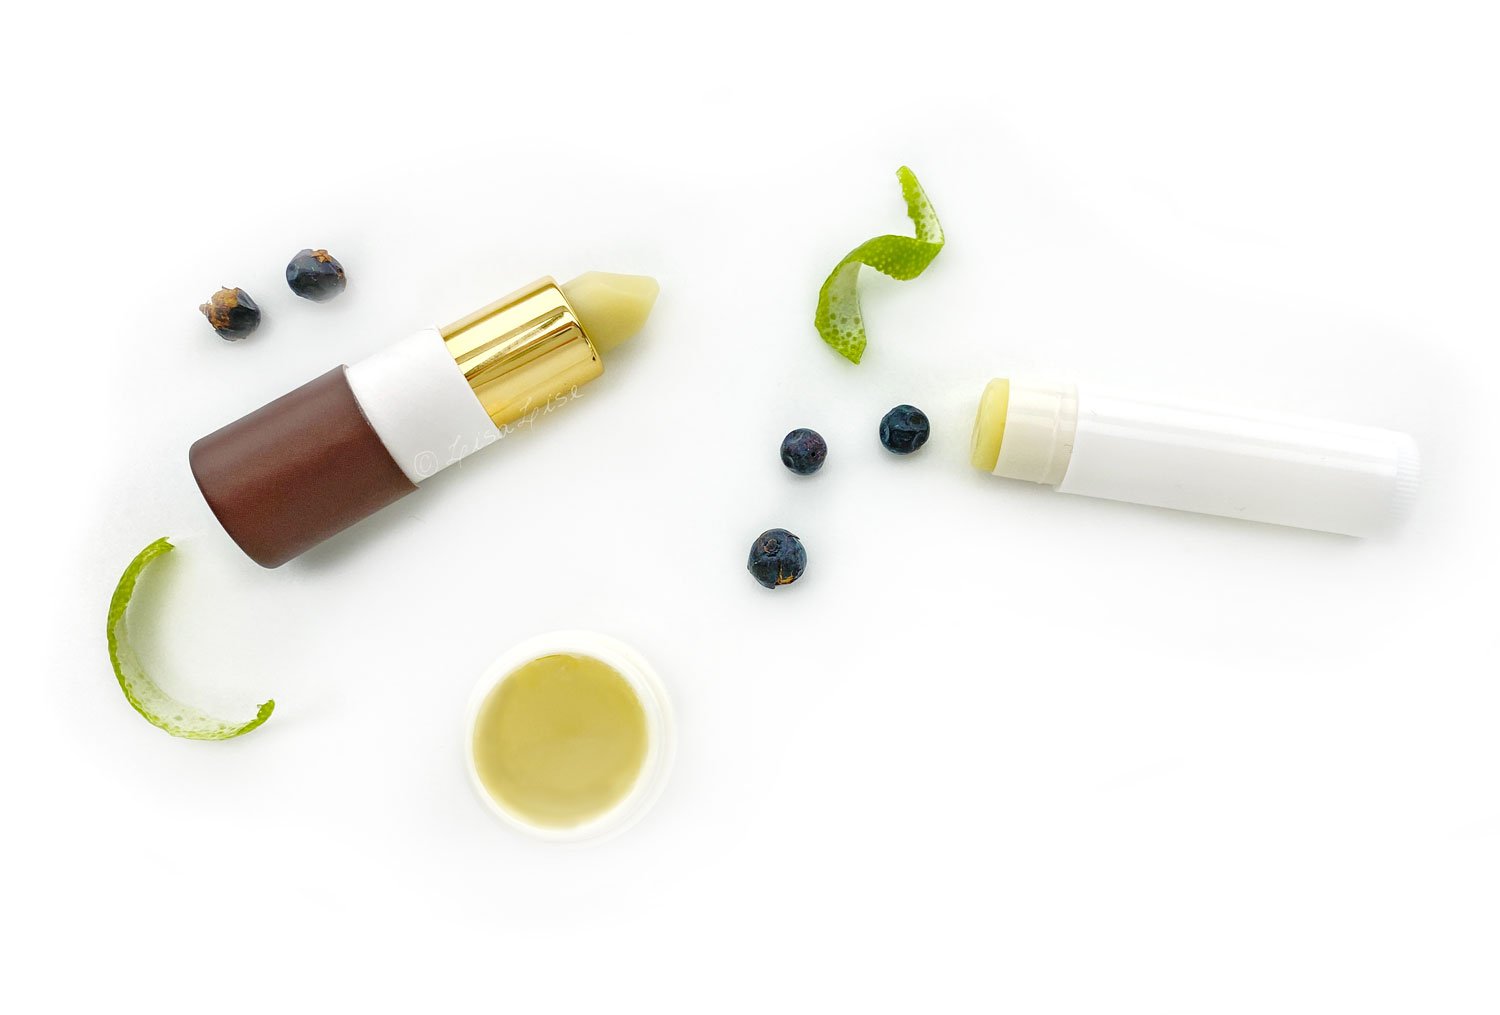
If you have been following me for a while, you already know I love working with botanicals of all types for all kinds of things. One increasing interest in recent years has been creating flavour oils. It began with lip balms in mind, but as I started getting more and more into combining ingredients to smell nice as well as taste nice, I kept coming up with even more things I wanted to try.

I’m not even going to mention how long my to-do list is at the moment.

This particular challenge (capturing the flavours of a classic gin and tonic) has taken much longer than I expected (that seems to be a bit of a pattern when I start out thinking I can ‘knock something out relatively quickly’). Many of the initial batches started out well, but then the fragrance faded, or flavour changed, or something else went annoyingly wrong.

Fast forward 3 years and a few more batches than I originally thought were going to be necessary, and finally I could say I was happy with the results.

The star of this tutorial is making the flavour oil (which is super for several different products), but I’ve also created a couple of lip balm formulas to use the flavour oil in: a vegan version and a version featuring beeswax.

Wouldn’t you know the balms also took a bit longer than expected to get right (I’m looking at you vegan waxes), but as it turned out, quite a bit of it was solved when I got the flavour oil right.

Does this sound complicated? Well, before I had figured out how to do it, it was, but when you know how to do it, it’s not that complicated. (Isn’t that true of so many things?)

Are you a little curious about getting busy making your own?

Click the picture below to read more.

PS: The formulas for both of these balms as well as the flavour oil are free for LisaLise Club members. If you think you might want to check out becoming a member, click the picture below.

How to Make a Fresh Tomato Hand Mask

Lise

Have you ever heard of doing a mask for your hands?

I hadn't until I had to come up with some way of demonstrating facial masks as part of Module 1 of the Formulation Course I developed for Tisserand Institute.

Because it was necessary for me to be able to photograph everything (and recalling all the previous times I have tried taking photos of myself wearing facial masks), I decided to use one hand as a model.

This turned out to be a really good idea.

Removing the First Mask

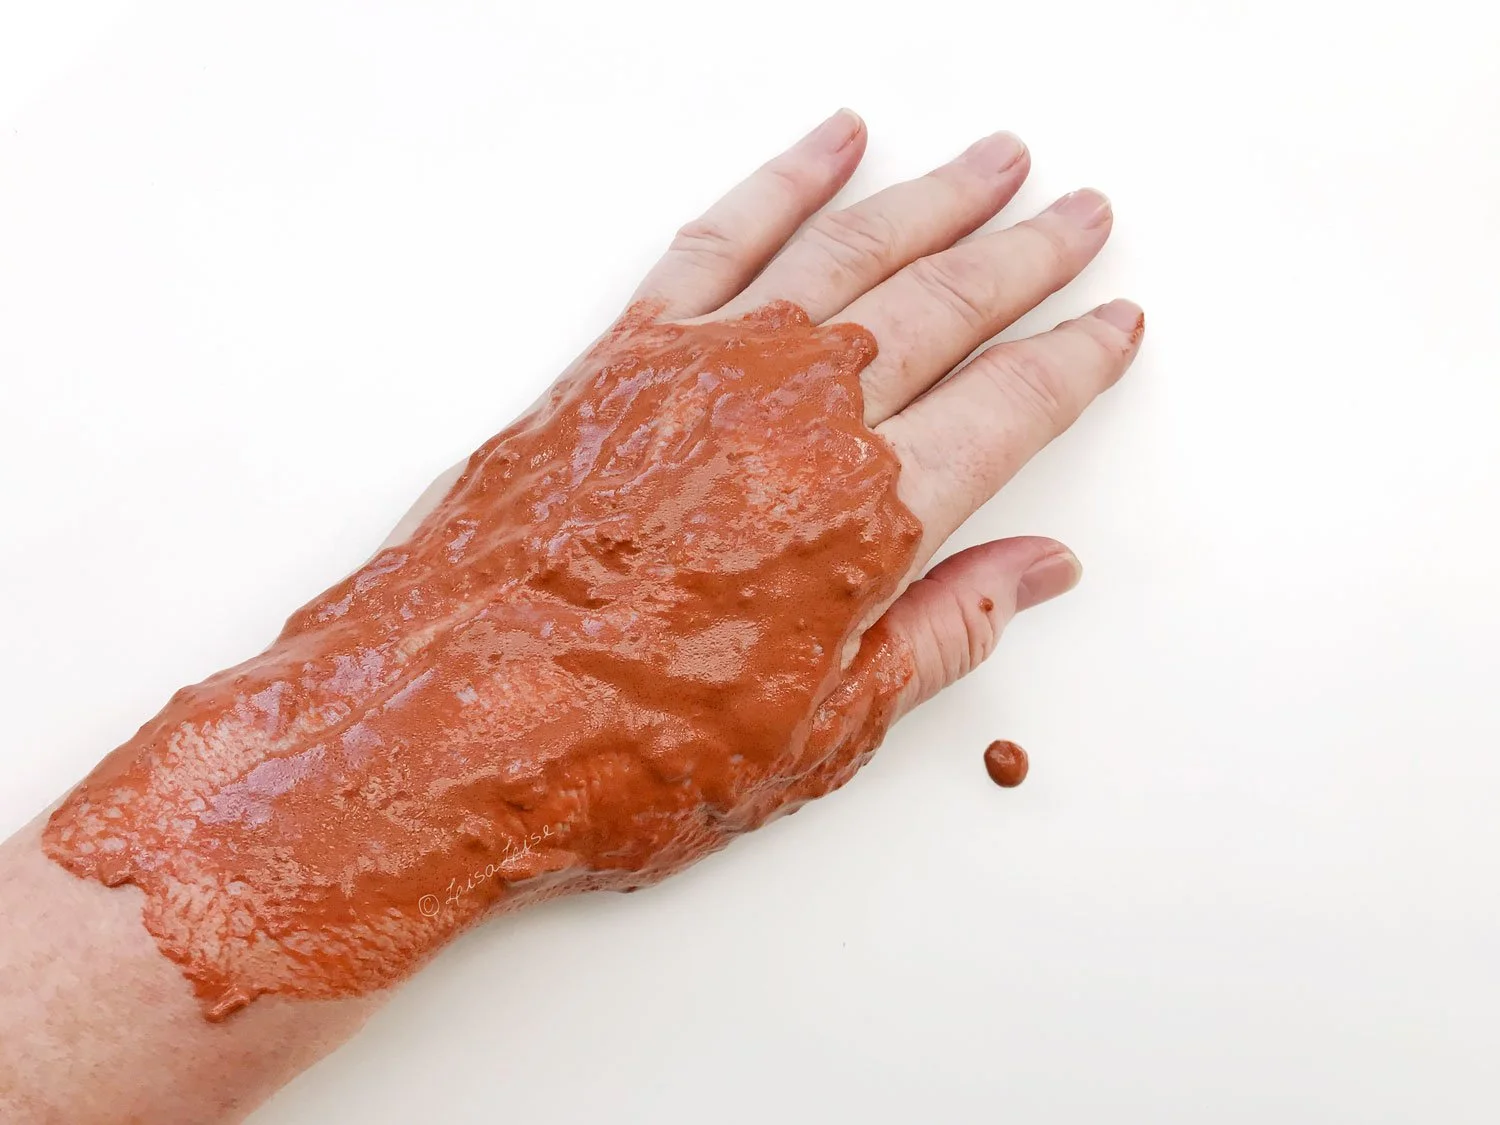
I was a little amazed when I removed the first trial mask. After a mere 15 minutes, the difference was immediately visible on my hand. Not only was it lighter and fresher looking, I'd swear the wrinkly knuckle-area was visibly softened and looked younger. My husband was immediately enlisted for a neutral, unbiased and (painfully) honest opinion. He saw the difference right away and asked why one hand looked older than the other one.

Guess who got busy developing a few masks for hands?

And guess who decided to share one with you?

Make Fresh For Best Results

This is a fresh food mask that is meant to be made and used immediately. Read: it won't keep so don't make more than you need for a single application.

This is enough for a single application to both hands, but if you want to go full out and include your face and neck just double up the amounts listed below.

LisaLise's Fresh Tomato Hand Mask

Ingredient Grams Ounces
Fresh Tomato 35.0 1.23
Brazilian Red Clay 7.5 0.26
Powdered Yoghurt Protein 2.5 0.09
Sweet Almond Oil 6.0 0.21

Method

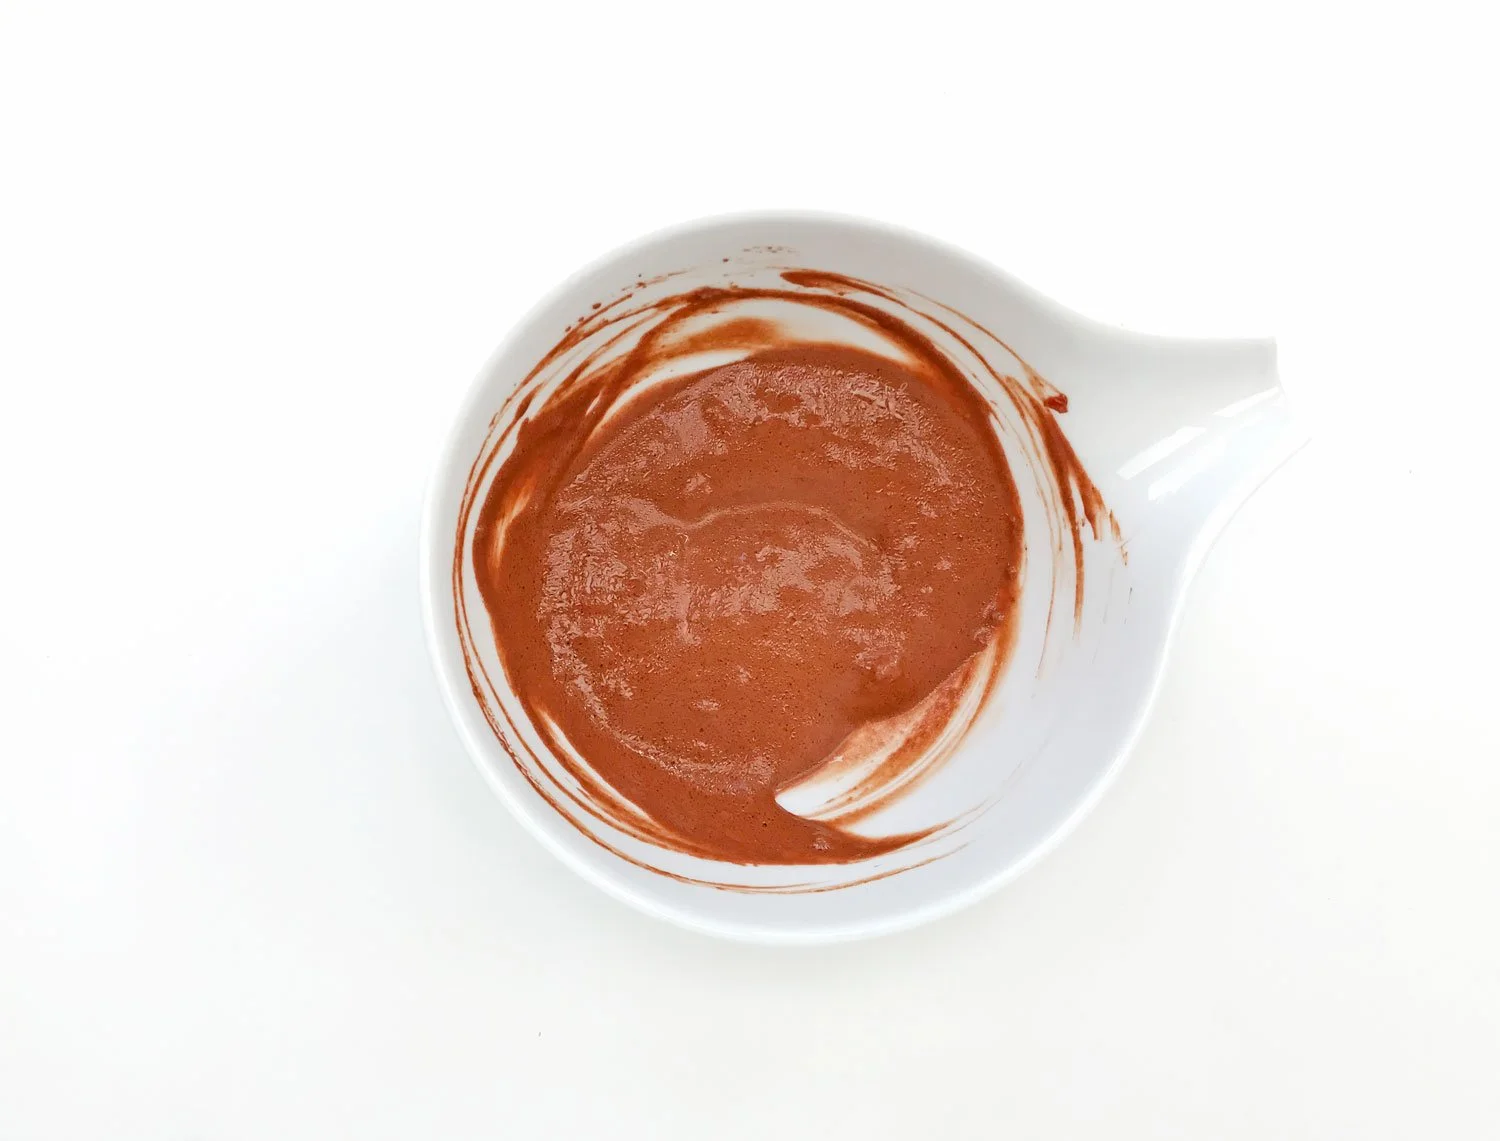
  1. Grind/chop/mash the tomato until smooth and transfer to a small bowl

  2. Add dry ingredients and stir until homogenous

  3. Add oil and stir

  4. Apply to backs of hands in a thick layer

  5. Allow to sit for 15-20 minutes

  6. Remove mask by carefully scraping away the mixture with a spoon or similar

  7. Rinse hands and pat dry.

Finish with a nourishing hand cream or a few drops of your favorite oil.

Substitutions

Tomato: As tomato is the main ingredient in this mask, you’ll probably want to rename it if you choose to substitute the tomato. Tomato has a natural content of lycopene which gives it its skin brightening properties.

Clay : Use any clay you like but be mindful that clays have different properties and will also absorb liquid differently so you may have to adjust the amounts to get the texture you like. Brazilian red clay is 100% montmorillonite, so you could in all likelihood substitute this clay for any montmorillonite clay without having to adjust amounts.

Powdered Yoghurt Protein: You could easily replace this with powdered milk or even coconut milk powder if you prefer a vegan version.

Sweet Almond Oil: I use sweet almond oil because I always have it in stock and it is a great all-around oil, but it can be replaced with the oil of your choosing without issue.

Enjoy!

Do Tell

Have you ever heard of a hand mask? Would you try one?

More Fresh Food Masks

There is an entire section on freshly made masks in the beginner friendly E-book below - and it’s even available in Spanish!

Why Ingredient Substitutions Don't Always Work

Lise

I regularly get asked if it is possible to switch one ingredient for another in products. Sometimes it is in relation to a formula I have shared on the blog or published in my e-books, but also for formulas others have created.

What Makes Sense

In many instances, it makes all kinds of sense to assume ingredients of the same type are interchangeable. For example, switching apricot kernel oil for sweet almond oil is hardly likely to make a huge impact on the outcome of a face oil or even an emulsion.

One could even get a little racy and exchange the apricot kernel for an oil with an entirely different lipid profile and still be successful. Imagine how pracaxi or babassu oil might influence the viscosity, feel and performance of an emulsion.

‘Clay is clay’ - one might be tempted to think. But clays have different properties and will react differently when liquids are introduced. Some will absorb much more liquid than others - so substituting one for another may not always be successful.

In some instances, substituting a single ingredient will change not only the function and texture of a product, it may even result in a massive fail.

To make things even more frustrating, it might even be an ingredient that is used in a very small percentage.

To illustrate, let's take a brief look at gums.

A Gum is a Gum is a Gum, Right?

Gums are generally used as texturisers and thickeners, but some offer additional (and super cool) functions.

There's a pretty wide selection of gums available on the cosmetics ingredients market these days

  • acaia (also known as gum arabic)

  • agar agar

  • xanthan

  • guar

  • carragheenan

  • cellulose gum

  • konjac glucomannan

  • locust bean

  • sclerotium

These are all plant-based, often categorized as natural, and many can be found on the ingredients label of cosmetics products.

While some gums have similar properties, they are not necessarily interchangeable.

Take Guar

I've worked with (a specific) guar gum in numerous ways over the years and find it highly beneficial for some hair products because of the conditioning properties it offers.

When I first started working with it many years ago, I was so pleased with the results, I dubbed it the 'natural alternative to silicone'.

If it is included in a formula specifically for its hair conditioning properties, replacing it with any other gum is going to result in seriously unsatisfactory conditioning action. And to make things utterly confusing, guar gum is 2 very different things. I wrote a post about the differences on this blog.

So How Do We Know When We Can Substitute an Ingredient?

I wish I could give you an instant, snap-and-everything-is-perfect solution, but the best I can do is offer you a couple of tips:

  1. If you are following a formula someone else has developed, stick to the suggested ingredients substitutions (if there are any).

    Alternatively, be prepared to do some experimenting (which can be loads of fun and very educational). Enter this 'substitutional experimentation phase' with a neutral mind and low expectations, and start with a SMALL batch size. You may have to bin the batch, but may also discover you've created something fabulous.

  2. Research a bit about the properties of the ingredient you want to substitute. This will give you a better basis from which to choose an alternative. If you replace an ingredient that can be added cold with an ingredient that needs to be heated before being incorporated, you risk compromising the other ingredients and could be looking at a failed batch.

  3. Substitute only one ingredient at a time when you are adapting a formula. This will help you troubleshoot any mishaps or fails.

  4. If you are developing your own formula and aren’t sure which ingredients to select, set aside some time to get up close and personal with each ingredient you are considering. Apart from studying their properties and methods of use, make small A/B (side by side) test batches and see how your selected ingredients (and possible substitutions) react in different mixtures, at different temperatures, and using different methods.

    When your experiments are finished, you may very well find you've outdone yourself with your own brilliant formulating.

    Most importantly, enjoy the process while you are experimenting with substitutions!

Do Tell

What has been your boldest ingredient substitution and how did it turn out? Please feel free to add a comment below.

The publication below shows you how to compose your own tooth powders using a ‘toolkit’ of tried and tested ingredients.

Make Your own Bi-Phase Cleansers - a New Publication

Lise

I’m very excited to share the latest LisaLise publication with you! We’re playing with plant colorants and making a bit of fun-loving, colorful cleansing magic in the form of bi-phase cleansers.

I had a blast putting this one together with all of the different colorful options there are to try.

And guess what? This is all about being able to customise!

It’s a Formulation Template

The astute observer may notice that the cover design features a band of color along the left side (which isn’t very common in my publications). That’s a visual indication that this e-book is (what I have decided to call) a Formulation Template.

This is something I have been wracking my brains about for quite a while: how to create a formula that is fully customisable yet contains enough information to ensure as successful a result as humanly possible.

This self-appointed challenge came about because of the many questions I get on ingredient substitutions. And because not everyone can get every ingredient all over the planet (well, duh), I wanted to try and accommodate that situation by creating a kind of ‘ open formula with a set of guidelines for a successful outcome’.

So it became a Formulation Template.

What does all this mean? It means you get a ‘toolkit’ of ingredient information and additional useful stuff, a formulation template with instructions on how to use it, and some example formulas to show you a few possible variations and get you comfortable with the whole process.

The first formulation template was the tooth powder e-book and I’ve gotten so much positive feedback on it that I just had to do another one. (And if you have suggestions for additional e-books you’d like to see of this type, please feel free to drop a comment below - I’m all ears!)

3 Bespoke Formulas Included

While developing an e-book of this type, I make and test a lot of formulas in several different versions. I decided to include 3 of the formulas in this book. So apart from the template (which shows you how to create your own formulas), you can also dive right in and get busy making one of my formulas if you like.

Bi-Phase Cleansers are Both Versatile and Easy to Make

What I love most about this type of product is the absolute versatility it offers. You can use these as eye makeup removers or cleansers, dress them up with fancy ingredients or dress them down to the bare basics. You can create specifically for certain skin types or just have fun with color mixing for the sheer playfulness of it.

The book is illustrated with several of the versions I made and I better warn you right now. If you like playing around with colors, you might get little addicted to making and using these.

Click the picture below to learn more about this publication.

Do Tell

Which kinds of products would you like to see available as Formulation Templates?? Please feel free to pop in a comment below!

Below is the first Formulation Template.

How to Make a Botanical Face Tea

Lise

How about a nice cuppa for your face? In truth, this is simply a different name for a traditional facial steam (except with added herbs and botanicals). But since it's herbs infused into hot water, I quite like the idea of calling it face tea.

Not only is this product easy to make, but it's a real skin pampering treat.

Let's make Face Tea!

Choosing Botanicals

Combine dried herbs and plants to your hearts content, but do keep in mind that you (or whoever you gift this to) will be enjoying the steam of your blend at a close distance.

I generally like to keep my dry herb blends at around 5-6, but there are no hard or set rules on this. Concentrate on combining plants that work well together and will create a good synergy.

Method

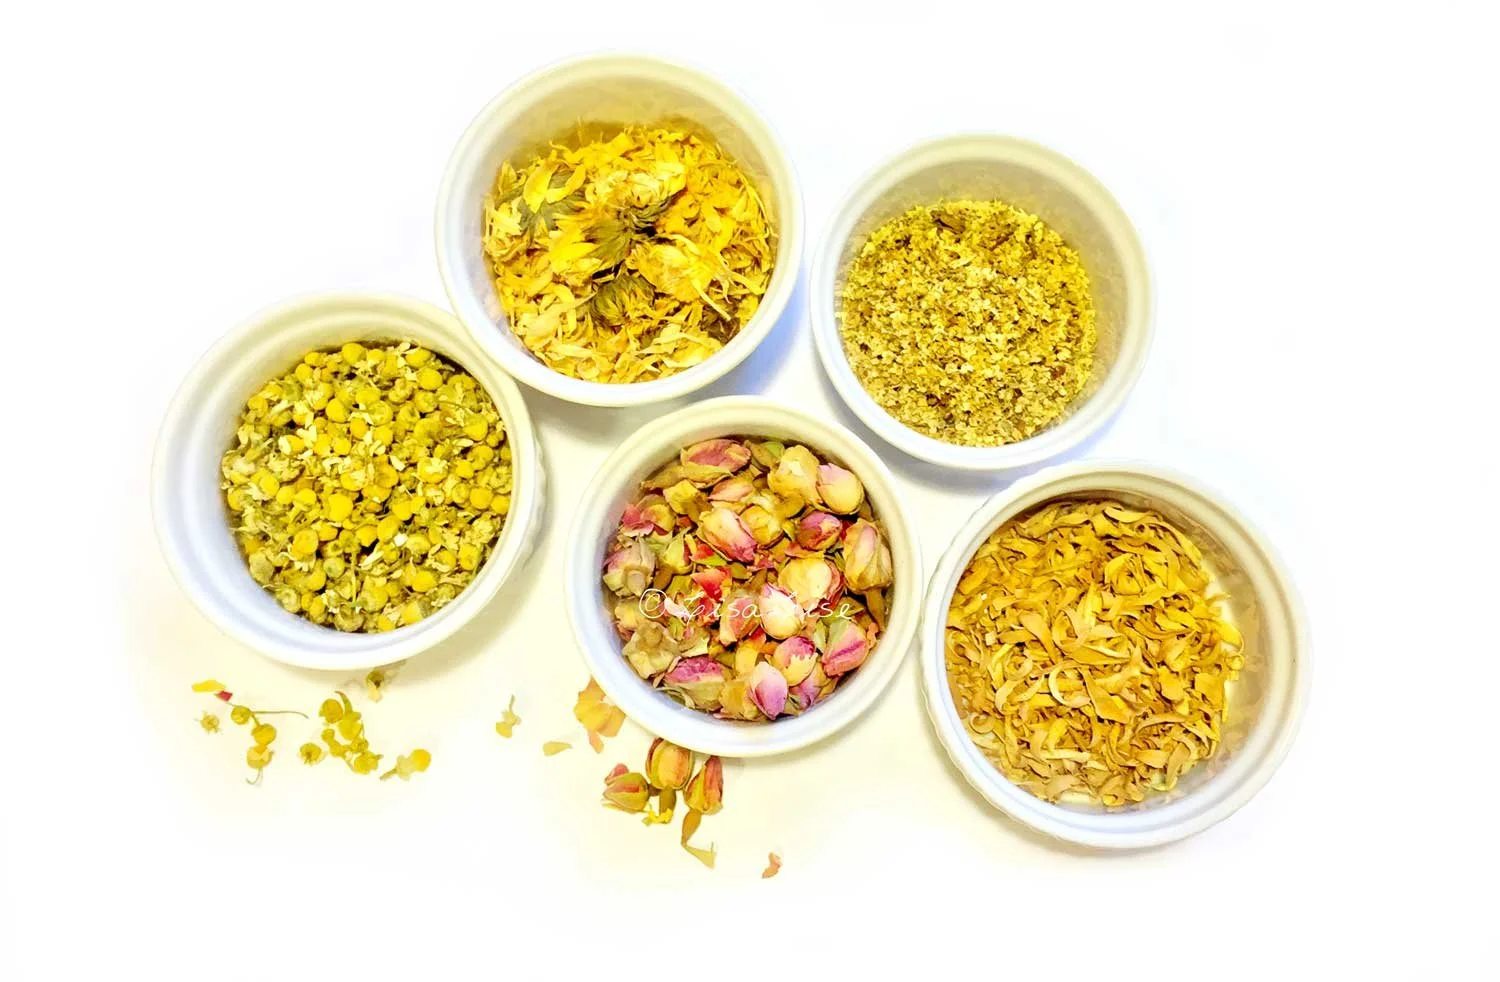
Gather your desired dried herbs.

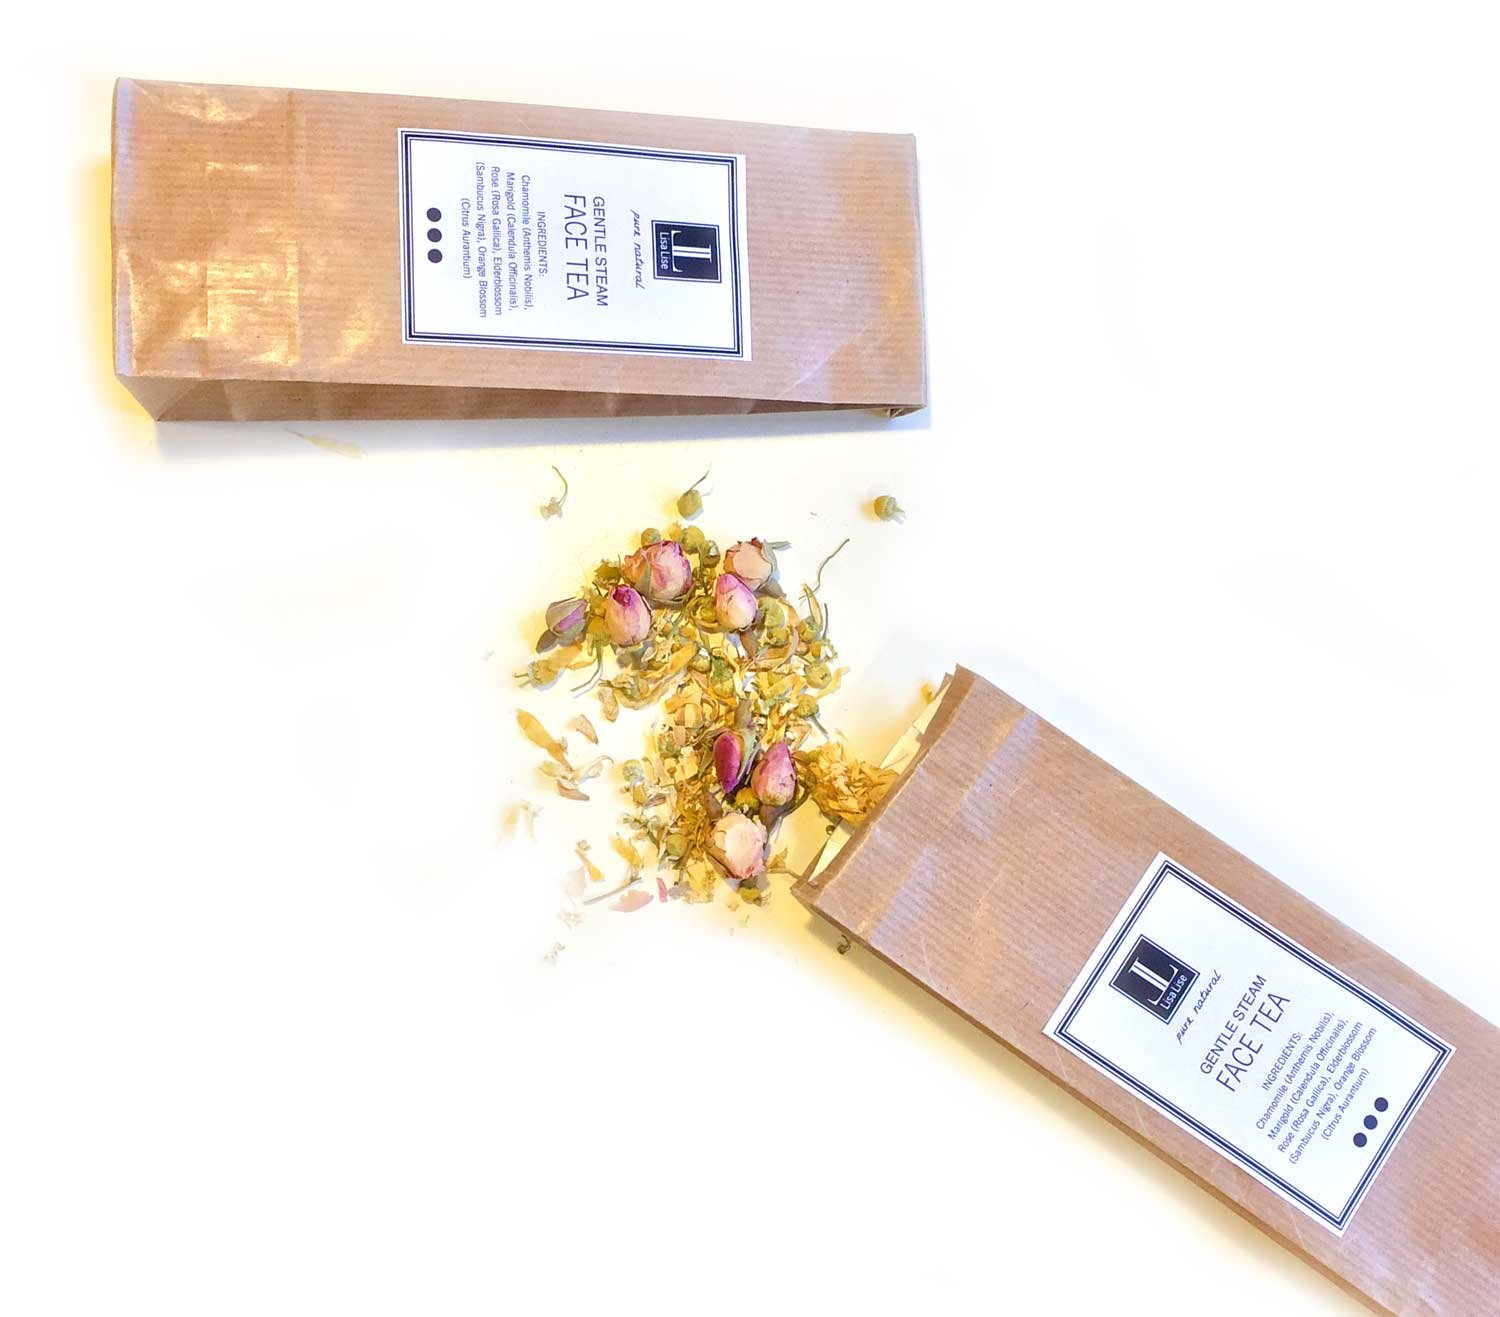
For this face tea, I went for a calming theme and ended up with a sunny golden combination of chamomile, elderblossom, rose, orange blossom and calendula.

I find the task of choosing botanicals to be quite therapeutic. Apart from being possessors of magical properties, botanicals are a bit of eye candy in any form. I mean, who could look at these beauties and not smile?

But I digress.

Mix the herbs together thoroughly, then package.

How to Use a Face Tea

  1. Remove make-up and wash face

  2. In a large bowl, pour boiling water over 1-2 tablespoons of tea blend

  3. Hold face over bowl for 5-10 minutes at a comfortable distance

  4. If desired, place a towel over head to keep in steam. The steam will open pores and refresh.

  5. Rinse face with lukewarm, then cool water.

  6. Finish with a spritz of hydrosol or light skin tonic and a few drops of face oil

TIP: If you are a bit creative with packaging, these facial teas make lovely personal gifts for the special people in your life.

Who Face Tea is Not Ideal For

Anyone with a tendency to rosacea or with ultra sensitive skin, may not do well with a face tea. Hot steam can exacerbate some sensitive skin conditions, so be mindful if gifting your face tea to someone with sensitive skin.

My own 'ridiculously sensitive' skin is OK with most face teas, but I don't use them more often than every other month.

Do Tell

Have you ever made a face tea? Which herbs did you use?

The book below includes a section on herbs and their uses and there’s a bundle offer in the shop too!