Slow Beauty Cleansing Milk
Lise

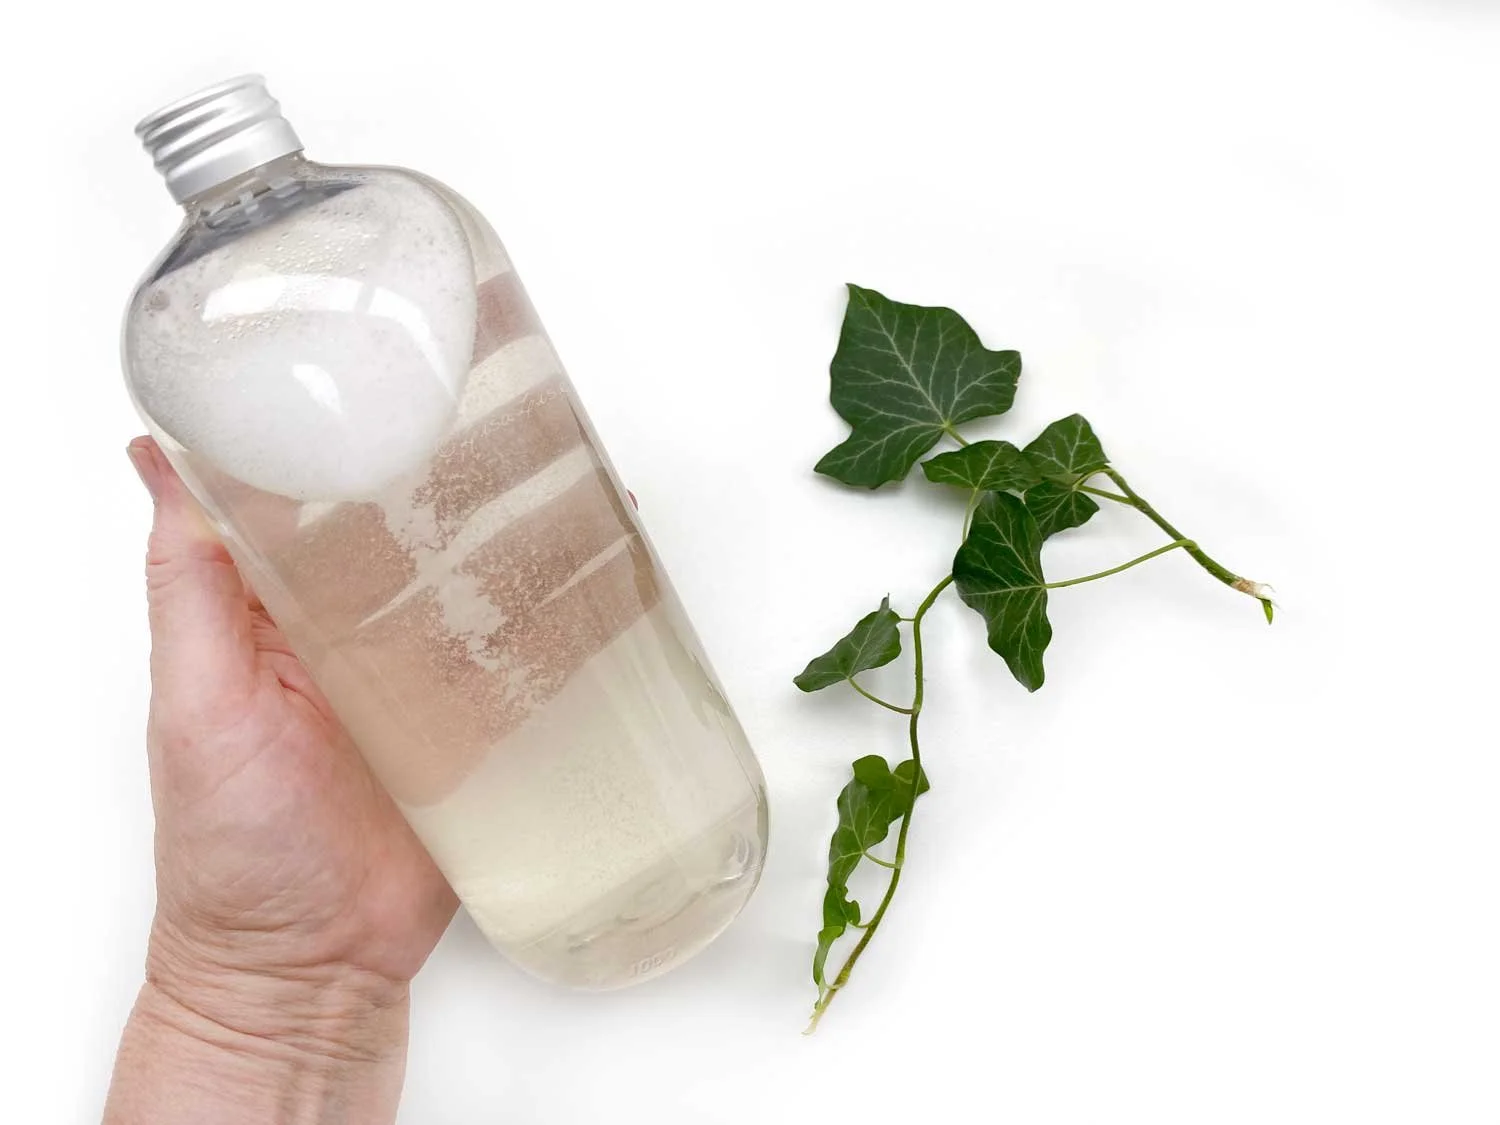
Pictured: A batch of my Slow Beauty Cleansing Milk featuring Rose and Soapnut. I did a series of these cleansers a few years back to test out a few different ingredient combos as well as to test the limits and capabilities of this particular emulsifier. The rose and soapnut combination performed beautifully repeatedly.
The best part? It's relatively easy to make.
This formula utilises a COSMOS certified and organic emulsifier (and oil thickening agent) that can be used either hot or cold (which is kind of cool if you ask me).
Today I'm going to show you how I made this cold process emulsion.
Spoiler alert: there's a reason the title includes 'Slow Beauty'.
COSMOS Emulsifier
After fooling around with Sucragel a while and discovering its quirks, I think the positives outweigh the negatives - especially in a DIY or small batch setting. It seems the jury is still out on whether or not Sucragel does well for larger batch sizes and I'm assuming this is because of the mentioned quirks, but we'll get into those in a minute.
What's in an Emulsifier
Sucragel is pretty widely available. I tried using it from a couple of suppliers as it is always a good idea to try ingredients from different suppliers. There can be differences in how an ingredient performs - even if it has the same INCI.
The INCI of the Sucragel I am using here is as follows: Glycerin, Prunus Amygdalus Dulcis oil, Sucrose laurate, Citrus Aurantium Dulcis fruit water
Because this is a glycerine based ingredient, adding more glycerine to your formula could be a bit overkill, so if you are thinking of adding your own glycerites to an emulsion where you are using Sucragel, you'll probably want to keep it at a lower percentage.
Depending on the texture you are aiming for, you can dose sucragel from 6 - 20% of your formula. This emulsion has a creamy, non-greasy feel and a viscosity that is my idea of cleansing milk perfection.
Because I had some bottles that held about 150 ml, my batch size here is calculated for 150 gr.
Shall we get busy?
LisaLise's Slow Beauty Cleansing Milk with Rose & Soapnut
| Phase | Ingredient | Grams |
|---|---|---|
| A | Demineralised Water | 63.0 |
| A | Xanthan Gum | 0.8 |
| A | Soapnut (dry extract) | 3.0 |
| A | Rosewater | 23.8 |
| A | Broad Spectrum Preservative of choice | 0.9 |
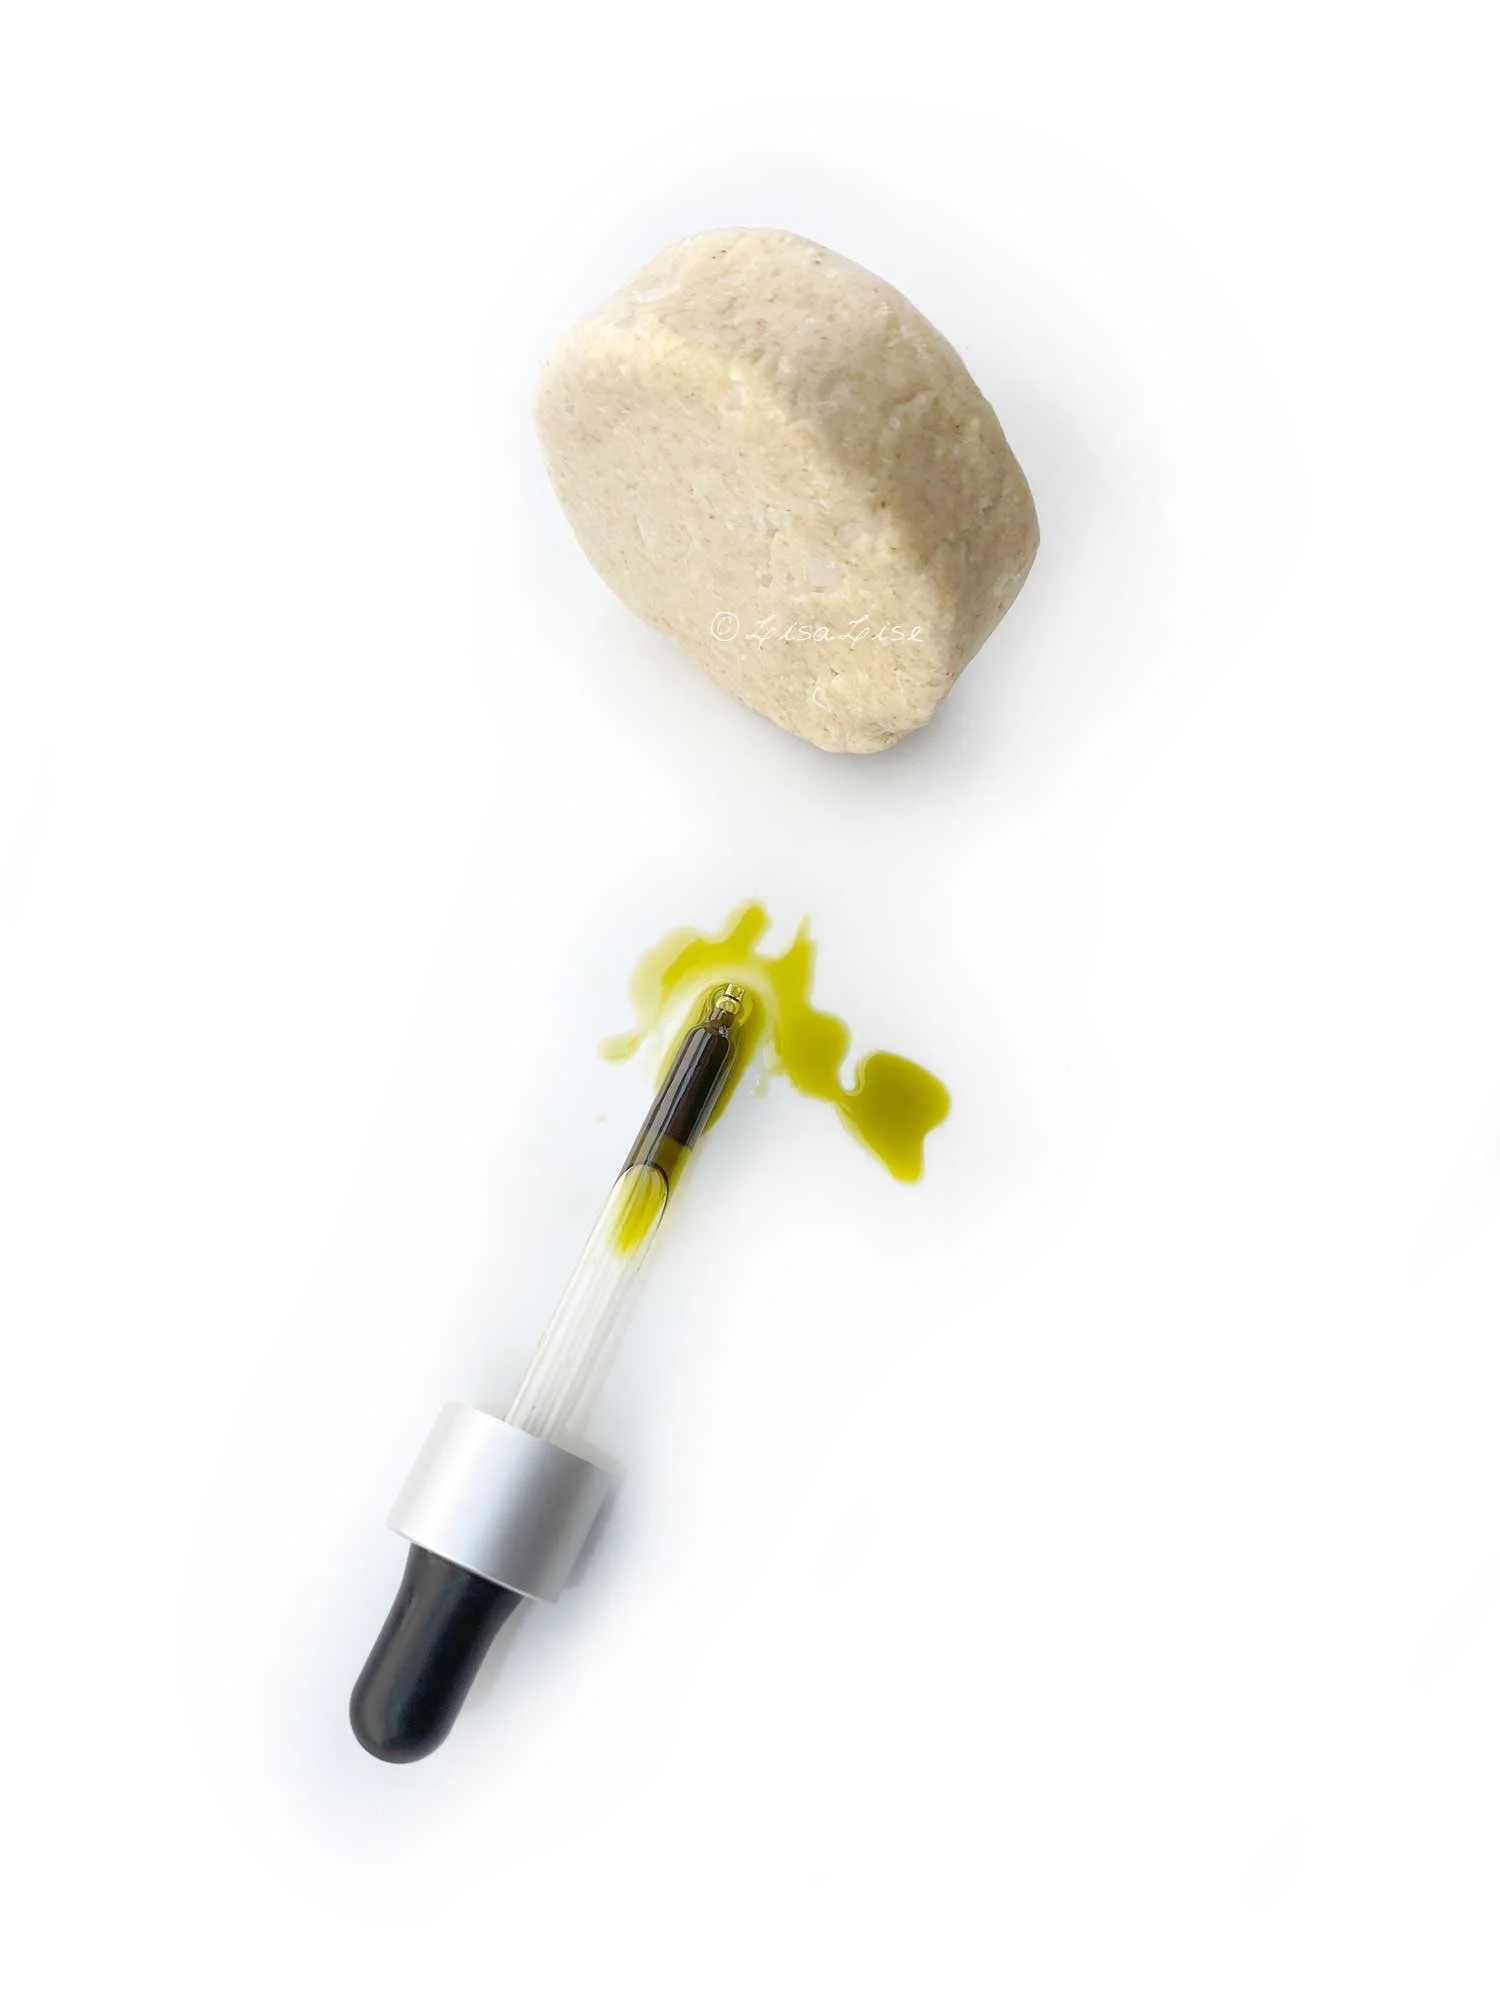
| B | Rose Infused Castor Oil | 42.0 |
| B | Sucragel | 16.5 |
Method
Combine phase A ingredients and allow to sit for 15 minutes.
Combine phase B by slowly adding the oil to the sucragel bit by bit and stirring until homogenous with each addition. When combined, let stand for 15 minutes.
Stir phase B again.
Add phase A to Phase B little by little, stirring well in between additions.
Adjust pH if necessary
Transfer to container
Sucragel Quirks
Fair warning: it can seem arduous transforming Sucragel and oil into a homogenous whole. My supplier recommends adding the oil to the sucragel ‘drop by drop’ and stirring until thoroughly incorporated in between additions.
Admittedly, this process takes a bit of patience but the good news is, it can be done by hand and without the use of electrical mixers with excellent results.
I’ve tried using different stirring implements (both 'electrified' and 'non electrified'), adding the oil to the sucragel faster (or in larger amounts at a time), stirring less, and just about every combo I could think of to speed the process up.
My experience to date is: the slower you go, the better and more stable a result you get. Read: if you even try to rush it, you really risk an unstable emulsion. Also my experience: using a wide, flexible spatula to work the ingredients together gives the best results.
And now you know why I call this is a 'slow beauty' formula. So if you don't have time to 'get your zen on', do wait for a day when you're ready to give slow-making a go.
pH Notes
The ingredient variations I made to my own batches all resulted in pH levels ranging between 4.7 - 5.5, so no pH adjustment has been necessary.
Ingredients Notes
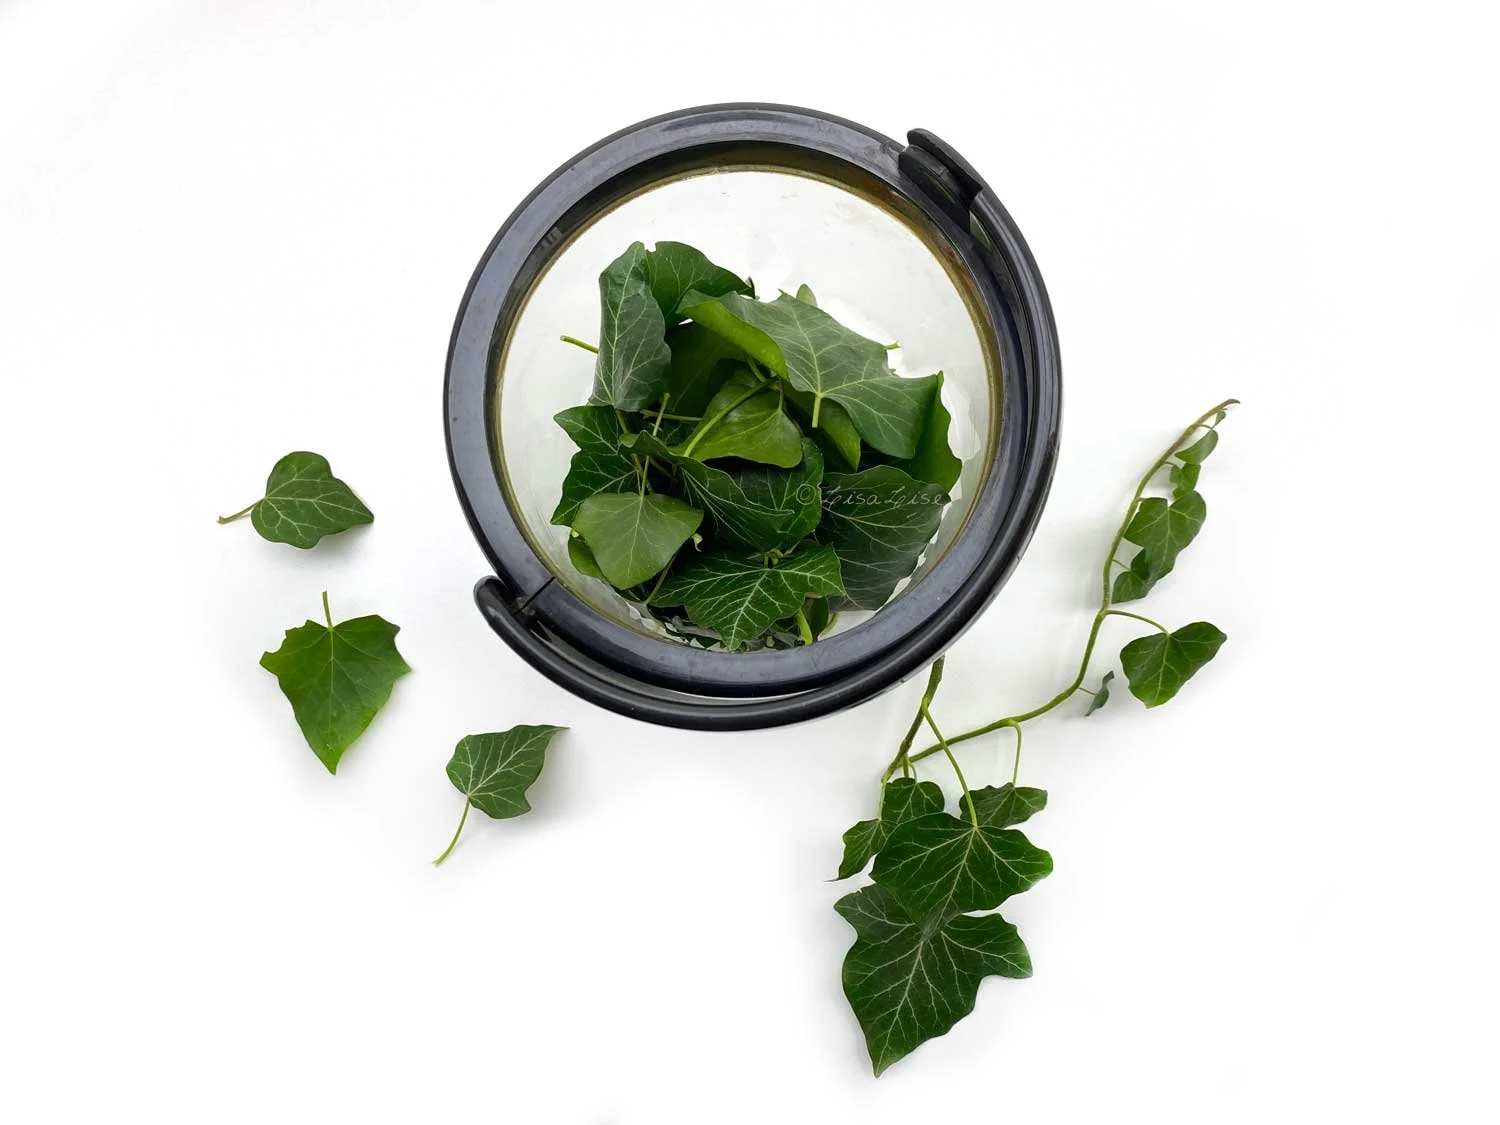
Soapnut Extract
Soapnut dry extract is not the same as powdered soapnut and will give you quite different results if you try replacing a dry extract with a powder. Stay tuned for a post explaining (and showing) the differences)
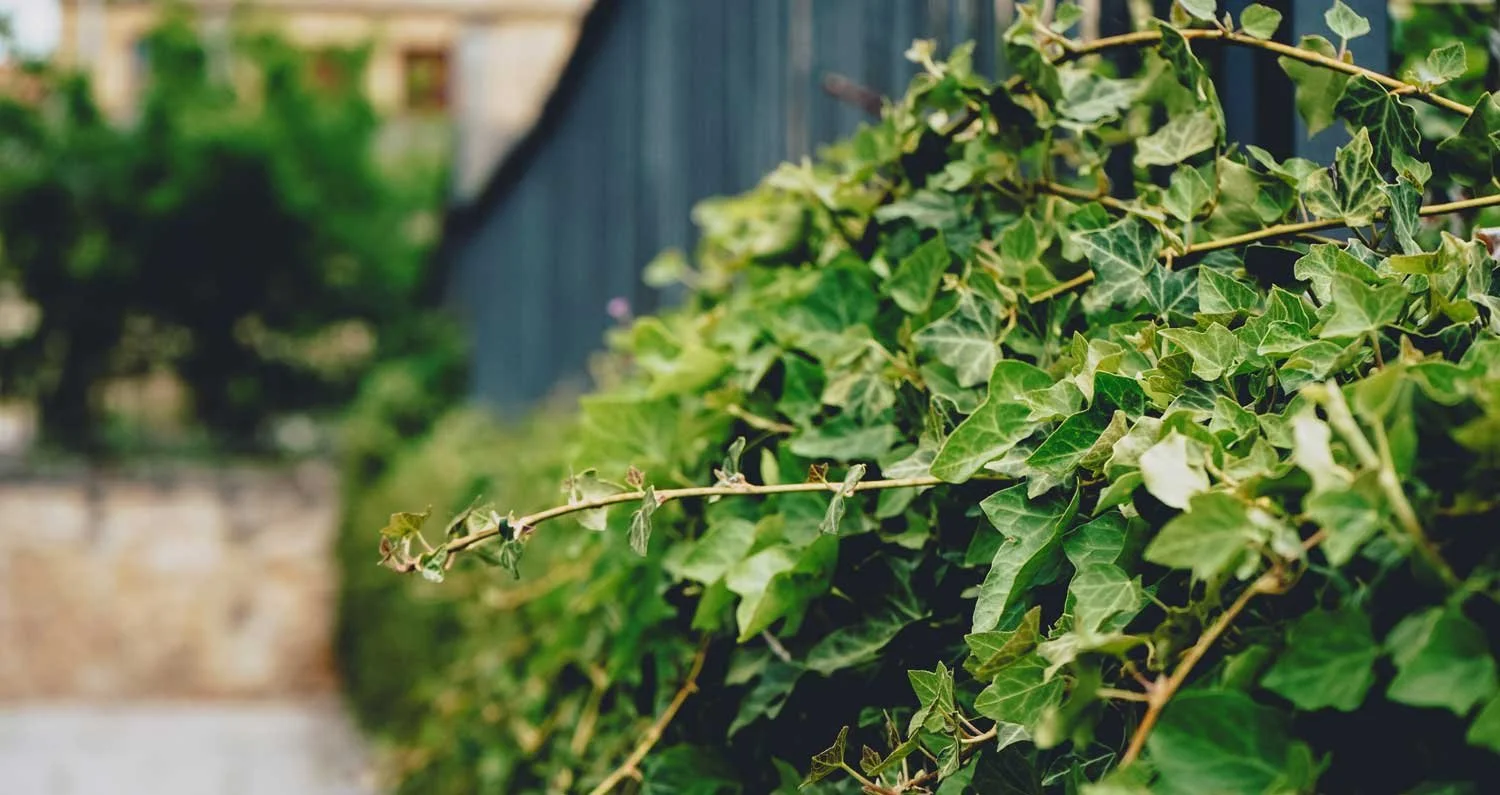
If you can't access dry soapnut extract but have soapnuts, you could try doing a decoction and replacing half of the water amount in this formula with your decoction.
Infused Castor Oil
This is quite in line with the slow-going-ness of this formula. I made my own rose-infused castor oil by adding dried rose petals to castor oil and allowing the mixture to cold infuse for a couple of months before straining and using the oil. Depending on the quality and freshness of the dried roses you use, this will add a lovely note of rose to your product.
You could replace the rose with any herb you prefer (lavender and rosemary come to mind as possibilities).
If you don't want to make an oil infusion, just use castor oil.
Rosewater
I made most of my batches with hydrosol, but to be a bit experimental, tried one batch with food grade rosewater (the kind you will find at specialty supermarkets). It worked beautifully and definitely won't be the last time I use rosewater of this type in a cleanser.
Preservative
I used benzyl alcohol in my experimental batches and it performed quite well. Estimated average shelf life: 8 - 12 months.
Do Tell
Have you worked with Sucragel before? What were your experiences? And if you have used Sucragel to make larger batches and are willing to share your thoughts, please feel free to drop a comment below!