Contact LisaLise

Please use the form on the right to contact LisaLise.

Majestic Court 5, St. Mary's Street
Mellieha
Malta

LisaLise offers online education of natural plant-based cosmetics via e-books and courses

LLBlogHEADER2020-3.gif

Shop Blog

A look inside the LisaLise natural cosmetics lab with free formulas, DIY how-to's, ingredients tips, sneak peeks, and more.

Filtering by Category: Tools and Equipment

Tips for Making Lavender Powder

Lise

Working with different dried herbs in various cosmetic products has taught me that some herbs are far trickier to transform into a 'proper' powder than others.

Take lavender for example.

I love it to pieces, but at the same time, it can drive me absolutely batty. After several attempts at making my own powders without much luck, I started buying powdered lavender. Unfortunately, that has never brought me any joy either – regardless of supplier.

It's entirely possible that I'm overly picky, but in my book, a powdered facial cleanser should not contain ANY annoying bits that keep sticking to the skin after everything else has willingly rinsed away.

The Perfect Lavender Powder Challenge

The challenge of transforming dried lavender into a perfect powder that rinses away without leaving bits sticking to the face was hereby decreed (by me to myself). I started by investing in a rather large bag of dried whole buds so I could get serious about experimenting with different techniques.

Spoiler alert: My idea of the perfect powder doesn’t exist, but I have gotten pretty close.

I'll spare you my numerous failed attempts and concentrate on the method that has shown the most promise.
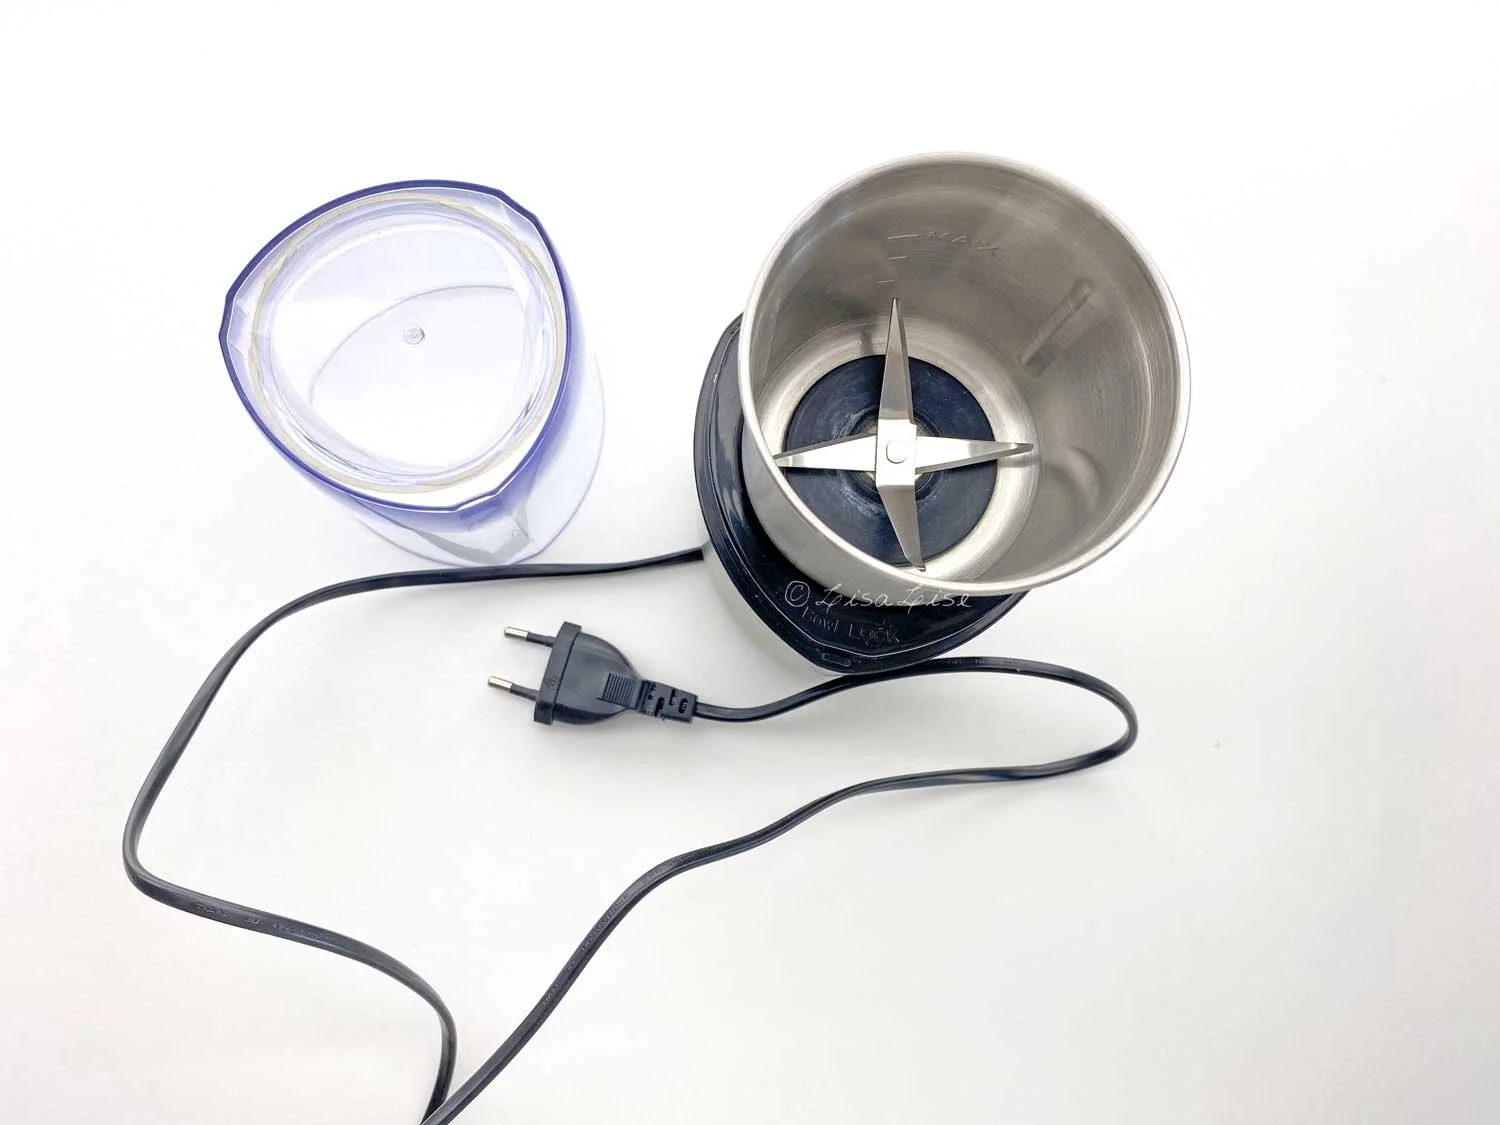
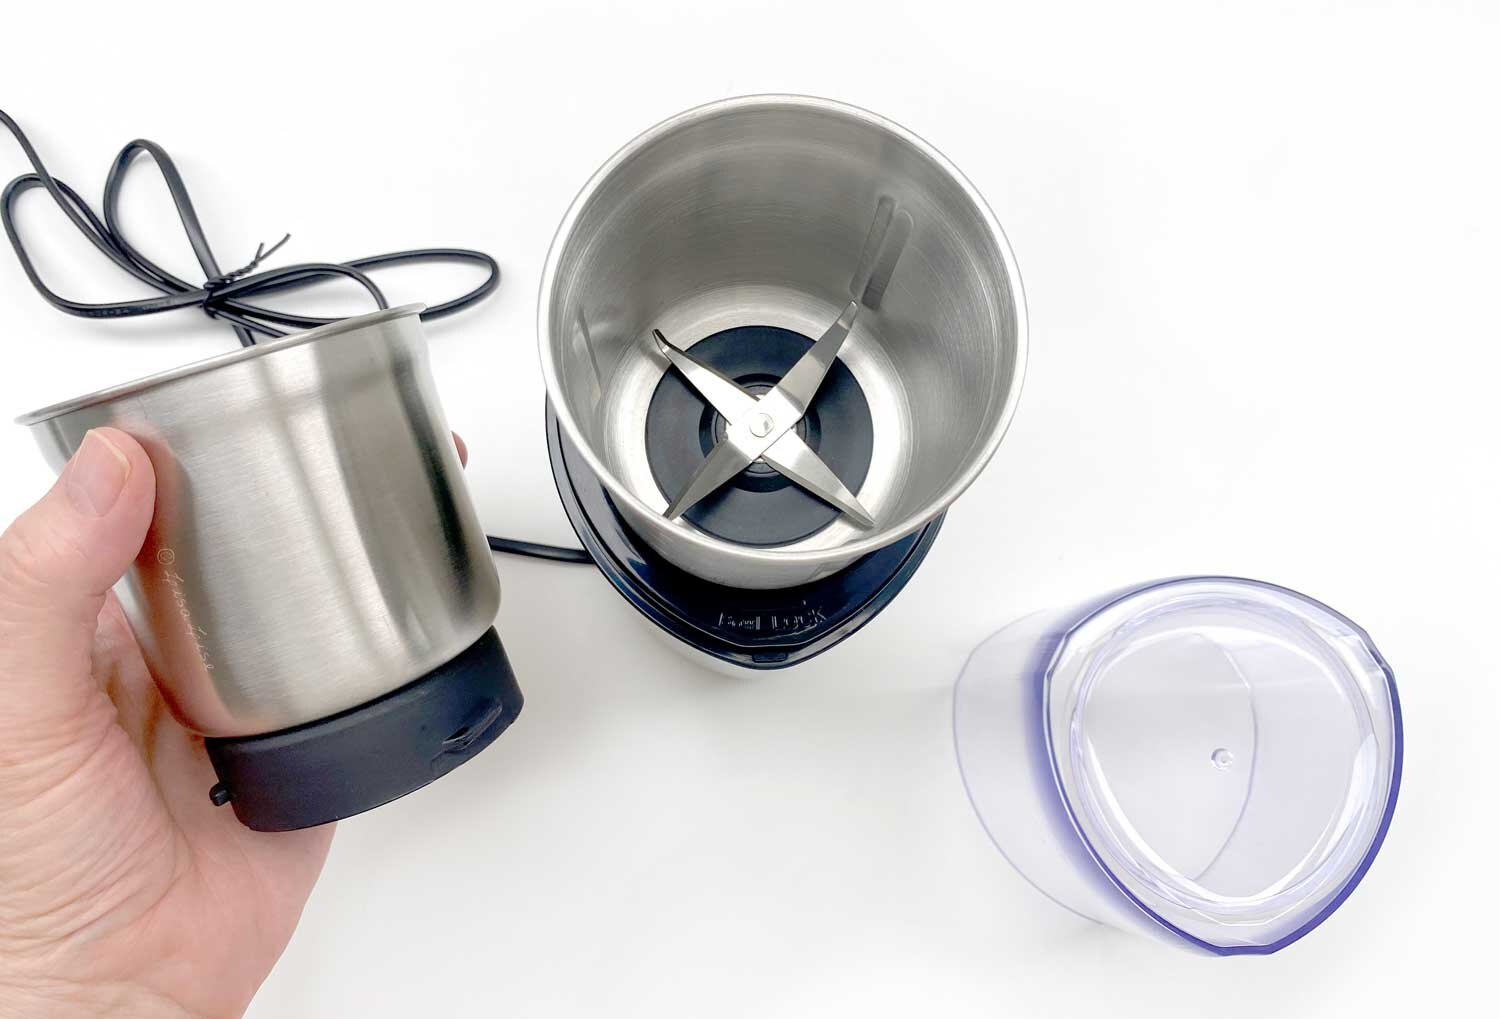
The Grind

Above: my preferred herb-pulverizing apparatus. Most of the time, this handy coffee bean grinder does a bang-up job.

But no matter how long you grind dried lavender buds, they only become something that looks like a powder.

Try sifting lavender buds that have been in a grinder and you'll see what I mean. It's as if the dried buds are too lightweight to be properly ground to a powder. And that’s exactly why they won’t willingly become a powder. The plant/buds are too fibrous.

Rethinking the Grind

Since my main goal was to use the lavender in a powdered face cleanser, and my powdered face cleansers include clay, it occurred to me that it might be possible to 'weigh down the lavender' by adding some clay to the lavender buds in the grinder.

And gosh darned if that didn't help – a whole lot.

Here are the results of a few different clays mixed with lavender buds and run through the grinder.

The winner is hopefully evident in the picture above. Rhassoul (also called ghassoul) seems to have the necessary weight to 'hold' the lavender. It's also the heaviest of all the clays, so it makes good sense.

The photo above was taken prior to passing the ground mixture through a sieve.

Sifting the ground mixture helped remove most of the remaining unwanted 'fluffy bits'.

Admittedly it’s a bit of work, but if you need lavender powder and are making a product that includes clay, try combining the 2 for some pretty decent results

Pictured at the top of this post is some of the final discarded bits – artfully arranged for your viewing pleasure.

Do Tell

Do you have a successful method of making lavender powder that you're willing to share? Please post a comment below!

PS: LisaLise Club members have access to all kinds of my best tips and useful shortcuts to ease the workload. Want to join us? Click the picture below to learn more about what the Club has to offer you.

Tips on Working with Dried Seaweed

Lise

Today we're going to do a few things with seaweed.

Why?

Because seaweed is chock full of fabulous nutrients that can be consumed or absorbed (or both). In short, they're great for skincare and overall health.

Are you wrinkling your nose a bit about the smell/taste of seaweed? Well, stick with me and discover a few ways to get seaweed's benefits without any nose wrinkling.

In this post, I am working with purchased dried (wakame) seaweed, but you could use any other dried seaweed.

While I am waiting for my lab to finish being set up (and because a good part of my equipment and ingredients are still stacked in boxes), we're working with ordinary kitchen equipment in a regular kitchen.

If you have never worked with dried wakame seaweed, I can reveal that it is pretty gosh darn hard. The instructions on the package are to 'immerse the seaweed in water for about 10 minutes to reconstitute' before using in dishes. And that would be fine if I were planning on cooking, but I want to create a powder to use a facial cleanser, so some ingredient processing is in order.

If life was perfect, I could pull out one of my grinders or mortar and pestle and start pulverising, but most of my equipment is momentarily packed and stacked, so the seaweed is going into a food chopper.

Using a Chopper Instead of a Grinder

Depending on the material, there can be a big difference between the results a chopper and a grinder produce. If your chopper doesn't quite measure up as a grinder (hint- they rarely do), then pull out a fine meshed sieve and bowl.

When the chopper has done its best, sift the contents, then return the lumpier bits to the machine and have another go. This can be repeated as many times as needed to get your desired result.

Admittedly this is somewhat more time consuming than if you have a proper grinder, but it is doable - especially if it is your only option.

Sifting Tip

While passing the material through the sieve, use the edge of a spoon to 'scrape' the seaweed against the sieve. This will push/coax the finer bits through the mesh faster. I find this little spoon trick more useful than shaking the sieve to speed the process, but this may be because I tend to spill more when I use the shaking method.

Leftover Lumpy Bits

Even though I optimistically set out to create a perfect powder with no lumpy bits, that didn't even come close to happening.

What to do with the leftovers? Save them and use them in an invigorating foot bath (Find one here) or pop them into a hand-sized muslin bag (or similar), tie shut, and pop the bag into the bath for a luxurious seaweed at home spa bath with super easy cleanup.

Seaweed Honey Cleanser

At the top of this post is a picture of what I used my seaweed powder for: a self preserving honey cleanser. You can see the little seaweed flecks in the cleanser (which turned out beautifully and will definitely be repeated when this batch is finished). I also added a reconstituted bit of seaweed on the top right to show you what those little black lumps turn into when they meet water.

Nutritious Cleanup Tips

Here's my chopper after I finished using it – coated with a fine powdery layer of seaweed.

Goodness knows I've cleaned up my share of grinders/choppers after use and depending on the material, there are a few options:

  • Rinsing with (soap and) water, then drying

  • Removing as much as possible with soft brush, then wiping clean (or rinsing, washing and drying)

  • Capturing powder into another material (such as salt or sugar) then washing and drying

In this particular case, the powder is a nutritious food with a salty sea taste.

Hmmm - ingredient inspiration moment!

Shall we create our very own seaweed salt? Yes please, and here's how easy it is.

  1. Pop a couple of tablespoons of your fave coarse sea salt into the chopper.

  2. Pop lid on

  3. Shake, rattle and roll the container around (by hand - no electricity necessary!), The powder will be picked up by the salt and not only make the final cleanup of the chopper easier, but you get a portion of delicious, nutritious seaweed salt to season your fave dishes. My fave use of this salt is in a good olive oil along with a bit of chopped fresh rosemary and served up as a dipping oil

Enjoy your seaweed!

Do Tell

Do you have a multifunctional favourite ingredient that you use in both your cosmetics and cooking? Please feel free to share in a comment below.

PS: The self preserving honey cleanser I made with my seaweed powder was created using the guidelines in both of these books (which are available at a bundle price).

Handcrafted Equipment

Lise

This is a bit of work-in-progress, handcrafted equipment that I will be revealing more about in not too terribly long.

That piece of bent wire at the top is a makeshift attempt at a holder/positioning device. I decided to photograph it after noticing how interesting it looked on the table. If you are equipment savvy, you have probably already spotted the function.

More to come!

Hint: it has something to do with the book you see below (which is also available in Spanish)

Herb Grinder

Lise

grindersetup-1500.jpg

I love finding useful equipment. This is a coffee bean grinder I picked up recently on special and can’t wait to use it for my dried herbs and botanicals.

The fact that the cups (there are 2!) are in stainless steel and have a real decent depth to them is exactly what is most useful for both grinding larger amounts and effective sanitizing.

More to come on how this performs as soon as all the herbs I am drying at the moment are ready to be transformed into powders.