
Easy Whipped Shea Butter
Lise

Over the years, I have used shea countless ways - in emulsions, melt-and-pour products, bars, bath products, hair products, and a plethora of skin care products.
Along the way, there have been lots of opportunities to experience fails, and there have been many, but I have also learned from every single one of them.
A lot of formulators have a love/hate relationship with shea butter. While that’s perfectly understandable, I find it has far too much to offer in the way of skin and hair care to be dismissed simply because it can be fiddly to work with.
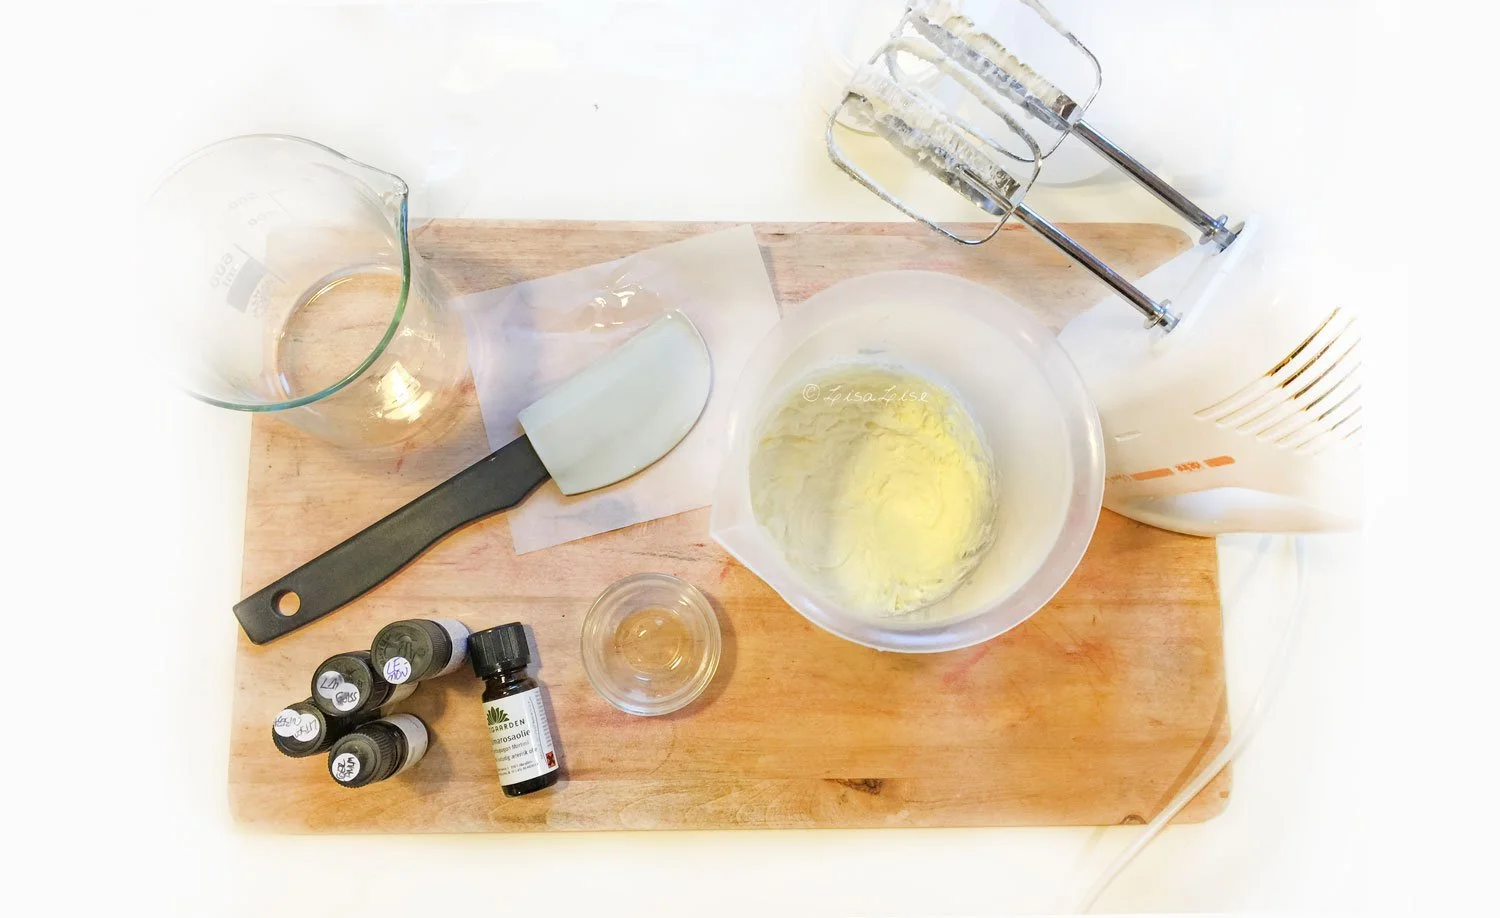
Today, I'm going to show you a beautifully simple whipped shea that works for me every time so even if you are new to working with shea, this might be a great way to get acquainted with this wonderful skin-and-hair-loving ingredient.
You can use either refined or unrefined shea butter, but be sure the butter is at room temperature and has a creamy, grain-free texture before you start.
LisaLise's Easy Whipped Shea
| Ingredient | % |
|---|---|
| Shea Butter | 80.0 |
| Jojoba (oil) | 18.0 |
| Antioxidant of choice | 1.0 |
| Essential Oil Blend (optional) | 1.0 |
If you don't want to add essential oils, adjust the amount of jojoba accordingly.

Method
Sanitise your equipment and work area
Weigh oil and warm to 40°- 45°C
Weigh shea and cut into small uniform pieces and transfer to 'whipping container' (choose something tallish that has room for your mixer blades)
Transfer oil to shea
Whip the mixture. Start at a low speed, then increase until the mixture is homogenous and light (2-4 minutes - depending on batch size)
Add antioxidant and (any) essential oils
Whip the mixture again until the consistency is light and airy (1-2 minutes).
Transfer the mixture to your final container.
It's ready!
Note the difference in color of the final shea - that wasn’t due to whipping, but to the essential oil blend I added.
Over the next 24 hours the butter will ‘set up’ a bit, but will still be light, yet stable. You should be able to easily dip into the balm without having to 'dig’ it out.
A Few Whipped Shea Uses
This simple product is ideal for numerous things! Try it as
Hand & Cuticle Cream (a little goes a long way)
Foot Softener (apply after a footbath and don a pair of cotton socks for at home foot spa luxury)
Dry Hair Tips Conditioner (rub between hands and apply to tips of hair)
Body Cream (apply after bath for super soft skin)
Deep Moisturising Night ‘Cream’ (apply after your evening cleanse and massage in gently)
Do Tell
Have you ever made a simple whipped shea? What did you use it for? Please share in a comment below.
