Contact LisaLise

Please use the form on the right to contact LisaLise.

Majestic Court 5, St. Mary's Street
Mellieha
Malta

LisaLise offers online education of natural plant-based cosmetics via e-books and courses

LLBlogHEADER2020-3.gif

Shop Blog

A look inside the LisaLise natural cosmetics lab with free formulas, DIY how-to's, ingredients tips, sneak peeks, and more.

Filtering by Category: Clay

How Preservative-Free Products With Honey, Clay, and Water is Possible

Lise

Today we're going to look something that might seem to defy normal formulating logic – a honey and clay mask that not only contains water, but has NO added preservative.

You: That's impossible! It would be a teeming mass of bacteria and microbes in a second and could never ever pass a challenge test.

Like, ever!

That's a perfectly understandable knee-jerk reaction.

But guess what.

This honey and clay mask passed challenge testing.

Want to know how? Read on to get the dirt! (little teensy pun intended)

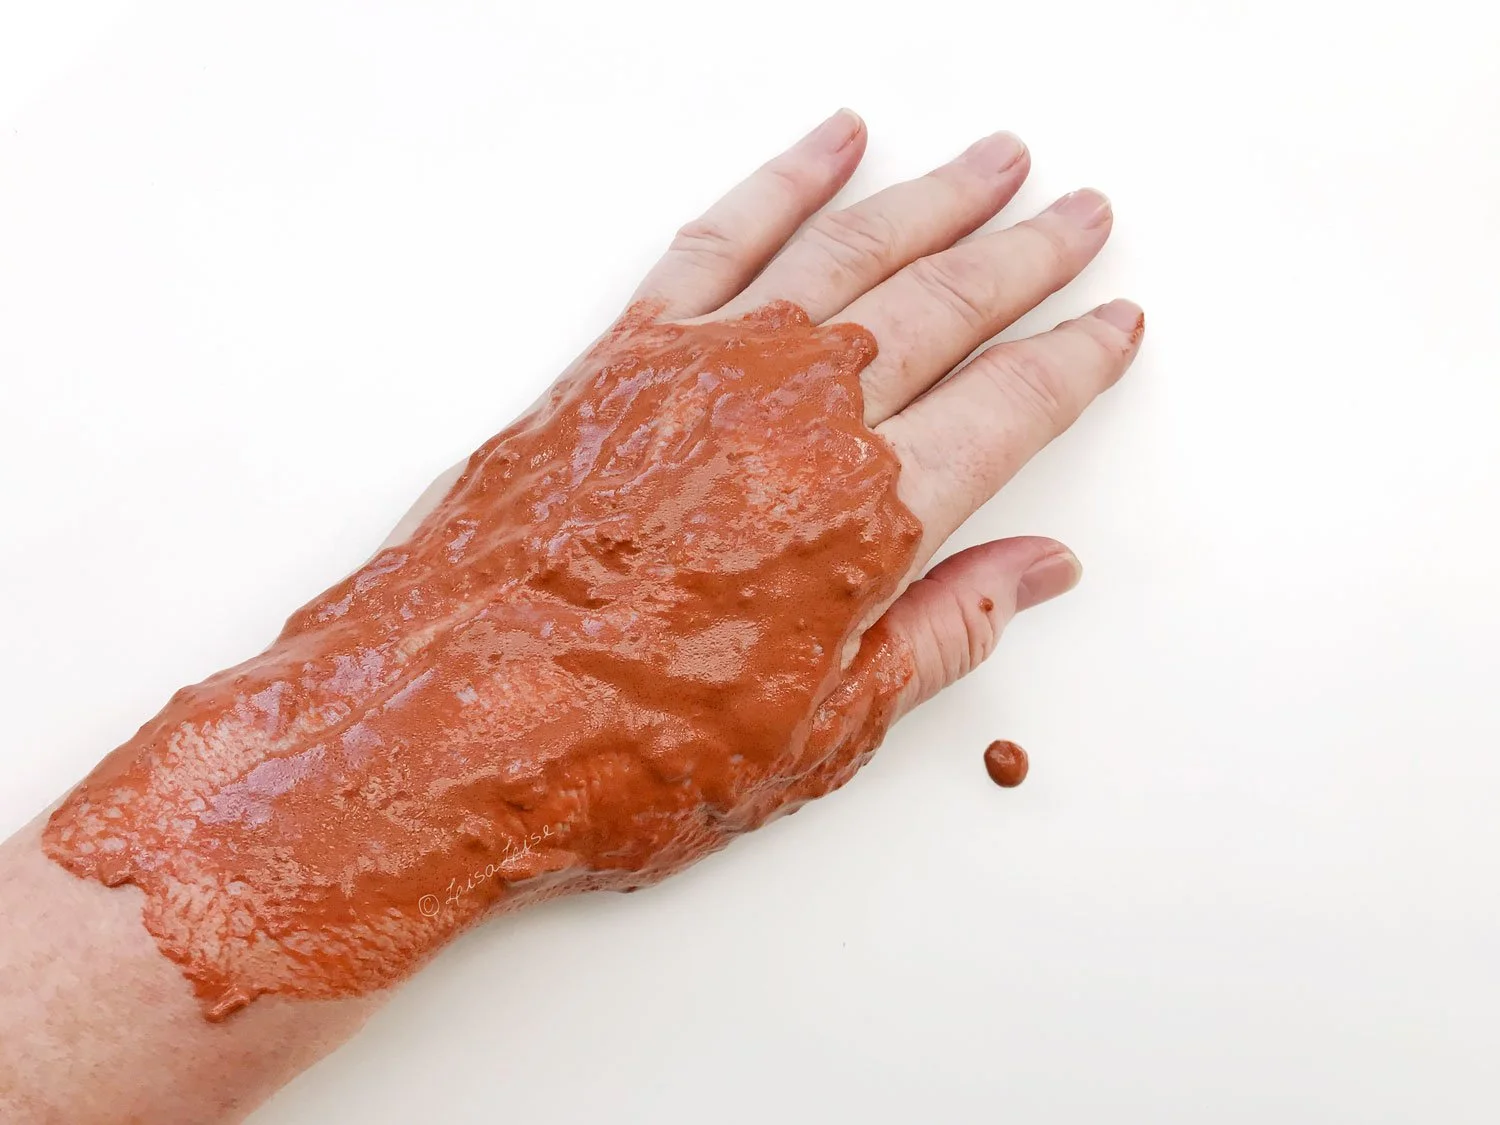
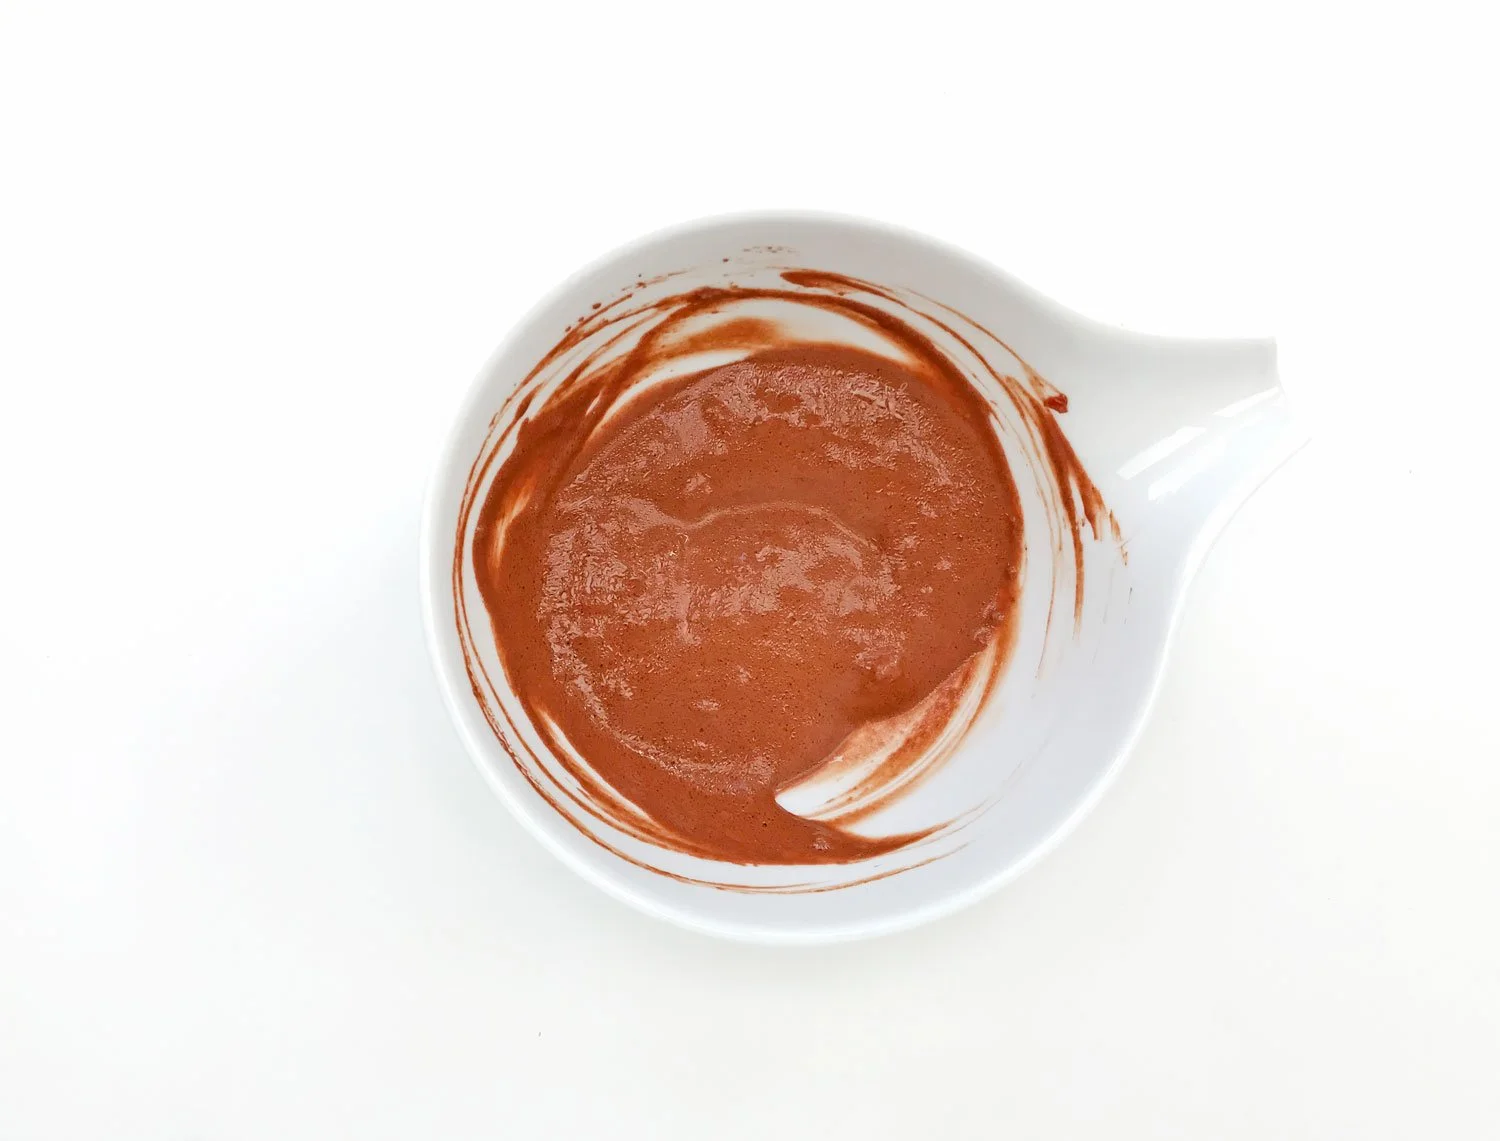
The Clay and Honey Mask

Cosmetic chemist Amanda Foxon-Hill created a 'Simple Honey and Clay Mask' formula (link below) for one of her cosmetic-making workshops.

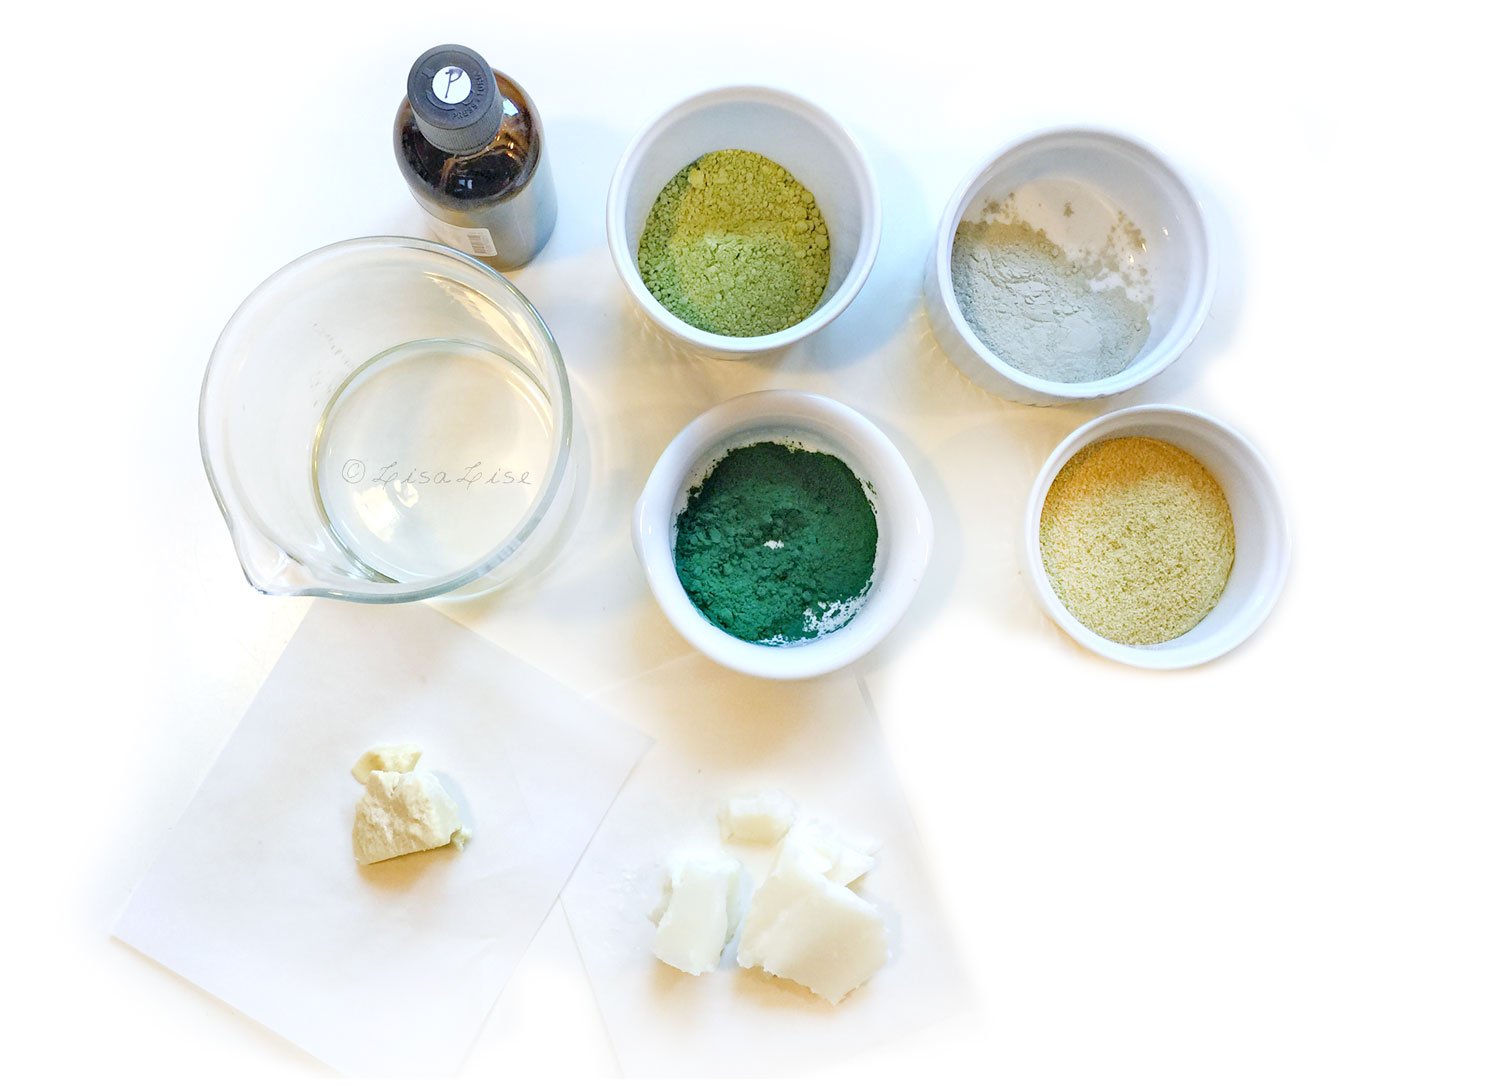
Her formula includes:

  • Honey

  • Clay

  • Water (or other liquid as desired)

Despite this ‘notoriously difficult to preserve’ combination of ingredients, Amanda’s formula does not include any preservative.

Not only was this particular mask made during a workshop full of students (without gloves, hairnets etc), but Amanda subsequently used the product, and then proceeded to leave it standing out in her hot (Australian) office for a couple of weeks (!).

Then she shipped the product off to be challenge tested.

And it passed.

But How?

Because of the way this formula is designed, it is self-preserving. Read: because it keeps itself preserved, there is no need to add preservative.

How is it even possible to create a self-preserving formula?

The answer lies not in one thing, but in several things, and the method is called Hurdle Technology.

Hurdle Technology

Hurdle technology involves using a combination of techniques to control (or completely eliminate) pathogens from a product.

In short, necessary 'hurdles' are 'placed' in a formulation to successfully inhibit unwanted organisms.

These hurdles might include

  • Heat-treating some ingredients prior to use

  • Using specific combinations of ingredients

  • Employing a particular set of methods during production

  • Maintaining a specific pH

  • Packaging requirements (think airless containers or containers where the product is pumped out and not exposed directly to fingers during use).

Hurdle technology is - relatively speaking - new on the scene and has its roots in the food industry. In the cosmetics industry, it is even newer.

Now, I know you’re wondering if there is a 'one-size-fits-all' easy-peasy way of employing hurdle technology to our cosmetic formulas, but unfortunately, it doesn't quite work that way.

Creating a successful self-preserving formula requires in-depth knowledge of the ingredients you are using, how they react (or don't react) with each other, experience, and loads of testing.

If you're interested in reading a bit more about hurdle technology, check the links below.

Meantime, find Amanda's self preserving Clay and Honey Mask formula right here.

Do Tell

Have you ever employed hurdle technology in your formulations? Were you successful? Please share in a comment below.

Find More Info

Amanda’s Post on Overpreserving with her Honey and Clay Mask Formula (LINK)

Self preserving cosmetics containing honey and water is possible (Botanical Formulations) (LINK)

Effect of Hurdle Technology in Food Preservation (pubMed) (LINK)

Principles and Applications of Hurdle Technology (Springer) (LINK)

Hurdle Technology (sample chapters - PDF format)

Why Honey Never Goes Bad (this blog)

How to Sterilize Clay for Your Cosmetics (this blog)

Club Highlights

There’s a quick and easy how-to in the members area that shows you how to take advantage of leftover herbs you might not know what to use for and can’t bear to throw out. Not a member? Click the picture below to check out what the Club has to offer you!


PS: There’s a bundle offer on these 2 e-books that show you how to make self-preserving glycerites as well as self preserving cleansers

How to Make a Fresh Tomato Hand Mask

Lise

Have you ever heard of doing a mask for your hands?

I hadn't until I had to come up with some way of demonstrating facial masks as part of Module 1 of the Formulation Course I developed for Tisserand Institute.

Because it was necessary for me to be able to photograph everything (and recalling all the previous times I have tried taking photos of myself wearing facial masks), I decided to use one hand as a model.

This turned out to be a really good idea.

Removing the First Mask

I was a little amazed when I removed the first trial mask. After a mere 15 minutes, the difference was immediately visible on my hand. Not only was it lighter and fresher looking, I'd swear the wrinkly knuckle-area was visibly softened and looked younger. My husband was immediately enlisted for a neutral, unbiased and (painfully) honest opinion. He saw the difference right away and asked why one hand looked older than the other one.

Guess who got busy developing a few masks for hands?

And guess who decided to share one with you?

Make Fresh For Best Results

This is a fresh food mask that is meant to be made and used immediately. Read: it won't keep so don't make more than you need for a single application.

This is enough for a single application to both hands, but if you want to go full out and include your face and neck just double up the amounts listed below.

LisaLise's Fresh Tomato Hand Mask

Ingredient Grams Ounces
Fresh Tomato 35.0 1.23
Brazilian Red Clay 7.5 0.26
Powdered Yoghurt Protein 2.5 0.09
Sweet Almond Oil 6.0 0.21

Method

  1. Grind/chop/mash the tomato until smooth and transfer to a small bowl

  2. Add dry ingredients and stir until homogenous

  3. Add oil and stir

  4. Apply to backs of hands in a thick layer

  5. Allow to sit for 15-20 minutes

  6. Remove mask by carefully scraping away the mixture with a spoon or similar

  7. Rinse hands and pat dry.

Finish with a nourishing hand cream or a few drops of your favorite oil.

Substitutions

Tomato: As tomato is the main ingredient in this mask, you’ll probably want to rename it if you choose to substitute the tomato. Tomato has a natural content of lycopene which gives it its skin brightening properties.

Clay : Use any clay you like but be mindful that clays have different properties and will also absorb liquid differently so you may have to adjust the amounts to get the texture you like. Brazilian red clay is 100% montmorillonite, so you could in all likelihood substitute this clay for any montmorillonite clay without having to adjust amounts.

Powdered Yoghurt Protein: You could easily replace this with powdered milk or even coconut milk powder if you prefer a vegan version.

Sweet Almond Oil: I use sweet almond oil because I always have it in stock and it is a great all-around oil, but it can be replaced with the oil of your choosing without issue.

Enjoy!

Do Tell

Have you ever heard of a hand mask? Would you try one?

More Fresh Food Masks

There is an entire section on freshly made masks in the beginner friendly E-book below - and it’s even available in Spanish!

How to: Green Beauty Soap-Free Facial Cleanser

Lise

We're going to be making a soap-free facial cleanser today. Even if you've never tried making your own skincare products before, this cleanser might be the perfect project to start with. And if you are a practiced artisan, you may still want to give it a whirl because it's such an effective and skin-pampering cleanser.

The green beauty cleanser features green clay, spirulina, green tea, and chamomile and is great for normal to dry skin types. I'm betting it also may perform well with combination skin.

Here's how to make 100g.

LisaLise's Green Beauty Soap Free Cleanser

Phase Ingredient % / Grams
A Cocoa Butter 8.0
A Refined Palm Oil 24.0
A Castor Oil 31.0
B Green Clay 12.0
B Chamomile Powder 8.0
B Green Tea Powder 8.2
B Spirulina 8.0
C Broad Spectrum Preservative* 0.8

*I used phenonip, but preservative can be optional - read more below

Method

  1. Slowly melt phase A ingredients over a water bath until they are thoroughly melted

  2. Remove from heat

  3. Add Phase B (dry ingredients), stir to combine thoroughly

  4. Add phase C (this can be optional - read more below)

  5. Pour into container

  6. Chill for 15-30 minutes until set

  7. Add a label (remember the date)

  8. Store at room temperature

  9. Use with unabandoned joy

About the Ingredients

This combo of fats and oils works beautifully on my (mature) skin, and also usually makes the perfect texture (not too runny and not too stiff), but you can replace these with your preferred combination of fats and butters. If you do make substitutions, expect to do a bit of tweaking to get the texture and spreadability to what you like.

The same goes for any clays and dry ingredients you want to replace. In cleansers of this nature, the dry ingredients are going to behave differently depending on what you are using, and the texture of the final product can change dramatically.

You'll have to experiment with what works best for you, but if you're brand new to making this kind of cleanser, I recommend trying the original formula first and then making any desired adjustments or changes in the second batch.

If you have no other options but to substitute one ingredient with another, replace with ingredients that have similar density and/or weight. Example: the refined palm oil might be substituted with illipe, sal or shea butter.

TIP: Be prepared that almost ANY replacement can affect the final texture.

Here’s the cleanser right after pouring up.

Preservative in a Water-Free Product?

Even though this is an anhydrous formula, I chose to add a preservative because of the intended use of this product: moisture does have a chance of being introduced to the mixture during use - most especially if you dip wet fingers into the jar.

If you are willing to be meticulous about using and storing the face cleanser so that no moisture gets in the jar, feel free to leave out the preservative.

I wrote a post about how to know when to use a preservative right here if you want to read more about this.

Using the Cleanser

For a single application, use approximately 1 teaspoon of cleanser

  1. Apply to moistened skin

  2. Massage gently using circular motions

  3. Wipe away with a moistened cloth or cotton rounds

Because there is no emulsifier in this formula, trying to rinse the cleanser away with nothing but water is going to be a bit of a chore (and won't do your water pipes any favours either). For best results, gently wipe off, then finish with a spritz of skin mist.

In my experience, using non-emulsified cleansers allows for a few extra (precious) moments of self pampering, and that just makes the whole cleansing process an enjoyable ritual.

Do Tell

Have you ever made and used a soap free cleanser? What did you think of it? PLease feel free to share in a comment below.

If you’re interested in making self-preserving cleansers and your own self-preserving glycerine extracts, you might be interested in the bundle offer below.

Course Enrolment for Emulsions Essentials at Tisserand Institute now open!

Classes start August 30th, so be quick as a bunny and click the button below to sign up and join me for this 4-week course on hand-stirred emulsions!

How to: Easy Peasy Green Comfort Face Mask

Lise

Happy August!

Today we're going to mix green things together and put them on our face. Why? Because our skin is going to love it, and these particular green things feel downright comfortable and cozy while they are doing their skin-nourishing magic.

It's green synergy at its best.

Let's make a green comfort face mask!

Ingredients

For this mask, I have combined the following:

  • Moringa powder

  • Powdered Pumpkin Seed

  • Spirulina

  • French Green Clay (Montmorillonite)

Do you have to use these ingredients? Nope - you can choose any clay and any green powdered botanicals you like.

For the liquid, a green tea and/or matcha infusion makes the entire experience pure green pleasure, but you could also make a fresh cucumber juice, use distilled water or another herbal tea.

Method

Making this mask is simply a question of starting with about 2 tablespoons of liquid and adding the desired powders to the liquid bit by bit until you have a lovely, spreadable consistency.

Super Cool Clay Tip:

Start by adding a teaspoon of green clay and letting the liquid absorb it completely before adding the other green things. This will make for a perfectly lump-free and easily spreadable mixture.

Applying

You can use a small natural bristle brush to apply if you like, but it is also quite do-able to use the back of the spoon you just used to mix everything together with.

Tip: Clay masks should be removed before they are completely dry, so to allow yourself more mask-sitting time, either apply a thick layer or have a hydrosol or other skin mister at hand to moisten the mask as desired. For a thick layer (which is super comfy feeling), I usually layer up 3 or 4 times.

Let the mask sit for 10-15 minutes. This is the perfect time to sit and enjoy the rest of that cup of green tea you just made to use as the liquid.

To Remove the Mask

Soften and remove the mask with a moistened natural sponge (or grab the spoon you used to apply and gently remove the mask by ‘scraping’ it off with the spoon).

Finish with a spritz of skin tonic, hydrosol, and a light layer of face oil if you so desire.

Do Tell

Are you a regular user of face masks? Have you ever applied a mask with the back of a teaspoon? And if you have applied with a teaspoon, did you also remove it with the teaspoon?

Psst: The book below is a beginner friendly guide to cosmetics and has a section with face masks using normal easy-to-get ingredients. Scroll down for the book in Spanish.

Another Self Preserving Honey Cleanser

Lise

I don’t believe I will ever grow tired of making these self preserving cleansers. The combination possibilities are quite literally only limited by ones imagination. And since these are my regular morning instant mask and cleanse, I do go through quite a few of them. I generally apply to hydrosol-misted face and neck a few minutes before entering the shower, then rinse off as the last thing before leaving the shower. This gives the ingredients maximum time to do their skin-loving magic.

Combining honey with glycerites and botanicals in the perfect proportions means they function as an excellent moisture boost and facial cleanser.

It’s hard to believe something like this could be so easy to make and offer so many ways of customisation.

The pictured cleanser is made with spirulina, chamomile, and rosehips powder. I used the formulation guideline in the Natural Cleansers book linked below.

Do Tell

Do you make your own honey cleansers? What are your favorite botanicals to add? Please feel free to share in a comment below.

Want to make your own self preserving glycerites too? Check the bundle offer below.

How to: Fresh Strawberry and Rose Mask

Lise

Strawberry season is coming up in a tick and even though these fabulous fruits are so tasty it's hard not to pop them all in the mouth, all you need is a single strawberry to create this refreshing and super easy skin-hydrating face mask.

Surely you can refrain from eating ONE strawberry, can't you?

Excellent!

Then lets' get busy making this easy and effective fresh food face mask!

Ingredients

1 large fresh strawberry

Powdered rose (approx 1,5 teaspoon)

Kaolin clay (approx 1-2 teaspoons)

Raw honey (approx 1 teaspoon)

Method

Every ingredient in this mask is added 'to desired texture' (no need to weigh out accurate amounts).

The ideal texture is neither runny nor too thick. The mask needs to stay where applied and should be easy to layer on.

I've taken pics throughout the process so you can get an idea of my own mask.

Mash the strawberry in a small cup

Add Powdered rose and stir thoroughly.

Sprinkle in kaolin a bit at a time until you have quite a thick-sh mixture – a bit thicker than you would want to apply to your face.

Add approximately a teaspoon of raw honey and stir until combined.

The final texture should look a bit like this.

There might be a few lumpy bits, but that's okay. If you got the texture right (which I know you will), it won't matter a bit.

To Apply

Remove make-up and cleanse your face.

Pat dry.

See that spoon you used to stir your mask? The back of it is the perfect applicator.

Remember to include the neck when applying a face mask.

Here's what this fresh mask looks like on a face (I used mine for demonstrational purposes). This mask survived walking around (lumpy bits and all) with no dripping or mess.

Remove about 15 minutes after applying. You can pull out the spoon to gently remove the mask. Finish by rinsing thoroughly.

For skin-hydrating perfection, finish with a spritz of rose hydrosol

Enjoy!

Do Tell

Have you ever made a fresh food mask? Which foods did you use?

If you liked this how-to, you might enjoy the the e-books below (in English and Spanish) – they have a section on fresh food face masks!