Contact LisaLise

Please use the form on the right to contact LisaLise.

Majestic Court 5, St. Mary's Street
Mellieha
Malta

LisaLise offers online education of natural plant-based cosmetics via e-books and courses

LLBlogHEADER2020-3.gif

Shop Blog

A look inside the LisaLise natural cosmetics lab with free formulas, DIY how-to's, ingredients tips, sneak peeks, and more.

Filtering by Category: Tutorials

Introducing Tutorials

Lise

I’m pretty excited to be able to introduce you to my very first tutorial - right here on the website!

Squee!

If you have been following me for a while, you already know I love working with botanicals of all types for all kinds of things. One increasing interest in recent years has been creating flavour oils. It began with lip balms in mind, but as I started getting more and more into combining ingredients to smell nice as well as taste nice, I kept coming up with even more things I wanted to try.

I’m not even going to mention how long my to-do list is at the moment.

This particular challenge (capturing the flavours of a classic gin and tonic) has taken much longer than I expected (that seems to be a bit of a pattern when I start out thinking I can ‘knock something out relatively quickly’). Many of the initial batches started out well, but then the fragrance faded, or flavour changed, or something else went annoyingly wrong.

Fast forward 3 years and a few more batches than I originally thought were going to be necessary, and finally I could say I was happy with the results.

The star of this tutorial is making the flavour oil (which is super for several different products), but I’ve also created a couple of lip balm formulas to use the flavour oil in: a vegan version and a version featuring beeswax.

Wouldn’t you know the balms also took a bit longer than expected to get right (I’m looking at you vegan waxes), but as it turned out, quite a bit of it was solved when I got the flavour oil right.

Does this sound complicated? Well, before I had figured out how to do it, it was, but when you know how to do it, it’s not that complicated. (Isn’t that true of so many things?)

Are you a little curious about getting busy making your own?

Click the picture below to read more.

PS: The formulas for both of these balms as well as the flavour oil are free for LisaLise Club members. If you think you might want to check out becoming a member, click the picture below.

How to: Fresh Strawberry and Rose Mask

Lise

Strawberry season is coming up in a tick and even though these fabulous fruits are so tasty it's hard not to pop them all in the mouth, all you need is a single strawberry to create this refreshing and super easy skin-hydrating face mask.

Surely you can refrain from eating ONE strawberry, can't you?

Excellent!

Then lets' get busy making this easy and effective fresh food face mask!

Ingredients

1 large fresh strawberry

Powdered rose (approx 1,5 teaspoon)

Kaolin clay (approx 1-2 teaspoons)

Raw honey (approx 1 teaspoon)

Method

Every ingredient in this mask is added 'to desired texture' (no need to weigh out accurate amounts).

The ideal texture is neither runny nor too thick. The mask needs to stay where applied and should be easy to layer on.

I've taken pics throughout the process so you can get an idea of my own mask.

Mash the strawberry in a small cup

Add Powdered rose and stir thoroughly.

Sprinkle in kaolin a bit at a time until you have quite a thick-sh mixture – a bit thicker than you would want to apply to your face.

Add approximately a teaspoon of raw honey and stir until combined.

The final texture should look a bit like this.

There might be a few lumpy bits, but that's okay. If you got the texture right (which I know you will), it won't matter a bit.

To Apply

Remove make-up and cleanse your face.

Pat dry.

See that spoon you used to stir your mask? The back of it is the perfect applicator.

Remember to include the neck when applying a face mask.

Here's what this fresh mask looks like on a face (I used mine for demonstrational purposes). This mask survived walking around (lumpy bits and all) with no dripping or mess.

Remove about 15 minutes after applying. You can pull out the spoon to gently remove the mask. Finish by rinsing thoroughly.

For skin-hydrating perfection, finish with a spritz of rose hydrosol

Enjoy!

Do Tell

Have you ever made a fresh food mask? Which foods did you use?

If you liked this how-to, you might enjoy the the e-books below (in English and Spanish) – they have a section on fresh food face masks!

Free Webinar: Blending with Cannabis

Lise

In a mere 2 days, you can attend a FREE Webinar with Colleen Quinn of LabCannamist (who offers an 8-week interactive online course about working with cannabis that opens for enrolment once a year.)

Last year, Colleen interviewed me for for a LabAroma podcast (find more here), and we discovered we had a lot of common ground as we chatted about formulating with natural ingredients. As a result of our chats, Colleen has put together a free webinar specifically for formulators!

In it, Colleen explains the basic botany of cannabis and the hemp plant while diving into the various cannabis and CBD materials available to formulate with. She generously shares her expertise and helps formulators understand what to look for and how to choose the right ingredient.

She also explains how creating blends with cannabis and essential oils can be both exciting and terrifying – it’s easy to get it wrong, but results can be amazing when you get it right.

Attendees will also learn about the top 10 essential oils that work best with cannabis based on their chemical composition.

Colleen even includes six exclusive cannabis and aromatherapy skincare formulations designed especially for their antioxidant and anti-inflammatory properties.

Ready to learn more about working with cannabis? Register for the Webinar here!

It’s happening: Wednesday 12th January 2022 at 4pm GMT | 11am EST | 8am PST

Formulating on the Fly - Emulsion with DIY Emulsifier

Lise

In this previous post, the lovely and generous Heike Käser taught us how to make our own Sugar Ester emulsifier that can be used in much the same way as one normally uses Sucragel (read: it can be used for both cold-mix and heated emulsions).

After making my own first batch of the emulsifier, I was so excited about testing it out, I made an on-the-spot, ‘on the fly’ emulsion.

You: What, Lise?! You didn’t sit down first and calculate everything and then bring out scales and weigh everything properly and write everything down??

Me: Nope. I jumped straight into it with my freshly made emulsifier (but did bring out the scales and notebooks and weighed and wrote everything down as I was working).

Pictured above: my first emulsion using this handcrafted emulsifier.

Today, we’re going to take a look at how to formulate on the fly.

Warning (and TOP TIP)

Don’t skip any of the steps or you’ll never be able to recreate your formula (and wouldn’t that be annoying if your very first batch turns out to be the most pristine perfection you have ever made?)

Here’s How I Made This Emulsion

  1. Have every ingredient at room temperature

  2. Weigh up desired amount of emulsifier and note weight

  3. Weigh up more oil than you think you may need and note weight

  4. Add oil slowly and work in thoroughly until the texture is appealing (see notes on stirring method below)

  5. Weigh container with remaining (unused) oil and note weight (math to be done later)

  6. Weigh up water phase (using same procedure as oil)

  7. Add water phase to mixture bit by bit and work in thoroughly until the texture is appealing

  8. Note weight of remaining water

  9. Check pH (this one was good to go)

  10. Weigh emulsion

  11. Calculate and add preservative

  12. Transfer to final container ( the pot you see pictured above).

The Last (and Very Important) Step

After all the on-the-fly fun at the workbench, there is an important final step: grab a cup of your favorite beverage and sit down to do the math to determine the exact percentages of the ingredients used so you can finalize your formula.

Skipping this step can have dire consequences if you discover you have created perfection and want to make another batch but realize you didn’t take enough notes to do the necessary math. (Don’t say I didn’t warn you)

Stirring Method

Heike’s suggested method for using this DIY emulsifier includes using a high speed mixing tool after all ingredients have been mixed, but I decided to see what would happen if I simply did everything using my regular hand-stirring technique.

Spoiler alert: the texture is a winner.

Obviously, a few repeat performances are necessary before this can be pronounced a full success.

Ingredients in this Emulsion

  • Handcrafted emulsifier (see how to make it here)

  • Coriander seed oil

  • Handcrafted goldenrod hydrosol

  • Preservative (I used Naticide)

Emulsion Impressions

This is a very oil-rich emulsion where a little goes a long way. The cream feels super lightweight yet decadently rich and goes on smoothly with absolutely no soaping or tackiness.

It smells amazing too (but then again, I chose ingredients that smell amazing).

This wont be my last batch, but I will probably be combining a few oils for future batches. An emulsion this oil-rich can be quite greasy feeling on the skin if you use more than a small amount and because I am a hopeless slatherer, few drier feeling oils will need to be included.

Finally, let me share a couple of extra tips from Heike

  • Be mindful of pH. Sucrose stearate is sensitive to acidic ingredients. To avoid separation, dilute any acids (such as lactic acid, etc) before adding them to your mixture.

  • The emulsion may turn out thinner with the addition of alcohols, acids, or if you employ vigorous stirring.

Do Tell

Have you ever formulated on the fly? Did you remember to take notes?

How to Make Your Own Emulsifier

Lise

Today, I’m going to share a few cosmetics making secrets with you.

Not long ago, a lovely member of my Facebook group posted a link to a website that showed you how to make your own ‘Sucragel-style’ emulsifier.

(insert gasp of joy and delight)

As not everyone around the globe can source Sucragel (particularly in the smaller amounts commonly required and desired for artisan cosmetic makers), I’m sure you can imagine how much excitement this generated.

I had to try the formulation (that’s it up there at the top of this post) and at the same time decided to contact author and formulator Heike Käser of Olionatura to ask if she would allow me to (translate and) share her formulation on my blog.

Not only was she positive about the idea, she even agreed to be interviewed! Please join me in welcoming the lovely and talented Heike Käser of Olionatura !

Welcome to LisaLise blog Heike! Could you share a bit about how you decided to make and then share this formulation?

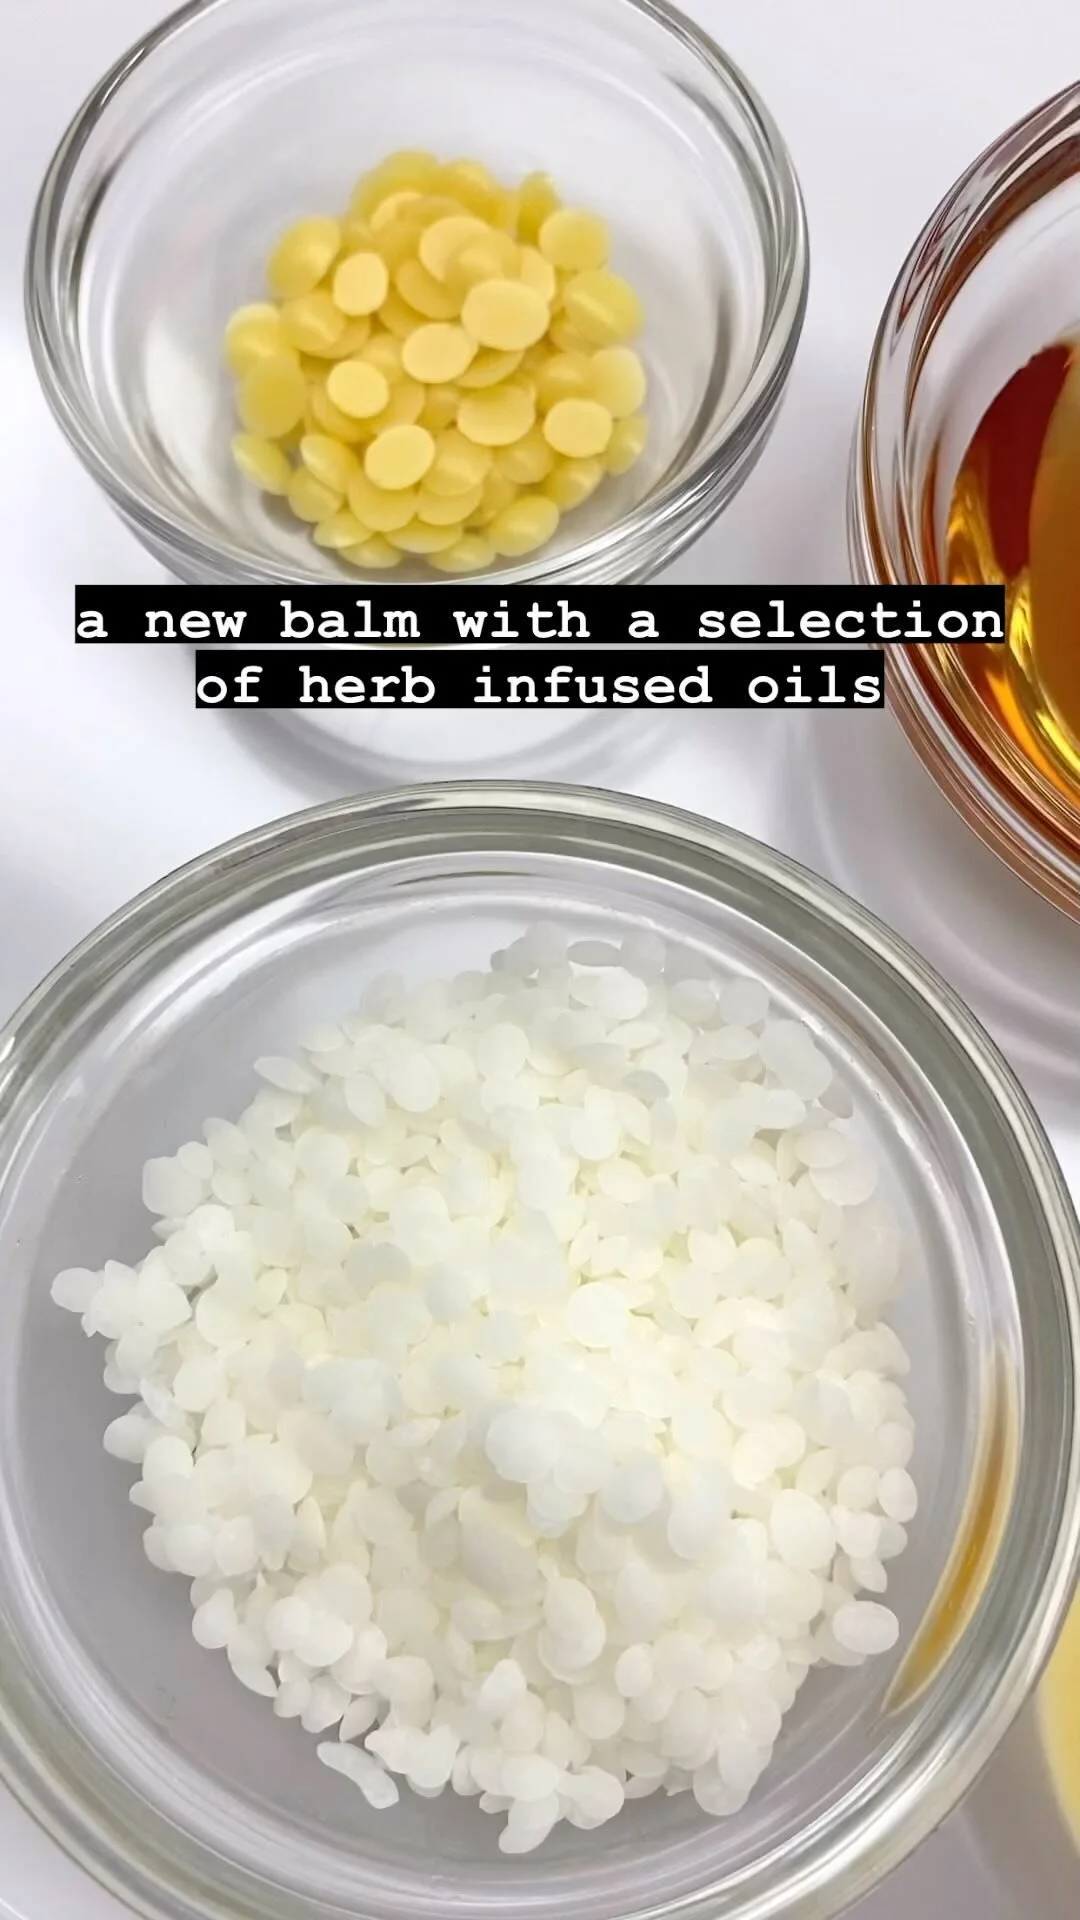
Oh, that was a very long time ago, 2008/2009 it must have been. At that time, a store introduced an innovative, gel-like and self-emulsifying compound based on a sugar ester (sucrose laurate), glycerin and oil, called "Sucragel". I researched the subject and learned that this composition forms special liquid-crystalline structures that reliably incorporate water and other lipids into a stable emulsion, even when processed cold. Sucrose laurates were not available to end users, but sucrose stearates were. Now lauric acid is a C-12 fatty acid, and stearic acid (both are the starting materials for the esters) is a C-18 fatty acid - it was to be assumed that the result would not be identical. Nevertheless, it worked. I had to experiment a bit on how to combine the individual components; after all, the compound "Sucrogel" should not have to be preserved. Therefore, the water content had to be kept low. Glycerin reduces the water activity of microorganisms, the oil is not microbially susceptible per se. The great thing is that the emulsifier concentration in the final cosmetic product can be kept extremely low. The cream gels are really very light in texture and feel, without being greasy or sticky - already a small innovation in the DIY cosmetics scene at the time.

Why I shared the formulation or the idea? Well, my main profession (I'm a teacher) thrives on the realization that practice without sound knowledge does not yield optimal results. Learning and understanding enables us to develop new things, to critically question results and to develop things together with others. My ideal is that all people should have access to education, to free education. I also live out this ideal in Olionatura.


You formulate cosmetics of all types, teach in seminars, have written books about making natural cosmetics, and generously share many DIY’s from your website. How long have you been formulating and what got you started?

I stirred my first products in 1978 when I was 15 years old. I started developing my current concept in 2006. What interested me was the connection between skin physiological processes and what certain substances can do if there are topical applied. First and foremost, I was fascinated by plant oils - this is how the name "Olionatura" came about and the focus on the use of plant oils in a skin-physiologically oriented cosmetic. The website on the internet was a door opener: there I documented my learning and shared it with others - and the first professionals became aware and contacted me. I was allowed to visit some of them personally (e.g. at the university or in the laboratory), and I am still connected with them today. It is fascinating to talk to people who are "on fire" for their field and to feel their enthusiasm to pass on this knowledge. For me, this is "networking" in the best sense: talking to each other, learning, supporting each other. I have been passing on my knowledge on Olionatura.de since 2006, in books since 2010 and in seminars and coaching sessions since 2015. Today I am happy to see how much has grown from this. Olionatura has become a second professional pillar in recent years, and I have been able to accompany many people on their way: To self-employment, to their first own skincare range ... or to healthy skin.

The motivation for my research was and is a harmonious, sensible, physiological and resource-saving skin care. On top of that: I just love to learn :-) Pressing fresh oils, making extracts, distilling plants, conceiving new product ideas ... all this is creativity and sensuality in beautiful combination.


What is Olionatura working on at the moment? Any exciting plans or projects you would like to share?

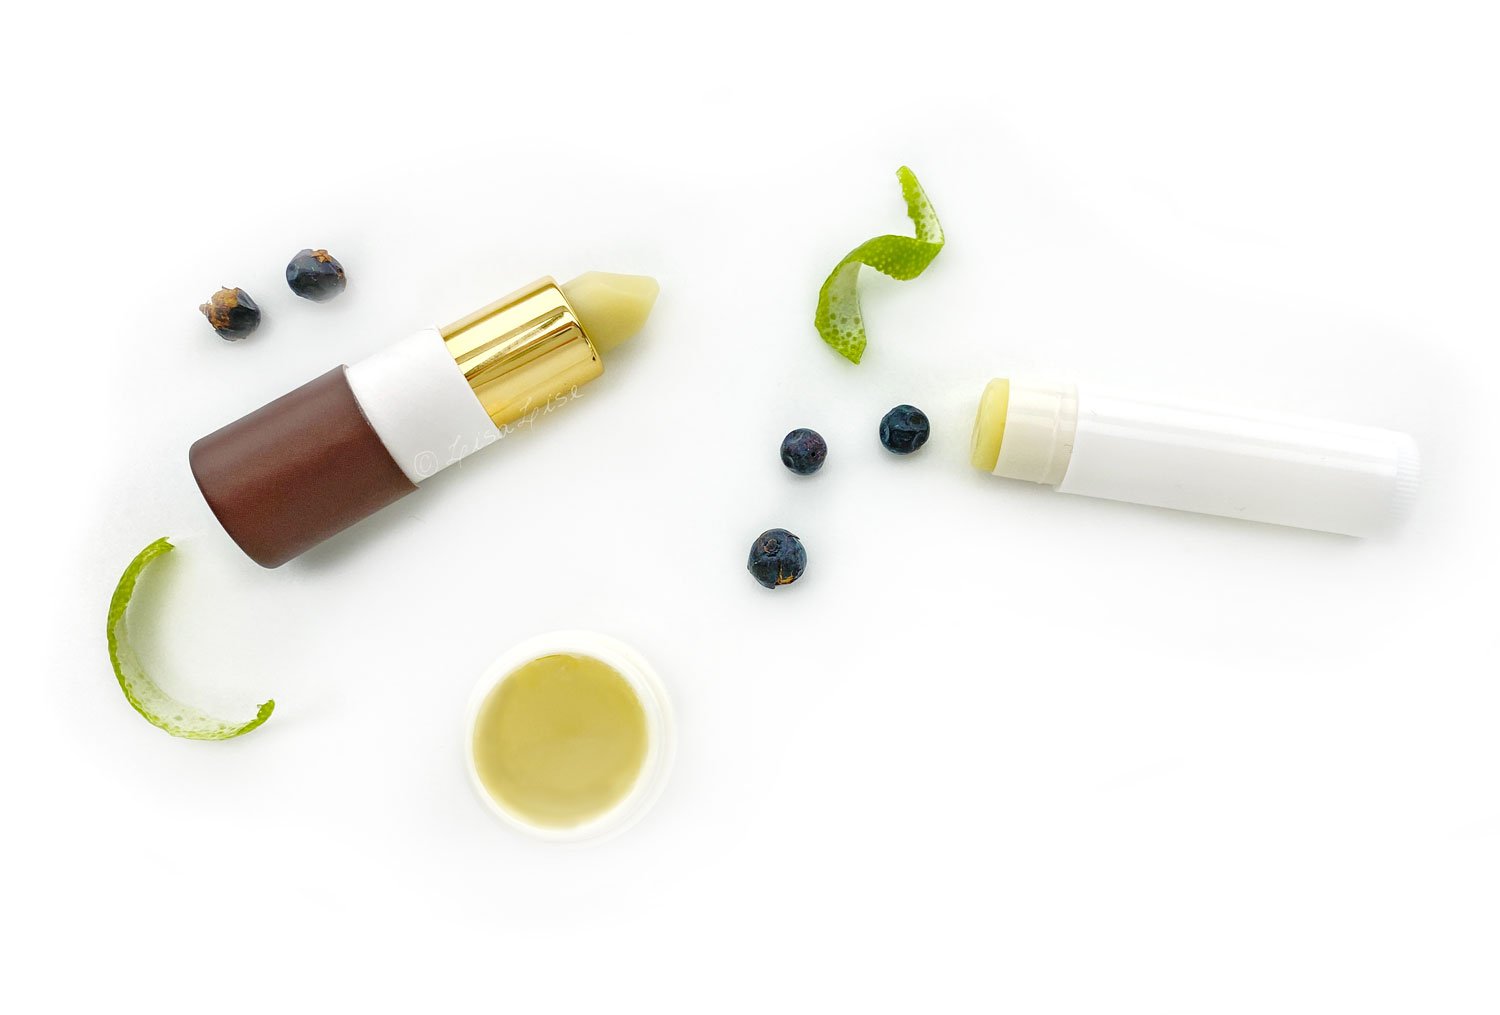
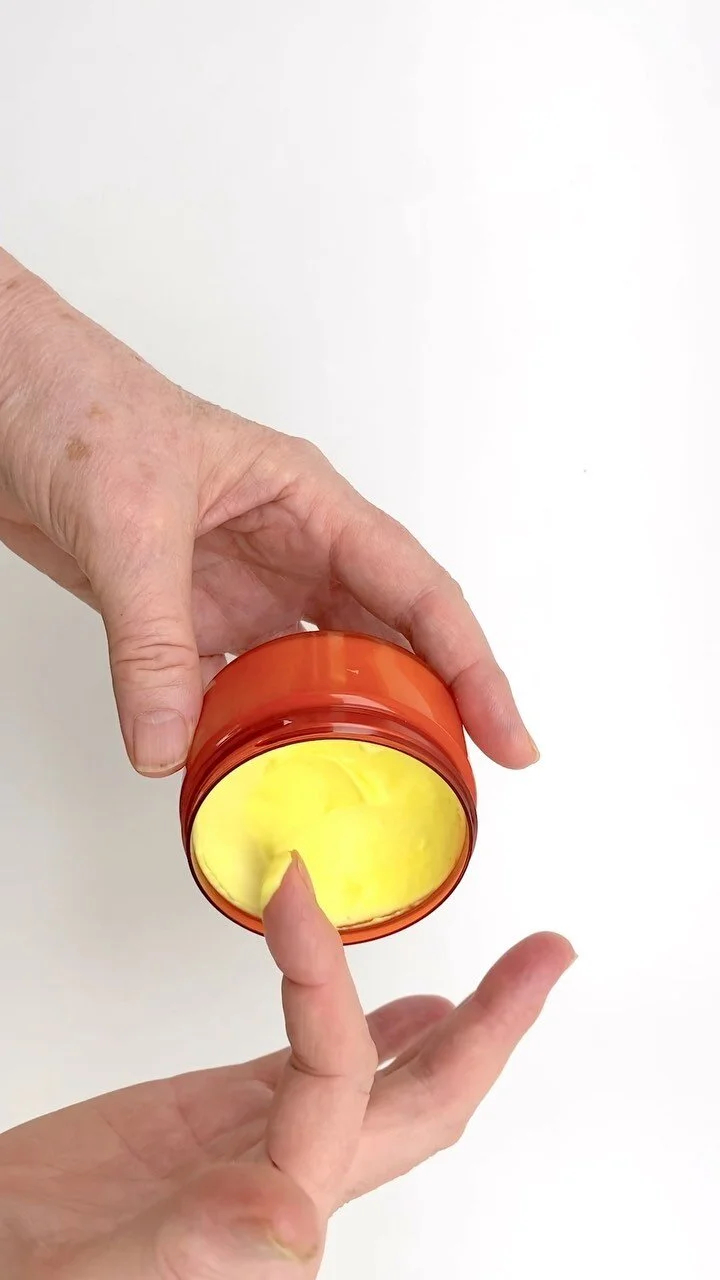
After developing effective care products, I have been fascinated by playing with colours for several years: I am currently intensively designing decorative cosmetic products that are composed as minimally as possible, but whose performance and skin compatibility are absolutely convincing. I am currently working on a new book about decorative cosmetics - a great topic, both theoretically and in practical implementation. You have to know: I never used to wear much make-up - now I do it with enthusiasm, and it's especially great when others can't see at first glance that the freshness you're currently radiating comes from the little jar! Well, women can't be fooled so easily, but my husband, for example, doesn't see it directly. Sometimes I ask him for advice, he knows that I have developed something, but not what ... then he looks at me, asks me to step into the light and says "You look good, so fresh ... but I don't know why." That's it! :-)

I'll soon be 60, and it's nice to be able to look rested and vital with few resources. The great thing is: decorative cosmetics are so easy to make and don't cost much. You hardly need any equipment, and the raw materials last a long time. Finally, you can choose your own individual colours and combine them as you like. However, if you are used to conventional products, you have to accept some compromises: Natural cosmetics can't (yet) be 100 % waterproof, and we don't have those bright, "popping" reds that you can get with synthetic dyes. However, it is possible today with a little know-how to realise great products that are also good for the skin.

Until a few years ago, it was difficult for consumers in German-speaking countries to buy high-quality, tested cosmetic pigments. In German shops, there were a handful that were very poorly or incorrectly declared. Most of them were only available in the USA. In 2015, I decided to buy my pigments for my seminars myself, preferably from Germany and Europe (we have really excellent expertise in pigment production in Germany), and to work with them. Since then, really good products have emerged - I haven't bought any deco cosmetics for years except for mascara (and here, too, I hope to find my own solution). Now I have it in my own hands to do without critically discussed AZO dyes, preservatives, silicones and mineral oil derivatives.

So, the short answer to your question is: My current project is the book on decorative cosmetics. When and where it will be published ... I won't tell you yet, quality takes time. But it will come, I promise! :-)

Thank you so much Heike!

And now, with Heike’s gracious permission, I am thrilled to present you with her formulation guide for this ‘Sucragel-style’ emulsifier which I have named ‘Sugar Ester Emulsifier’.

Heike’s DIY Sugar Ester Emulsifier

Phase Ingredient %
A Glycerine 50-55
A Hydrosol/Demineralised water 10
B Sucrose Stearate 10
C Oil of Choice 25-30

How to put the Sugar Ester Emulsifier Together

  1. Mix phase A until homogenous

  2. Add phase B and stir gently to incorporate

  3. Heat over water bath until the mixture is homogenous

  4. Remove from heat

  5. Slowly add phase C while stirring gently until a milky creamy ‘gel’ forms

  6. Transfer to container


And here’s how I made my first batch

LisaLise’s First Batch of Sugar Ester Emulsifier

Ingredient Grams
Apricot Kernel Oil 30
Orange Blossom Hydrosol 10
Glycerine 50
Sucrose Stearate 10

I decided to sift the sucrose stearate into the mixture to avoid lumps. This wasn’t called for in the formulation guide and may be unnecessary.

The mixture has a lovely creamy white color when the sucrose stearate is added.

After taking the sucrose stearate off of the heat, the oil is added slowly while stirring constantly

The texture was quite fluid and lotion-like after the oil was added but stiffened up to the mayonnaise-like texture pictured at the top of the post.

Next batch, I will be playing with both percentages and ingredients to see which kinds of additional textures can be created. This one functions beautifully but did turn out a bit more viscous than I expected.

Heike’s Suggested Method for Using the Sugar Ester Emulsifier in a Cold Mix Emulsion

  1. Add desired amount of emulsifier to vessel

  2. Add oil phase bit by bit (exactly as you would do with sucragel). Incorporate fully before the next addition.

  3. Add water phase using the same procedure as the oil phase.

  4. Emulsify mixture for approximately 2 minutes with a high speed mixing tool.

  5. Add preservative, pH adjuster (optimal pH 5 - 5.5), fragrance etc.


Top Tips

Heike has also kindly allowed me to share these top tips

  • For optimal viscosity, do not exceed 10% of sucrose stearate when making the emulsifier

  • Choose oils that are stable and have a long shelf life to make your emulsifier such as jojoba, meadowfoam, squalene, and neutral oils.


Thank you so much for sharing your knowledge Heike!

Visit Olionatura right here

Visit Heikes original post with her emulsifier right here

Do You Double Dip?

Lise

doublesdipsetup-1500.jpg

It’s quite easy to create ingredient contamination without even thinking about it. All you have to do is dip the same tool into different ingredients.

To avoid double dipping, I generally pair a dispensing tool with each ingredient. This tip (and many others) are included in the tutorial about Good Formulation Practice at Tisserand Institute.

Have you signed up yet? There’s still time!

It goes live on Thursday May 13th at 6:00 pm Central European Time and you there’s a Q and A after the tutorial where you can ask questions.