Contact LisaLise

Please use the form on the right to contact LisaLise.

Majestic Court 5, St. Mary's Street
Mellieha
Malta

LisaLise offers online education of natural plant-based cosmetics via e-books and courses

LLBlogHEADER2020-3.gif

Shop Blog

A look inside the LisaLise natural cosmetics lab with free formulas, DIY how-to's, ingredients tips, sneak peeks, and more.

Filtering by Category: Hair Care

Hair Boosting Pre Shampoo Treatment

Lise

This quick and easy hair treatment crept its way into my regular routine all by itself years ago because of 2 things:

  1. the phenomenal way it makes my hair feel and behave

  2. how ridiculously easy it is to do

There are nothing but bonuses to be had from applying virgin coconut oil to hair. It doesn't matter whether your hair is dry, greasy, or normal, kinky, curly, or straight as a board – coconut oil loves all kinds hair.

It literally helps prevent protein loss and has even been side by side tested with a couple of other oils.

Here was the conclusion:

"Among three oils, coconut oil was the only oil found to reduce the protein loss remarkably for both undamaged and damaged hair when used as a pre-wash and post-wash grooming product. Both sunflower and mineral oils do not help at all in reducing the protein loss from hair." REF

If you want to read a few more details about why coconut oil is so fab, please visit this post about the benefits of coconut oil.

Meantime, let's jump straight to this easy peasy hair treatment.

You will need

  • Hair

  • Coconut oil (virgin or refined)

Method

The amount of oil to apply will depend on your hair type – thick long curly hair is obviously going to need more than short fine hair. My hair is short and fine and about a teaspoon is enough for my hair.

  1. Apply oil to dry hair and work through to tips, being sure to reach all of the hair. If you have very long hair, a wide-toothed comb can help distribute the oil.

  2. Massage scalp lightly.

  3. Let sit for as long as you like.

  4. Apply shampoo (no need to wet hair first).

  5. Lather and rinse.

  6. Dry, set and style as usual.

I do this little oil treatment once a week, applying about 15 minutes before I hit the shower, but if your hair is very dry, you may want to do it more often.

The longer the oil is in the hair, the more benefits.

Enjoy!

Do Tell

If you decide to try this (or already do it), please feel free to share your thoughts, reactions and experiences with it in a comment below.

Seven Hair Care Tips You Maybe Never Knew

Lise

My hairdresser for many years had a lifetime of experience studying the chemistry of hair and scalp. Eric had a special interest in treating hair loss and had an in-depth understanding scalp and hair care.

He has been retired for a while now, but every hair care tip he ever gave me over the years has made a positive difference to my hair and scalp health, so I've decided to share some of his wisdom with you.

These tips are good for ALL hair types: straight, wavy, curly, coily, kinky, dry, greasy, thinning, heavy, dandruffy, sensitive, dyed, straightened, bleached, permed, impossible, frizzy, and all other manner of (head) hair.

Maybe you already know some of these, maybe not.

OK, hair we go

(sorry, could't help myself)

TIP 1 - It's Hot To Blot

After washing (or wetting) hair, never rub it vigorously with a towel to remove moisture. Instead, gently blot the hair. Even better: wrap wet hair in a towel – Hollywood style – and leave it to soak up the moisture while you do something else for a few minutes (like wiping down the shower, putting on your moisturiser, doing a gua sha facial or performing a 3-minute bathroom aria).

Here's Why

Vigorous rubbing both stresses and thins the hair, which in turn encourages split ends and breakage – much more than you may imagine.

When Eric explained in detail how immediately visible vigorous towel-rubbing is if you do a comparative view of a few rubbed and unrubbed strands of hair under a microscope, he made a memorable impression.

Ever since, I have sported a fashionable ´towel wrap´ to remove excess moisture after showering.

TIP 2 - Wide Toothed While Wet – Regardless of Hair Type

Combing wet hair requires careful attention. Use a wide-toothed comb (even if you have thin, straight strands) and always be extra super baby gentle.

If your hair is tangled, knotted, super long, or super-curly, be sure to 'support' the hair nearer the scalp with your other hand as you carefully work the comb through your wet locks.

Here's Why

Wet hair is more susceptible to over-stretching and breaking. It should therefore be handled with genuine tender loving care.

I have always taken this suggestion to the extreme and use a 'fro-friendly' comb in both wet and dry hair (even though my hair is fine, short and straight).

TIP 3 - Hair Dry? Air Dry!

Once upon a time – before hair dryers existed – no one on the entire planet had what we know today as 'haystack hair'. Back then, everyone let their hair dry naturally – in the air.

Eric says air drying your hair is the healthiest solution for it because it's, well, less drying. (pun totally intended)

Before you gasp in horror at the mere thought of hanging up your hair dryer for good, do your locks a favor and give it a try – once.

If you're still balking at the thought (I can hear you balking), try this:

  • Don't pull out the dryer until your hair is about 75% dry

  • Set the temperature to cool

Oh, your hair is now healthier and no longer looks like a haystack?

You're welcome.

Here's a little peek at hair dryer history if you're curious.

TIP 4 - Proactive Quicky Oil Treatment

I'm pretty sure you already know that an oil mask helps dry, itchy scalp, but did you know that applying a little oil is great for general hair and scalp health?

Here's Eric's quick and easy way to work a simple oil treatment into your everyday routine.

Before hitting the shower, apply a small amount of olive, coconut, or sweet almond oil to dry hair, work it through the hair with your fingers and give the scalp a gentle massage for a minute or 2.

Then wash it.

How Much is a Small Amount

  • For short to medium length hair: approx half a teaspoon

  • For heavy, long hair: approx 1-2 tablespoons

PRO TIP: You'll know you have applied the correct amount when the oil absorbs without leaving a greasy or oily look.

Done regularly, this little treatment will give your tresses a healthy sheen and keep your scalp feeling great. The best part: you can do this treatment as often as you like.

My addition: if you make your own herb infused oils, try a nettle or horsetail infused oil for an extra scalp-loving boost.

TIP 5 - Easy Peasy Natural Conditioner

A light application of jojoba, coconut, or hempseed oil is a wonderful hair conditioner and can be applied directly to dry or wet hair.

How to Do It

The trick to this tip: less is more. You know your own hair best, so you will have to feel your way to the correct amount for you. Distribute by rubbing a few drops at a time between palms and 'combing' through the hair with your fingers.

A very light layer adds sheen and conditions without any sign of greasiness.

PRO TIP: If your hair has dry ends, start with the tips (while your hands are loaded with the most oil).

My addition: That herb infused oil you have been using as a pre-poo treatment can do double duty here.

TIP 6 - Battling Baldness

Do you have a minute? It's all you need to carry out Eric's sixth hair care tip.

We're battling baldness and thinning hair – his number one area of expertise. Best of all – you already have everything you need on hand to carry out this tip! (There's a pun in there that you'll get in a minute)

Baldness Starts on Top

Have you ever noticed that baldness never starts at the nape of the neck, but always at the top of the head?

It's because of no stimulation.

To demonstrate, try this little test:

  • Turn your head to the left.

  • Look up.

  • Turn your head to the right.

  • Look down.

There. You've just stimulated the base of your scalp.

You stimulate the base of your scalp without even thinking about it every time you move your head.

And then there’s the top…

We humans have no natural grimaces, facial expressions, or any (hand-free) movements that stimulate the top of the scalp – at all.

I dare you to find one.

Even if you are able to wiggle your ears (which is pretty close to the top of the head), you're still not stimulating the top of your head.

Stimulation is the key to blood flow and circulation. Circulation is the key to health, and health is the key to growth.

Therefore, to encourage hair growth, fully fed follicles, and all else in the world that is good for head and hair, massage your scalp using Eric's prescribed method. Once a day is good – twice is better, and if you're real serious, do this several times a day.

Here's how.

Scalp Stimulation Massage

It's not so much a question of moving your fingers around the scalp as it is moving the scalp underneath your fingers.

  • Position your fingertips on your scalp and gently massage in a circular motion.

  • Reposition fingers and continue around the scalp.

You should be finished in about 60 seconds.

PRO TIP: Your hair shouldn't be mussed up afterwards, and there is no need to use strength. Gentle firm pressure is the secret to success.

If your hair is thinning, try this little massage a few times a day to make a noticeable difference within a mere 2 months.

Honest engine.

TIP 7 - Salt Spray Isn't All That – It's Not Even Close

Don't mention salt spray to Eric. He has on several occasions launched into a lengthy lecture on the evils of salt spray. It is even possible to set him off by merely mentioning the words salt and spray in the same sentence. (I speak from experience)

At the risk of tiring you, here is the condensed version of his views on the use of salt spray:

Regardless of how fancy the packaging, world-renowned the brand or high the cost, salt spray is not now, nor has it ever been, nor will it ever be beneficial for hair or good for scalp at all.

Ever.

Never.

Ever.

Never.

(I cut out a whole bunch of his superlatives).

Here's Why

Salt dries out both hair and scalp and has absolutely nothing to offer in the way of nourishment – it really does more damage than good.

So for healthy bouncy locks, ditch the salt spray.

Enjoy these hair care tips!

Do Tell

Had you heard of all of these tips before? Please leave a comment below.

PS: Want to make your own hair-loving shampoo bars? The book below can help.

How to Make an Ivy Leaf Hair Cleanser

Lise

Pictured above: an all natural sudsy liquid that will cleanse your hair and scalp beautifully.

You've probably seen this plant many times and in many places: parks, gardens, fields, forests, and urban areas.

I seem to remember hearing it referred to as 'the architects comfort' somewhere. Perhaps this is because it seems to grow just about anywhere (like, up brick walls) and adds a touch of green and a cozy atmosphere wherever it grows.

While it is both decorative and hardy, Hedera helix - otherwise known as Common ivy – is also a very useful plant for cleansing due to its natural content of saponins. (The word saponin comes from Latin: sapo means soap).

Ivy leaves can be transformed into an all natural cleanser for numerous things: dishes, laundry, and even your scalp and hair.

There is a slight difference in the method for making laundry and dishwashing liquid (which is more concentrated) as compared to a scalp and hair cleanser.

Today, I'm going to show you how to make your own hair and scalp cleanser with nothing more than a few freshly picked ivy leaves and some water.

Did someone say sustainable, planet-friendly effective hair and scalp magic?

Ivy Leaf Picking Tips

  • Select leaves that are growing up (and not along the ground)

  • Select healthy looking leaves

  • If you are picking leaves from someone’s garden, remember to ask first

  • Bring a small scissors to cut the leaves instead of tearing them off

Batch Size

I usually make a liter at a time (to last about a week), but feel free to make a smaller batch (which will also allow you to leave out the preservative and use regular tap water instead of distilled water)

For a 1 liter batch, you'll need:

  1. Handful of fresh-picked ivy leaves (enough to fill about a third of a container that holds 1 liter)

  2. Demineralised water

  3. Broad spectrum preservative

For a use-the-same-day batch, you'll need

  1. Small handful of ivy leaves (enough to fill about half of a container that holds 200 ml / 16,7 fl oz)

  2. Tap water

Method

  1. Inspect leaves and discard any unhealthy looking specimens.

  2. Place leaves in container (do not pack them tightly, just drop the whole leaves into the container)

  3. Boil water

  4. Pour freshly boiled water over leaves

  5. Cover container and allow to steep until the liquid reaches room temperature

  6. Strain (and use same day if you made a single use portion). Otherwise continue with the next 6 steps below.

If you are making 1 liter:

  1. Weigh the strained liquid

  2. Weigh out appropriate amount of preservative and add to liquid.

  3. Stir to thoroughly incorporate

  4. Check pH (this infusion measured pH 6.0)

  5. Adjust pH if necessary (I generally add a splash of herb-infused vinegar to function both as pH adjuster and hair-shine booster)

  6. Bottle

I used phenonip as the preservative for this 1 liter batch.

How To Use the Ivy Leaf Hair Cleanser

  1. Enter shower

  2. Wet hair

  3. Apply about 100 ml of liquid (for short fine hair -- you may need more if your hair is longer/thicker)

  4. Massage scalp and hair lightly (as you would if you were using a shampoo).

  5. Allow the liquid to sit in hair for about 4-5 minutes (while you finish showering)

  6. Rinse hair

  7. Do a 'squeak test' on your hair. If it doesn't feel clean enough, repeat steps 2 and 3.

  8. Dry and set as usual

No Lather I Gather?

We’ve been taught for generations to equate lather with cleansing, but it is possible to cleanse thoroughly and completely without any lather or sudsing action.

This cleanser may foam up beautifully when you shake the bottle, but it goes on like water and rinses off like water.

Doing a squeak test will reveal that it really cleanses your hair. I’ve experimented a bit with how much it can handle, and can attest that this latherless cleanser even removes my pre-poo hair oil treatment with a mere 2 applications. The secret to optimal cleansing action is letting the liquid sit on the scalp for about 4-5 minutes after massaging and before rinsing off.

Enjoy!

Do Tell

If you decide to give this cleanser a try, I’d love to hear your feedback!

Find More Information

About Saponin Synthesis and Function (LINK)

Saponins and flavonoids in Ivy Leaf extracts (LINK)

Saponin content of ivy leaves (LINK)

Triterpenoid biosynthesis and engineering in plants (LINK)


If you prefer lather in your hair cleanser, then maybe the book below is for you.

Hair Rinse with Fresh Herbs

Lise

Here’s a peek at an infusion about to happen that is going to become a quick and easy hair rinse featuring a few fabulously fresh herbs. Nettle and horsetail are both great herbs for haircare, and the cleavers made its way into the pot because it just jumped straight up into my basket while I was out collecting herbs.

Working with fresh herbs this way is a real summer treat and easy to incorporate into a daily routine if you have access to fresh plants. Happily, I live near a park and also have generous neighbors with fabulous gardens.

These are so easy to make and can be varied according to which herbs you can source, what’s in season, and what you like!

Pick only what you need for a smallish pot of tea (about half a liter). If you don’t want to add preservative to the hair rinse, only make enough for a day or 2 and remember to store the liquid chilled.

Here’s how I made this hair rinse

  1. Place selected fresh botanicals in heat-tolerant container

  2. Pour freshly boiled water over the herbs

  3. Allow to steep for 10-20 minutes

  4. Strain

  5. Add a couple of tablespoons of apple cider vinegar

  6. Bottle

Use as a final rinse for the hair. Simply pour a generous amount through the hair after washing - or even without washing first.

Enjoy!

PS: a fresh herb hair rinse is a perfect after shampooing with your own solid shampoo bars. The book below shows you how to make your own.

Wash your Hair Backwards

Lise

The idea of washing your hair backwards conjures up all sorts of strange images, doesn't it? Now, before you start thinking I am pulling your leg, let me explain. This concept has its roots in the Austrian born Founder of cosmetic company Aveda, Horst Rechelbacher who recommended 'washing your hair backwards'.

It's an intriging idea, but actually – once you think about it – it's quite logical (I'll get into the logical part in a minute). From the first time I tried it, my (fine, straight, short) hair really loved this method.

Here's a description of the process.

1. Apply Oil

Apply about a half a teaspoon of sweet almond or jojoba oil to dry hair and distribute as evenly as possible. Give your scalp a gentle massage. Leave the for a few minutes, then rinse.

2. Apply Conditioner

Now, apply a hair conditioner, allow to sit for a few minutes, then rinse.

3. Wash Hair

Wash your hair using your preferred shampoo. Rinse throughly.

4. Final Rinse

This is my 'little extra' addition to the equation. I've done this for years and it leaves my hair silky soft. Finish by rinsing your hair with a final rinse.

Here is a super easy option for final rinsing:

Make a mug of herbal infusion with your favorite herbs. Simply place herbs in a tea filter, pour boiled water over and allow to steep for a few minutes. Discard herbs and use liquid to pour over hair after shampooing. Herbs that are great for hair and scalp: rosemary, lavender, chamomile (great for light hair), rose (because it smells divine), mint (great for itchy scalp).

So Why Does This Method Work?

The application of oil has a twofold function: Oil attracts dirt, so the initial application helps to loosen dirt. The massage both calms and stimulates the scalp, assisting the oil to nourish both hair and scalp. The conditioner helps to 'loosen' the oil. The hair and scalp will absorb whatever nourishment they need from the oils and the shampoo removes the superfluous oil, taking the dirt with it. You may also find that your shampoo has a richer and more dense lather when you wash.

I have over the years tried leaving out step 2 and – for my hair, it works quite well to skip directly from oil to shampoo.

If this all sounds.. well, backwards, then all I can say is, give it a go and see if it works for you.

Do Tell

I'd love to hear from you if you decide to try this method.

PS. The book below shows you how to make your own wonderful shampoo bars.

This Green Powder Cleanses both Skin and Hair

Lise

This lovely green powder is an all-natural cleanser for both skin and hair with a lovely herby fragrance and a unique ability to foam when wet. The company that produces it was kind enough to gift me the sample pictured above, and after I tried it (and got all excited about how cool it was to work with), the founder agreed to be interviewed and tell me a bit of the story behind this amazing ingredient.

Please join me in welcoming Huda Ahmed, founder of Huda Organics.

Welcome Huda! Would you share a bit about how you came to create Huda Organics?

I founded Huda Organics in 2017, while I finished my Master’s Degree in Business at Brunel University.

Although I grew up in Norway, my family is originally from Somalia. Qasil powder is a staple in Somali homes. I was accustomed to seeing my mother, aunts, and grandmother using Qasil powder both as a face mask and a cleanser. It was second nature to see my mother running around the house or doing chores with a bright green face. I never actually thought much of it until I reached my early teens.

It’s fairly common, although unfortunate, for young girls to become self-conscious about their skin and their bodies at this age, and the same was true for me. During this time, I became really interested in skincare. I was up to speed on all of the latest creams, serums, active ingredients, and gadgets. This wasn’t because I had particularly problematic skin, but because I had formed the terrible habit of being critical of every inch of skin on my face. I convinced myself that if I did not have the latest beauty product I could never have perfect skin or be beautiful. I now know that this thinking is absolute nonsense and it’s something I actively try to prevent our customers from feeling. Nevertheless, it was difficult for me to view things in any other way at the time.

What ended up happening was that I ended up with extremely irritated skin and a beauty routine with about 500 different steps. This was not just impractical, but also extremely expensive - especially during my last years of high school, and when I became a university student. As many students can attest to, university (particularly exam time) is extremely stressful, and things as inconsequential as brushing your hair or cooking a proper meal can be viewed as major successes. I, like many other students, was juggling going to university and working part-time. It’s no surprise that the mere thought of completing all of the steps in my skincare routine was becoming increasingly more overwhelming, especially as my skin just stayed constantly irritated and inflamed.

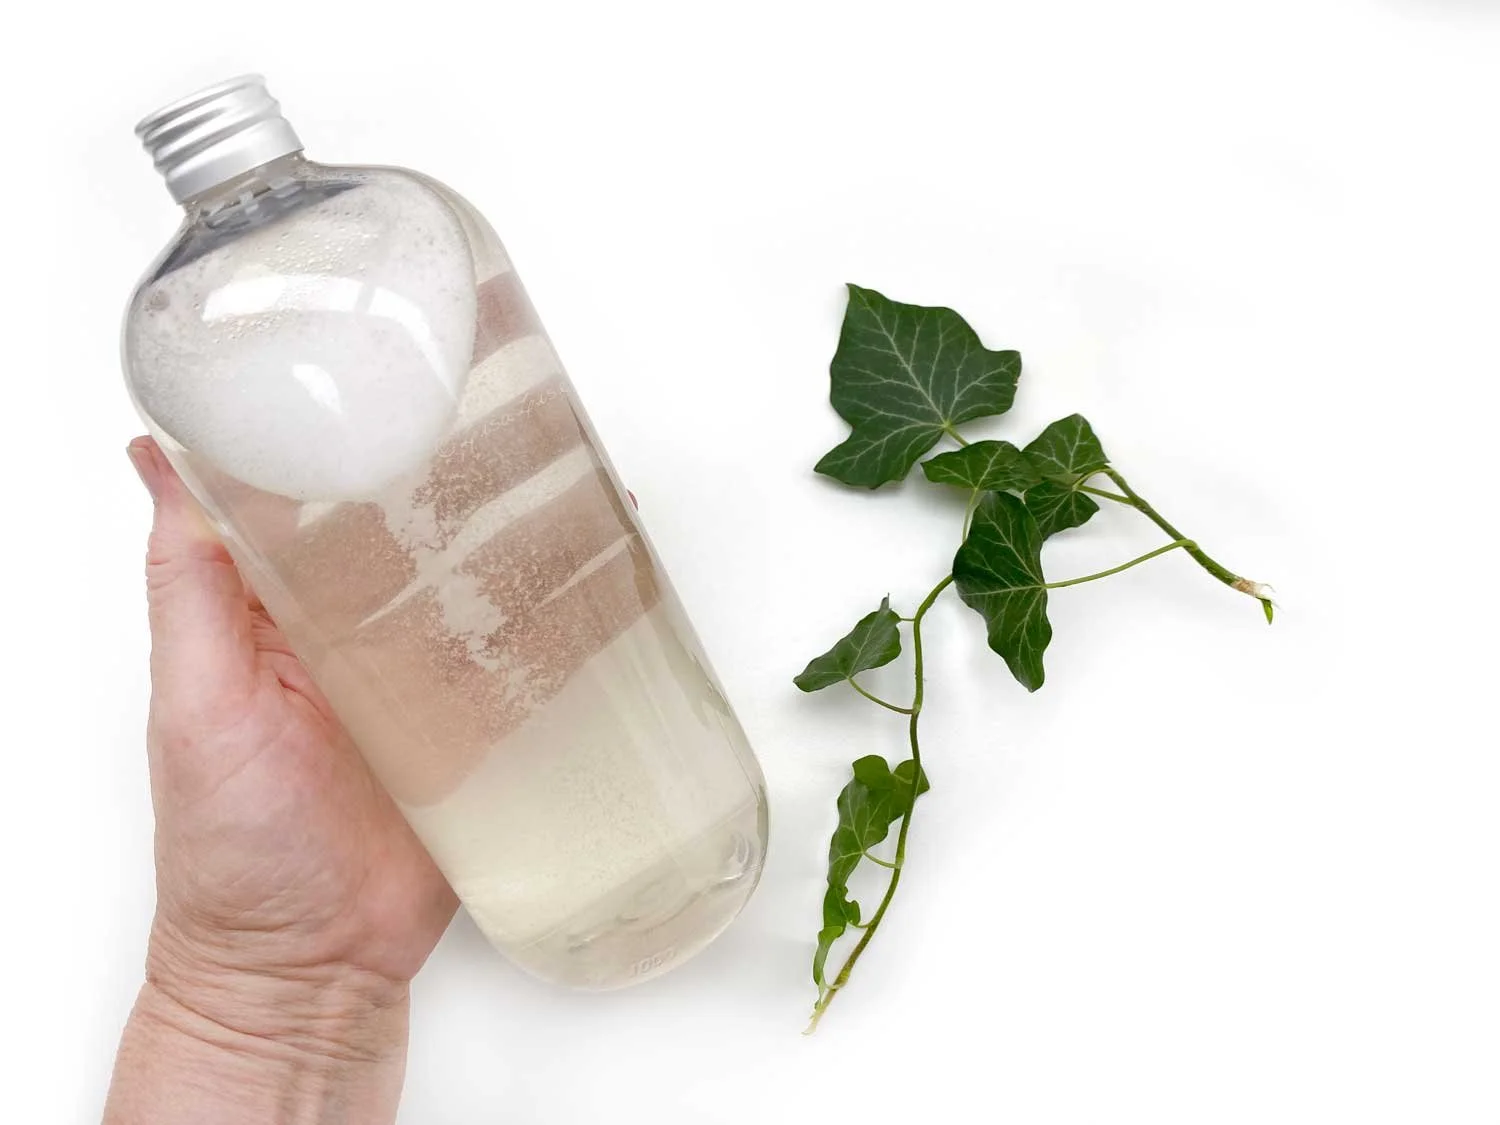
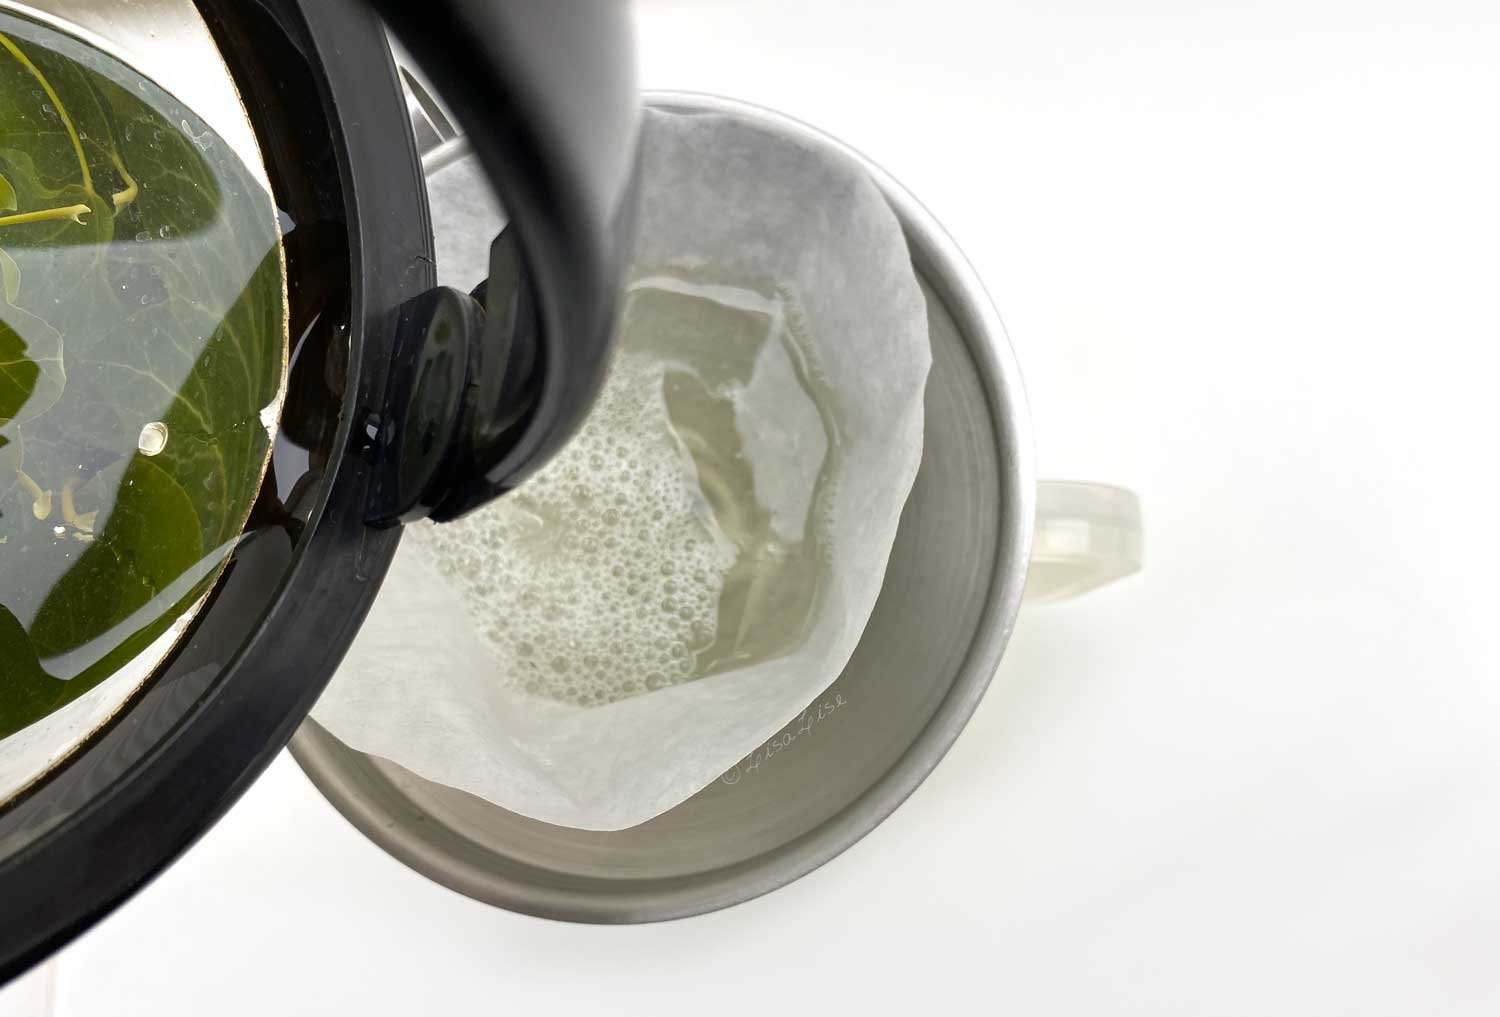
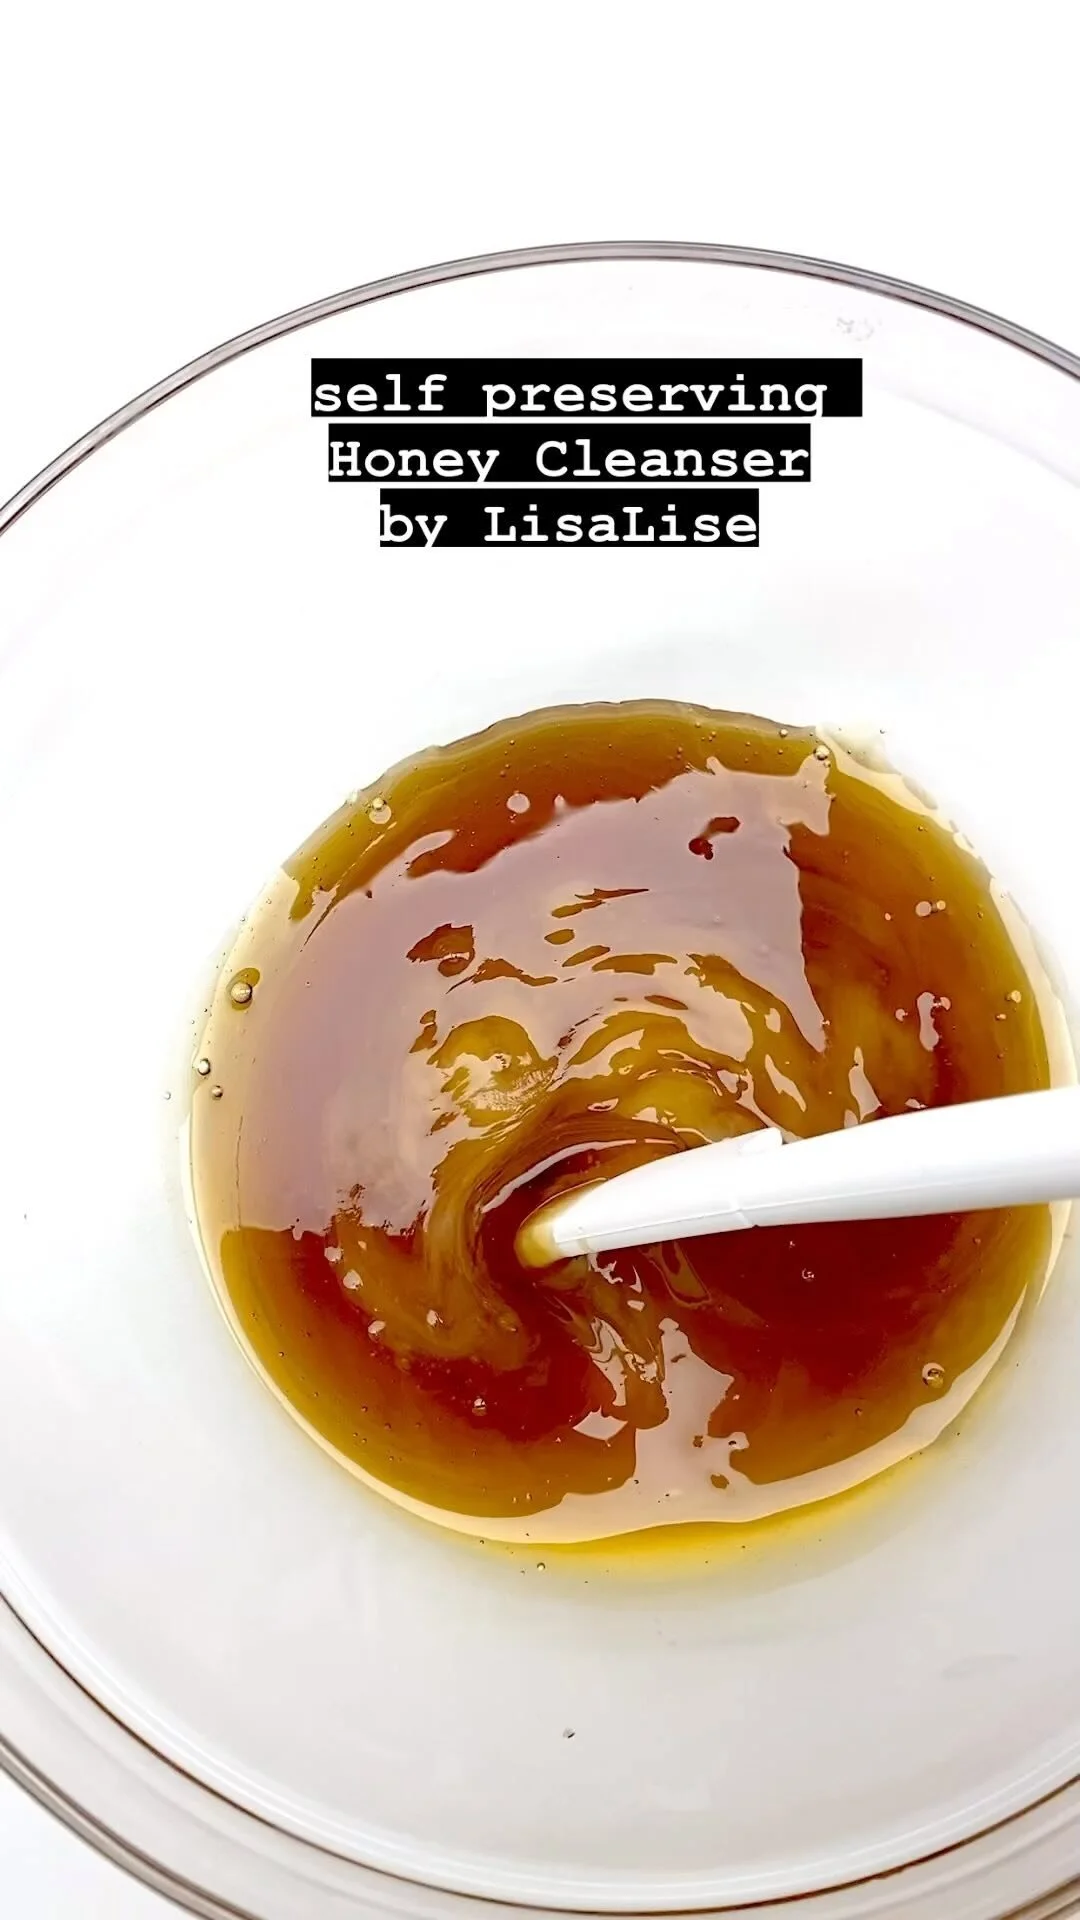
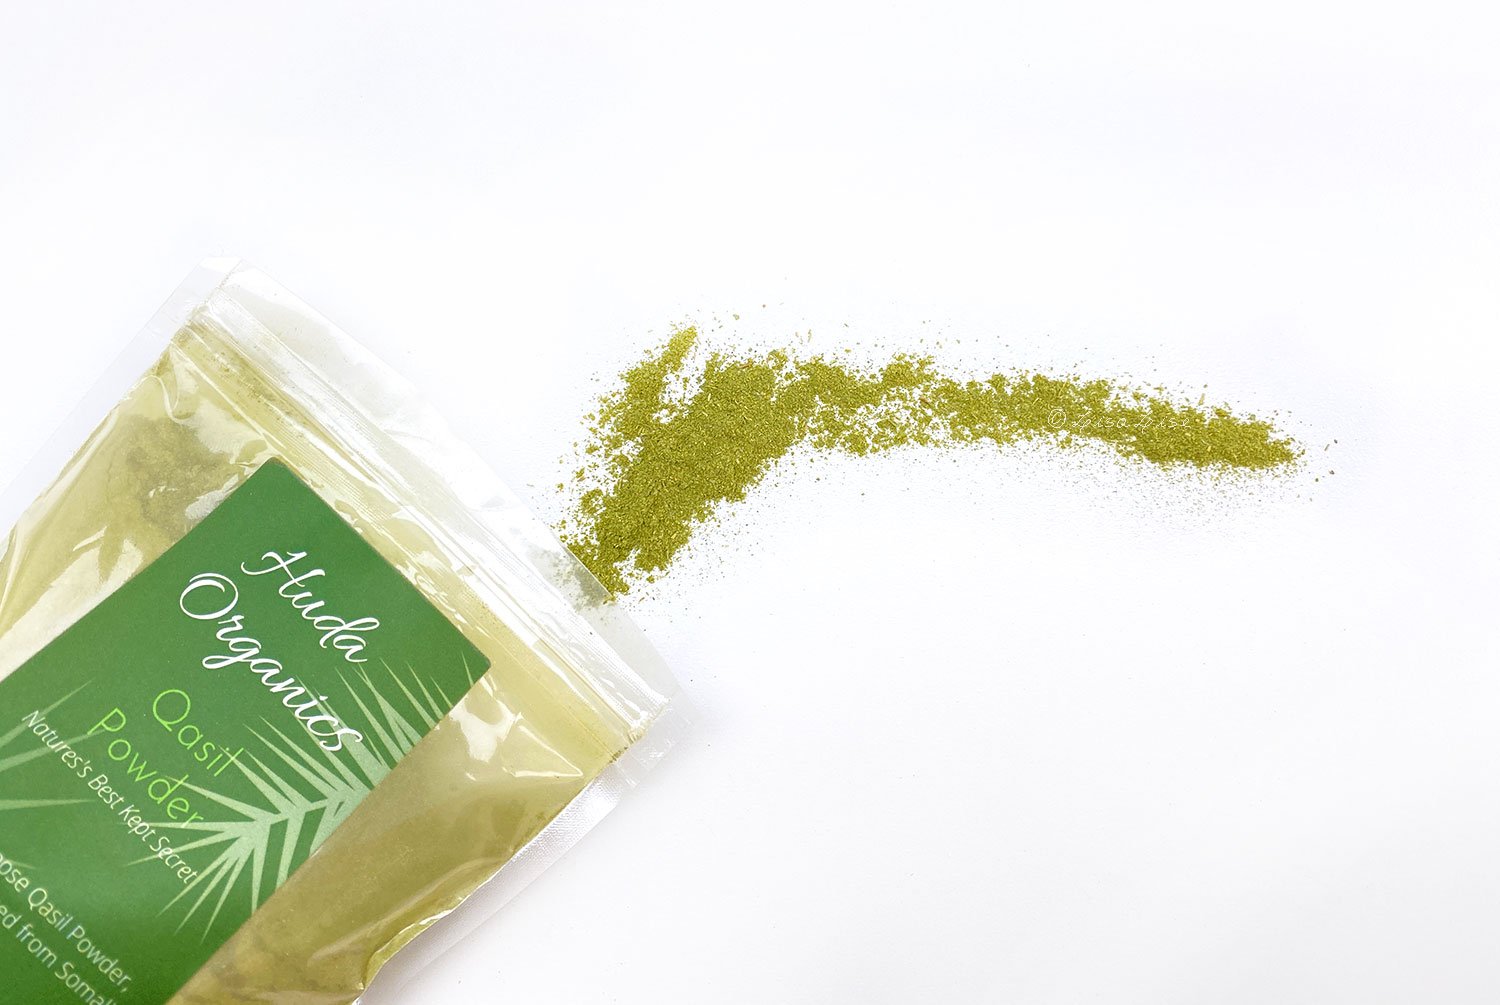
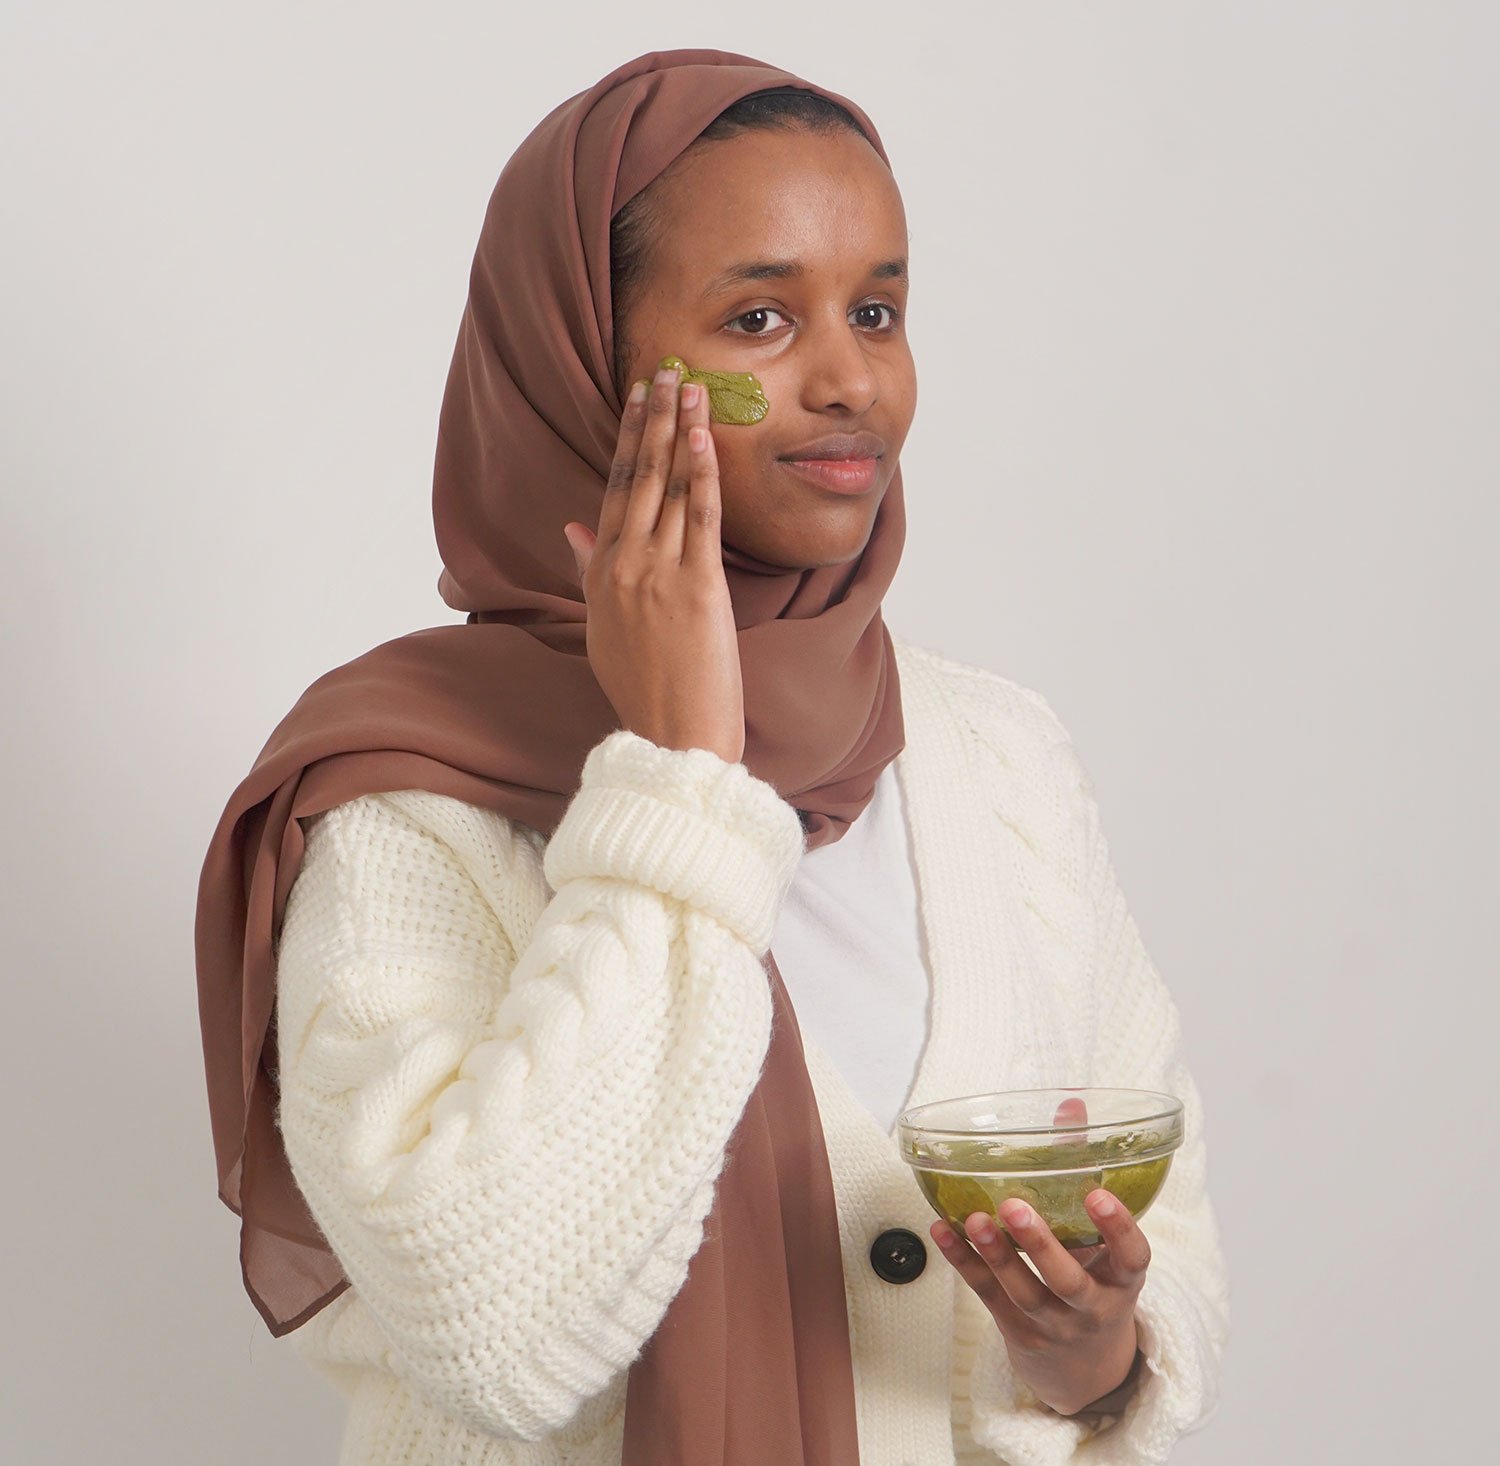
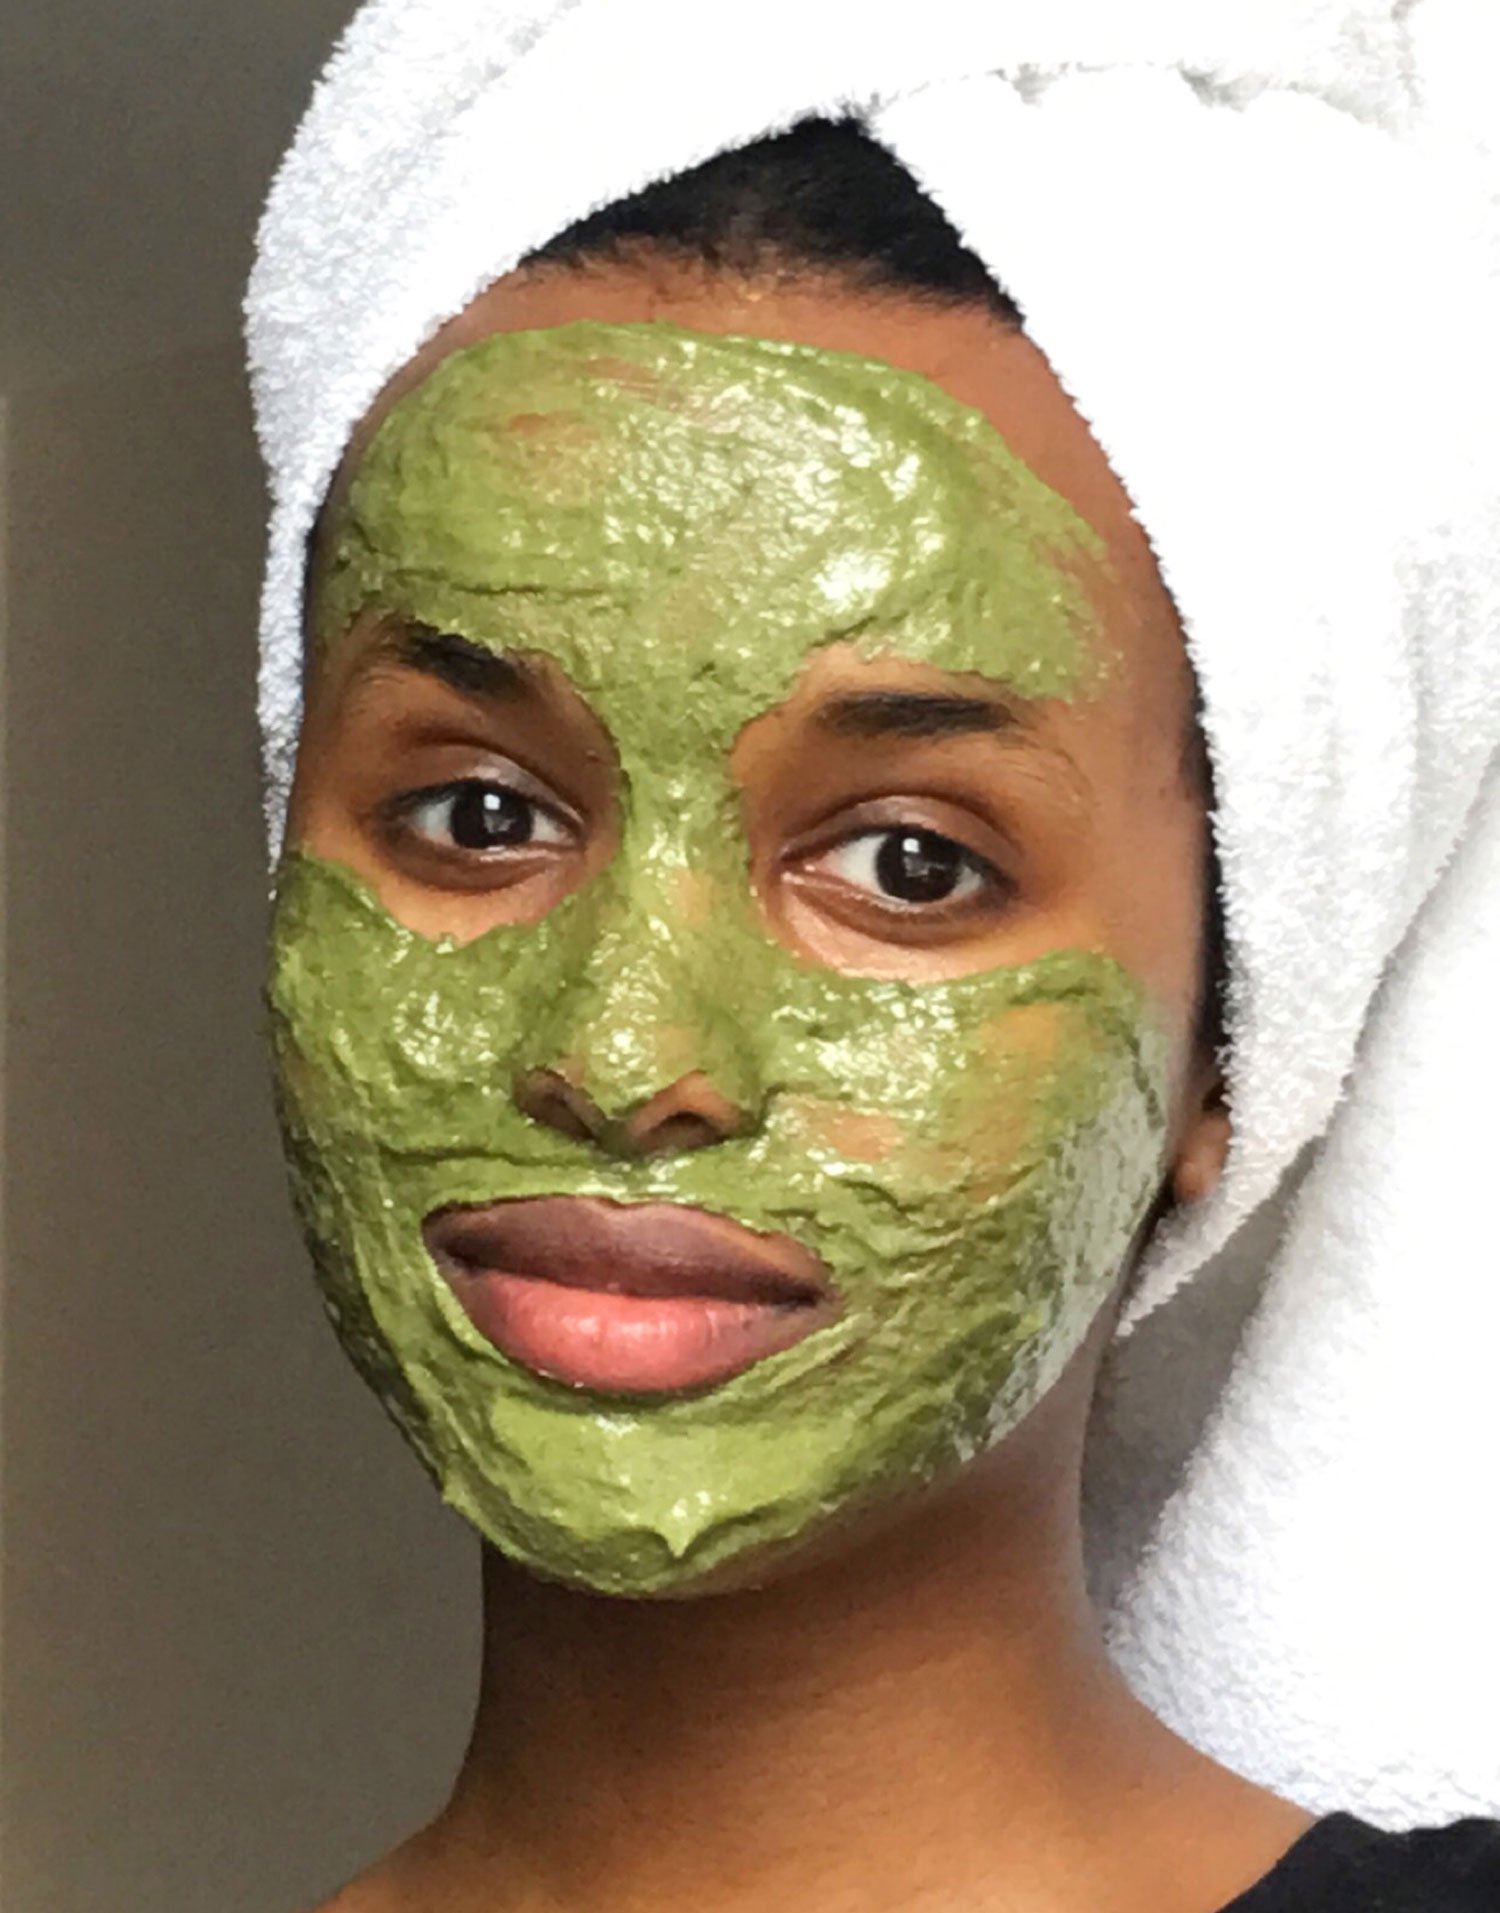
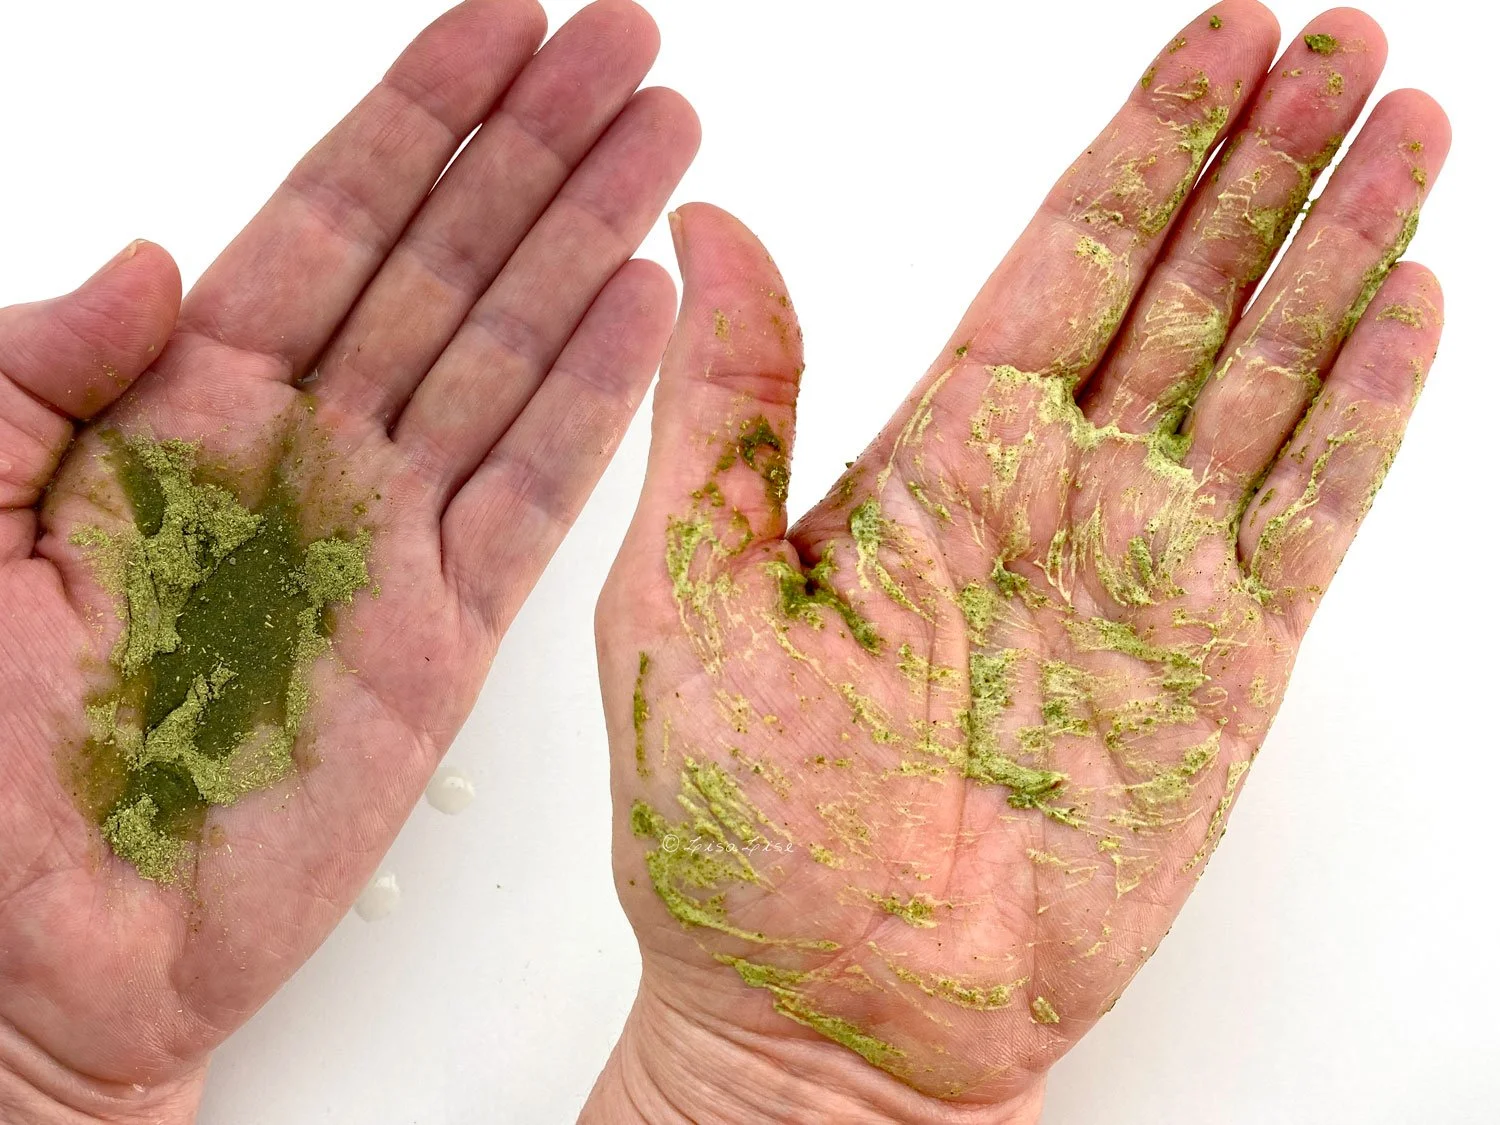
I realised that instead of listening to everybody else talk about what worked for their skin, I needed to listen to what my skin wanted and needed. I also needed to buy back some of the time I was wasting on such an elaborate routine every day. I have always had a keen interest in natural beauty, which I inherited from the women in my family, and of course, at their insistence, I have used Qasil powder sporadically over the course of my life. In an effort to improve my skin and simplify my routine, however, I decide to listen to my mother and go back to our ancestor’s tried and true product, Qasil powder, to see whether it would make a difference. I cut out all other products and started using Qasil powder daily. To begin with, I used Qasil as a cleanser, and later on, I started to mix it with either honey, yoghurt, or turmeric to create face masks. My skin started to clear up pretty quickly and was no longer as inflamed as it had been for several years. My friends commented that my complexion was brighter than usual. Qasil powder was definitely working for me, just as it has worked for members of my community for centuries - that much was clear to me. What I wasn’t so sure about for a few years was whether it was working for us because we all shared similar complexions and skin concerns. I thought the only way to find out was by giving Qasil powder to as many of my friends as possible to see if they noticed any difference in their skin. Practically every single one of them got back to me with hugely positive feedback about how their skin looked and felt after using Qasil.

After receiving some great news about how it was helping a friend with acne, I decided to Google Qasil for the first time. I was a little shocked to find there was practically nothing about it online. That was my lightbulb moment. That was when it truly clicked that instead of waiting for somebody else to carve their own niche selling Qasil, I could create this space myself. I was studying Business at the time, so it made perfect sense to combine my love for this product with the knowledge I acquired doing my degree.

Once I got the idea of starting my own Qasil company, I developed a bizarre sense of urgency. When you’re the first one to do something, there’s a huge amount of pressure and responsibility to get it right. In my case, nobody around me believed this would be anything more than a small and temporary side-hustle that I would eventually give up on once I finished my degree and found a ‘real’ job. I’m quite stubborn and hate to feel that people are placing bets against me, so instead of viewing this as Plan B, I made this my Plan A. I initially started selling on Etsy, and even though I rarely made more than about 2-3 sales a month for several years, I used the time to bulk-make videos, and other graphic content, and really cultivate a space on the internet for Qasil that hadn’t ever existed before. Part of me continued to pursue this, despite low sales, because I truly believed in Qasil and knew it could be the stepping stone for more than just a beauty company, but a lifestyle company that could give back to my home country of Somalia. Two of my main passions are female empowerment and sustainability. I was well aware that because the powder comes from Somalia, where there is little employment regulation and an ongoing climate crisis, that selling this type of product could lead to the unmitigated exploitation of land, resources, and people. I also knew that when Huda Organics became a more well-known company that other companies selling Qasil would emerge, but because we had already set an ethical precedent they would be forced to answer to the same expectations and questions our customers have become accustomed to.

Huda Organics did take off, albeit three years after I started selling on Etsy, when a TikTok video I posted went viral in mid-2020. Fast forward to 2022, we’re now a team of nine people working between London and Somalia - and we ship worldwide! We’re fortunate enough now to have been able to establish our own supply chain and we’re actually in the process of starting our own environmental charity. As we are still entirely self-funded, it has been a little bit of a slow burn when it comes to finding sustainable and biodegradable packaging, but we’re really happy to begin incorporating that element into our company. We’re also just as excited for the release of a new product (a Qasil moisturiser) this year, which has been two years in the making.

Could you tell my readers a bit about how your product is produced?

Qasil powder comes from the leaves of the gob tree, which grows all over Somalia. As I mentioned earlier, we have nine members in the Huda Organics team. Five of our team members work in our office in Somalia. I’ll break down the process of how the Qasil powder is picked and processed from start to finish.

First and foremost, the leaves need to be picked from the tree. Unfortunately, there isn’t any industrial machinery available in Somalia that can pick leaves out of the trees, and it is also extremely difficult to import a tool of this nature. This could be interpreted as a curse that extends the harvesting process as the leaves need to be handpicked. However, in some ways, it could be viewed as a positive - we are able to harvest the exact quantities we need to prevent having too much overstock or creating excessive waste.

Once the leaves have been picked and put into sacks, they are driven to our local office area where the leaves are put out to dry in the sun for about 2-3 days. The climate is extremely dry and arid in Somalia, which is why the drying process is quite quick. When this process is complete, the dried leaves are separated into piles and ground into a fine powder using a contraption that resembles a mortar and pestle. This powder is then strained several times to remove any stubborn chunks that may have survived the pulverisation process.

The powder is then packaged in Somalia and shipped over to us in the UK where it is labelled and warehoused.

I was very impressed at how this green powder foams up and cleanses both skin and hair. Could you share some of your best tips about how to best use Qasil powder?

Qasil’s strength is in its versatility. As I mentioned earlier, part of my thought process for making this a staple in my routine was to save time by using a product that could do multiple things at once. A great hack that I use is to mix the powder with enough water to create a thick paste. I apply this paste onto my skin, like I would any face mask, and leave it on for around 15 minutes as I potter about the house doing other things. As Qasil is rich in antioxidants and vitamins (particularly vitamins C and E). As such, leaving on the skin a little longer allows these compounds to penetrate the skin more deeply than they would if you just washed them off in a minute or so. Once I’m ready to rinse it off, I just run my hands under some water and add it to the mask so that it starts to foam up (just as it would if you used it to simply cleanse your face). By doing this, I get the added bonus of a gentle exfoliation that leaves my skin feeling extra soft and supple!

Qasil is also great for hair, but I recognise that people’s sensory expectations when using shampoo are very different to using a face product. As you’ve probably been able to gather, getting the water-to-Qasil ratio can be a little tricky at first, although I do believe that it becomes intuitive the more you use it. While I don’t think people are as fussy about their face products lathering up like a bubble bath, there is something quite satisfying about the experience of shampoo foaming up and being gently massaged onto the scalp. For this reason, I recommend putting 2-3 tablespoons of Qasil powder in a bowl, and adding 2 glasses of water, and beating it with a fork just as you would an egg mixture! This will create a foamy lather that will stay super creamy when applied to the scalp! You’ll retain all of the usual sensory experience of shampoo, while gently exfoliating the dead skin cells and excess oils from the scalp, which can help to accelerate hair growth!

Thank you so much for sharing your story Huda! Please visit Huda Organics to try Qasil powder for yourself.

(most) photos in this post are used by kind permission from Huda Organics.