Contact LisaLise

Please use the form on the right to contact LisaLise.

Majestic Court 5, St. Mary's Street
Mellieha
Malta

LisaLise offers online education of natural plant-based cosmetics via e-books and courses

LLBlogHEADER2020-3.gif

Shop Blog

A look inside the LisaLise natural cosmetics lab with free formulas, DIY how-to's, ingredients tips, sneak peeks, and more.

Filtering by Category: Oils

Hair Boosting Pre Shampoo Treatment

Lise

This quick and easy hair treatment crept its way into my regular routine all by itself years ago because of 2 things:

  1. the phenomenal way it makes my hair feel and behave

  2. how ridiculously easy it is to do

There are nothing but bonuses to be had from applying virgin coconut oil to hair. It doesn't matter whether your hair is dry, greasy, or normal, kinky, curly, or straight as a board – coconut oil loves all kinds hair.

It literally helps prevent protein loss and has even been side by side tested with a couple of other oils.

Here was the conclusion:

"Among three oils, coconut oil was the only oil found to reduce the protein loss remarkably for both undamaged and damaged hair when used as a pre-wash and post-wash grooming product. Both sunflower and mineral oils do not help at all in reducing the protein loss from hair." REF

If you want to read a few more details about why coconut oil is so fab, please visit this post about the benefits of coconut oil.

Meantime, let's jump straight to this easy peasy hair treatment.

You will need

  • Hair

  • Coconut oil (virgin or refined)

Method

The amount of oil to apply will depend on your hair type – thick long curly hair is obviously going to need more than short fine hair. My hair is short and fine and about a teaspoon is enough for my hair.

  1. Apply oil to dry hair and work through to tips, being sure to reach all of the hair. If you have very long hair, a wide-toothed comb can help distribute the oil.

  2. Massage scalp lightly.

  3. Let sit for as long as you like.

  4. Apply shampoo (no need to wet hair first).

  5. Lather and rinse.

  6. Dry, set and style as usual.

I do this little oil treatment once a week, applying about 15 minutes before I hit the shower, but if your hair is very dry, you may want to do it more often.

The longer the oil is in the hair, the more benefits.

Enjoy!

Do Tell

If you decide to try this (or already do it), please feel free to share your thoughts, reactions and experiences with it in a comment below.

Introducing Tutorials

Lise

I’m pretty excited to be able to introduce you to my very first tutorial - right here on the website!

Squee!

If you have been following me for a while, you already know I love working with botanicals of all types for all kinds of things. One increasing interest in recent years has been creating flavour oils. It began with lip balms in mind, but as I started getting more and more into combining ingredients to smell nice as well as taste nice, I kept coming up with even more things I wanted to try.

I’m not even going to mention how long my to-do list is at the moment.

This particular challenge (capturing the flavours of a classic gin and tonic) has taken much longer than I expected (that seems to be a bit of a pattern when I start out thinking I can ‘knock something out relatively quickly’). Many of the initial batches started out well, but then the fragrance faded, or flavour changed, or something else went annoyingly wrong.

Fast forward 3 years and a few more batches than I originally thought were going to be necessary, and finally I could say I was happy with the results.

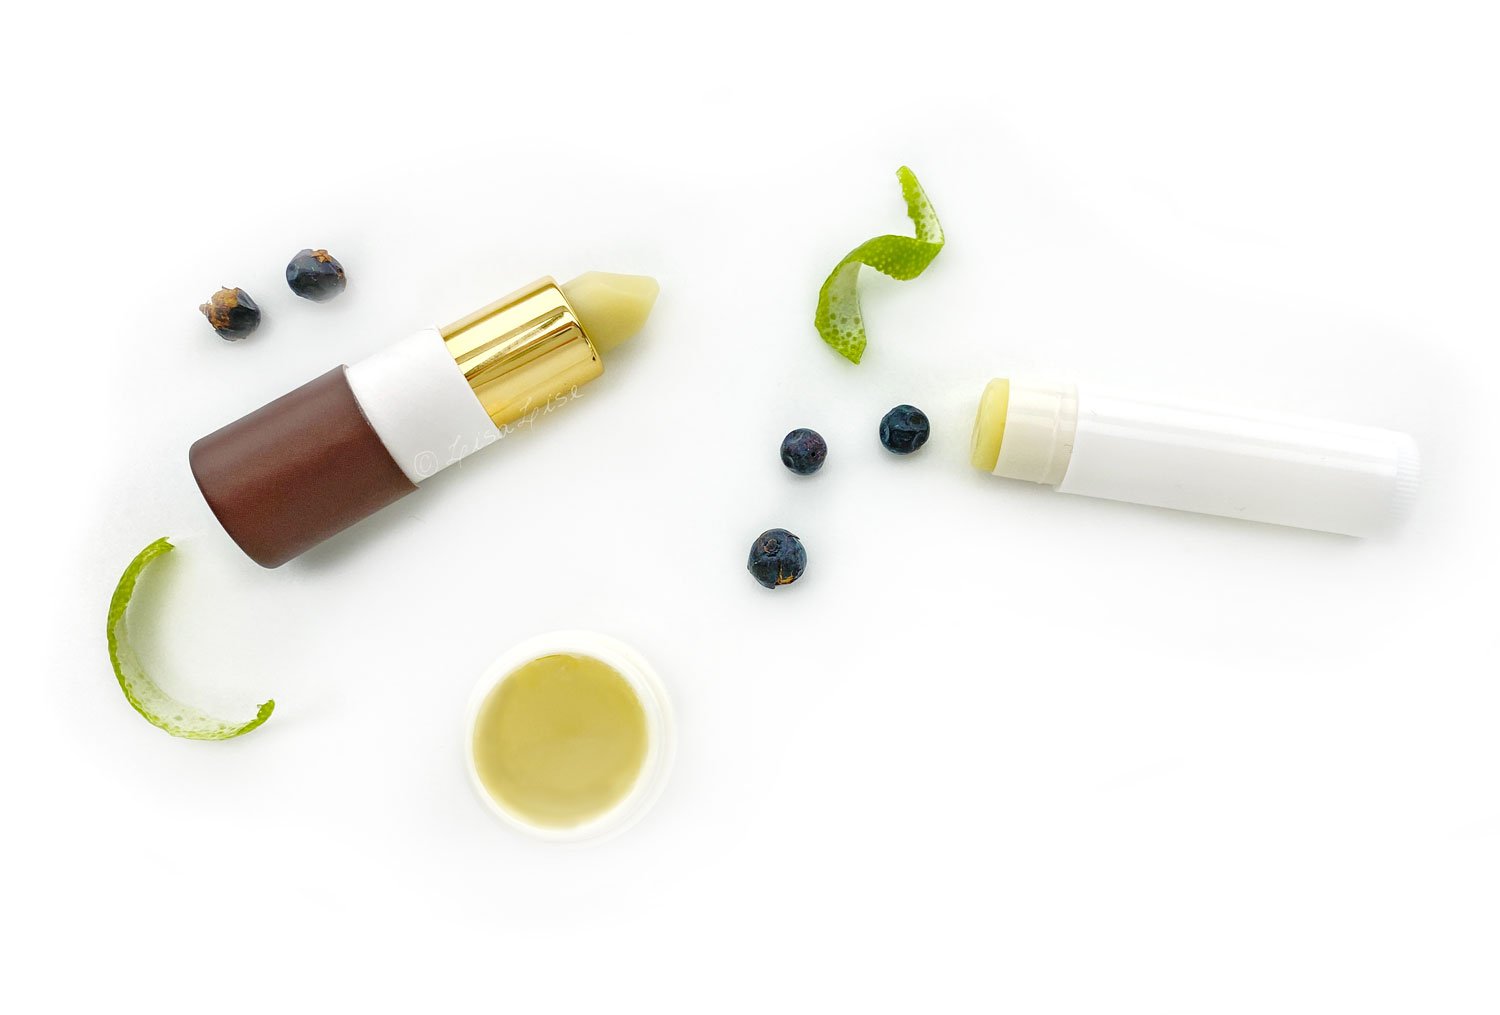
The star of this tutorial is making the flavour oil (which is super for several different products), but I’ve also created a couple of lip balm formulas to use the flavour oil in: a vegan version and a version featuring beeswax.

Wouldn’t you know the balms also took a bit longer than expected to get right (I’m looking at you vegan waxes), but as it turned out, quite a bit of it was solved when I got the flavour oil right.

Does this sound complicated? Well, before I had figured out how to do it, it was, but when you know how to do it, it’s not that complicated. (Isn’t that true of so many things?)

Are you a little curious about getting busy making your own?

Click the picture below to read more.

PS: The formulas for both of these balms as well as the flavour oil are free for LisaLise Club members. If you think you might want to check out becoming a member, click the picture below.

How to Apply Face Oil

Lise

A lot of people have asked me what's so special about putting oil on your face.

My answer is always the same: a properly blended face oil (or serum as some prefer to call it) will nourish, soften, balance sebum (helping either very dry or very oily skin), strengthen the underlying cellular layers, fight wrinkles, help heal scars and acne, and help firm the skin.

(not all at once, but almost)

A properly applied oil will not leave your face feeling greasy or oily, but will simply melt into your skin and do its work, providing you with the perfect base for your daily moisturiser, or the perfect base for the rest of your day without the addition of any other products. In later years, I have been pretty basic in my use of skincare products and my morning routine ends with the application of my current face oil blend.

After having used face (and body) oils for years, I fully understand the ancient Egyptians appreciation of topically-applied oils for health and well being. They literally do feed your skin and leave it feeling silky smooth.

There are many ways to apply a face oil, but today I’m sharing my personal favourite method. This may sound/read like it is complicated, but it takes around a minute to do.

Start with freshly cleansed skin that is still slightly damp.

  1. Drop 6-12 drops face oil into the palm of one hand and quickly rub palms together so it is evenly dispersed. Be sure to include your fingertips

  2. Apply to your face in light, upward strokes, starting with the cheeks and moving upward and outwards towards the temples and hairline

  3. Tap gently under the eye area

  4. Place a finger on either side of the bridge of the nose and move outwards along the eyebrows

  5. Move to the forehead with gentle upward strokes

  6. Pinch along your jawline lightly, starting from the chin and working outwards towards each ear.

  7. Finish with your neck in gentle, upward strokes

  8. Check the mirror for awesome looking skin.

Do Tell

Are you a fan of face oils? What is your favourite application method?

PS: The e-books below (available in both Spanish and English) have formulas for facial oils for all types. The books are also very beginner-friendly.

Club Highlights

Members of the club get a 30% discount on all e-books, free formulas, loads of tips, and access to exclusive content not available anywhere else. Think you might want to join? Click the picture above to see what the Club has to offer you!

Rose-Infused Oil With the Cold Infusion Method

Lise

Today, I'm going to show you how I make cold-infused rose oil. And if you decide to make your own, I'll show you how to use the leftovers to make another product in an upcoming post.

Are you a little excited?

Excellent!

Let's get busy!

The Rose Quest

Apart from being a major fan of rose hydrosol, essential oil, powder, wax, and every other imaginable kind of rose I can get my hands on, I have also experimented with infusing rose into different fixed/carrier oils for quite some time.

Powder, dried petals, and dried buds of different types from a variety of different suppliers around the globe have made their way into my infusion jars.

The reason is simple.

I've been on a quest to

  • find which precise combination of oil and rose type produce the most fragrance

  • find optimal infusion time

This is admittedly a self-appointed 'against-all-odds' kind of a challenge. A cold oil infusion with rose doesn't generally produce much in the way of scent.

But, on occasion I have produced a very discernible and pleasant fragrance. And every good result has inspired me to continue and try to optimise even further.

So here are a few of my best cold infusion tips.

Infusing Oil with Dried Rose: Optimising the Fragrance

The solution is deceptively simple: use quality raw materials from start to finish. There is, of course, a hard part or this wouldn't have been an ongoing quest.

The hard part is finding the roses.

Now, I know there are a lot of suppliers who deliver top quality, but there's an additional factor.

Even though we are infusing dried material, we are looking for the freshest (read: most freshly-harvested) and most recently dried material. And that's the hard part, because the really fragrant rose types have a short season.

Therefore, if you are not growing, processing, and drying your own roses, your best bet is to source from producers of the raw material.

In my experience, many producers of dried roses also happen to be distillers of hydrosols and essential oils. Look for a company that specialises in rose products. Not only are they the folks who will be able to deliver the goods, but they are also passionate about what they do and therefore knowledgeable about the material.

Which roses are the most fragrant?

  • Rosa damascena (damask roses)

  • Rosa Centifolia (cabbage roses)

You could in principle use any roses you choose, but if fragrance is your goal, look to these first.

That said, I've also had some pretty good results with dogwood roses/wild roses (rosa canina) when I have had occasion to forage and dry them myself.

Which Oil to Use

As for oils, there are numerous possibilities that will provide a good result, but as a general guideline choose an oil that has

  • Long shelf life

  • Neutral scent

  • Function you like, want, and need

  • Skin feel you like, want, and need

There are several oils that fit this category. My personal faves are

  • Sweet Almond oil

  • Apricot Kernel Oil

  • Jojoba

  • Fractionated Coconut Oil*

  • Castor Oil

*this oil has no nutrients to offer in the way of skincare, but does have a very long shelf life and is quite forgiving to work with

Feel free to use any oil you prefer, but if you are on a fragrance-capturing quest, start with something from the list above.

So, now that you have sourced your dried roses and chosen your oil, you're ready to get busy infusing!

Here is the formula:

LisaLise's Rose Infused Oil

Ingredient Percent
Oil of Choice 84.5
Dried Rose 15.0
Vitamin E Antioxidant 0.5

Method

Choose a container size that fits with your batch to avoid too much 'air headroom' in the jar.

  1. Weigh ingredients

  2. Place ingredients in a sanitised container

  3. Place lid on container and label with date and contents

  4. Allow to infuse for 4-8 weeks at room temperature. Place the container where the temperature does not fluctuate very much. Some prefer placing a cloth of some type over the container.

  5. Agitate the container daily (and tell it how pretty it is to make it feel good)

  6. Strain through tightly woven cloth (muslin or layers of cheesecloth)

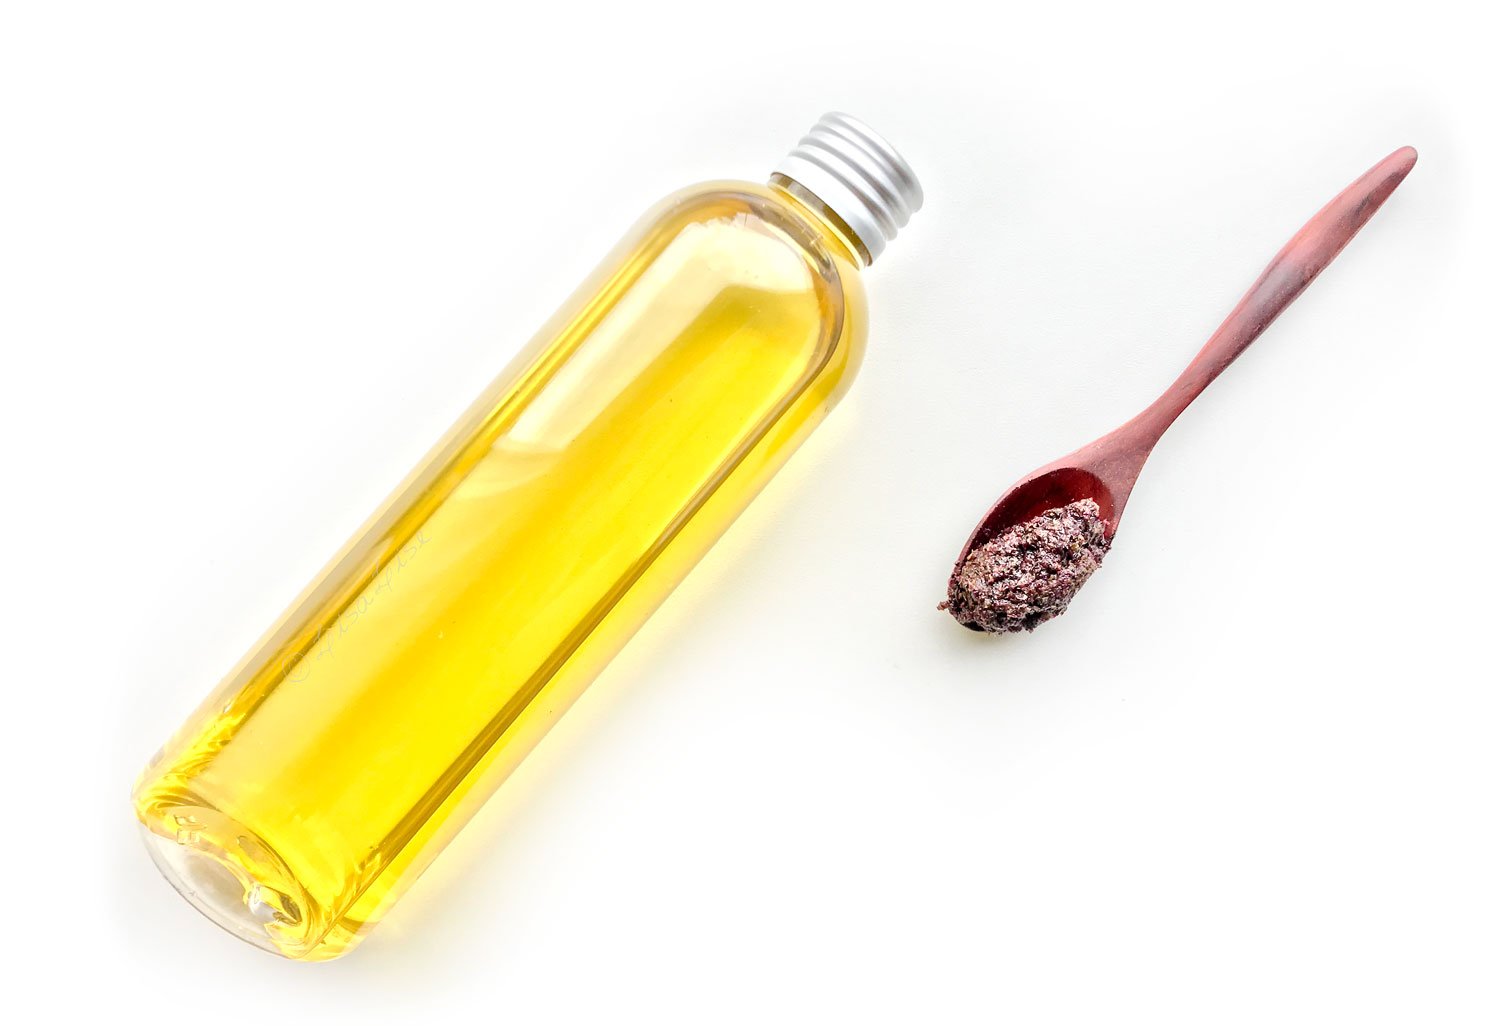
Pictured above: organic sweet almond oil infused with rose. That golden color came about after 6 weeks of careful pampering (read: daily agitation and whispering sweet nothings at the infusion in progress).

Coming Up

Next time we get busy with rose, we'll use the leftovers from the infusion to make a brand new product.

Do Tell

Have you been successful capturing the scent of roses in an oil infusion? Please feel free to drop a comment below!

Want more oil infusion fun? The book below shows you how to make oil infusions with the heated method (as well as how to make your own stunning balms). Click the picture to read more.

The Versatility of Formulating Bi-Phase Products

Lise

I’ve gotten some great feedback as well as questions from folks since my latest e-book on Bi-Phase Cleansers came out. Thank you all for your input! A few people have asked if I had any additional bi-phase publications in mind (read on) but I’ve also gotten questions along the line of ‘what does bi-phase mean?’

That’s a perfectly relevant question, so let’s start with what bi-phase means.

In ‘formulator speak’, cosmetics are made with phases. Now, I suppose the term could have been steps, sections, or anything else, but as it happens, phases won.

How Phases Work

If you look at a formula for any cosmetic, each phase is described as a step to be followed as part of the process of making that product.

Some cosmetic products consist of only one phase. These are often products that are cold-mixed (mixed together at room temperature). Some examples: bath salts, (some) exfoliating scrubs, skin mists, body oils etc.

Some cosmetics are made with numerous phases.

A cream, lotion or any kind of emulsion consists of both a water phase (with water soluble ingredients) and an oil phase (with oil soluble ingredients). Each phase is dealt with separately until they are ready to be combined into the finished product.

And as we all know, oil and water don’t voluntarily mix, so every lotion or cream has an ingredient (or 2) to help the oily bits mix with the watery bits and stay mixed.

How Bi-Phase Works

Any bi-phase product (cleanser, eye-makeup remover, serum) consists of two visible phases: one with oily ingredients and one with watery ingredients.

What makes a bi-phase product stand out from most other oil-and-water containing cosmetics is there are purposefully no ingredients added to bind the oils with the waters, so the 2 phases will stay separated unless they are shaken together.

Bi-phase products are meant to be shaken together just before use, where the oils and waters will mix just enough to be dispensed from the bottle. As soon as the bottle is left to stand, on the oils and waters immediately separate.

And that’s where the formulating fun comes in.

Color Play

The visual experience is an important part of creating any bi-phase product. Apart from choosing ingredients for their efficacy, the formulator must also consider the way the 2 phases are going to look – both when they are separate as well as when they are shaken together.

If you have a red oil phase and a blue water phase, you’re going to get a cool shade of purple when you shake the product until it magically separates again when you put the bottle down.

Pictured above are a few of the bi-phase cleansers I created while writing the book. It was really hard not to get carried away with the color combinations! There are so many possibilities for both oils and waters that I ran out of containers long before I was finished playing working.

Easy to Make - Even Bi-Phase Serums

Bi-phase products have additional advantages: not only are they are easy to make, but there are endless ways of customising them. Depending on the ingredients you choose, a bi-phase product can be anything from an eye make up remover to a cleanser - and even a face serum.

Because the Bi-Phase Cleanser book is a formulation template, it already contains the information needed to create any bi-phase product - even a serum.

What separates a cleanser from a serum? The choice of ingredients! A serum will in all likelihood contain pricier and more luxurious oils and waters, but can also feature any actives you may choose to include.

So, although it could be tempting to publish more e-books about bi-phase formulating, I fear I would be repeating myself with a book on bi-phase serums, but perhaps a single formula of some type could be considered. Hmm, that’s not a bad idea.

Thanks for your questions and inspiration!

Do Tell

Have you ever made a bi-phase product? What did you make? Please share in a comment below.
How to Make Vanilla Oil Using the Sun Infusion Method

Lise

Over the years, I've made many oil infusions using numerous kinds of materials and methods. Today I'm going to share a classic, beautifully fragrant multifunctional oil with you using a classic method.

Sun infused vanilla oil is easy to make, fun to do, and smells so delicious it's hard not to love.

Here's what you need

  • Vanilla beans

  • A neutral base oil (I typically use Sweet Almond Oil or Apricot Kernel Oil)

  • Sanitised jar with tight-fitting lid (canning jars are perfect)

Raw Materials Matter

I know it can be tempting to buy bargain-priced ingredients - especially when it comes to vanilla beans. Bargain beans cost far less than the pricey stuff. My pocketbook can attest to this fact.

But the good stuff is pricier for a reason. I've tested this several times.

Here's a vanilla bean comparison test.

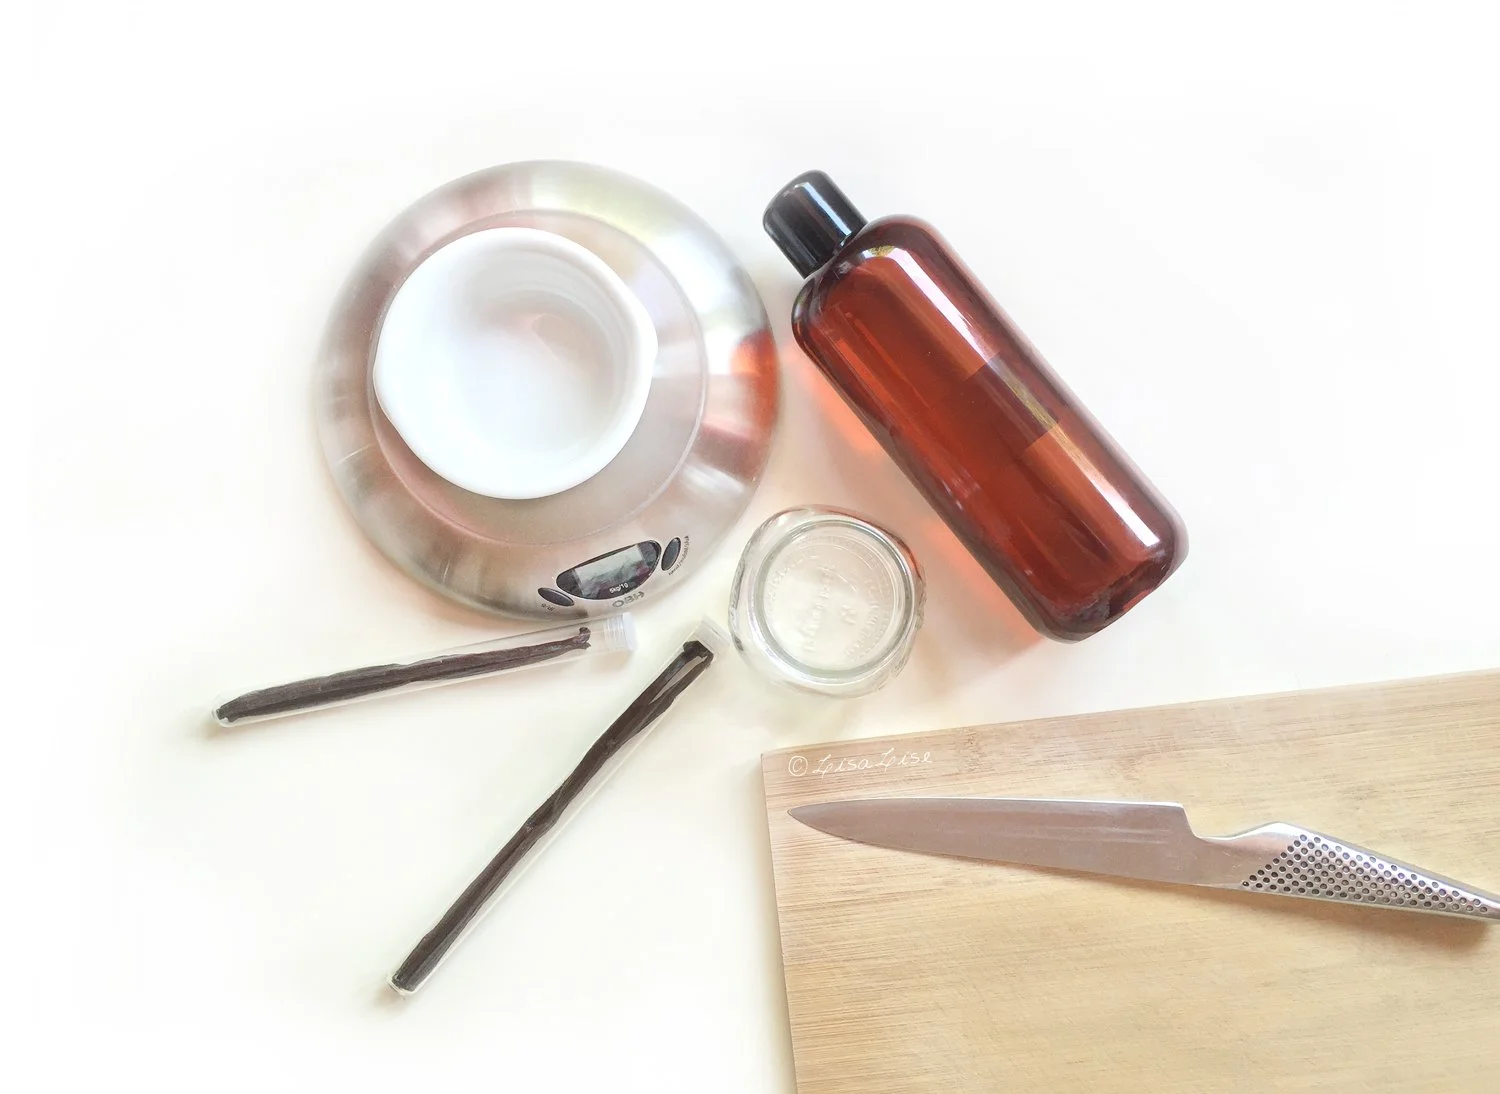
The bottom (bigger) vanilla bean costs over twice as much as the 2 top beans. The beans at the top definitely smell like vanilla, and if I hadn't done a side by side comparison, I might never have been the wiser.

Here's how I put them to the test.

Sniff Test

This test was quite simple: Sniff, then note down immediate reaction

Bargain Beans: yup, that's definitely vanilla

Pricey Beans: intoxicating vanilla-delicious nose candy

Slice Test

On the left: pricey beans after slicing

On the right: bargain beans after slicing

The beans were cut right where you see them. The plump juiciness of the pricier bean is pretty evident when you look at the cutting board (and the nose test is even more evident during the slicing process)

Let's Make Sun-Infused Vanilla Oil

  • 1 part vanilla beans

  • 10 parts oil (I used sweet almond)

Measure your ingredients by weight for accuracy. I made small batches for this comparison test using 5 grams of vanilla to 50 grams of oil for each batch.

The Sun Infusion Method

  1. Slice beans

  2. Place in sanitised jar

  3. Pour oil into jar

  4. Seal jar

  5. Place the jar in a windowsill or similar sun-warmed spot to infuse (temperature 24° - 28°C / 75° - 82°F).

  6. Agitate daily

  7. Infuse for 10-14 days

  8. Strain

Note: If you live in a very warm climate, you may need to place your container away from direct sunlight (so it achieves the mentioned temperature rather than 'cooks' due to too much warmth).

You: That timeframe sounds wrong! Normally, sun-infusing oils takes WEEKS! Not a mere 14 days?!

Me: In this particular instance, normal rules are out the window. You see, vanilla beans are magical. They need only 14 days (and the right temperature) for a good sun infusion.

Honest.

Now, to be fair, you could leave your vanilla beans as long as you please, but in my experience, 14 days of sun-infusion provides the perfect depth of fragrance without ‘taxing’ the oil. It is a bit of a balancing act to use the sun infusion method optimally.

Straining and Batch Comparison

Here's a straining tip that is particularly useful for vanilla-infused oil.

Use 2 large tea filters (the kind large enough to make a pot of tea)

  1. Place one tea filter inside of another

  2. Roll the top down a bit so the filters do not risk separating.

  3. Place the filters inside a clean container (beakers are perfect because you can pour directly from them when you're done)

  4. Pour the oil into the filters

  5. Lift the filter bag up and let strain completely

If necessary, filter again (it usually isn't necessary if you 'double bag')

Transfer the oil to your final container

Rejoice at your expertly strained sun-infused vanilla oil

TIP

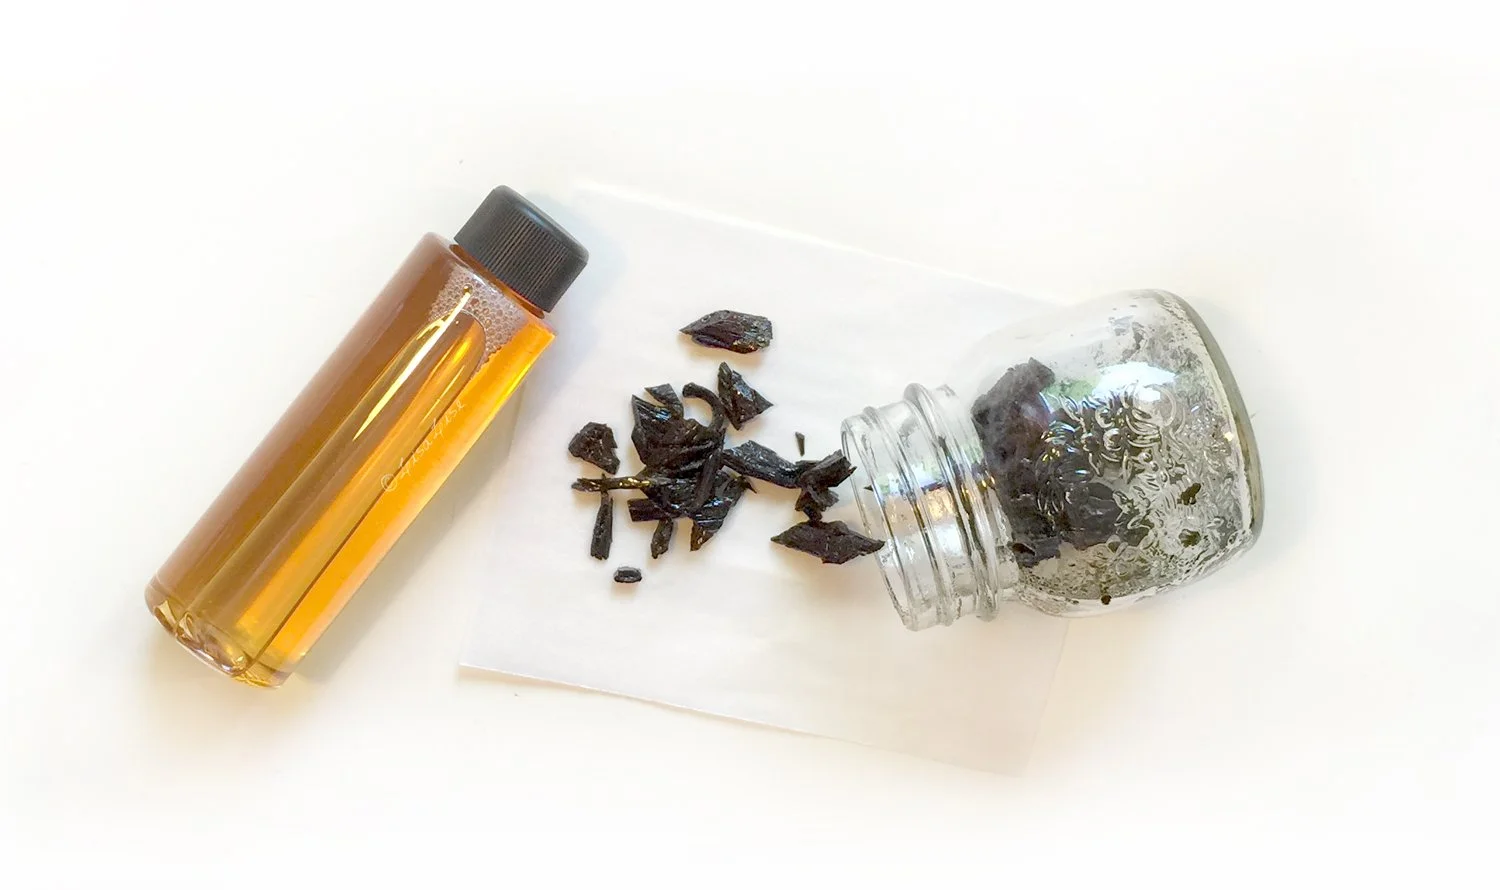
There is no need to discard the vanilla bits just yet. Grind them up and use them in a batch of cookies, or pop the well-strained bits into a jar of sugar and leave to infuse. Shake the jar regularly. The sugar can be used in baked goods such as cookies or cakes.

Comparison Test

I'll bet you have guessed which infusion came out best, and you would be absolutely right. The less expensive vanilla beans produced a very nice vanilla-scented oil, but the pricier vanilla beans produced a decadently rich, warm, luxuriously fragrant oil.

Where to Use Vanilla Infused Oil

It's almost more fitting to ask where not to use this lovely oil. Vanilla-infused oil is a fabulous addition to

  • Body Lotion

  • Lip Balm

  • Body Butter

  • Body Balms

  • Face Oil

  • Body Oil

USAGE TIP

While this fragrance is absolutely decadent in small amounts, it can be a bit overwhelming if it is the dominant scent in a product that is applied all over the body. Not everyone likes to smell like vanilla cookies fresh out of the oven.

To avoid the cookie scent profile, try combining your vanilla-infused oil with a few choice essential oils to make a more complex fragrance for your body oils and butters.

Enjoy!

TIP

If you follow good manufacturing practice, it is possible to use your handcrafted extracts in cosmetics for sale. The e-book below can help you get set up and organised.

Also available in Spanish!