Contact LisaLise

Please use the form on the right to contact LisaLise.

Majestic Court 5, St. Mary's Street
Mellieha
Malta

LisaLise offers online education of natural plant-based cosmetics via e-books and courses

LLBlogHEADER2020-3.gif

Shop Blog

A look inside the LisaLise natural cosmetics lab with free formulas, DIY how-to's, ingredients tips, sneak peeks, and more.

Filtering by Category: Perfume

Itchy Eyebrows

Lise

Years ago, when someone asked me why I made all of my own make-up, I suddenly realised it all started because of my itchy eyebrows.

Have you ever had itchy eyebrows? Constantly?

I did.

Every time I scratched (which you can't help doing when something itches), a little more of the brow color so carefully applied that morning would either come off under my nails or get smudged around the brow area. By lunchtime, every last bit of color would be relocated to other parts of my face and fingers.

At one point, I had to face the uncomfortable fact that it just might be the eyebrow product I was using that was causing the itching.

Ok, that must be solvable. I'll just go shopping and pick up a different brand – again, and again, and again, and again.

This One Is Guaranteed Itch-free, Ma'am

It's a little weird having itchy eyebrows – not your typical everyday thing. You invariably start to feel a little 'difficult' when you're standing at a make-up counter trying to figure out whether or not this product is going to be better than last 6 brands you tried without luck.

After a while, you tend to get a little testy with the sweet young thing behind the counter who has never experienced itchy eyebrows and is promising you 'this brand would never make your eyebrows itch' – all the while noting the forced smile and expression of disbelief in her eyes.

Well, who the heck could blame her? If it were me, I would have sworn one of my friends had put someone up to playing a gag on me.

Eureka! I Found One!

The one time I came home with a product that didn't make my eyebrows itch, I was certain all my problems had been solved.

Finally! Yes!

Life was perfect and itch free until I returned to purchase a new pencil a half year later.

"I'm sorry ma'am, that company decided to restructure and dropped their make-up line a half year ago" with an expression that clearly read 'which planet did you just drop in from?'

Arghh!!!

The Problem Revealed

The ingredients list on the product from the 'restructured company' – by chance or by design – showed no additional of perfume in their eyebrow pencils.

I started comparing ingredients lists.

All the other brands had perfume.

Now, maybe there's some kind of eyebrow secret that they've been hiding from me, but I gotta ask – perfume in an eyebrow pencil?!

Perfume?!

Do eyebrows have some disgusting smell that needs masking? Do they need perfume?? I don't get it!!

And So Began my Make-up Making Journey

This was the starting point for my make-up endeavours. And I haven't had itchy eyebrows since.

I ended up making all of my own make-up and have really enjoyed experimenting with the different ingredients and color possibilities.

Some of the make-up items I've made over the years include:

  • Eyeshadows (both loose and pressed powder as well as cream)

  • Foundation (powder, cream, lotion & stick with various types of coverage)

  • Highlighter (powder, cream, stick)

  • Blush (powder, cream, stick)

  • Lip color (gloss, lipstick, tint)

  • Mascara (wand -- I still want to do a cake mascara just for the fun of it)

  • Brow color (pressed powder, solid cake, pencils)

Make-up is fun to do, but admittedly also takes a bit of patience and practice. It really helps if you have a good eye for color as well.

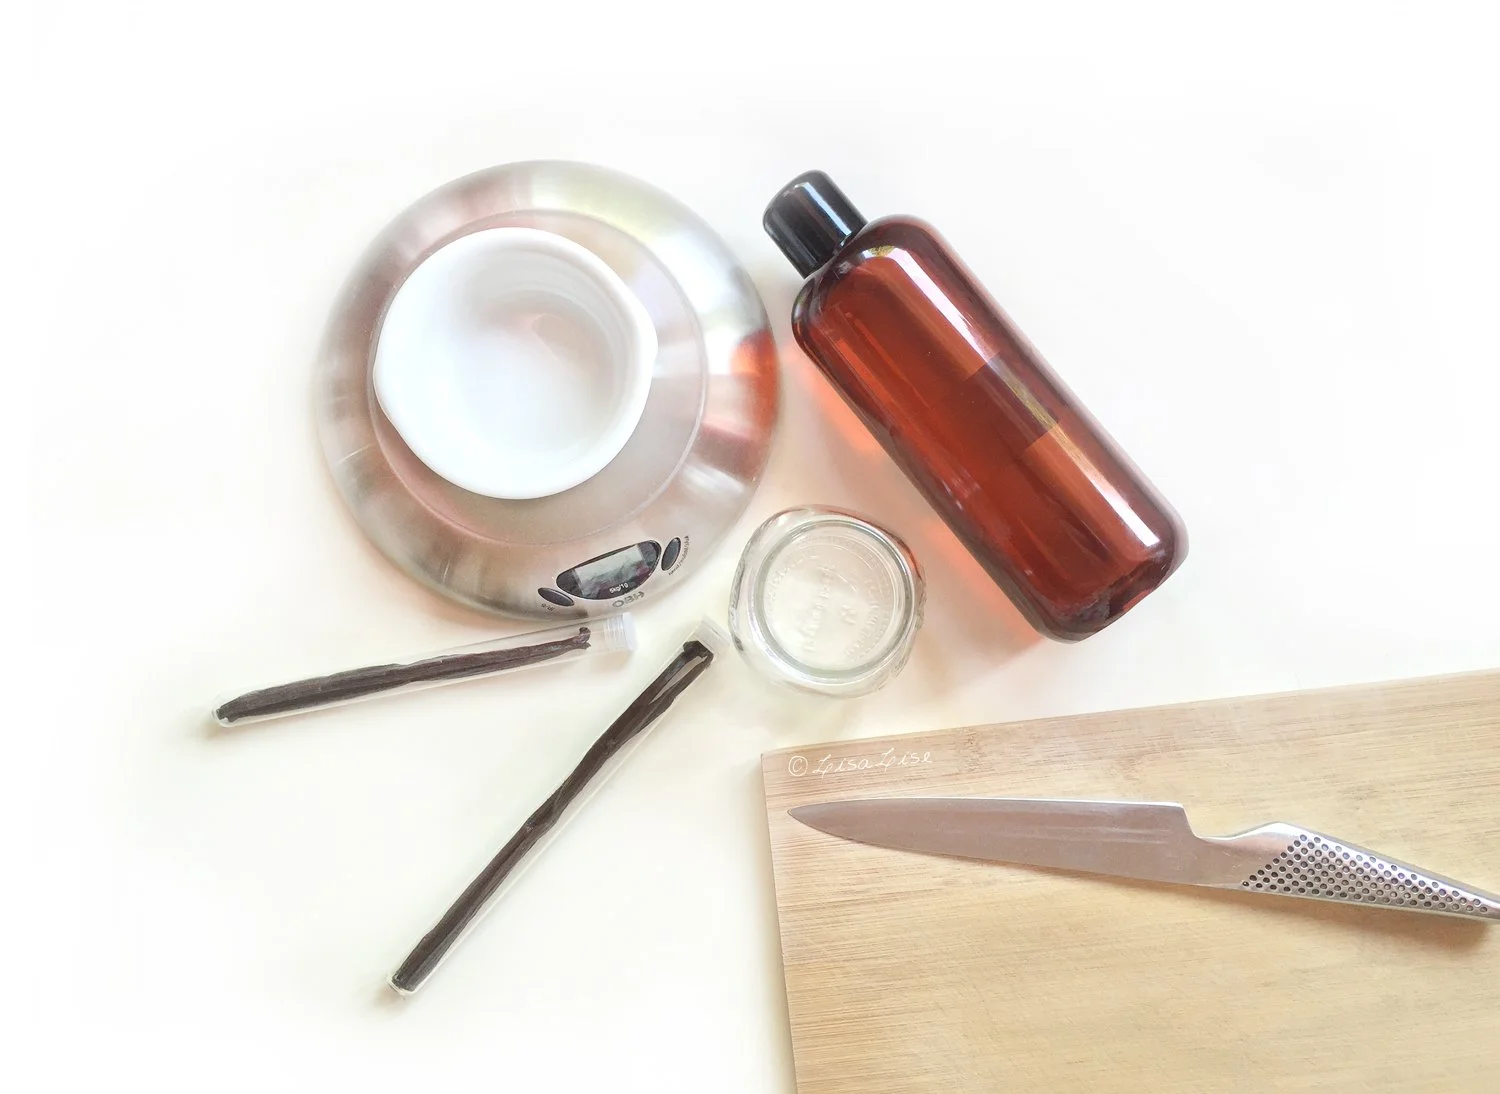
After some years, I decided to see if it was possible to drop the minerals and use exclusively plant-based pigments and still achieve an acceptable level of color stability. Needless to say, that started a whole new exciting (but quite lengthy) journey that I'll get into in a future post.

Below is an easy lip and cheek tint formula using mineral pigments that is featured in the Working with Shea Butter book, but also available as a single formula.

How to Make Vanilla Oil Using the Sun Infusion Method

Lise

Over the years, I've made many oil infusions using numerous kinds of materials and methods. Today I'm going to share a classic, beautifully fragrant multifunctional oil with you using a classic method.

Sun infused vanilla oil is easy to make, fun to do, and smells so delicious it's hard not to love.

Here's what you need

  • Vanilla beans

  • A neutral base oil (I typically use Sweet Almond Oil or Apricot Kernel Oil)

  • Sanitised jar with tight-fitting lid (canning jars are perfect)

Raw Materials Matter

I know it can be tempting to buy bargain-priced ingredients - especially when it comes to vanilla beans. Bargain beans cost far less than the pricey stuff. My pocketbook can attest to this fact.

But the good stuff is pricier for a reason. I've tested this several times.

Here's a vanilla bean comparison test.

The bottom (bigger) vanilla bean costs over twice as much as the 2 top beans. The beans at the top definitely smell like vanilla, and if I hadn't done a side by side comparison, I might never have been the wiser.

Here's how I put them to the test.

Sniff Test

This test was quite simple: Sniff, then note down immediate reaction

Bargain Beans: yup, that's definitely vanilla

Pricey Beans: intoxicating vanilla-delicious nose candy

Slice Test

On the left: pricey beans after slicing

On the right: bargain beans after slicing

The beans were cut right where you see them. The plump juiciness of the pricier bean is pretty evident when you look at the cutting board (and the nose test is even more evident during the slicing process)

Let's Make Sun-Infused Vanilla Oil

  • 1 part vanilla beans

  • 10 parts oil (I used sweet almond)

Measure your ingredients by weight for accuracy. I made small batches for this comparison test using 5 grams of vanilla to 50 grams of oil for each batch.

The Sun Infusion Method

  1. Slice beans

  2. Place in sanitised jar

  3. Pour oil into jar

  4. Seal jar

  5. Place the jar in a windowsill or similar sun-warmed spot to infuse (temperature 24° - 28°C / 75° - 82°F).

  6. Agitate daily

  7. Infuse for 10-14 days

  8. Strain

Note: If you live in a very warm climate, you may need to place your container away from direct sunlight (so it achieves the mentioned temperature rather than 'cooks' due to too much warmth).

You: That timeframe sounds wrong! Normally, sun-infusing oils takes WEEKS! Not a mere 14 days?!

Me: In this particular instance, normal rules are out the window. You see, vanilla beans are magical. They need only 14 days (and the right temperature) for a good sun infusion.

Honest.

Now, to be fair, you could leave your vanilla beans as long as you please, but in my experience, 14 days of sun-infusion provides the perfect depth of fragrance without ‘taxing’ the oil. It is a bit of a balancing act to use the sun infusion method optimally.

Straining and Batch Comparison

Here's a straining tip that is particularly useful for vanilla-infused oil.

Use 2 large tea filters (the kind large enough to make a pot of tea)

  1. Place one tea filter inside of another

  2. Roll the top down a bit so the filters do not risk separating.

  3. Place the filters inside a clean container (beakers are perfect because you can pour directly from them when you're done)

  4. Pour the oil into the filters

  5. Lift the filter bag up and let strain completely

If necessary, filter again (it usually isn't necessary if you 'double bag')

Transfer the oil to your final container

Rejoice at your expertly strained sun-infused vanilla oil

TIP

There is no need to discard the vanilla bits just yet. Grind them up and use them in a batch of cookies, or pop the well-strained bits into a jar of sugar and leave to infuse. Shake the jar regularly. The sugar can be used in baked goods such as cookies or cakes.

Comparison Test

I'll bet you have guessed which infusion came out best, and you would be absolutely right. The less expensive vanilla beans produced a very nice vanilla-scented oil, but the pricier vanilla beans produced a decadently rich, warm, luxuriously fragrant oil.

Where to Use Vanilla Infused Oil

It's almost more fitting to ask where not to use this lovely oil. Vanilla-infused oil is a fabulous addition to

  • Body Lotion

  • Lip Balm

  • Body Butter

  • Body Balms

  • Face Oil

  • Body Oil

USAGE TIP

While this fragrance is absolutely decadent in small amounts, it can be a bit overwhelming if it is the dominant scent in a product that is applied all over the body. Not everyone likes to smell like vanilla cookies fresh out of the oven.

To avoid the cookie scent profile, try combining your vanilla-infused oil with a few choice essential oils to make a more complex fragrance for your body oils and butters.

Enjoy!

TIP

If you follow good manufacturing practice, it is possible to use your handcrafted extracts in cosmetics for sale. The e-book below can help you get set up and organised.

Also available in Spanish!

Jade Grows Her Own Perfume

Lise

Jadebox-1500.jpg

Pictured: a sampling of limited-edition, bespoke, hand-crafted, all-natural perfumes that I can barely describe with words other than seductive, mesmerizing, and absolutely magical.

I have been following the maker of these products for several years. To be honest, I had no idea it was even possible to grow your own perfume ingredients, but that’s exactly what Jade of Jade Forest Co does. From seed to perfume - Jade creates every single ingredient she uses to make her fragrances.

After numerous requests, I finally persuaded her to let me interview her about her work. Please welcome Jade Violet.

Jade Violet, founder of JadeForest Co and Seed to Perfume.

Jade Violet, founder of JadeForest Co and Seed to Perfume.

Welcome, Jade! You plant, grow, harvest and extract every single component of every fragrance you make. How does one get started doing this?

It's been a lifelong journey for me. I've always had an affinity for nature and botanicals. Growing up on the edge of the Forest, the woods were my playground.

My parents are both avid organic gardeners. I loved helping in the garden as a young girl, my favorite chore was assisting my Mom with picking herbs, and readying them for storage for the Winter. I loved being in the middle of the cloud of herbal fragrance surrounding us, and smelling the lingering scent on my fingertips. We often created our own natural remedies and our plates were full of good vegetables, and healthy foods, lovingly prepared with herbs. Lessons about plants were taught in the garden, kitchen, and on our frequent nature walks through the woods. It was our way of life. This carried through into adulthood, and made me who I am today.

The perfume adventure began in college. I had many plants in pots on our little deck, and would create all natural incense blends to perfume the house. I kept a journal, planning my future garden with notes about all the lovely fragrant flowers I'd plant.

After college I met my husband, Dustin, and a few years later our daughter Iyla was born. We purchased our first house with beautiful fields and forest, knowing it was the perfect place to call home because it included an overgrown garden of fruit trees and bushes, nut trees, perennials, and bulb plants, all planted by the original owners. It needed a lot of care, but with our nurture and help, bloomed and fruited into a gorgeous permaculture garden. We brought in plants from our previous rental I'd collected over the years – a daunting task.

The following year, we began adding more plants and flowers and planted our flower beds & garden, and an herb & vegetable garden. I had already begun my research and experiments into creating extracts from the native plants and garden plants that surrounded us at our previous home.

I am self-taught, and have learned the skills through research and experimentation. Anyone who knows me is not surprised I set out on a mission to capture the scent of my flowers. I've always had a very sensitive nose, which was buried in flowers a lot of the time.

Jade Forest Co is situated in New England USA.

Jade Forest Co is situated in New England USA.

Your property is situated next to a forest where you also harvest ingredients. Could you share a bit about the Jade Forest name and concept?

In the very beginning, I named my brand "Bee and Blossom" because we have a small, organic, treatment free honey bee apiary, but it never felt like it was the right name. The forest has my heart. My name is Jade Violet, and we live in the middle of the pristine New England forest, so the two just came together, and the "Co." is of course my husband Dustin, and my daughter Iyla, who help me with the many garden chores and tasks.

Our trademarked tag line "Seed To Perfume" ™️, just sort of came into existence when I was explaining exactly how my perfumes are created.

You are practiced in numerous extraction processes: infusion, tincturing, enfleurage, and more. How did you learn all of these methods?

I am completely self taught, and over the last decade I have read every book, blog, and resource I could find on natural perfumery and extractions. There is not a whole lot of information to be found on ancient and traditional perfume techniques, and so much of what I have learned comes from experimentation and trial and error.

I have started to create a resource for other natural perfumers who would like to try creating their own perfume materials on my website, SeedToPerfume.com, which is separate from my shop website JadeForestCo.com. (links below)

A peek in the lab with an enfleurage in process. The base is also handcrafted and includes beeswax from Jade and Dustin’s organic, treatment-free apiary.

A peek in the lab with an enfleurage in process. The base is also handcrafted and includes beeswax from Jade and Dustin’s organic, treatment-free apiary.

Every perfume you make is limited-edition and you have only relatively recently made your products available for sale. Could you share a bit about how your shop works?

As the seasons come and go, so do the flowers and botanicals I work with. The last few years I have started to create in a pattern; create my extractions during Spring and Summer, and come Autumn and Winter, (which is freezing cold and snow-filled here in Massachusetts), I work in my lab creating my perfumes from the extractions. It takes a lot of plant material to obtain a small amount of extract, and once the extractions are gone, they won't be created again until the following season.

My creativity doesn't allow me to stick to a set line of products as I always have new concepts floating around in my mind just waiting to be created (and notebooks full of ideas!).

That’s why you’ll find items such as naturally-scented incense, smudge wands, handcrafted soap & skincare, hand-blended organic teas from wildcrafted and garden botanicals, artisan distillations of hydrosols and essential oils, and much more in the shop at any given time.

For example, our Perfumed Honey is made with honey from our own hives that has been infused with our own organically grown botanicals, and fermented to create a shelf stable honey infusion. They are absolutely delicious and smell wonderful too, thus the name Perfumed Honey.

Because everything is limited edition, there’s always something new in the shop. In the near future, I will be releasing handcrafted "Perfumed Chocolates", and scented inks.

You’ll find something new with every visit - and I also offer samples of most of my perfumes.

Visit Jade Forest Co hereVisit Seed to Perfume here

Jadehand-1500.jpg