Contact LisaLise

Please use the form on the right to contact LisaLise.

Majestic Court 5, St. Mary's Street
Mellieha
Malta

LisaLise offers online education of natural plant-based cosmetics via e-books and courses

LLBlogHEADER2020-3.gif

Shop Blog

A look inside the LisaLise natural cosmetics lab with free formulas, DIY how-to's, ingredients tips, sneak peeks, and more.

Filtering by Category: ChitChat

Itchy Eyebrows

Lise

Years ago, when someone asked me why I made all of my own make-up, I suddenly realised it all started because of my itchy eyebrows.

Have you ever had itchy eyebrows? Constantly?

I did.

Every time I scratched (which you can't help doing when something itches), a little more of the brow color so carefully applied that morning would either come off under my nails or get smudged around the brow area. By lunchtime, every last bit of color would be relocated to other parts of my face and fingers.

At one point, I had to face the uncomfortable fact that it just might be the eyebrow product I was using that was causing the itching.

Ok, that must be solvable. I'll just go shopping and pick up a different brand – again, and again, and again, and again.

This One Is Guaranteed Itch-free, Ma'am

It's a little weird having itchy eyebrows – not your typical everyday thing. You invariably start to feel a little 'difficult' when you're standing at a make-up counter trying to figure out whether or not this product is going to be better than last 6 brands you tried without luck.

After a while, you tend to get a little testy with the sweet young thing behind the counter who has never experienced itchy eyebrows and is promising you 'this brand would never make your eyebrows itch' – all the while noting the forced smile and expression of disbelief in her eyes.

Well, who the heck could blame her? If it were me, I would have sworn one of my friends had put someone up to playing a gag on me.

Eureka! I Found One!

The one time I came home with a product that didn't make my eyebrows itch, I was certain all my problems had been solved.

Finally! Yes!

Life was perfect and itch free until I returned to purchase a new pencil a half year later.

"I'm sorry ma'am, that company decided to restructure and dropped their make-up line a half year ago" with an expression that clearly read 'which planet did you just drop in from?'

Arghh!!!

The Problem Revealed

The ingredients list on the product from the 'restructured company' – by chance or by design – showed no additional of perfume in their eyebrow pencils.

I started comparing ingredients lists.

All the other brands had perfume.

Now, maybe there's some kind of eyebrow secret that they've been hiding from me, but I gotta ask – perfume in an eyebrow pencil?!

Perfume?!

Do eyebrows have some disgusting smell that needs masking? Do they need perfume?? I don't get it!!

And So Began my Make-up Making Journey

This was the starting point for my make-up endeavours. And I haven't had itchy eyebrows since.

I ended up making all of my own make-up and have really enjoyed experimenting with the different ingredients and color possibilities.

Some of the make-up items I've made over the years include:

  • Eyeshadows (both loose and pressed powder as well as cream)

  • Foundation (powder, cream, lotion & stick with various types of coverage)

  • Highlighter (powder, cream, stick)

  • Blush (powder, cream, stick)

  • Lip color (gloss, lipstick, tint)

  • Mascara (wand -- I still want to do a cake mascara just for the fun of it)

  • Brow color (pressed powder, solid cake, pencils)

Make-up is fun to do, but admittedly also takes a bit of patience and practice. It really helps if you have a good eye for color as well.

After some years, I decided to see if it was possible to drop the minerals and use exclusively plant-based pigments and still achieve an acceptable level of color stability. Needless to say, that started a whole new exciting (but quite lengthy) journey that I'll get into in a future post.

Below is an easy lip and cheek tint formula using mineral pigments that is featured in the Working with Shea Butter book, but also available as a single formula.


Test Your Cosmetic Brainchild Idea at Formulators Kitchen

Lise

The team at Formulators Kitchen has come up with something we have decided to call a Brainchild Consultation.

What on earth is a Brainchild Consultation you say?

I’m so very pleased you asked!

Brainchild Consultation

Imagine you have come up with an idea for a new shampoo, cream, nail polish, toothpaste, or any other personal care product but you aren’t sure of how to take the next step.

Now imagine being able to fly your idea by an experienced professional who will not only give you painfully honest feedback, but also ask the kinds of questions you hadn’t even thought about. You know, the tough questions that could make or break your project.

And then, after getting down to brass tacks and laying out all the bare naked truth, imagine that same experienced professional finishing up by rolling out as much constructive and useful advice a person with ages of industry experience can possibly muster - all to help you confidently move forward on your way towards realising your brainchild.

That’s exactly what you get with a brainchild consultation.

Does it sound a little scary? It might feel that way, but by the end of the consultation you’ll have a professional assessment of your idea along with a rough roadmap of what needs doing and where to go next.

To folks who might be up for this kind of scrutiny, a Brainchild Consultation might be just the thing.

“Every entrepreneur tells the story of how when they started, the experts told them that their idea would never work. The successful ones were spurred on to greater efforts to prove that they were right.”

Please visit this page to read a bit more about booking a Brainchild Consultation.

Want to meet the Team? We’re all available for your scrutiny right here.

The Story of the LisaLise Name

Lise

It came to my attention a while back that I have never written down the story of why LisaLise is called LisaLise.

And I wouldn't blame you if seeing an almost identical name spelled 2 different ways back to back brought forth thoughts of a split personality. There are times I have felt awfully split about my name.

But let's start at the beginning.

Foreign Born

A zillion years ago (last century) my recently married Scandinavian parents packed up and moved from Denmark to the USA. It wasn't long before their first American born child arrived (that would be me).

My dad, proud Norwegian that he was, wanted me to have a proper Norwegian name and suggested Gun-Britt.

(for real)

My Danish mom, fearful of schoolyard teasing (a girl named 'Gun'?!), insisted on a softer, more easily pronounceable (Danish) name: Lise.

She won.

(whew)

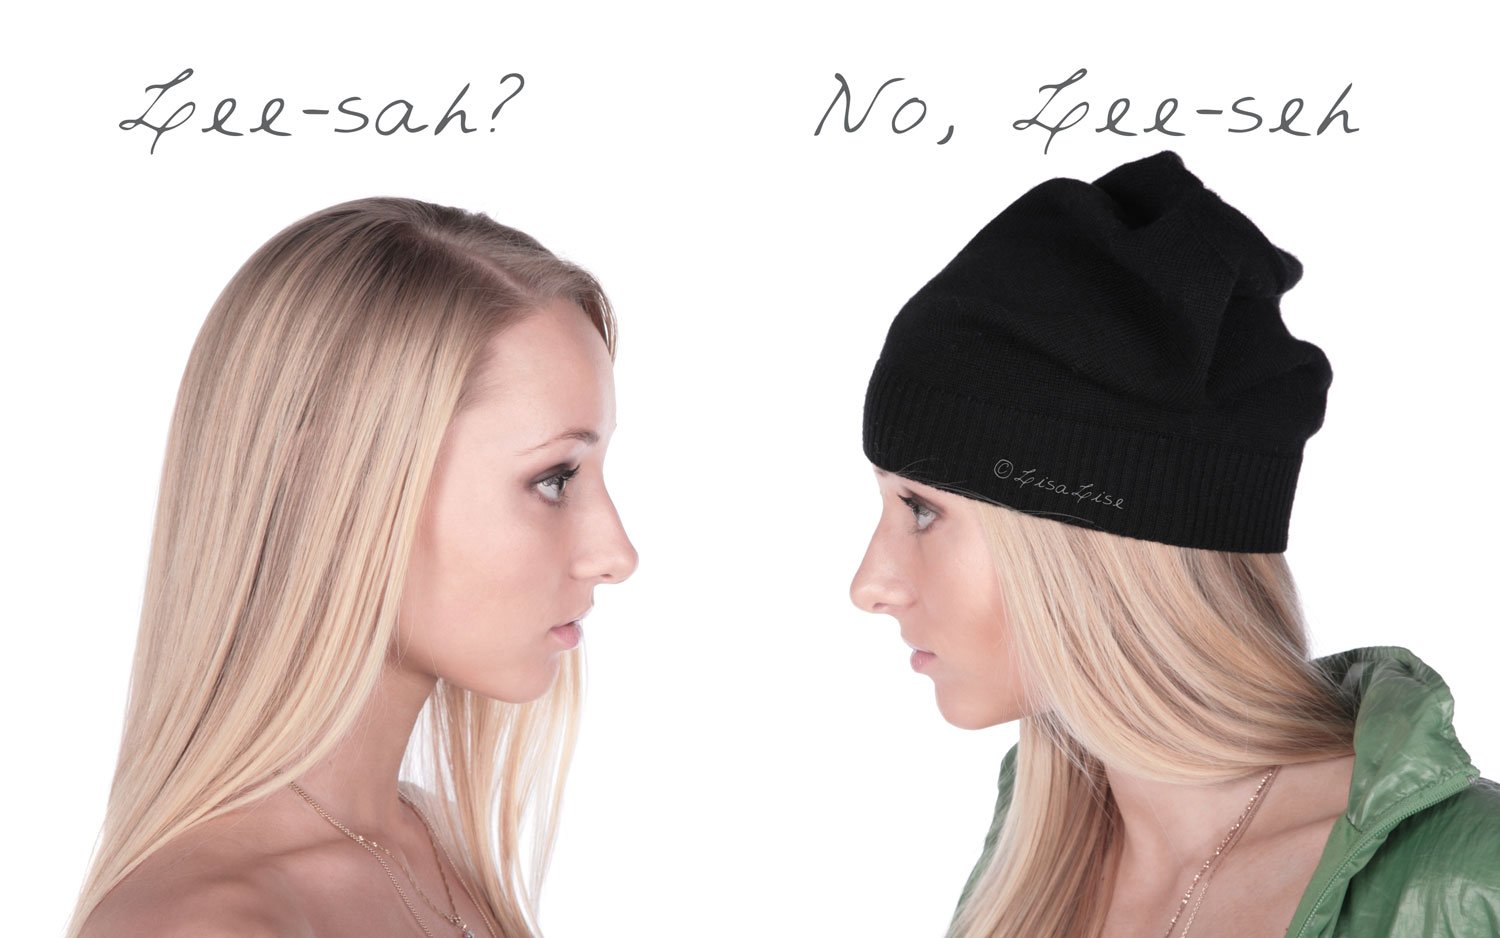
Little did she know that Americans would not pronounce the name Lise as every Dane pronounces it.

Little did she know this relatively common name – ending in 'e' instead of 'a' – would throw everyone for a loop and a half and cause all sorts of creative and highly imaginative pronunciations.

Forever.

Throughout my life I have heard

  • 'Leez'

  • 'Lee-sah'

  • 'Leese'

  • 'Lez'

  • 'Lis'

  • 'Liz'

or just 'huh?'

For years, I tried to explain and teach the Danish pronunciation (it's Lee-seh), but it got awfully tedious. To add a bit of insult to the injury, we moved around a lot in my youth, and more often than not, I was the 'new kid in school' having a brand new crowd of people to explain my name to.

I eventually gave up and just answered to any pronunciation and spelling.

My name became Lisa.

Nonetheless, my Danish roots were there - visible - every time my correctly spelled name was on paper.

Return to DK

In my late teens, I moved to Denmark. Once again, I became the 'new kid on the block'. But this time, there was something to be thrilled about. At long last, everyone would know how to pronounce my name!

Except.

I had just arrived from America.

And as luck would have it, the language of my childhood years had long since disappeared into the depths of my memory. It had to be re-learned.

And while I was re-learning, I spoke American English.

Naturally, everyone assumed my name was the American Lisa. And because they wanted to make me feel welcome, they all went to great trouble to pronounce my name as 'American' sounding as possible: Lee-saahhh.

Sigh.

It wasn't long before I decided to embrace both versions of the name and any old pronunciation of either version – it just made life so much easier for everyone.

Finding the Name

When my cosmetics-making started years ago, I created products solely for myself. As time passed, family and friends showed interest and started placing orders. The business evolved quite slowly over a rather lengthy period of time.

At one point though, it became necessary to find an official name.

But I didn't choose the name LisaLise.

In truth, it chose me.

'Lisa' got to go first, because 'A' comes before 'E'.

Hear How to Pronounce LisaLise

Click the orange arrow in the graphic below for an audio of how LisaLise is pronounced (and then congratulate yourself on being able to hear the ever-so-subtle difference between the 2)

Thanks for reading (and listening).

Do Tell

Do you have a name that people find hard to pronounce? How do you manage it? Please feel free to comment below.

My latest publication shows you how to get busy with plant colorants in easy to make formulas.

The Best Way to Detox

Lise

Detoxing has become an integral part of the beauty and health industry – and offers a veritable jungle of options. There are courses, diets, recipes, programmes, and even personal care products that promise to draw out toxins, cleanse your body and leave you squeaky clean both inside and out.

With all the undesirables many of us consume, are surrounded by, and inhale on a daily basis, it stands to reason we need to detox, doesn't it?

So, what's the best way to detox?

Potions?

Pills?

Powders?

Patches?

Well, here's the good news: you already have a whole lot going on in the detox department.

Voluntary Toxin Intake

If you've been anywhere on planet Earth in recent years, the countless campaigns on the benefits of quitting smoking have probably crossed your path more than once. And if you happen to be a smoker, you've probably been made to feel like a criminal every time you light up.

Ok, it's a fact that cigarette smoke is toxic. No question. Absolutely undisputed.

But here's the good news.

To detox from (even decades of) smoking, you need to do only one thing – you need to put down the smokes and not pick them up again.

Your body starts to repair itself as soon as the last cigarette is snuffed.

Your body does this automatically.

Your lungs can completely repair themselves over the course of a decade or so. REF REF REF REF REF

Now, that's kind of cool, don't you think? No prompting, pills or powders are necessary to start the detox process – even after long-term voluntary toxin intake.

So even though the market is full of detox offerings from here to Honolulu, I'm willing to bet you already know the all-time sure-fire absolute best detox method.

The Best Detox Method of All

This isn't very earth-shattering, and it's not the least bit sexy either. You may even think this sounds a bit like something your grandmother would say.

Are you ready?

The best way to detox is to live a healthy life.

Eat healthy foods - lots of fresh fruit and vegetables, lean meats, whole grain products, moderate sugar, stay clear of processed foods, exercise regularly, don't smoke, moderate intake of liquor, don't overeat or undereat... do I need to continue?

I didn't think so.

See? I told you you already knew.

And as For all Those Detox Products

If you want to spend money on detox beauty products, it is of course completely up to you. But I am almost certain what you will be 'detoxing' most of all is your pocketbook.

I shall leave you with a few wise words from my Formulators Kitchen colleague, Colin Sanders:

"We have detox capabilities throughout the body with special capabilities in the liver. There is very little that can beat these protective systems built up over our evolutionary history.

So there is no need to invest in proprietary drinks or special diets. As for the various skin patches and foot pads that are supposed to absorb toxins, well the idea is simply laughable."

Read Colins article here

PS: Want to make your own self preserving cosmetics and extracts? This bundle offer might be just the thing.

Easy Double Cleansing Tip

Lise

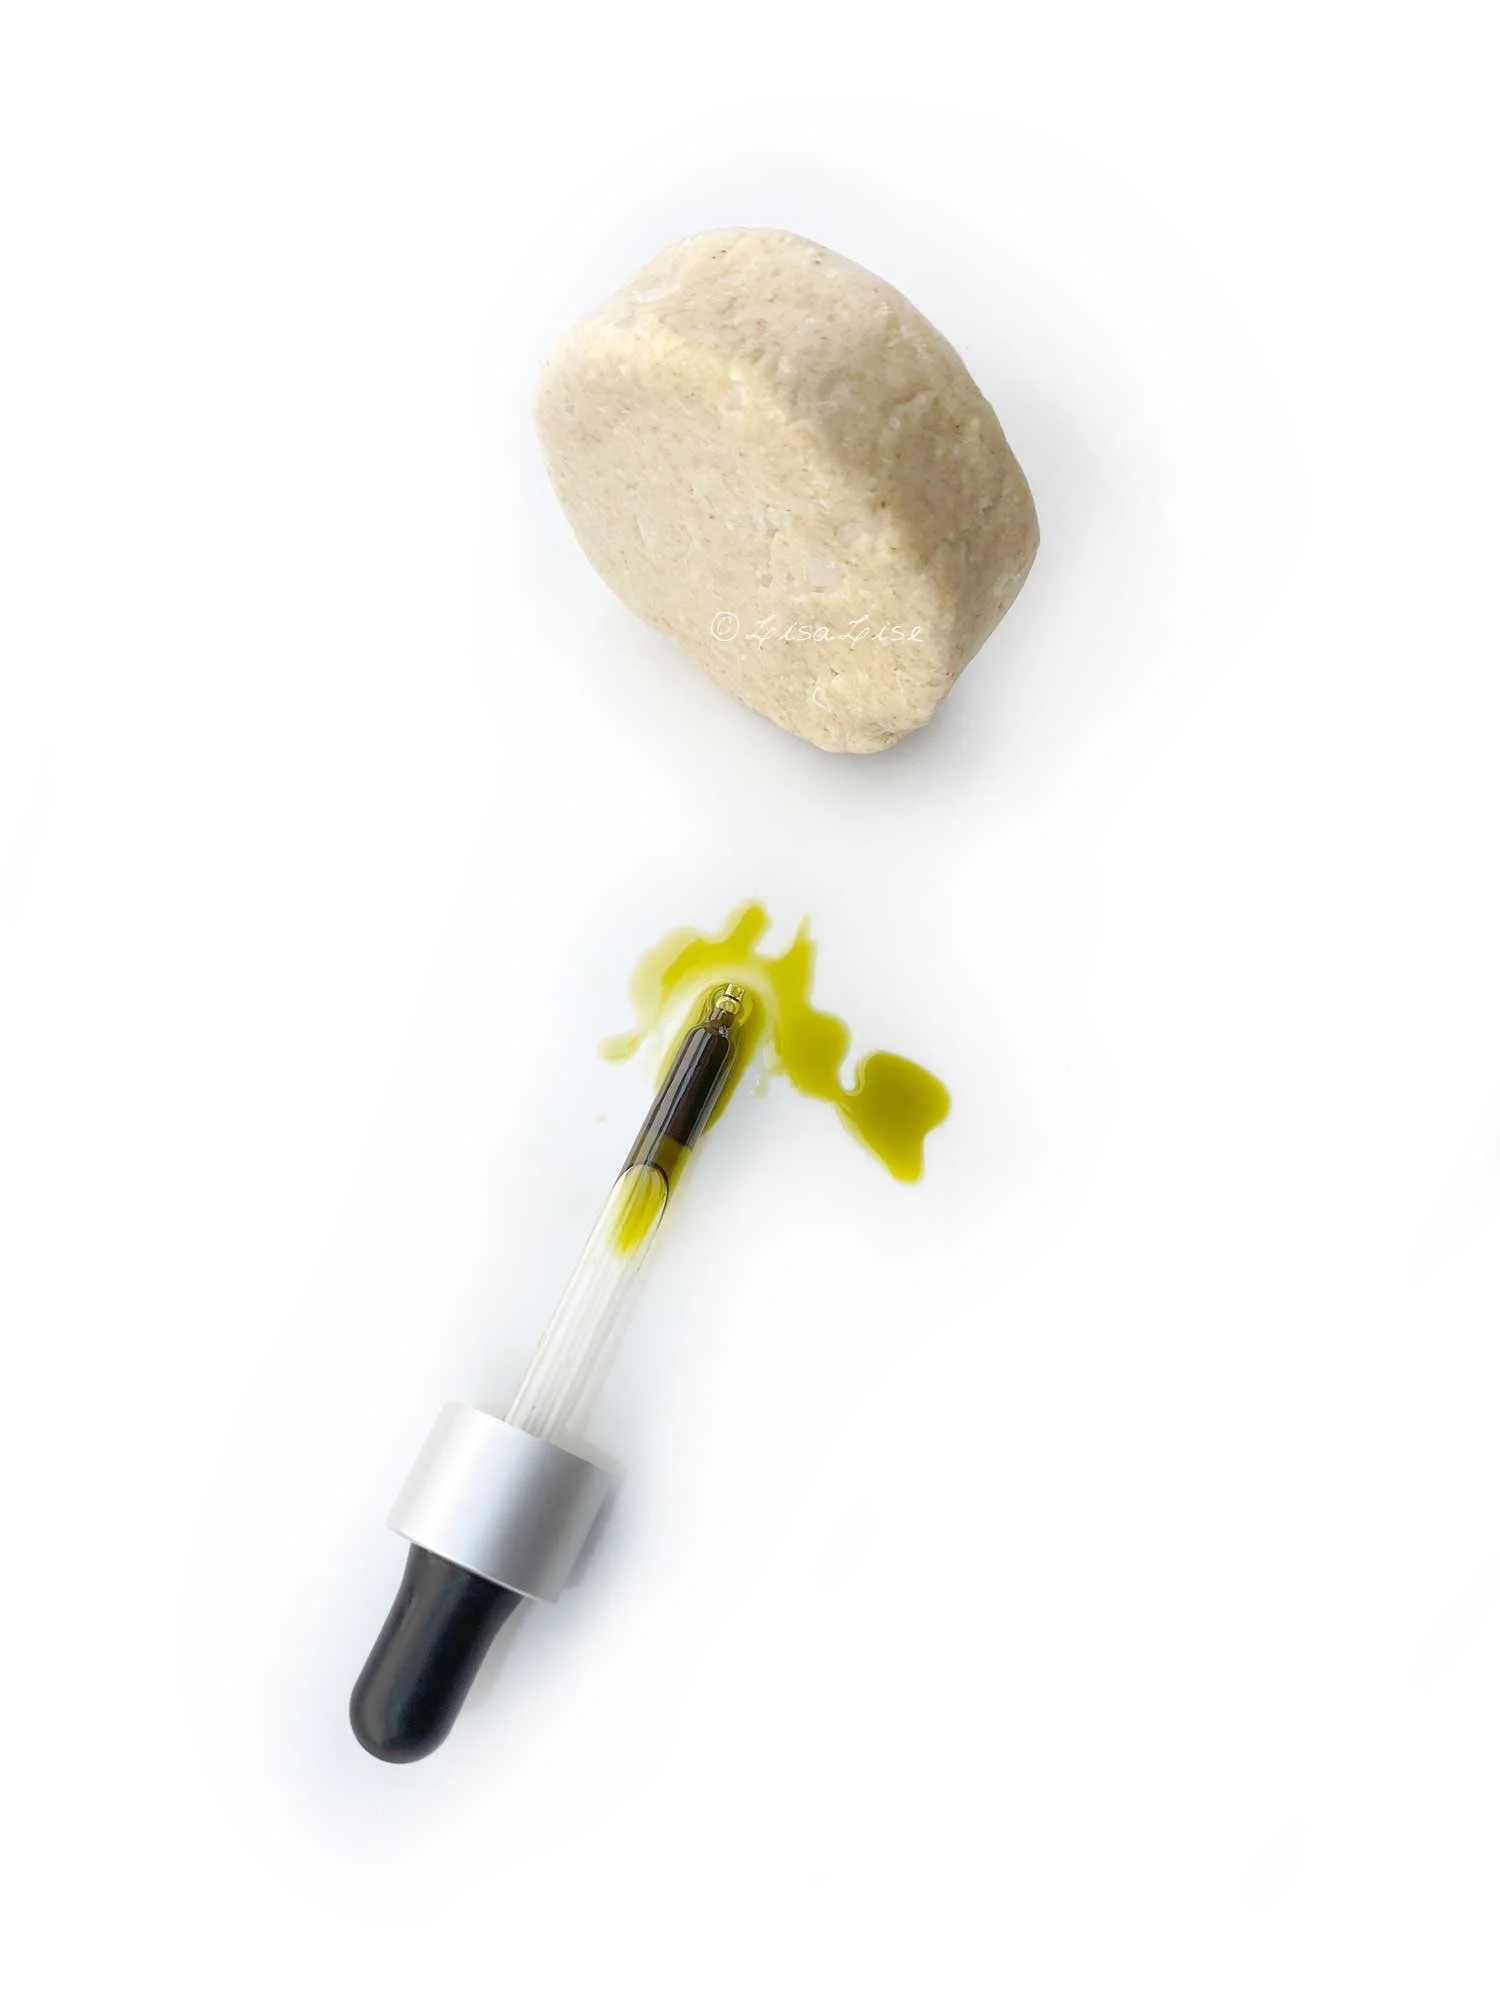
Pictured above: my current cleansing oil and my oatmeal and milk ‘syndet’ (read: synthetic detergent) cleansing bar. The bar has a skin friendly pH and consists of my fave super-mild ingredients for sensitive and dry skin. The oil is a blend of castor, coriander seed (carrier) oil and açai oil.

Today, I’m going to share a tip on how to combine traditional oil cleansing with a cleansing bar and create your own 2-in-one easy peasy double cleansing routine. This is great for sensitive and dry skin (and for those who love oil cleansing but hate the cleanup).

Here’s how I double cleanse using these 2:

  1. Apply cleansing oil to dry skin. Massage skin gently using circular movements

  2. Wet hands and create lather with bar. Notice how extra creamy the lather is with the addition of the oil on your hands.

  3. Apply lather to face and massage skin gently using circular motions. The lather will become even more creamy as you massage your skin.

  4. Rinse off with comfortably warm water

There are 2 things you achieve with this method

  1. Super gentle cleansing for sensitive skin

  2. Super easy cleanup

I tried taking a picture of the latheriness of this combination but this picture doesn’t really do it justice. By the time I had rinsed and dried my one hand to take the photo, a lot of the lather was already gone. But you can get an idea. The lather does look a little green because the açai oil really colors a lot.

Make it Your Own

Use your cleansing oil of choice and combine it with any gentle face cleansing bar you like.

The book below is beginner friendly (available in Spanish) and has formulas for cleansing oils for all skin types.

Self Taught Cosmetics Formulation

Lise

I often get asked where I learned how to make cosmetics. I didn't attend a school or take any courses, but started by working my own way through hard-copy books (you know, like they have at libraries) and playing around with ingredients in my kitchen. When the internet came along (opening up a floodgate of new possibilities), the research got easier. After some years, my 'kitchen lab' was replaced by a separate room in my home.

In short, I am entirely self taught.

A Long and Winding Road

My path of self education has been a bit of a long and winding road and I am quite humbled and grateful that it has brought me to where I am today.

Although I had already dabbled in making some basic products for myself when I was much younger, it was many years later that my (ridiculously) sensitive skin and aversion to perfume finally prompted me to try and tackle these issues once and for all.

My definition of ridiculously sensitive: it was almost impossible to find any commercial products that didn’t bother me one way or the other. I would either end up itching, sneezing, slightly nauseous, rashy, or something else equally uncomfortable. Sometimes it was from applying a product, but sometimes it took nothing more than a trip to a beauty department to cause a reaction.

How does one find the source?

Studying ingredients labels was a good part of my detective work, and although it was educational, understanding how to pinpoint ‘culprit’ ingredients from doing label research is not an easy task.

It became increasingly clear there were 2 choices available to me: keep studying labels and searching the market to find ‘my perfect products’ or learn how to make them myself.

The choice was a no brainer.

I'll Just Do it Myself, Thank You

With a defined goal, I bought some basic ingredients and the notebook that became my first formulating journal. I chose to use plant based and natural ingredients for the simple reason that herbs and botanicals and ‘going the natural route’ resonated with me.

Understanding the ingredients was crucial to creating products my skin could benefit from. At the same time, I knew full well that I didn't have the patience to research EVERYTHING before getting busy making, so I decided to both make and research simultaneously. It was both empowering and liberating to ‘allow myself’ to do both at the same time.

The first ingredients I worked with were plant butters (cocoa and shea), basic carrier oils (almond, apricot kernel, sunflower), hydrosols (rosewater, orange blossom hydrosol), clays, and beeswax.

It goes without saying there were numerous fails but these were happily outnumbered by successes. It might have been beginners luck, but I like to think it was in large part due to my 'go-slow-and-be-sure-with-your-head-before-you-use-your-hands' approach.

Every product I made was unscented, having only the natural fragrance of the included ingredients. No perfume or added scent was allowed in my cosmetics. And they worked beautifully on my skin.

But at one point, the fragrance part changed.

Essential Oils: The Turning Point

I clearly remember experiencing essential oils for the first time. It was in a small shop with 'everything for natural health and beauty'. The little tester bottles on display looked intriguing.

The first one I sniffed was rosemary. It was lovely! I tried a few more - lavender, lemon, palma rosa, orange, they were exquisite! The best part: no irritation, headache or shortness of breath.

It began to dawn on me right then that it was probably not perfume, but synthetic perfume that bothered me.

Essential oils suddenly had my full and undivided attention.

In my excitement over my new discovery, I made the classic newbie mistake of buying far more essential oils than I could possibly use within date of expiration, but that led to even more happy discoveries.

Discovering that these precious drops were not merely plant fragrances, but also powerful actives was the beginning of a long and tumultuous love affair that has (admittedly) presented me with delights as well as frustrations.

Working with essential oils is an art and science (and at times, a bucket of worms!).

And when you have finally created the perfect blend, incorporating it into a product without compromising any of the other ingredients or product stability has produced a full range of reactions in my modest lab: from squeals of delight to stamping the floor in frustration.

I’m still learning, and don't expect that will ever stop.

Using Botanicals More Ways

While essential oils are undeniably powerful concentrates, they cannot not include every plant constituent due to the production process. To broaden the plant power (and follow yet another fascinating path), I began incorporating whole botanicals and herbs (as well as foods) into my products.

This grew into a passion for understanding more about the therapeutic uses of botanicals and to capture ‘more plant magic’ in extracts. Macerations, infusions, tinctures, and glycerites have all become an integrated part of my formulation process as a result.

My most recent addition to this is distilling hydrosols (I have only been at it a couple of years so am but a mere newbie).

On my to-do list is learning more about seaweeds (via a course from my lovely colleague Vivienne Campbell).

Marrying Different Fields of Expertise

So what does one do with a passion for ‘just about everything plants’ and formulating? My constant goal is to combine all of these things optimally into every product I make. And that, as you might guess, is a bit of a challenge.

In order to marry cosmetic formulation with essential oil blending and herbalism, it is absolutely necessary to respect the art and science of each field equally. And when you can do that, the real magic starts happening. Sometimes, ingredients that may not initially want to play nice together can become best friends in a stunning and truly unique and powerful product.

Teaching Natural Cosmetic Formulation

A few years ago, when Robert and Hana Tisserand asked me to create formulation courses for Tisserand Institute, I silently rejoiced over all the pitfalls I have stepped into and batch fails I have learned from over the years. Collectively, they have provided me with the knowledge and experience to point my students in the direction of successful results while (hopefully) passing on my ongoing passion for the learning process.

This is how I teach others to formulate - as a journey of discovery with endless possibilities - because that’s exactly what it is.

Thanks for reading.

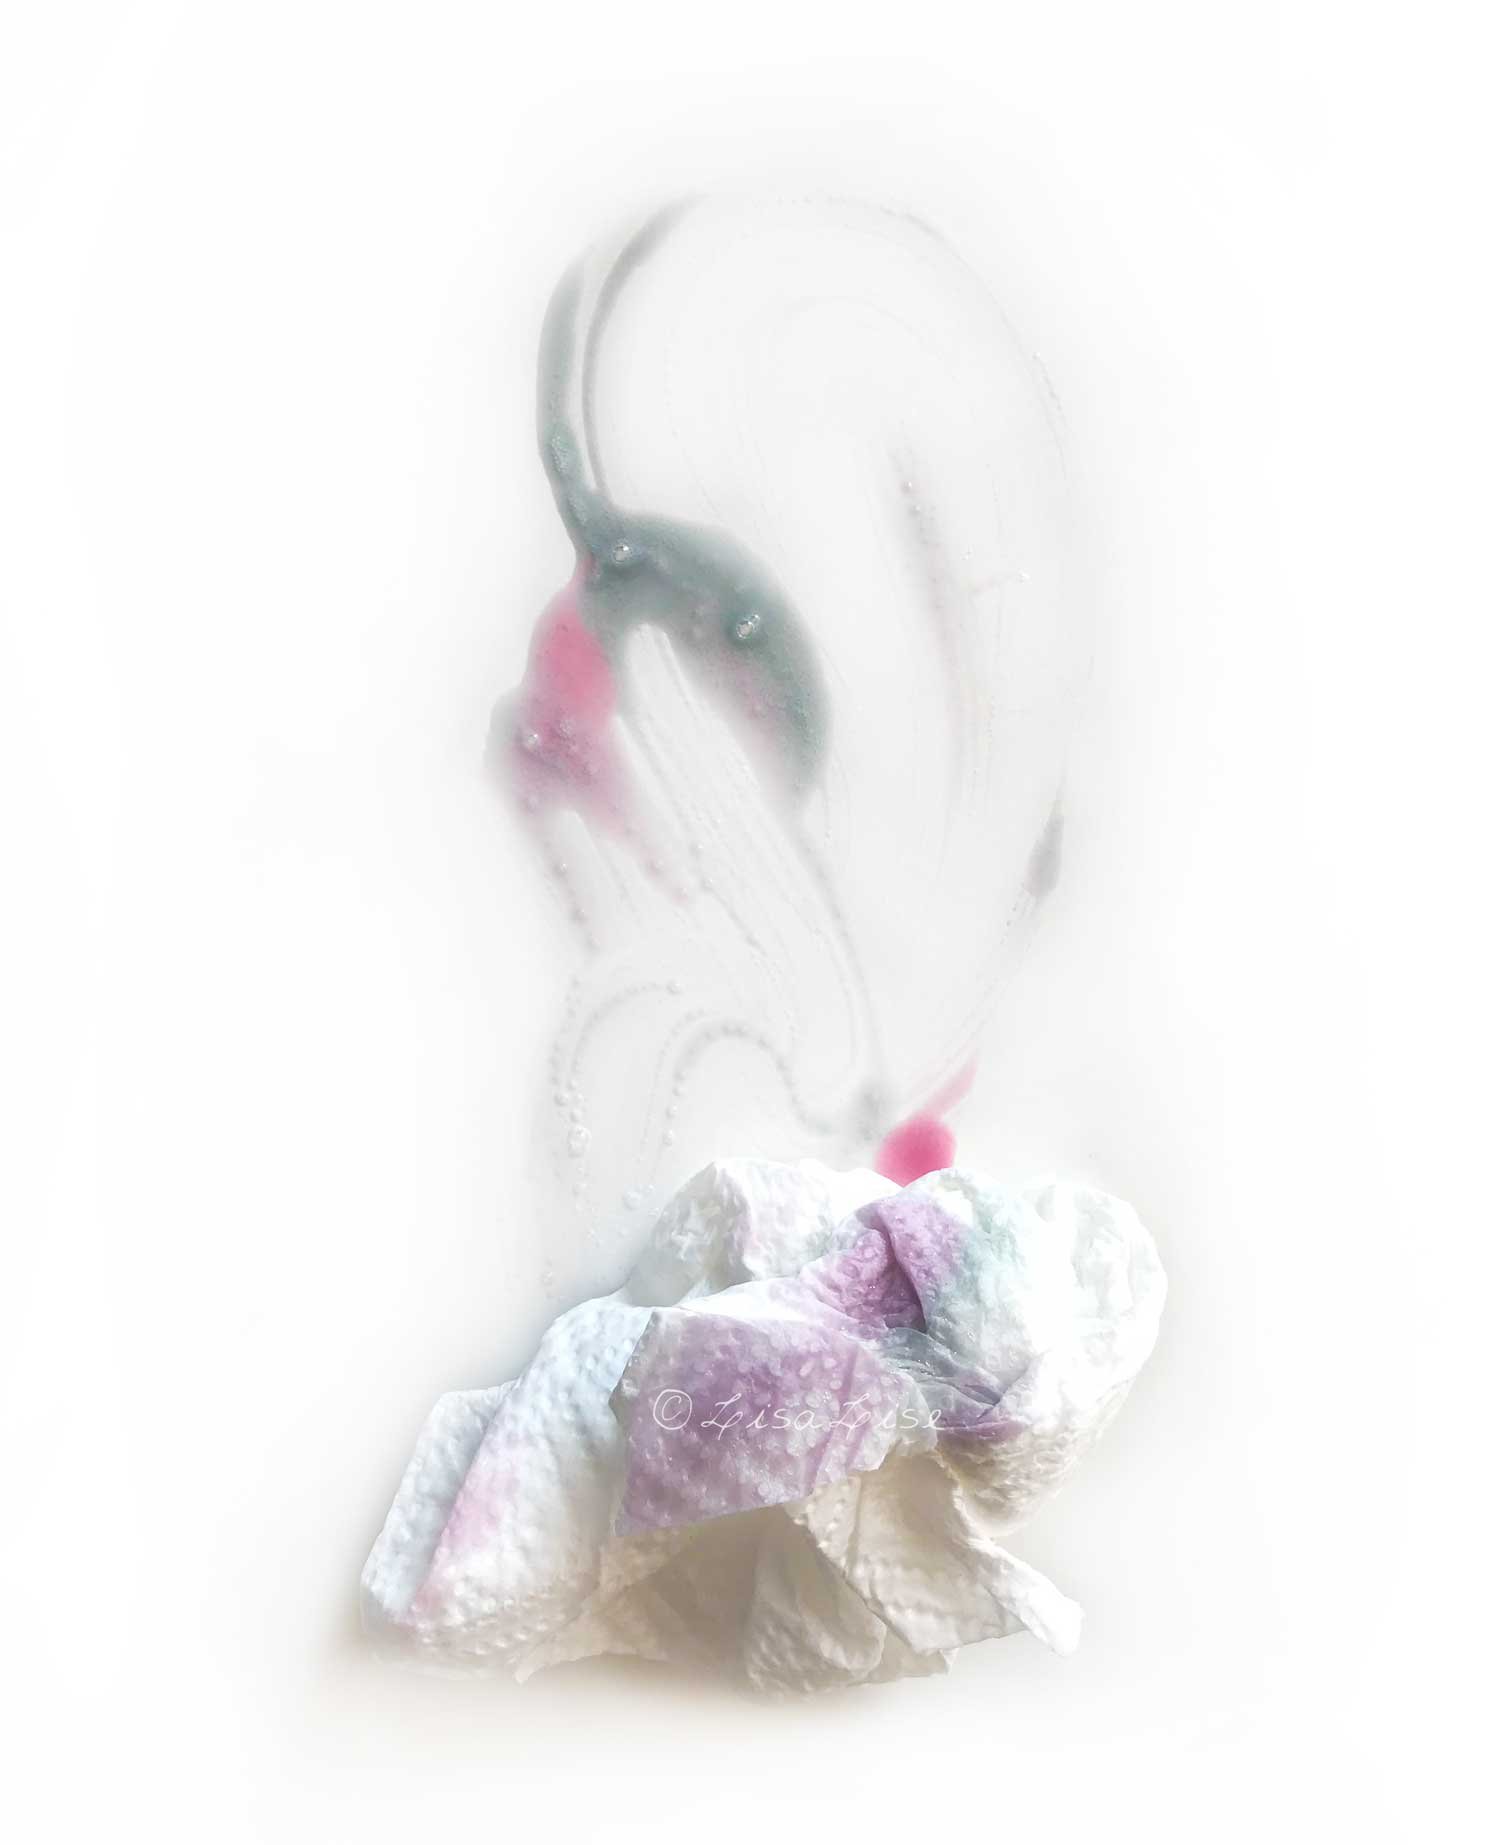
Pictured at the top: a bit of pH color fun while experimenting with naturally colored botanical ingredients and surfactants. And if you think this looks like I stopped to take a picture while cleaning up, you would be absolutely correct.

Below: a few of my ebooks