Contact LisaLise

Please use the form on the right to contact LisaLise.

Majestic Court 5, St. Mary's Street
Mellieha
Malta

LisaLise offers online education of natural plant-based cosmetics via e-books and courses

LLBlogHEADER2020-3.gif

Shop Blog

A look inside the LisaLise natural cosmetics lab with free formulas, DIY how-to's, ingredients tips, sneak peeks, and more.

Filtering by Category: Lab Peeks

Lab Tips: Cleaning Away Fats

Lise

Any anhydrous mixture with a large percentage of butters and/or waxes is inevitably going to leave a layer of product on your equipment that can be a major chore to remove.

Fats and waxes don't just magically melt away with a bit of detergent and water - especially if they have had time to set up and cool. And your water pipes will thank you for not pouring melted fats and waxes into them because they WILL harden into a clogged mass and cause all kinds of plumbing hell that costs a fortune to repair (can you tell I speak from experience?).

So today, I’m going to share a simple and effective way to clean your containers and tools after making a batch of balms, solid lotion bars, or other fat-rich products without causing plumber anxiety.

Work Fast and Work Warm

While containers and tools are still warm, wipe away excess product with a paper towel (or 2).

To work warm, you have to act immediately after pouring. While this is easiest from a cleaning perspective, it’s not always possible, so if your equipment has cooled and the product has stiffened up and set, gently reheat just enough to where you can easily wipe away the fats.

If you have been using a water bath, it’s just a question of placing the container back over the warm water briefly. If your heat source has cooled in the meantime and you happen to have a microwave available, place any (microwave safe) containers in the oven and do a few short bursts of heat to soften and remelt the product so it can be wiped away.

Don’t Skimp on the Paper Towel

With beakers or glass containers, wipe the inside with paper towel to remove as much excess as possible.

Do your best to remove everything (read: change the paper as often as needed). I generally use between 3-5 sheets of paper towel for each beaker.

When your beaker (or glass container) looks like this (slightly frosted), it is relatively easy to clean away any remainder with ordinary detergent and hot water.

Some folks have suggested saving the fatty paper towels to use as fire starters. I think this sounds like a useful idea but am not a fire starting expert, so if you have tried this or have any additional tips, please feel free to share!

Every Last Bit

Finish the cleanup process with a pass of boiling water (or dip into a basin of boiled water) before drying and storing your equipment. This will remove every last bit of residue.

Alternative Cleanup Methods

You can also use a (70% solution) of isopropyl alcohol to break down fats. Simply spray the solution onto/into the container, let sit momentarily and then wipe the fats away. This may need to be repeated a few times depending on how much there is to remove.

A 70% solution means it is a mixture of 70% isopropyl alcohol with 30% distilled water. If you have access to both ingredients, you can easily make your own .

Baking soda is said to be useful for removing fats but as I haven't tried this on my cosmetic making equipment, I am unsure of how best to use it. Perhaps making a paste with it and applying? If you have tried this please feel free to share your experiences.

Do Tell

If you have any tips for cleaning fats off of equipment, please feel free to share in a comment below.

Tips for Making Lavender Powder

Lise

Working with different dried herbs in various cosmetic products has taught me that some herbs are far trickier to transform into a 'proper' powder than others.

Take lavender for example.

I love it to pieces, but at the same time, it can drive me absolutely batty. After several attempts at making my own powders without much luck, I started buying powdered lavender. Unfortunately, that has never brought me any joy either – regardless of supplier.

It's entirely possible that I'm overly picky, but in my book, a powdered facial cleanser should not contain ANY annoying bits that keep sticking to the skin after everything else has willingly rinsed away.

The Perfect Lavender Powder Challenge

The challenge of transforming dried lavender into a perfect powder that rinses away without leaving bits sticking to the face was hereby decreed (by me to myself). I started by investing in a rather large bag of dried whole buds so I could get serious about experimenting with different techniques.

Spoiler alert: My idea of the perfect powder doesn’t exist, but I have gotten pretty close.

I'll spare you my numerous failed attempts and concentrate on the method that has shown the most promise.

The Grind

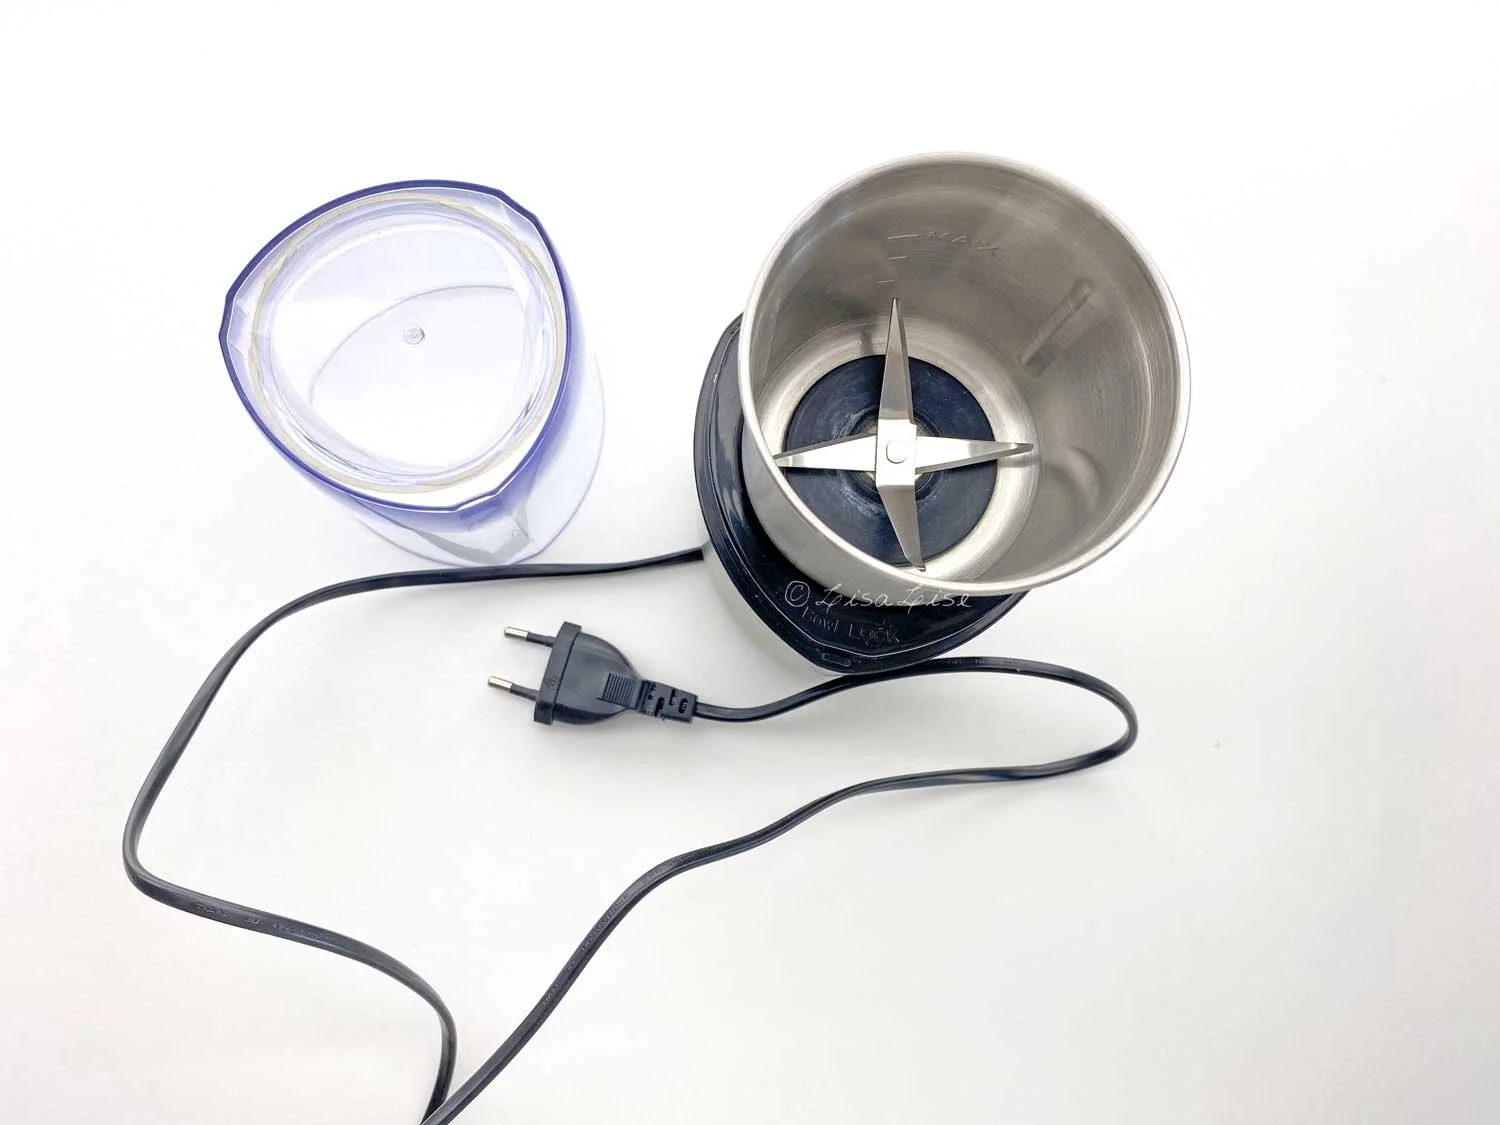
Above: my preferred herb-pulverizing apparatus. Most of the time, this handy coffee bean grinder does a bang-up job.

But no matter how long you grind dried lavender buds, they only become something that looks like a powder.

Try sifting lavender buds that have been in a grinder and you'll see what I mean. It's as if the dried buds are too lightweight to be properly ground to a powder. And that’s exactly why they won’t willingly become a powder. The plant/buds are too fibrous.

Rethinking the Grind

Since my main goal was to use the lavender in a powdered face cleanser, and my powdered face cleansers include clay, it occurred to me that it might be possible to 'weigh down the lavender' by adding some clay to the lavender buds in the grinder.

And gosh darned if that didn't help – a whole lot.

Here are the results of a few different clays mixed with lavender buds and run through the grinder.

The winner is hopefully evident in the picture above. Rhassoul (also called ghassoul) seems to have the necessary weight to 'hold' the lavender. It's also the heaviest of all the clays, so it makes good sense.

The photo above was taken prior to passing the ground mixture through a sieve.

Sifting the ground mixture helped remove most of the remaining unwanted 'fluffy bits'.

Admittedly it’s a bit of work, but if you need lavender powder and are making a product that includes clay, try combining the 2 for some pretty decent results

Pictured at the top of this post is some of the final discarded bits – artfully arranged for your viewing pleasure.

Do Tell

Do you have a successful method of making lavender powder that you're willing to share? Please post a comment below!

PS: LisaLise Club members have access to all kinds of my best tips and useful shortcuts to ease the workload. Want to join us? Click the picture below to learn more about what the Club has to offer you.

Introducing LisaLise Club

Lise

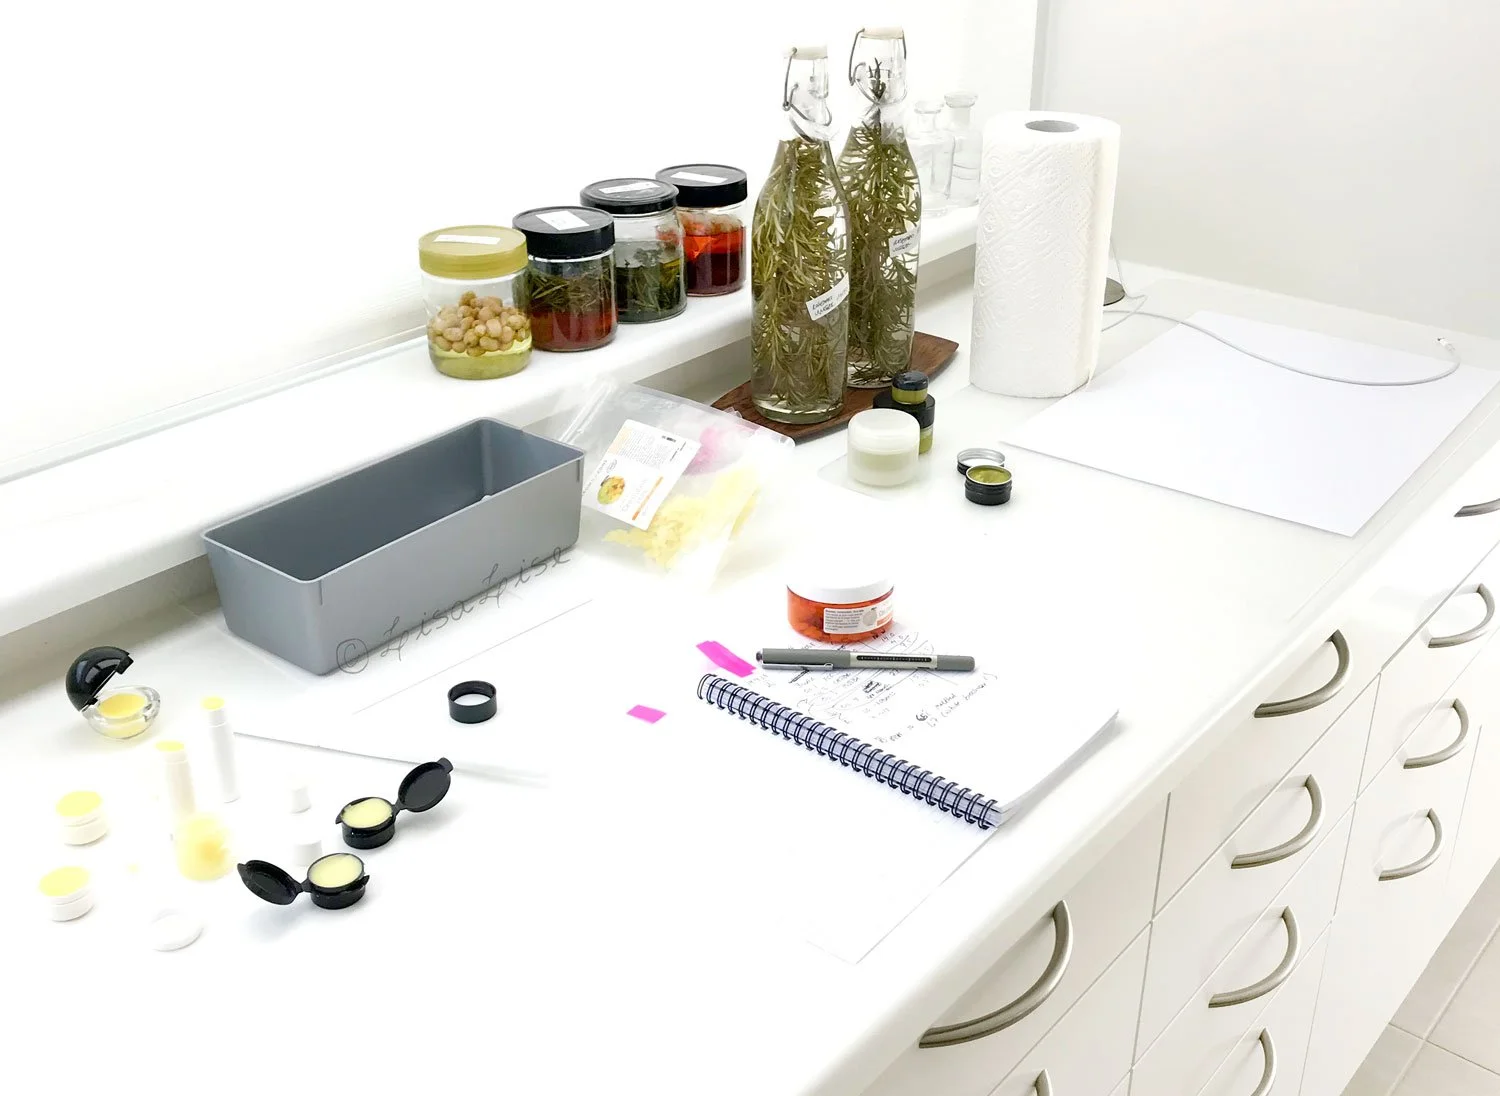
Here’s a peek in my lab from a while back but it’s pretty typical of what the lab looks like at almost any given time. There are almost always more than a few ongoing projects.

My passion for working with natural ingredients in a multitude of ways has grown exponentially with the passing of time. Being interested in so many different aspects of working with plants has brought me down all sorts of interesting new paths of discovery (some call these rabbit holes) resulting in an ever-growing to-do list.

Some might call it stubbornness, but it isn’t often I will say no to a challenge. Perhaps because of this, I am regularly commissioned to create the kinds of products others claim can’t be done. (spoiler alert: they generally can be done). This translates into a great deal of research, experimentation, and testing.

My formulations come about via

  • Researching and working with all manner of botanicals (sourcing, wildcrafting, processing)

  • Handcrafting extracts of all types (dry extracts, tinctures, glycerites, infusions, macerations, distillates, etc)

  • Creating bespoke ingredients (emulsifiers, botanical colorants, multi-medium extracts, etc)

  • Creating stable cosmetics that include all manner of food items as ingredients

  • Researching and working with applied Hurdle Technology

  • Testing the limits of both ingredients and methods

There always seems to be heaps of interesting things on my plate.

For the longest time, folks have been asking when I will be sharing more about the numerous different aspects of my work. I’ve discovered it is quite difficult to prioritise what to focus on when everything is both fascinating and interesting!

Then it occurred to me that it would be possible to accommodate ALL of these requests by creating a membership space where there was room for everything. This is how the idea for LisaLise Club was born.

It has taken a bit of time and loads of hard work, but has finally come to fruition.

I am thrilled to pieces to announce the launch of LisaLise Club.

Want to know more? Please click the picture below to see what the Club has to offer you!

I hope you’ll be joining us for a lot of botanical formulating fun.

Using Dried Lavender - All of It

Lise

What you see pictured above is a bunch of dried lavender stalks on one of my work trays.

I made a lavender hydrosol recently and used mostly fresh lavender buds, but also some of the stalks for the distillation. Because I had more stalks than there was room for in the still, I bunched up the remainder with a bit of string and hung them up to dry. Yes, just the stalks.

Not too many years ago, I would have thought nothing of tossing them, but no more.

Why?

Because lavender stalks contain loads of lovely lavender properties and can be used for numerous things. Today, I’m sharing a few things lavender stalks can be used for.

Fresh Lavender Stalks - The Fragrant Trail

If you grow and use your own lavender, you may have an ample supply of stalks after harvesting - maybe even enough to spread around.

A friend of mine saves her freshly cut stalks and strews layers of them in strategic spots in her garden - particularly along her most used pathways. Her reasoning: “I get a lovely lavender fragrance wafting up every time I walk on the stalks”.

Uses for Dried Lavender Stalks

  1. I’m sure you’ve noticed the scissors and cut bits on the tray pictured above. These beautifully fragrant bits could easily be popped into an oil of your choosing to make a fragrant lavender oil infusion to be used in a body oil, facial serum, lotion bar, traditional salt scrub or any other cosmetic.

  2. If you don’t want to make an oil infusion, you could do a dry infusion in sugar. Simply fill a jar 3/4 full with the sugar of your choosing, add cut lavender stalks and pop the lid on. Keep the jar in a cupboard and give it a shake regularly. You can leave the stalks in the sugar as long as you please and simply sift out what you want to use for baking or in a cup of tea. Keep refilling the jar with sugar as needed. (This infusion method works with other fragrant and edible botanicals as well. I have a vanilla sugar infusion that has been ongoing for years)

TIP: Cut stalks directly before infusing them to release (and capture into the medium you are using) as many of the fragrant components as possible.

Easy Sachet Bags

Finally, you could gather up the chopped/cut bits of lavender stalks and simply pop them into small organza or muslin bags to be used as cupboard or drawer fresheners.

That’s what I did with these.

Do Tell

Have you ever used dried lavender stalks for anything? Please share in a comment below.

Have you ever considered making your own oral care? Tooth powders are both easy to make and very effective!

How to Make Your Own Make-Up Base for Pencils

Lise

Today, I'm going to show you how to make a base mixture that can be used to make your own color cosmetics such as lip pencils, eye pencils, eyebrow pencils, and even blush sticks.

You're probably wondering how it is possible to create a texture that is equally good for all these uses. A lip pencil needs to go on smoothly yet be firm enough to where the tip doesn't break off at application. An eye pencil needs to be softer, smoother, and not even come close to feeling draggy on the skin. For cheek application, a firmer texture is ideal.

How is it possible to tick ALL these boxes?

Because I say so.

(insert wink and smile here)

I've been experimenting, testing, tweaking, and meticulously logging my results for a few years now and finally succeeded in creating an exquisitely sublime texture that is great for all of these uses. It holds pigment well, has great slip and staying power without feeling the least bit tacky or sticky - on MY skin.

So, if you have skin similar to mine, this base is perfection.

Skin type plays a major role in which texture/stiffness/glide-factor feels and performs best. But even if this base doesn't turn out to be 100% perfection for your skin, feel free to use it as a starting point and tweak to your heart's content until you have your own version of awesomeness.

Let's Make a Make-Up Pencil Base

This is enough for a 50 gram batch. Is 50g a lot or a little?

For reference:

  • Eyebrow and lipliner pencils generally contain 2-3 grams

  • Lipstick is generally between 6-10 grams (depending on the container)

So this batch is enough for about 4 lipsticks and 10 eyebrow pencils.

LisaLise's Make-up Pencil Base

Ingredient Grams
Cetearyl Alcohol 20.5
Jojoba (oil) 19.5
Beeswax 9.5
Vitamin E Antioxidant 0.5

Method

  1. Weigh ingredients

  2. Transfer wax, jojoba and cetearyl alcohol to a heatproof glass container

  3. Melt slowly over low heat until thoroughly melted

  4. Remove from heat

  5. Add E-vitamin and stir thoroughly

  6. Pour mixture into container

  7. Allow to cool completely (without lid)

  8. When set, store cool and dark until use.

TIP

Do not place the base into the refrigerator until it is fully cool or you risk condensation droplets (which are bad news for this preservative-free product).

TIP

A wine refrigerator has the perfect storage temperature (or, if you have a dedicated ingredients refrigerator, set the temp to the warmest possible temperature - that's about the same as a wine refrigerator)

Substitutions

Feel free to make all the substitutions and changes you like, but expect the texture, feel, and glide to change with EACH and ANY alteration. May I politely refer you to the bit above where I wrote about tweaking and testing for years. I've probably done as many different versions and tried as many different ingredient combinations as can be imagined.

That said, there are LOADS of different ways to do a base like this and get it right, so don't be afraid of making changes to achieve what YOU prefer.

How to Make a Make-Up Pencil with the Base

  1. Weigh out the amount you need and place in a heatproof container

  2. Melt slowly until thoroughly melted

  3. Add desired pigment mixture

  4. Test color on skin (BEFORE transferring to your container!)

  5. Add more pigment (or base) and test again until happy with the coverage and look

  6. Stir thoroughly and transfer to your final (containers)

  7. Allow to set

  8. Pat self on back for making your own awesome stuff!

Do Tell

If you decide to give this a try, I'd love hear how it turns out for you and if you made any changes. Please feel free to share in a comment below.

Interested in making your own water-based lip tint? The book below shows you how to make your own glycerine extracts and includes a formula for lip tint.


Tips on Working with Dried Seaweed

Lise

Today we're going to do a few things with seaweed.

Why?

Because seaweed is chock full of fabulous nutrients that can be consumed or absorbed (or both). In short, they're great for skincare and overall health.

Are you wrinkling your nose a bit about the smell/taste of seaweed? Well, stick with me and discover a few ways to get seaweed's benefits without any nose wrinkling.

In this post, I am working with purchased dried (wakame) seaweed, but you could use any other dried seaweed.

While I am waiting for my lab to finish being set up (and because a good part of my equipment and ingredients are still stacked in boxes), we're working with ordinary kitchen equipment in a regular kitchen.

If you have never worked with dried wakame seaweed, I can reveal that it is pretty gosh darn hard. The instructions on the package are to 'immerse the seaweed in water for about 10 minutes to reconstitute' before using in dishes. And that would be fine if I were planning on cooking, but I want to create a powder to use a facial cleanser, so some ingredient processing is in order.

If life was perfect, I could pull out one of my grinders or mortar and pestle and start pulverising, but most of my equipment is momentarily packed and stacked, so the seaweed is going into a food chopper.

Using a Chopper Instead of a Grinder

Depending on the material, there can be a big difference between the results a chopper and a grinder produce. If your chopper doesn't quite measure up as a grinder (hint- they rarely do), then pull out a fine meshed sieve and bowl.

When the chopper has done its best, sift the contents, then return the lumpier bits to the machine and have another go. This can be repeated as many times as needed to get your desired result.

Admittedly this is somewhat more time consuming than if you have a proper grinder, but it is doable - especially if it is your only option.

Sifting Tip

While passing the material through the sieve, use the edge of a spoon to 'scrape' the seaweed against the sieve. This will push/coax the finer bits through the mesh faster. I find this little spoon trick more useful than shaking the sieve to speed the process, but this may be because I tend to spill more when I use the shaking method.

Leftover Lumpy Bits

Even though I optimistically set out to create a perfect powder with no lumpy bits, that didn't even come close to happening.

What to do with the leftovers? Save them and use them in an invigorating foot bath (Find one here) or pop them into a hand-sized muslin bag (or similar), tie shut, and pop the bag into the bath for a luxurious seaweed at home spa bath with super easy cleanup.

Seaweed Honey Cleanser

At the top of this post is a picture of what I used my seaweed powder for: a self preserving honey cleanser. You can see the little seaweed flecks in the cleanser (which turned out beautifully and will definitely be repeated when this batch is finished). I also added a reconstituted bit of seaweed on the top right to show you what those little black lumps turn into when they meet water.

Nutritious Cleanup Tips

Here's my chopper after I finished using it – coated with a fine powdery layer of seaweed.

Goodness knows I've cleaned up my share of grinders/choppers after use and depending on the material, there are a few options:

  • Rinsing with (soap and) water, then drying

  • Removing as much as possible with soft brush, then wiping clean (or rinsing, washing and drying)

  • Capturing powder into another material (such as salt or sugar) then washing and drying

In this particular case, the powder is a nutritious food with a salty sea taste.

Hmmm - ingredient inspiration moment!

Shall we create our very own seaweed salt? Yes please, and here's how easy it is.

  1. Pop a couple of tablespoons of your fave coarse sea salt into the chopper.

  2. Pop lid on

  3. Shake, rattle and roll the container around (by hand - no electricity necessary!), The powder will be picked up by the salt and not only make the final cleanup of the chopper easier, but you get a portion of delicious, nutritious seaweed salt to season your fave dishes. My fave use of this salt is in a good olive oil along with a bit of chopped fresh rosemary and served up as a dipping oil

Enjoy your seaweed!

Do Tell

Do you have a multifunctional favourite ingredient that you use in both your cosmetics and cooking? Please feel free to share in a comment below.

PS: The self preserving honey cleanser I made with my seaweed powder was created using the guidelines in both of these books (which are available at a bundle price).