Contact LisaLise

Please use the form on the right to contact LisaLise.

Majestic Court 5, St. Mary's Street
Mellieha
Malta

LisaLise offers online education of natural plant-based cosmetics via e-books and courses

LLBlogHEADER2020-3.gif

Shop Blog

A look inside the LisaLise natural cosmetics lab with free formulas, DIY how-to's, ingredients tips, sneak peeks, and more.

Filtering by Category: Hydrosols

Witch Hazel: One Name, Different Things

Lise

I get all sorts of interesting comments on my blog posts, and some of them lead to new acquaintances as well as learning new things.

Today's post is one such example.

Penny posted comment on an previous post about witch hazel hydrosol that prompted me to get in touch with her and ask for more information. As it turned out, she had loads to offer because she and her husband happened to be artisan distillers of pulp free, botanically certified witch hazel.

After our communications, Penny graciously allowed me to share what I learned from her.

Witch Hazel isn't Just Witch Hazel

Depending on where you live on the planet, witch hazel is different things.

To North Americans, witch hazel is a bottled liquid sold in drug stores as an over-the-counter medicine for skin irritation.

In my (European) experience, I have never come across a product called 'witch hazel' in a drug store – bottled or otherwise. One might find dried twigs and leaves of the plant available in some specialist shops, or find a hydrosol (steam distillation) available from some herbalists or cosmetic ingredient suppliers.

There's a reason for this, and today, we're going to take a closer look at why.

One Plant – Many Applications

The botanical name for witch hazel is Hamamelis Virginiana. It is one of the most widely used plants in the world. You will find it in products for internal as well as external use, in pharmaceuticals as well as cosmetics.

There are three primary types of processes and witch hazel products, each using a different part of the plant and different processing method:

  • Tinctures (made with alcohol and distilled)

  • Witch Hazel USP (where it is allowed to make medical claims)

  • Witch Hazel INCI (for cosmetics use)

Witch Hazel Tincture

A tincture is made by adding witch hazel bark, twigs or leaves to pure, fine grain alcohol where it is allowed to infuse over a period of time. The resulting product is a concentration of actives in an alcohol base. A witch hazel tincture can be used both externally and internally. Taken internally, it helps control diarrhoea, reduce inflammation and promotes a healthy digestive tract. Applied externally, it encourages healing of bruises, sprains, and even bleeding haemorrhoids. Tinctures are most commonly found in specialty stores in the USA and Canada.

Witch Hazel - USP (United States Pharmacopeia)

Witch hazel for use in American pharmaceutical products is referred to as USP. There are numerous production processes which will each give varying properties to the end product. The American Pharmacopeia calls for use of 'dormant twigs' for the production of USP witch hazel. (see the complete description of requirements here) http://www.pharmacopeia.cn/v29240/usp29nf24s0_m89070.html

Witch Hazel - INCI (International Nomenclature of Cosmetics Ingredients)

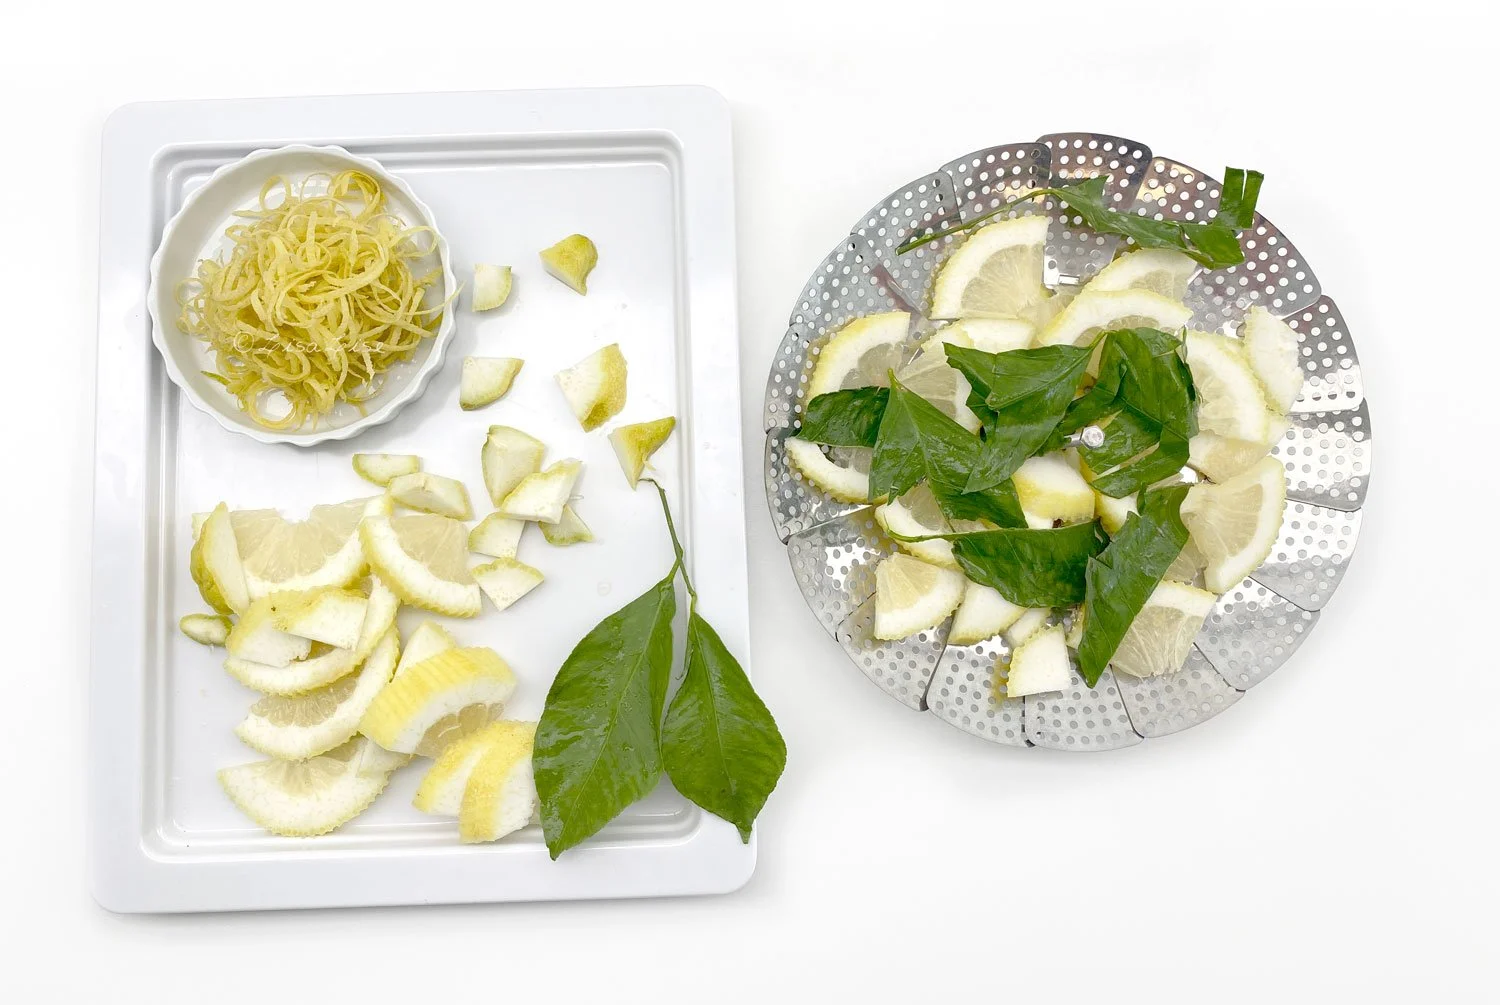
This is witch hazel for cosmetics use and is commonly a steam distillation using the leaves (or in Europe, and/or the flowers). Sometimes, alcohol is added to the end product.

Penny, who is in the USA, explains:

In the USA, the FDA does not include leaf distillation in its cosmetic manufacturing standards.

In 1994, the FDA declared they were "changing the name of the ingredient 'Hamamelis water' to 'witch hazel' in the final monograph for OTC (over-the-counter) astringent skin protectant drug products.' Read the entire document here.

This places witch hazel for cosmetics use in a sort of limbo-land, making it impossible for American consumers to know whether the witch hazel they are buying is a distillate from leaves or a diluted version of a USP distillate with alcohol.

Witch Hazel Production Methods

The world's leading producer of witch hazel is American Distilling, Inc. Located in Connecticut USA, they produce witch hazel that is exported around the world and used in everything from salves and creams to toothpastes and shampoos.

It is reported that industrial witch hazel is made using the entire tree rather than the dormant twigs (which is called for in the prescribed formulas - link). Although it might sound like a good idea to use the whole tree, this actually dilutes the end product considerably as the actives are concentrated in the leaves and dormant twigs.

Traditional Witch Hazel Production

Traditionally, the witch hazel wood is cut in such a manner that the plant can grow back. As one might imagine, re-harvesting the same trees over a period of time is not just environmentally friendly, but Penny explains it is also practical.

Modern Witch Hazel Production

American Distilling's website (LINK) states that the tree is 'cut to the stump, then chipped whole and delivered to the factory'. (Edit: this information was on their website at the time of the original post in 2013 but has since been removed)

Penny offered these thoughts on this production process:

"In reality, only about 12 % of the tree is bark, which – while not the legally required twigs – still contains some active ingredients. What puzzles me most is that pulp wood is not a legally accepted ingredient for any witch hazel formula in any country, yet the witch hazel factory in Connecticut gets deliveries of at least 300 tons of pulp wood every year.

Since the annual production of witch hazel USP runs in the neighbourhood of 3 million gallons, a whopping 20 million tons of witch hazel twigs would be required. I have to wonder if commercial witch hazel contains any active ingredients other than alcohol."

Penny told me she even contacted the FDA about this and was both surprised and disappointed with what she learned:

"They reported that there was no audit of raw-materials-to-final-product to insure the formula was being followed. In other words, the witch hazel may or may not be consistent from product to product. The FDA will test for solvents and alcohol – but not the active ingredients or phyto (plant) chemicals".

The European Pharmacopeia Standard(s)

In Europe, there are variations on the standards – each depending on the individual country's pharmacopeia. For a detailed report, read the European Assessment Report of the different witch hazel uses and production methods here.

As For Me

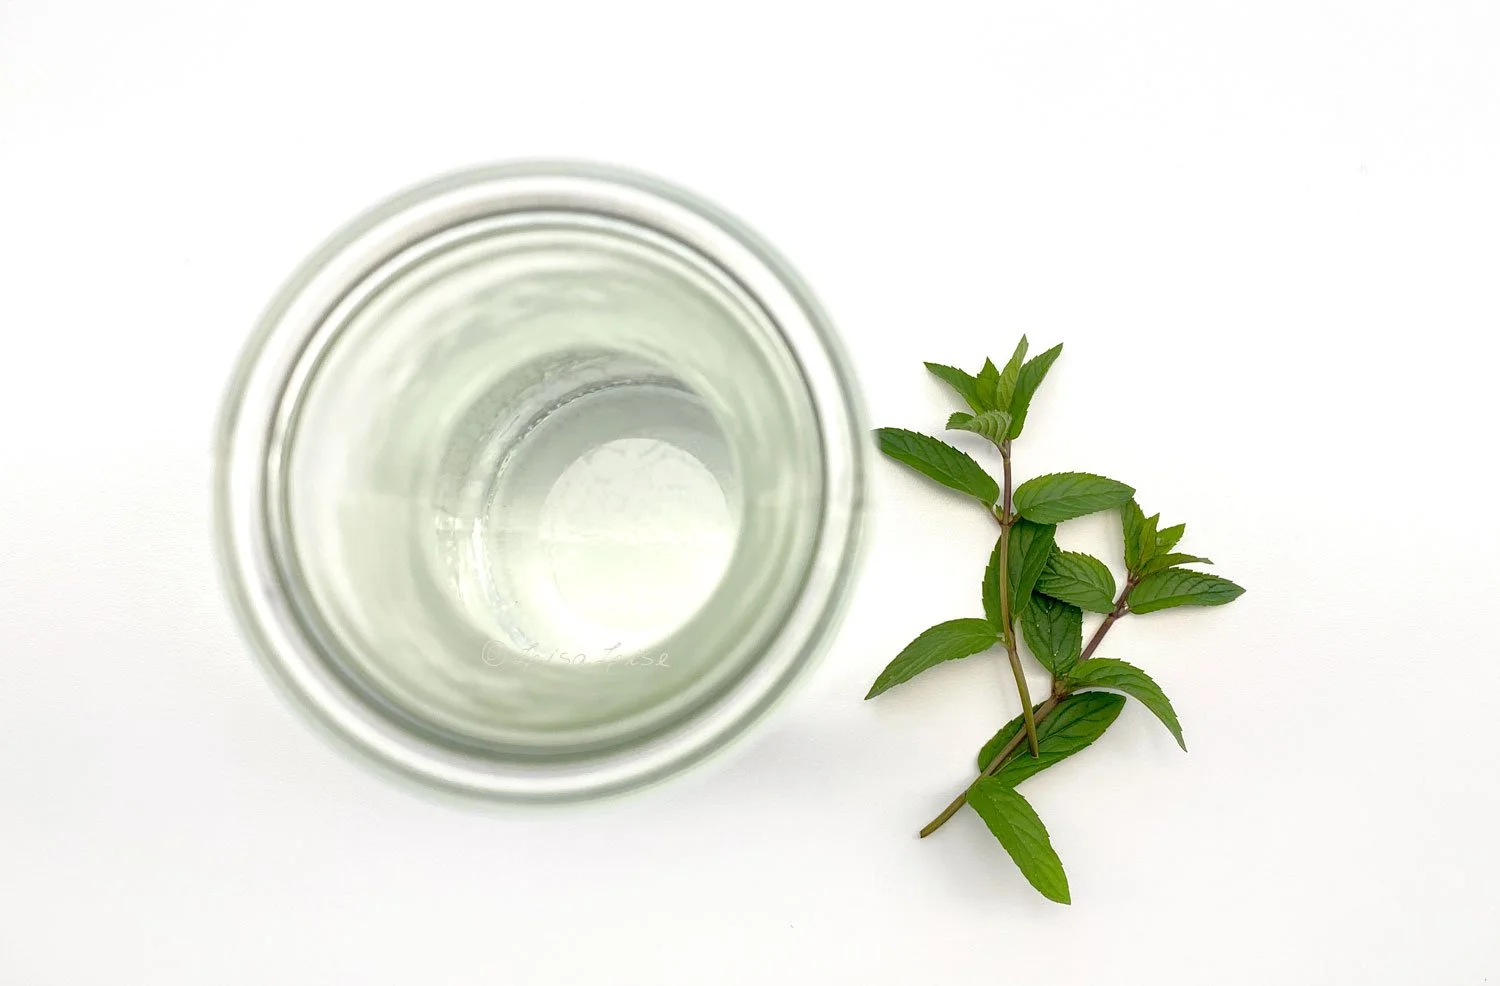
The witch hazel I know best and have used throughout the years is a hydrosol (steam distilled plant material using the flowers). My primary source of the distillate has been the French company Aroma Zone who write this about their product which is produced in France.

Concentration

To make 1 liter of hydrosol, 0.2 kilo of aerial parts are necessary, we speak of a ratio of 1/5. This extraction ratio, lower than that required for most other hydrosols (1/1), is necessary because this hydrosol is obtained from dried flowers that are much richer aromatically. So in this case this ratio makes it possible to obtain a pleasant olfactory result and to ensure good conservation of the hydrosol.

Visit the page here.

More

Visit Penny's website right here

Find organic Witch Hazel hydrosol at Aroma Zone here.

Do Tell

Do you work with witch hazel under any form? Please share which in a comment below.

How to: Easy Peasy Green Comfort Face Mask

Lise

Happy August!

Today we're going to mix green things together and put them on our face. Why? Because our skin is going to love it, and these particular green things feel downright comfortable and cozy while they are doing their skin-nourishing magic.

It's green synergy at its best.

Let's make a green comfort face mask!

Ingredients

For this mask, I have combined the following:

  • Moringa powder

  • Powdered Pumpkin Seed

  • Spirulina

  • French Green Clay (Montmorillonite)

Do you have to use these ingredients? Nope - you can choose any clay and any green powdered botanicals you like.

For the liquid, a green tea and/or matcha infusion makes the entire experience pure green pleasure, but you could also make a fresh cucumber juice, use distilled water or another herbal tea.

Method

Making this mask is simply a question of starting with about 2 tablespoons of liquid and adding the desired powders to the liquid bit by bit until you have a lovely, spreadable consistency.

Super Cool Clay Tip:

Start by adding a teaspoon of green clay and letting the liquid absorb it completely before adding the other green things. This will make for a perfectly lump-free and easily spreadable mixture.

Applying

You can use a small natural bristle brush to apply if you like, but it is also quite do-able to use the back of the spoon you just used to mix everything together with.

Tip: Clay masks should be removed before they are completely dry, so to allow yourself more mask-sitting time, either apply a thick layer or have a hydrosol or other skin mister at hand to moisten the mask as desired. For a thick layer (which is super comfy feeling), I usually layer up 3 or 4 times.

Let the mask sit for 10-15 minutes. This is the perfect time to sit and enjoy the rest of that cup of green tea you just made to use as the liquid.

To Remove the Mask

Soften and remove the mask with a moistened natural sponge (or grab the spoon you used to apply and gently remove the mask by ‘scraping’ it off with the spoon).

Finish with a spritz of skin tonic, hydrosol, and a light layer of face oil if you so desire.

Do Tell

Are you a regular user of face masks? Have you ever applied a mask with the back of a teaspoon? And if you have applied with a teaspoon, did you also remove it with the teaspoon?

Psst: The book below is a beginner friendly guide to cosmetics and has a section with face masks using normal easy-to-get ingredients. Scroll down for the book in Spanish.

Dandelion Distillate

Lise

Pictured above is a peek at one of my latest hydrosols, made within hours of picking the plants. Who would have imagined dandelions could be transformed into a fabulously refreshing all natural skin mist?

The idea of distilling them presented itself while I was walking past a field of fresh sunny blossoms (read: the dandelions made me do it).

The result has been such a success that I have been scouring the local parks, fields, and green areas for additional fresh botanicals to try.

If you’re curious about making your own distillates/hydrosols, check the blog post links below. There’s also a blow by blow description of how I set up and use my handy little still in the post called ‘Working with an Air Still to make Hydrosols”.

Handcrafted Mint Hydrosol

Lise

Last summer, my lovely neighbors (who have a lovely garden) asked me to water their plants while they were on holiday. I was of course happy to oblige and as a thank you, they told me to feel free to pick any fruits or plants that I might like.

On the corner of the patio was a large potted mint that I mentioned would be lovely to try and make a distillate with, but that it would take more than a few sprigs.

“Oh heavens help yourself to the whole thing if you like - these grow like wildfire and we never use them all”

As it turned out, I didn’t need ‘the whole thing’ to make almost liter of hydrosol. MInt distillate is incredibly refreshing as a summer face mist, but it has also functioned beautifully as a body mist as well.

Upon returning from their vacation, I presented them with a small selection of handcrafted hydrosols (and mint was included)

I only recently finished this batch which was made in July last year. Happily, it won’t be too terribly long until the mint in my own garden will be popping up so I can get busy with a new batch.

Do Tell

Do you make your own hydrosols? Which plants are your favorites to distill?

TIP. If you make your own hydrosols, try adding a generous splash of mint hydrosol to your next foot bath for a luxuriously cooling treat.

Working with an Air Still to Make Hydrosols

Lise

A lot of you have asked me how I use my Air Still to make hydrosols. Today, I’m going to show you the tools I use, the modifications I have made to them, and then walk you through the process of making this lemon distillate.

The Still itself is described (and pictured) in detail in this post.

Extra Tools

Pictured below is my collection of additional tools used in combination with the still.

The rings on the upper left are stainless steel baking rings bought from a professional chef’s suppliers. I stack these rings to create a raised ‘platform’ for the modified vegetable steamer pictured on the top right. The copper wire ‘birds nest’ is placed on top of the herbs before placing the lid on.

These are the only ‘extras’ I use.

Steamer Modifications

The vegetable steamer is a typical, widely available stainless steel little number that was purchased in a kitchen supplier shop. It did need a couple of modifications, which became necessary after making my first batch of distillate and discovering parts of the steamer had become discolored and were impossible to clean.

My modifications have been to remove all non-stainless steel parts and replace relevant bits with stainless steel. (I better come clean about who did the actual modifications: it was my tool wielding husband). I was close at hand to document the process.

The original handle that was in the center (the stick with the ring) was replaced with a (sanitisable) stainless steel screw. This was ‘merely’ a question of hunting around in a hardware store for the right type and size of screw.

There were also 3 ‘legs’ on the steamer that looked positively gunky after their first exposure to heat and steam.

These were removed by being drilled out.

Why is this important?

Because unidentified metal of any type can leach impurities into the hydrosol (and for that matter into steamed vegetables).

Below are the 3 legs after being drilled out of the body.

Having a steamer without legs is a non-issue for my needs, so this steamer has 3 extra holes in the bottom plate.

Now, let’s make this batch!

Here is a peek into the body of the Air Still. The rings are stacked to create a raised space on which the steamer is placed.

Note the water level is below the top ring. This is quite on purpose. The idea is for the steam to go through the raw material. If the water level is too high, the raw material risks getting ‘cooked’.

Obviously, the yield is going to be less than if you could just fill the body to the brim, but I have had quality results with this method and find doing more frequent and smaller batches is suitable for my needs.

As soon as the steamer is placed in the body, the ‘layering’ of the raw material begins. I like using approximately the top third of the still for the plants.

This distillate includes zest, leaves and meat of lemons that is layered until there is still a bit of room at the top for the final positioning of the copper wire birds nest.

The ‘birds nest’ is simply stripped speaker wire that is ‘hand shaped’ into a disc that is placed at the top. The addition of copper has made a tangible difference in my hydrosols. While the first distillate was completely free of copper and turned out quite nicely, there was an undertone of ‘metal’ that I found less than ideal.

After adding this element of copper, I find the fragrance has been ‘rounder’, ‘fuller’ and ‘richer’ with no metal undertones at all.

With the copper in place, the lid is locked onto the base, then the unit is plugged in and allowed to do its work until the batch is ready.

Below is the yield of this batch: a total of half a liter (500 ml).

There is an ever so slight amount of essential oil visible at the top of the container - not enough to separate from the hydrosol, but definitely there.

The fragrance and feel of this distillate was a real treat to use. I am a huge fan of citrus fragrances, and this functioned as a morning skin mist as long as it lasted.

The lemons I used for this batch: organic lemons from the Amalfi Coast of Italy - purchased in my local supermarket.

Do Tell

Do you make your own hydrosols? Which kind of still do you use?

PS: handcrafted distillates can be used as the water phase of emulsions for a beautifully fragrant and skin-pampering cream or lotion.

Handcrafted Wild Rose Hydrosol

Lise

Last year, I bought an air-cooled still and fell in love with the process of making my own hydrosols with wildcrafted and homegrown herbs and botanicals.

Here’s a peek at a wild rose distillate made with foraged rose petals. This was a pretty small batch as it wasn’t until ‘late-ish’ in the season that I realized the wild roses were in bloom. This year, I’ll be counting the days until I can go foraging on the beachfronts of Denmark, where these lovely plants are plentiful.

Check my still here.

Do Tell

Do you make your own hydrosols? Which kind of still do you use?