Contact LisaLise

Please use the form on the right to contact LisaLise.

Majestic Court 5, St. Mary's Street
Mellieha
Malta

LisaLise offers online education of natural plant-based cosmetics via e-books and courses

LLBlogHEADER2020-3.gif

Shop Blog

A look inside the LisaLise natural cosmetics lab with free formulas, DIY how-to's, ingredients tips, sneak peeks, and more.

Filtering by Category: LisaLise Lab

Lipstick Grows on Bushes

Lise

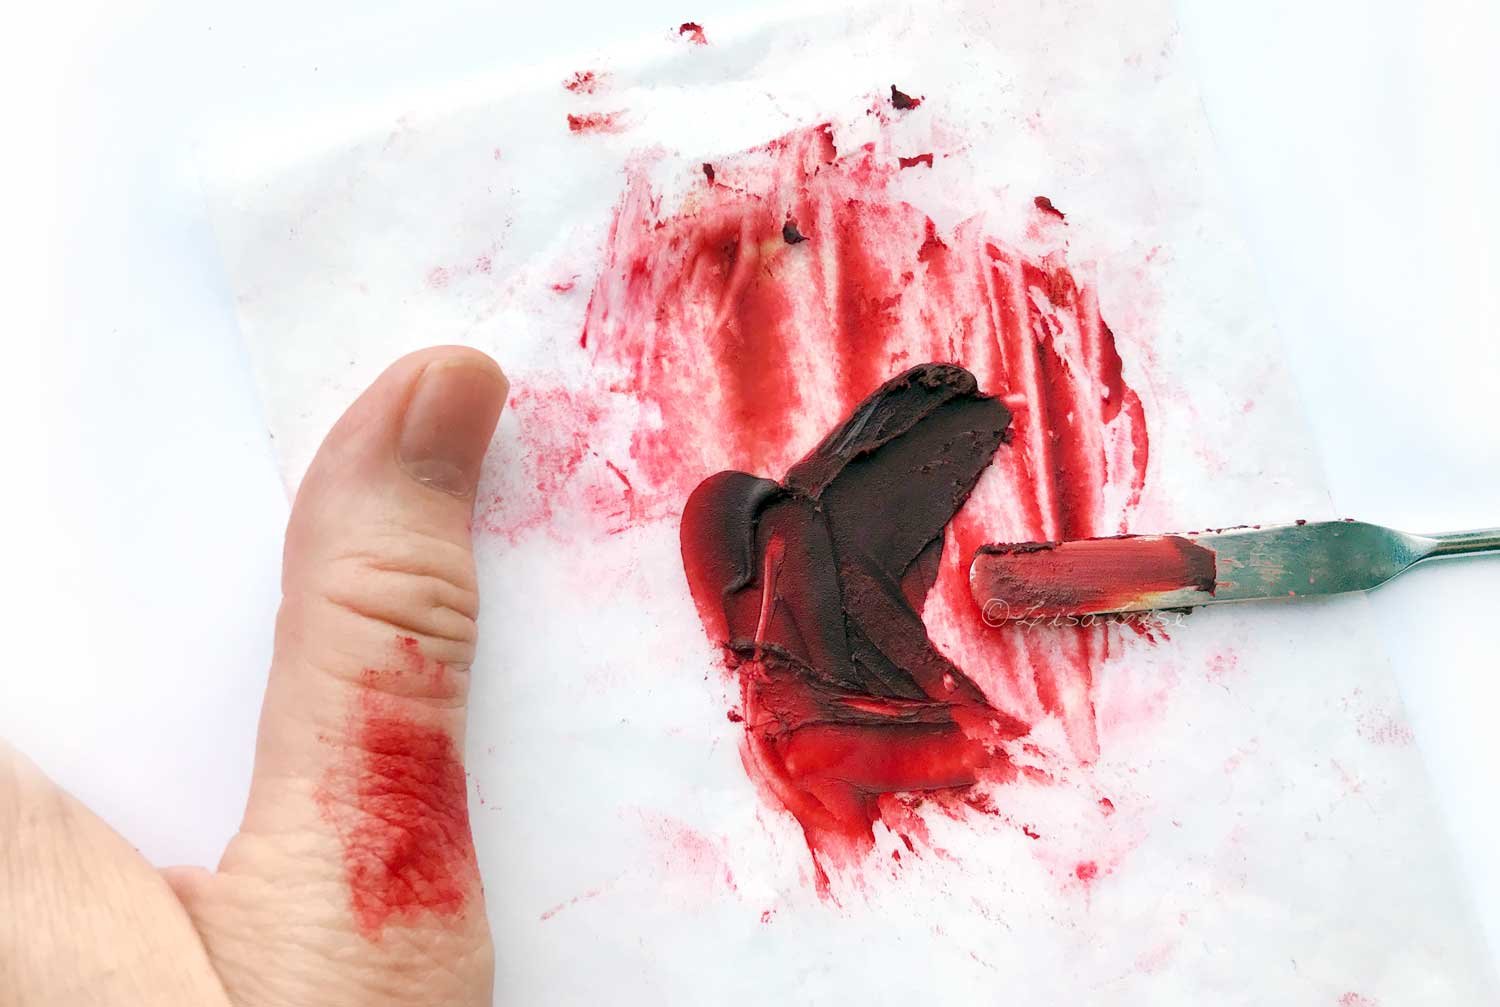
This red mess you are looking at is a bit of success. I suppose we could call it a successful mess. It is 100% plant-based colorants in a 100% botanical base. When I realised it actually had the color, opacity, stability, and staying power I had been trying to acheive, I was absolutely beside myself.

But I'm already a little ahead of myself.

Let's go back a bit.

"This shouldn't take too terribly long" said the Eternal Optimist

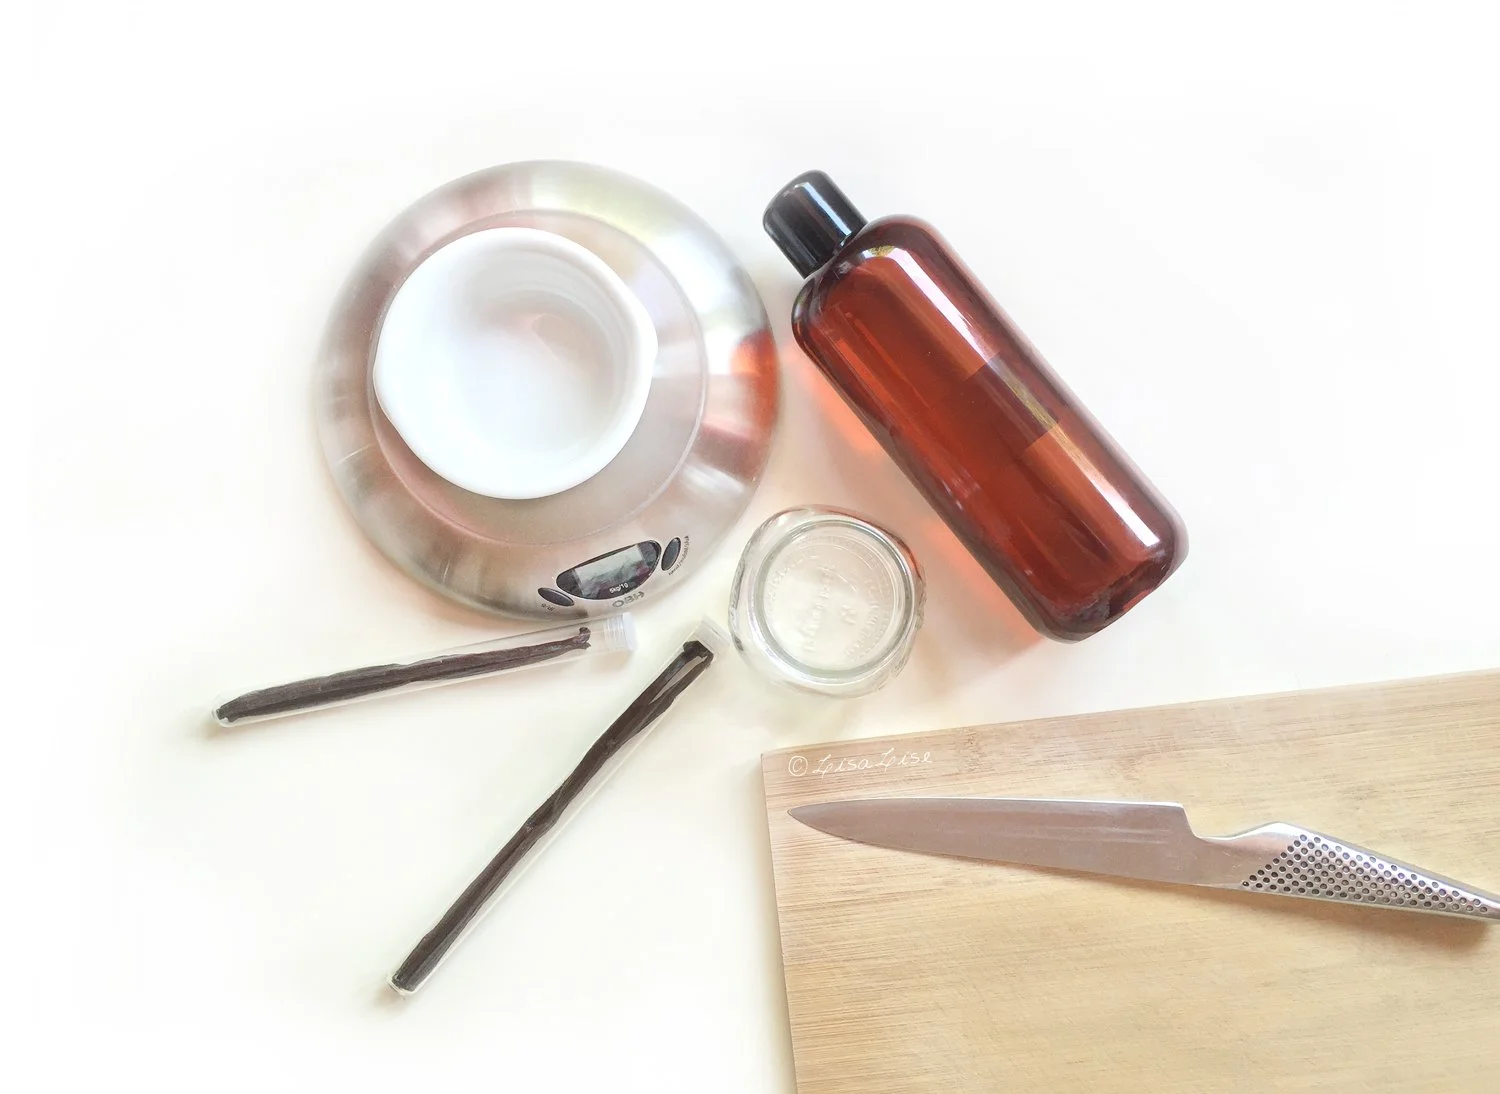
Over a decade ago, I put this 'little' project on my personal-to-do list. I thought it might be fun to develop a series of color cosmetics that uses solely plant-based colorants and doubles as skincare.

Admittedly, this sounds like mission impossible, but if you have been following me a while, you probably also know I do like a challenge.

You: Only plant colorants, Lise?

Me: Yup - all natural, all plant-based and only botanical colors.

You: But that's not possible! Plants morph and change color - they turn brown and boring.

Me: I know, and that makes the whole thing a bit of a challenge doesn't it?

The Claim: Cosmetics Will Never Be Natural

It was a meme on Instagram (posted by a formulator of the petrochemical persuasion) that helped kick me into gear and get serious about seeing if this could be done.

The meme was a graphic of a bush (or tree?) that was filled with 'blossoming' lipsticks instead of flowers.

The accompanying text was something along these lines:

"until someone invents a lipstick bush, cosmetics will never be natural."

My immediate thought: 'what an odd choice of graphic and words for someone who has obviously never heard of the Lipstick tree'.

And that was it.

I had to prove lipstick could grow on bushes, so I got to work.

As time has passed, this project has been worked on furiously, placed on the back burner and everything in between because, well, sometimes, things just get in the way.

The Value of Accumulated Fails

There have been scads of fails.

I am not exaggerating. I have over a decades worth of batch notes and research to prove it. And one of the most amazing things I have discovered about having THAT many fails is that it changes every fail from being just another learning experience to an entire education in and of itself. It creates a base from which one can begin to step in the direction of success.

And that’s what I am happy to say happens more and more often.

Plant Based Red Lippie

When this successful mess happened in 2018, it enabled me to hone in on a more targeted path to plant-color success.

I'm still working on this and haven’t cracked every plant-colorant code but from my results so far, I can attest to this: Lipstick grows on bushes.

Tip

If you’re interested in walking this plant-colorant path with me, you might consider joining LisaLise Club where I'm sharing my formulas and methods exclusively with members. Click the picture below to read more and sign up.

Introducing LisaLise Club

Lise

Here’s a peek in my lab from a while back but it’s pretty typical of what the lab looks like at almost any given time. There are almost always more than a few ongoing projects.

My passion for working with natural ingredients in a multitude of ways has grown exponentially with the passing of time. Being interested in so many different aspects of working with plants has brought me down all sorts of interesting new paths of discovery (some call these rabbit holes) resulting in an ever-growing to-do list.

Some might call it stubbornness, but it isn’t often I will say no to a challenge. Perhaps because of this, I am regularly commissioned to create the kinds of products others claim can’t be done. (spoiler alert: they generally can be done). This translates into a great deal of research, experimentation, and testing.

My formulations come about via

  • Researching and working with all manner of botanicals (sourcing, wildcrafting, processing)

  • Handcrafting extracts of all types (dry extracts, tinctures, glycerites, infusions, macerations, distillates, etc)

  • Creating bespoke ingredients (emulsifiers, botanical colorants, multi-medium extracts, etc)

  • Creating stable cosmetics that include all manner of food items as ingredients

  • Researching and working with applied Hurdle Technology

  • Testing the limits of both ingredients and methods

There always seems to be heaps of interesting things on my plate.

For the longest time, folks have been asking when I will be sharing more about the numerous different aspects of my work. I’ve discovered it is quite difficult to prioritise what to focus on when everything is both fascinating and interesting!

Then it occurred to me that it would be possible to accommodate ALL of these requests by creating a membership space where there was room for everything. This is how the idea for LisaLise Club was born.

It has taken a bit of time and loads of hard work, but has finally come to fruition.

I am thrilled to pieces to announce the launch of LisaLise Club.

Want to know more? Please click the picture below to see what the Club has to offer you!

I hope you’ll be joining us for a lot of botanical formulating fun.

Easy Rose Exfoliating Paste

Lise

This simple exfoliant ticks all of my favourite boxes:

  • All natural (read: plant-based and organic)

  • Vegan-friendly

  • Beginner-friendly

  • Gentle

  • Effective

  • Planet friendly

  • Reasonably priced

The best part? It contains a mere 3 ingredients – one of which I know you have already guessed.

Are you ready to make your own rose exfoliant?

It Starts With Rose-Infused Oil

This product begins with your own rose-infused oil, so if you don't happen to have one brewing, you can learn how to make one right here.

If you have followed me for a while, you will probably know I have been making rose-infused oils for many years.

With that in mind, I'm almost embarrassed to tell you this next part.

Up until 2018, I discarded the spent plant material after straining my rose infusions.

(insert shock-faced emoji here)

But when my batches (finally) started resulting in the most heavenly fragranced oil, it became physically impossible for me to toss the spent material.

Then it hit me: Repurpose!

Instead of tossing the roses, I turned them into a luxuriously fragrant exfoliant. Here’s how easy it is to make your own.

Making Rose Exfoliating Paste

After straining your rose infusion, you are left with a straining cloth full of roses with some residual oil.

  1. Place the oily roses into a chopper/grinder

  2. Pulse until you have a paste

  3. Test the texture for the skin feel you like and if necessary, keep pulsing/grinding until you are happy with the texture

  4. Transfer the paste to a jar

  5. Label and date the jar

  6. Keep the contents free of moisture and use within 3 months (alternatively, add a preservative if you want to be able to dip wet fingers into the jar and use with abandon)

Here's what it looks like straight out of the jar. This paste makes a lovely hand exfoliant without the addition of anything else, but you could also add some fine himalayan pink salt to extend the amount and turn it into a luxurious rose body exfoliant.

Enjoy!

Do Tell

What do you do with the spent plant material from your oil infusions?

Want to incorporate your essential oil blends safely into a series of fabulous bath products? The e-book below might be just the thing!

Kelp and Matcha Green Tea Shower Shaker

Lise

If you have been following me for a while, you probably know I like to experiment with different ways of putting ingredients together and using them.

Shower shakers came along as a natural course of ‘playing around’ with a few ideas.

A shower shaker is basically bath salts for folks who don’t have a tub (count me in that group). It’s also a version of body scrub that can be put together numerous ways. There’s a link to an introductory shower shaker post at the the bottom of this article.

The Kelp and Matcha Mix

Today’s shower shaker is a mixture of the following ingredients

Amounts?

I eyeballed the amounts in this batch, but here’s a rough breakdown

  • Salts: 85%

  • Milk Powder: 12%

  • Botanicals: 3%

TIP: Unless you want to be able to recreate your batch, it’s OK to eyeball the amounts in a shower shaker.

Above is a shot of the added matcha tea powder and ground kelp before I stirred it into the mixture.

Does that seems like a super teensy amount of botanicals?

Here’s why: these were added mostly to color the mixture that pretty shade of green you see pictured at the top, but there are other reasons to keep the amount of botanicals at a minimum in products of this nature.

As we all know, bath products are rinsed down the drain after use, and as we may sometimes forget, many botanicals take a while to break down completely - even when they start as a fine powder. In short, too many botanicals can make your pipes (and local plumber) very unhappy.

What? No Butter?

I realise the previous shower shaker post (link below) mentioned using grated cocoa butter (which is gorgeous) and this batch has no fats at all.

One of the advantages of shower shakers is that they can really be put together successfully any number of ways.

Admittedly, grating cocoa butter is a bit of a project (which is why I always grate a fair amount at a time and then store it in the cooler until needed). If you don’t happen to have time to grate cocoa butter (I didn’t), there is a workaround.

Apply a light layer of sweet almond oil, apricot kernel oil or your favorite oil after stepping into the shower and before using the shower shaker. There is ‘double application’ situation using this workaround, but I see this as extra pampering time and the result is silky soft exfoliated skin.

Could you add grated cocoa butter to this batch? Absolutely!

Could you use other botanicals? Yes, indeed!

Could you use coconut milk powder to make a vegan version? For sure!

This is why I love shower shakers – they’re so versatile and the options are endless.

Do Tell

Have you made and used a shower shaker? Which botanicals did you use? Did you add grated cocoa butter or did you try the oil application? Please share in a comment below!

The book below is full of bath products you an make.

How to Make Vanilla Oil Using the Sun Infusion Method

Lise

Over the years, I've made many oil infusions using numerous kinds of materials and methods. Today I'm going to share a classic, beautifully fragrant multifunctional oil with you using a classic method.

Sun infused vanilla oil is easy to make, fun to do, and smells so delicious it's hard not to love.

Here's what you need

  • Vanilla beans

  • A neutral base oil (I typically use Sweet Almond Oil or Apricot Kernel Oil)

  • Sanitised jar with tight-fitting lid (canning jars are perfect)

Raw Materials Matter

I know it can be tempting to buy bargain-priced ingredients - especially when it comes to vanilla beans. Bargain beans cost far less than the pricey stuff. My pocketbook can attest to this fact.

But the good stuff is pricier for a reason. I've tested this several times.

Here's a vanilla bean comparison test.

The bottom (bigger) vanilla bean costs over twice as much as the 2 top beans. The beans at the top definitely smell like vanilla, and if I hadn't done a side by side comparison, I might never have been the wiser.

Here's how I put them to the test.

Sniff Test

This test was quite simple: Sniff, then note down immediate reaction

Bargain Beans: yup, that's definitely vanilla

Pricey Beans: intoxicating vanilla-delicious nose candy

Slice Test

On the left: pricey beans after slicing

On the right: bargain beans after slicing

The beans were cut right where you see them. The plump juiciness of the pricier bean is pretty evident when you look at the cutting board (and the nose test is even more evident during the slicing process)

Let's Make Sun-Infused Vanilla Oil

  • 1 part vanilla beans

  • 10 parts oil (I used sweet almond)

Measure your ingredients by weight for accuracy. I made small batches for this comparison test using 5 grams of vanilla to 50 grams of oil for each batch.

The Sun Infusion Method

  1. Slice beans

  2. Place in sanitised jar

  3. Pour oil into jar

  4. Seal jar

  5. Place the jar in a windowsill or similar sun-warmed spot to infuse (temperature 24° - 28°C / 75° - 82°F).

  6. Agitate daily

  7. Infuse for 10-14 days

  8. Strain

Note: If you live in a very warm climate, you may need to place your container away from direct sunlight (so it achieves the mentioned temperature rather than 'cooks' due to too much warmth).

You: That timeframe sounds wrong! Normally, sun-infusing oils takes WEEKS! Not a mere 14 days?!

Me: In this particular instance, normal rules are out the window. You see, vanilla beans are magical. They need only 14 days (and the right temperature) for a good sun infusion.

Honest.

Now, to be fair, you could leave your vanilla beans as long as you please, but in my experience, 14 days of sun-infusion provides the perfect depth of fragrance without ‘taxing’ the oil. It is a bit of a balancing act to use the sun infusion method optimally.

Straining and Batch Comparison

Here's a straining tip that is particularly useful for vanilla-infused oil.

Use 2 large tea filters (the kind large enough to make a pot of tea)

  1. Place one tea filter inside of another

  2. Roll the top down a bit so the filters do not risk separating.

  3. Place the filters inside a clean container (beakers are perfect because you can pour directly from them when you're done)

  4. Pour the oil into the filters

  5. Lift the filter bag up and let strain completely

If necessary, filter again (it usually isn't necessary if you 'double bag')

Transfer the oil to your final container

Rejoice at your expertly strained sun-infused vanilla oil

TIP

There is no need to discard the vanilla bits just yet. Grind them up and use them in a batch of cookies, or pop the well-strained bits into a jar of sugar and leave to infuse. Shake the jar regularly. The sugar can be used in baked goods such as cookies or cakes.

Comparison Test

I'll bet you have guessed which infusion came out best, and you would be absolutely right. The less expensive vanilla beans produced a very nice vanilla-scented oil, but the pricier vanilla beans produced a decadently rich, warm, luxuriously fragrant oil.

Where to Use Vanilla Infused Oil

It's almost more fitting to ask where not to use this lovely oil. Vanilla-infused oil is a fabulous addition to

  • Body Lotion

  • Lip Balm

  • Body Butter

  • Body Balms

  • Face Oil

  • Body Oil

USAGE TIP

While this fragrance is absolutely decadent in small amounts, it can be a bit overwhelming if it is the dominant scent in a product that is applied all over the body. Not everyone likes to smell like vanilla cookies fresh out of the oven.

To avoid the cookie scent profile, try combining your vanilla-infused oil with a few choice essential oils to make a more complex fragrance for your body oils and butters.

Enjoy!

TIP

If you follow good manufacturing practice, it is possible to use your handcrafted extracts in cosmetics for sale. The e-book below can help you get set up and organised.

Also available in Spanish!

Make Your own Bi-Phase Cleansers - a New Publication

Lise

I’m very excited to share the latest LisaLise publication with you! We’re playing with plant colorants and making a bit of fun-loving, colorful cleansing magic in the form of bi-phase cleansers.

I had a blast putting this one together with all of the different colorful options there are to try.

And guess what? This is all about being able to customise!

It’s a Formulation Template

The astute observer may notice that the cover design features a band of color along the left side (which isn’t very common in my publications). That’s a visual indication that this e-book is (what I have decided to call) a Formulation Template.

This is something I have been wracking my brains about for quite a while: how to create a formula that is fully customisable yet contains enough information to ensure as successful a result as humanly possible.

This self-appointed challenge came about because of the many questions I get on ingredient substitutions. And because not everyone can get every ingredient all over the planet (well, duh), I wanted to try and accommodate that situation by creating a kind of ‘ open formula with a set of guidelines for a successful outcome’.

So it became a Formulation Template.

What does all this mean? It means you get a ‘toolkit’ of ingredient information and additional useful stuff, a formulation template with instructions on how to use it, and some example formulas to show you a few possible variations and get you comfortable with the whole process.

The first formulation template was the tooth powder e-book and I’ve gotten so much positive feedback on it that I just had to do another one. (And if you have suggestions for additional e-books you’d like to see of this type, please feel free to drop a comment below - I’m all ears!)

3 Bespoke Formulas Included

While developing an e-book of this type, I make and test a lot of formulas in several different versions. I decided to include 3 of the formulas in this book. So apart from the template (which shows you how to create your own formulas), you can also dive right in and get busy making one of my formulas if you like.

Bi-Phase Cleansers are Both Versatile and Easy to Make

What I love most about this type of product is the absolute versatility it offers. You can use these as eye makeup removers or cleansers, dress them up with fancy ingredients or dress them down to the bare basics. You can create specifically for certain skin types or just have fun with color mixing for the sheer playfulness of it.

The book is illustrated with several of the versions I made and I better warn you right now. If you like playing around with colors, you might get little addicted to making and using these.

Click the picture below to learn more about this publication.

Do Tell

Which kinds of products would you like to see available as Formulation Templates?? Please feel free to pop in a comment below!

Below is the first Formulation Template.