Contact LisaLise

Please use the form on the right to contact LisaLise.

Majestic Court 5, St. Mary's Street
Mellieha
Malta

LisaLise offers online education of natural plant-based cosmetics via e-books and courses

LLBlogHEADER2020-3.gif

Shop Blog

A look inside the LisaLise natural cosmetics lab with free formulas, DIY how-to's, ingredients tips, sneak peeks, and more.

Filtering by Category: Learn How

How to Have Fabulous Feet Forever

Lise

A good friend asked me if I had any good foot care tips (which I did and shared with her). After having tried goodness knows how many methods for keeping feet looking and feeling great, I thought I’d share my own tried and true method with you today.

If you are struggling with thick skin build-up on your feet (otherwise known as 'cheese rind heels'), this method should be quite useful to you. Depending on how bad your feet are to begin with, this beauty treatment can cost you as little as the price of a brush to as much as the price of one foot-treatment plus one brush.

Start by Ditching The File

Despite what many may believe, foot files do more damage than good. The instrument functions by grating and tearing the surface of the skin which only makes things worse. Filing your feet only encourages an increased production of hardened skin (I have this on good authority from a couple of foot-treating pros). It doesn’t matter if you are using a fancy schmancy brand named tool, the function is the same: results that unfortunately only exacerbate the problem.

If your heels are really bad, start by getting the built-up, hardened skin removed by a professional. When that's done, you will be able to keep your heels smooth and supple with the following method.

Brush Your Feet Daily

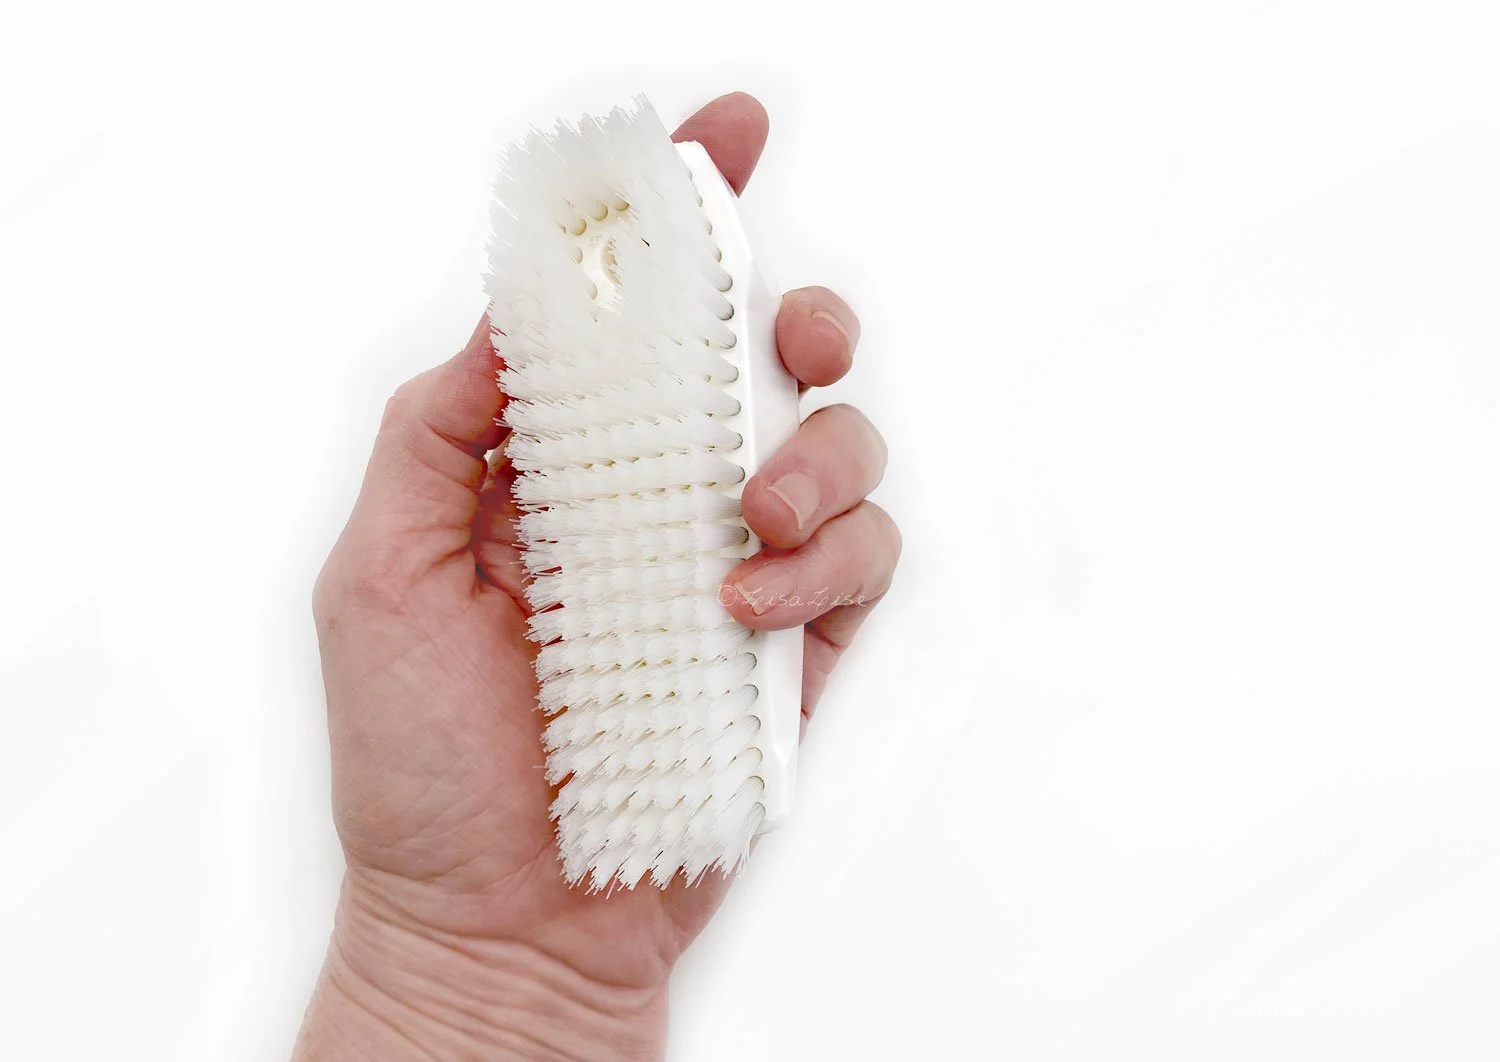
Get a brush that fits well in your hand with stiffish bristles (think nail brush). If you can get an oversized nail brush, that's ideal (see mine below).

After bathing/showering while the skin is still soft, brush your heels (and wherever else the hard skin build-up happens) vigorously for a minute or 2.

The stiff bristles of the brush will remove dead skin and the brushing will encourage circulation in the feet (which also keeps hard skin build-up at bay).

Don't forget the toenails – brushing lightly around the toes will keep the cuticles back and encourage circulation.

TIP: wash the brush regularly to keep it smelling sweet. (If you don't think this is necessary, try not washing your brush for a couple of weeks and then give it a sniff. Even if you don’t have a tendancy to get stinky feet, a brush full of dead skin cells starts to smell pretty awful pretty quickly.)

Then Soften

Finish your foot care routine by applying a body butter, cream or lotion to your feet. Give yourself ample time to apply and massage each foot to work the moisturiser in.

Then put on a pair of socks. Even if you plan on wearing sandals that day, 10-15 minutes with socks will allow time for the moisturiser to sink in.

All That Takes Way too Long!

If we don’t count the sock wearing time, this entire process only takes about 5-6 minutes in total: 2-3 minutes of vigorous brushing, 2-3 minutes of moisturising.

If you can make this little routine a daily habit, your feet will repay you in spades by looking and feeling fabulous – forever.

You’re welcome.

Do Tell

Do you have any foot care tips you swear by? Please share in a comment below

How to Work With Stinky Ingredients

Lise

Working with plant-based ingredients has its occasional challenges. Some of the ingredients I work with have an inherently heavy, sharp, pungent, musky, or otherwise less than appealing scent.

Ok, that was the diplomatic description.

Some of them are so stinky there is instant nose-wrinkling and the instinctive pull-back when the seal is broken and the package is opened.

Yes, that stinky.

At the same time, some of them have all kinds of skin-loving goodness to offer, so they cannot be disregarded.

Choices must be made.

The Stinky Conundrum

So, how shall we solve this stinkiness? Shall we mask the odor?

Perhaps just replace the ingredient?

There's also 'the industry maneuver' (my term) which consists of using such a small amount of the ingredient that it won't be discernible to the nose. This is common practice in many commercially manufactured cosmetics and is also referred to as a 'tip-in'.

Using an ingredient as a tip-in is great for marketing purposes, but the downside is – of course – having to live with the fact that the ingredient won't do a dang thing because there's such a teensy tiny amount in the product (0.05%) that it might just as well not be there at all.

So, maybe we should give up and dump the stinky ingredients entirely?

Or.

Maybe we could figure out how to incorporate the smelly things in such a manner that the end product doesn’t insult the nose.

Maybe we can even make the end product a delight to the nose?

Considering the Synthetic Factor

In truth, it's relatively easy to mask even the stinkiest ingredients by using a synthetic scent. Think of detergent. Without the addition of (a synthetic) perfume, most household cleaning agents are, to put it politely, downright foul smelling.

Grabbing a bottle of fragrance would be the most obvious and easiest choice, but I have a problem with that as I am not a fan of synthetic perfumes.

Ok that was the diplomatic description.

In truth, I find (almost all) synthetic fragrances worse than the stinkiest ingredients I work with. Despite several attempts, I cannot bring myself to work with them. This might be due to a perfume allergy (I've never been tested, so I can't say for sure), but it could be because of my lifelong inherent aversion to anything synthetic.

What’s the Stinkiest?

A while back, I asked a few fellow formulators if there were any particular ingredients they would categorise as stinky and hard to work with.

There was a literal flood of replies.

Here are the stinky winners

  • Neem oil (the all time winner and receiver of most votes)

  • Cocoa butter

  • Unrefined shea butter

  • Lanolin

  • Wheat germ oil

  • Argan oil

  • Carrot seed oil

  • Tamanu oil

  • Pomegranate Seed Oil

  • Evening Primrose Oil

  • Raspberry Seed Oil

  • Kelp Powder

  • Spirulina

  • Tea Tree Essential oil

  • Valerian Essential Oil

  • Soapnuts

These ingredients all have wonderful properties that are difficult to simply disregard. So, how do we deal with all this stinkiness?

We Take Stinkiness into Account

After years of trial-and-error, it has become second nature to me to take the inherent stinkiness of some ingredients into account when creating a formula.

Even though there are some limitations, it is possible to 'bend' a stinky ingredient (or 2) into something entirely pleasant with no need of masking the smell.

The secret is deceptively simple: work with, not against.

Get your perfuming nose on and get ready to include said stinky ingredient as part of the fragrance.

You doubt?

It's perfectly ok. I didn't think it was possible in the beginning either.

To get busy, we need to do a bit of nose exercise (and no, you don't need to learn how to wiggle your nose).

How To Get Your Perfuming Nose On

This is a relatively simple exercise, but does require your full attention and concentration.

Your nose may be a little offended at first, but will probably surprise you with hidden secrets sooner than you expect.

The object of this exercise is to train your nose to pick out the components of (any) fragrance.

Choose an ingredient. Don't start with the absolute stinkiest ingredient, but choose one you perhaps find a bit challenging. For example, if you have an ambivalent relationship with the scent of unrefined shea butter, start there.

Sniff the ingredient until your nose is thoroughly acquainted with it.

Alternate between sniffing the ingredient and sniffing fresh air.

Continue for a few minutes and you will start to discover the 'undertones' and 'overtones' of the scent. Is there a muskiness in the background? Is it slightly woodsy? Nutty? Fruity?

Identify the components as best you can and write down your impressions.

At one point, your nose is going to ‘sign off’ and that will be your signal that this session has ended.

Wait at least an hour before continuing.

It will probably take a few sessions, but I’m pretty sure it won't be long until you have dissected the scent and can begin to work with it. If there is a musky undertone you find unappealing, the addition of a woodsy fragrance can synergise and 'bend' the scent in an entirely different (and more pleasing) direction.

I admit this takes a bit of practice, but I also know you can totally do this. I think you will surprise yourself at how quickly your nose is able to 'dissect' what you are sniffing. Keep at it and you will discover how easy it suddenly is to dissect the components of a wine, perfume, or any dish.

Let’s Take Cocoa Butter

When you've been exercising your nose and making all kinds of amazing discoveries at how clever your nostrils are at picking out subtle details and undertones, you can move on to this exercise.

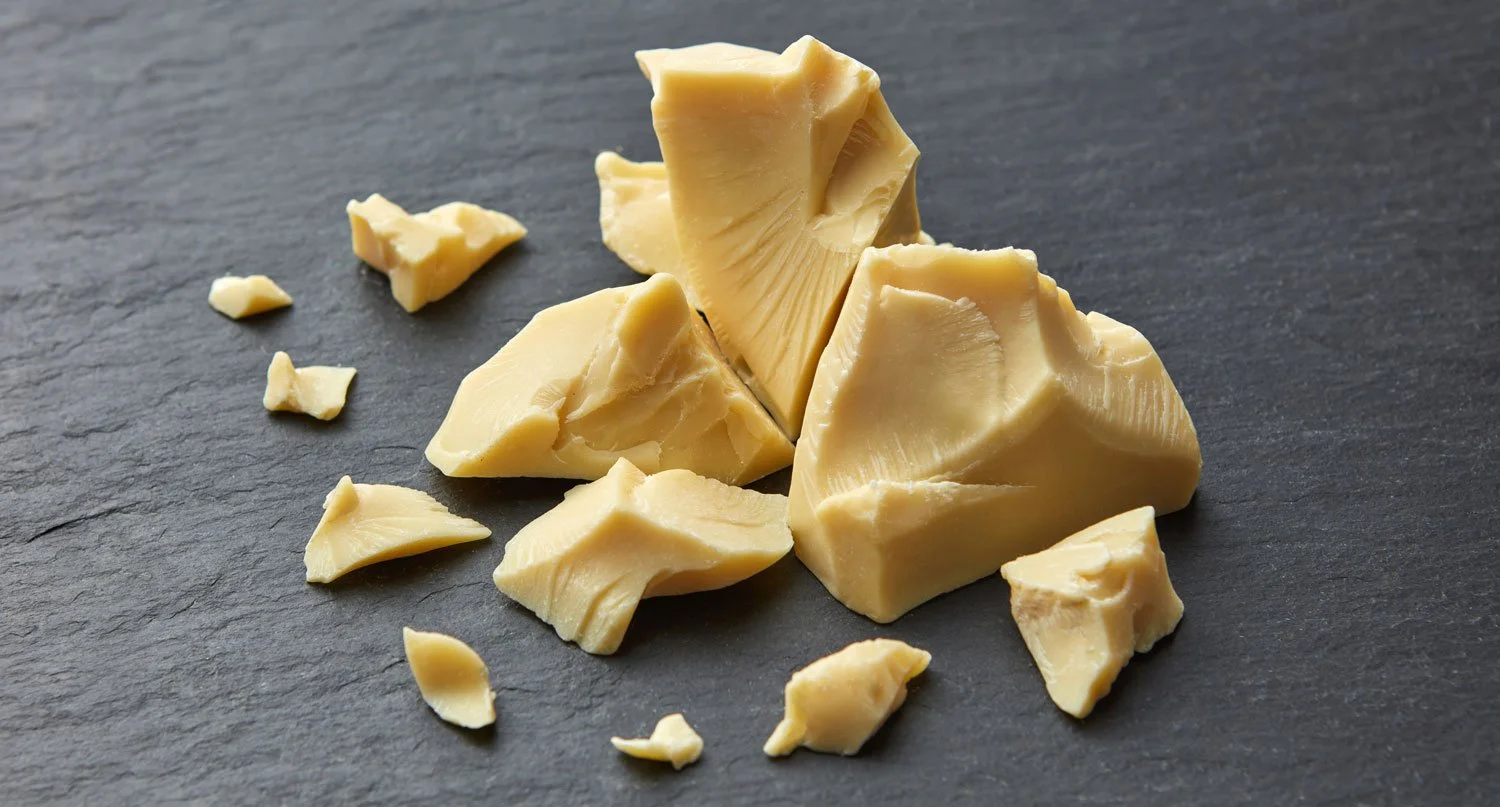
We're going to 'bend' the scent of an ingredient that made it quite high up on the list of stinky ingredients in my impromptu poll: cocoa butter.

It almost seems unfair to call it a stinky ingredient. Most people love the smell and taste of a chocolate bar. I know I do. I actually also love the scent of cocoa butter if I am thinking of dessert. But right now, we're putting it on our skin. And not everyone wants to smell like dessert all day.

As delicious and chocolatey as unrefined cocoa butter might smell in the container, it can be downright overpowering when it is applied to the skin in a leave-on product.

In a body butter, non-chocolate-tasting lip balm, or any other water-free product, cocoa butter can have an uncanny ability to take over the entire fragrance profile and become both heavy and cloying.

How to include cocoa butter as a component of our fragrance? Here's a little exercise on how to do just that.

Cocoa Butter Base Note Exercise

For this exercise, you’ll need

  • Unrefined cocoa butter

  • Essential oils

  • Any infused oils you might want to include

Method

  1. Have your essential oils at room temperature

  2. Gently melt 5 grams (a teaspoon) of cocoa butter in a small glass container (5 grams for each scent you want to create).

  3. Sniff the cocoa butter. Note the properties: heavy, creamy, and chocolate-like. This is the base note from which you shall create your fragrance.

  4. The next step is to decide which direction you want to take this base. Here are a couple of examples to help inspire.

Woodsy : For a woodsy scent, add a component such as cedarwood, rosewood, petitgrain, or sandalwood. A combination could also be used. Round out the blend by introducing an element of citrus freshness – bergamot, mandarin, blood orange, grapefruit, or lemon could all be considered.

Oriental : To bend your cocoa butter in a more exotic direction, add myhrr or frankincense. Introduce a floral element with rose or geranium, then consider a titch of vanilla to round out the scent and make it deliciously exotic.

Floral : For a floral scent, start with a woodsy component to anchor the cocoa butter (cedarwood might be great here). Then add some rich, dense florals such as geranium or rose. Lighter florals risk being 'buried' in the fragrance profile. Chamomile – with its inherent earthy note – is another possible option. Lavender and/or an element of citrus can be added to round out the scent.

Want to try something else? Go for it! When your nose is 'tuned in', you can create any fragrance combination you think you would like.

Chill, Solidify, and Do a Nose Test

When you have finished your test bowls with essential oils and cocoa butter, pop them into the fridge and let the mixture solidify.

To test the solidified samples, warm the bowl (or solidified cocoa butter) slightly in the palms of the hand and then do a nose test to see if you are satisfied with scent profile. If you are, then you know the EO’s you blended into the sample will in all likelihood be useful for anything you make with cocoa butter

TIP : If you happen to make your own botanically infused oils, these can also be super useful in a fragrance creating setting.

Do Tell

Which scent combos have you tried adding to cocoa butter to create your fragrance? Were you happy with the results? Please share in a comment below.

Tips for Making Lavender Powder

Lise

Working with different dried herbs in various cosmetic products has taught me that some herbs are far trickier to transform into a 'proper' powder than others.

Take lavender for example.

I love it to pieces, but at the same time, it can drive me absolutely batty. After several attempts at making my own powders without much luck, I started buying powdered lavender. Unfortunately, that has never brought me any joy either – regardless of supplier.

It's entirely possible that I'm overly picky, but in my book, a powdered facial cleanser should not contain ANY annoying bits that keep sticking to the skin after everything else has willingly rinsed away.

The Perfect Lavender Powder Challenge

The challenge of transforming dried lavender into a perfect powder that rinses away without leaving bits sticking to the face was hereby decreed (by me to myself). I started by investing in a rather large bag of dried whole buds so I could get serious about experimenting with different techniques.

Spoiler alert: My idea of the perfect powder doesn’t exist, but I have gotten pretty close.

I'll spare you my numerous failed attempts and concentrate on the method that has shown the most promise.

The Grind

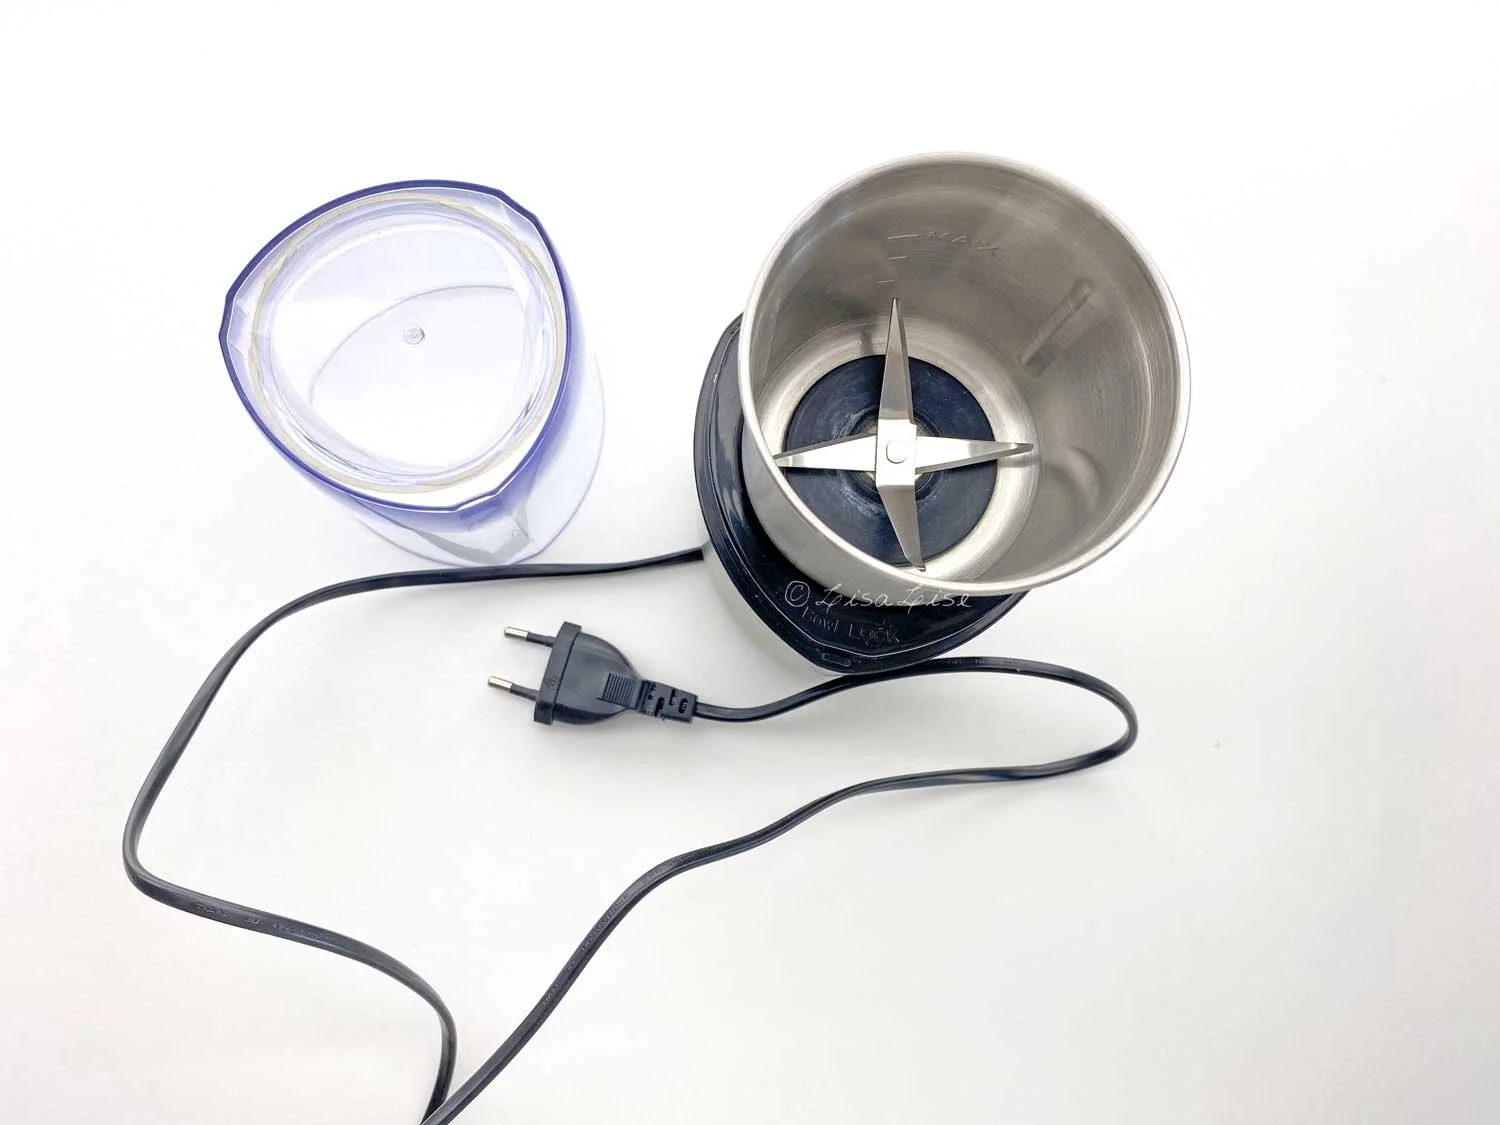
Above: my preferred herb-pulverizing apparatus. Most of the time, this handy coffee bean grinder does a bang-up job.

But no matter how long you grind dried lavender buds, they only become something that looks like a powder.

Try sifting lavender buds that have been in a grinder and you'll see what I mean. It's as if the dried buds are too lightweight to be properly ground to a powder. And that’s exactly why they won’t willingly become a powder. The plant/buds are too fibrous.

Rethinking the Grind

Since my main goal was to use the lavender in a powdered face cleanser, and my powdered face cleansers include clay, it occurred to me that it might be possible to 'weigh down the lavender' by adding some clay to the lavender buds in the grinder.

And gosh darned if that didn't help – a whole lot.

Here are the results of a few different clays mixed with lavender buds and run through the grinder.

The winner is hopefully evident in the picture above. Rhassoul (also called ghassoul) seems to have the necessary weight to 'hold' the lavender. It's also the heaviest of all the clays, so it makes good sense.

The photo above was taken prior to passing the ground mixture through a sieve.

Sifting the ground mixture helped remove most of the remaining unwanted 'fluffy bits'.

Admittedly it’s a bit of work, but if you need lavender powder and are making a product that includes clay, try combining the 2 for some pretty decent results

Pictured at the top of this post is some of the final discarded bits – artfully arranged for your viewing pleasure.

Do Tell

Do you have a successful method of making lavender powder that you're willing to share? Please post a comment below!

PS: LisaLise Club members have access to all kinds of my best tips and useful shortcuts to ease the workload. Want to join us? Click the picture below to learn more about what the Club has to offer you.

Introducing Tutorials

Lise

I’m pretty excited to be able to introduce you to my very first tutorial - right here on the website!

Squee!

If you have been following me for a while, you already know I love working with botanicals of all types for all kinds of things. One increasing interest in recent years has been creating flavour oils. It began with lip balms in mind, but as I started getting more and more into combining ingredients to smell nice as well as taste nice, I kept coming up with even more things I wanted to try.

I’m not even going to mention how long my to-do list is at the moment.

This particular challenge (capturing the flavours of a classic gin and tonic) has taken much longer than I expected (that seems to be a bit of a pattern when I start out thinking I can ‘knock something out relatively quickly’). Many of the initial batches started out well, but then the fragrance faded, or flavour changed, or something else went annoyingly wrong.

Fast forward 3 years and a few more batches than I originally thought were going to be necessary, and finally I could say I was happy with the results.

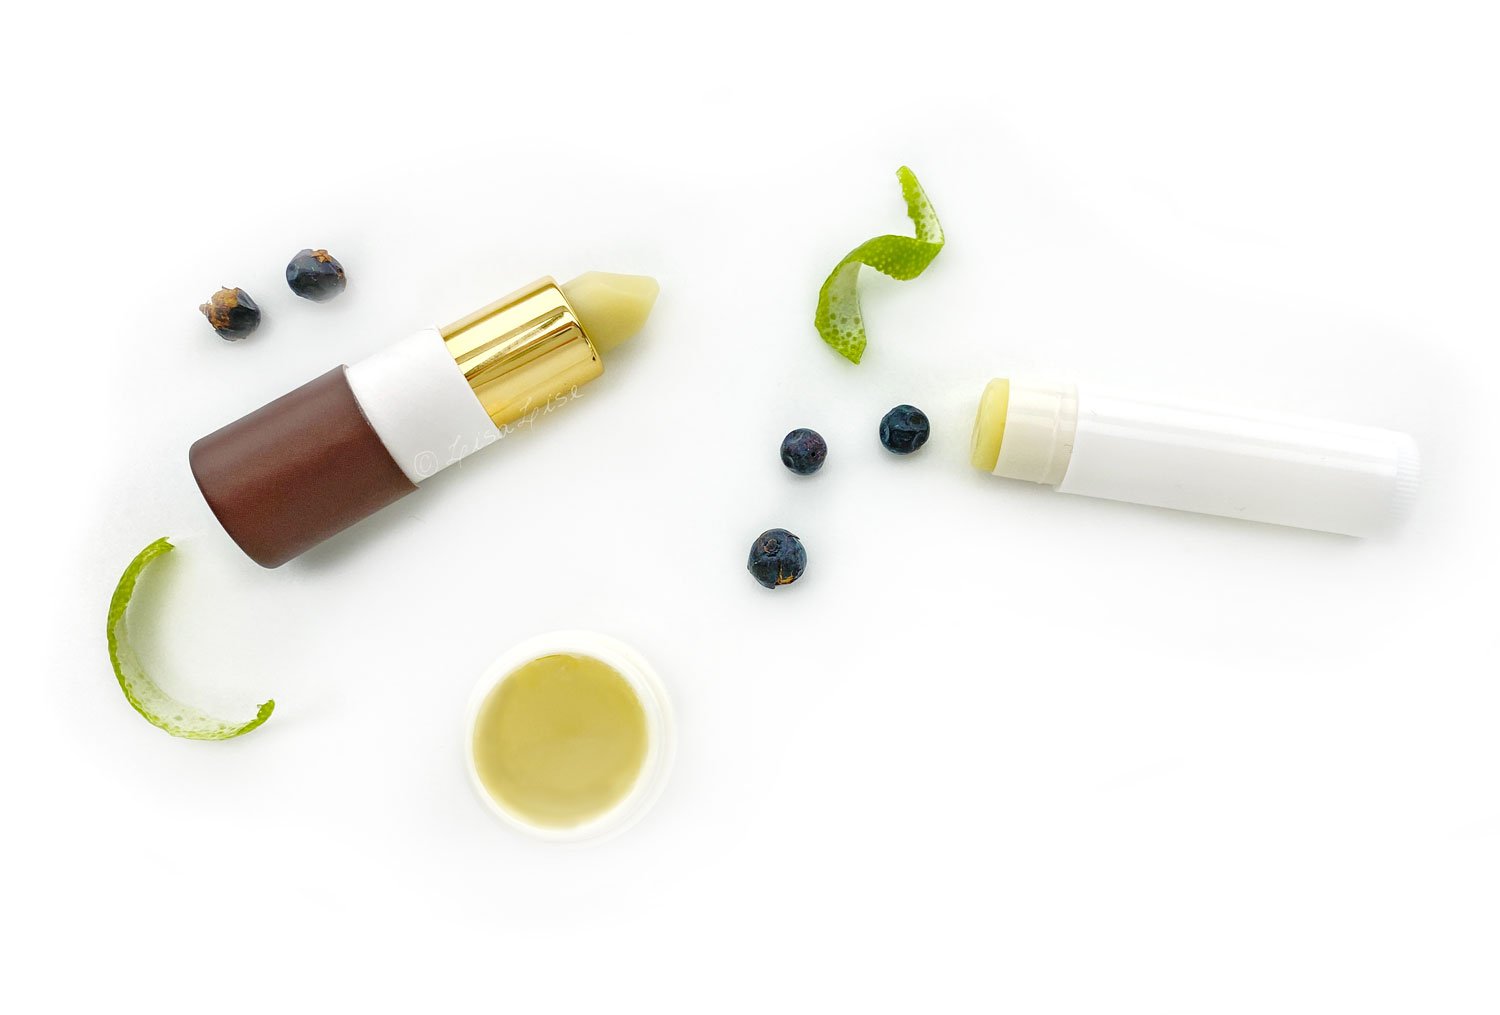
The star of this tutorial is making the flavour oil (which is super for several different products), but I’ve also created a couple of lip balm formulas to use the flavour oil in: a vegan version and a version featuring beeswax.

Wouldn’t you know the balms also took a bit longer than expected to get right (I’m looking at you vegan waxes), but as it turned out, quite a bit of it was solved when I got the flavour oil right.

Does this sound complicated? Well, before I had figured out how to do it, it was, but when you know how to do it, it’s not that complicated. (Isn’t that true of so many things?)

Are you a little curious about getting busy making your own?

Click the picture below to read more.

PS: The formulas for both of these balms as well as the flavour oil are free for LisaLise Club members. If you think you might want to check out becoming a member, click the picture below.

Jump Starting the Formulation Process

Lise

I was recently chatting with Marie of Humblebee & Me about how the process of creating a formula can feel a bit daunting and we both decided to share this insiders secret with our respective readers.

If there was a shortcut available for formulators, this is probably as close as you can get. Many cosmetic bloggers use this method, and while some might call it cheating, others consider it a necessity.

What am I talking about?

I’m referring to jump-starting a formulation process by using free formulations supplied by many ingredient manufacturers.

Free Formulations?

Yes indeed. There are lots of options. If you are a member of, say, UL Prospector , you can browse free formulas to your hearts content from any of the companies in their database. There are other member-based sites as well, but many of them require you either have a company or are working professionally in the field of cosmetics.

But you’ll also find free formulas where you don’t need to be a member. Some manufacturers will make their development formulations freely available for download directly from their website - some even offer ingredient samples. Sometimes you’ll need to be subscribed to their newsletter as the only requirement.

Pros and Cons

There are pros and cons to using ‘ready-made’ formulations as you may imagine. While a clear pro is having an instantly available formulation, cons include things such as:

  • Not all listed ingredients are generally available to DIY’ers or even artisan-sized companies.

  • There are generally disclaimers along the lines of “this formulation has not been tested with manufacturing in mind and it is your responsibility to undertake necessary blah blah and yada yada to ensure stability and safety” In short, the formulation may very well be untested.

  • The method descriptions often call for industry standard equipment (magnetic stirrers, etc etc)

Nonetheless, it can be a great exercise to use a development formula to jump start a formulation exercise, so that’s what we’re going to do today.

I shopped around a bit to find something where most of the ingredients would be readily available and chose this beard balm formula from Alchemy ingredients. It features an ingredient they make: Sapogel.

Sapogel is a natural emulsifier that works without the need of heat (cold-mix) and can produce stable results both with an overhead mixer but also by hand. Mind you, working by hand is a bit of a process, but it’s definitely doable. I’ve made many successful and stable Sapogel emulsions and oleogels using nothing more than a spatula and a bowl.

If you can source Sapogel, you should be able to adjust this beard balm formula to your preference.

Substitutions

If you want to replace any of the oils or butters, I recommend using ingredients with similar properties to achieve a texture similar to the listed formulation.

Examples: shea butter could be replaced with mango butter and cocoa butter with cupuaçu. Avocado oil might be replaced with apricot kernel oil or sweet almond oil. I would probably keep the fractionated coconut oil as it is the only really ‘light’ ingredient in this balm.

Phase C ingredients could be swapped out entirely with other extracts or fragrances/essential oils.

Finally, if I were going to adjust and change this formulation, I would in all likelihood start by making the formulation with as few changes as possible to get an idea of what Alchemy’s original formula feels like.

Final Tip

Many ingredients manufacturers have a suggested usage rate for their ingredients that is great to use as starting point, but don’t necessarily take it as scripture. Many times an ingredient can be used at a far higher or lower percentage and still produce a stable and functional formula.

A couple of examples: surfactants otherwise used in a liquid shampoo can be used at a much higher percentage in a solid shampoo bar. Also, some emulsifiers can produce beautifully stable emulsions with much less than the recommended usage rate.

In short: don’t be afraid to experiment. If you are formulating something untried - start with a small batch and see what happens. You may end up tossing your batch, but you may also end up with something fabulous. Either way, you’ve learned something new and useful you can take forward in developing your future formulas.

Enjoy!

Do Tell

Have you ever used a development formulation to jump start your formulating process?

Speaking of balms, the book below has loads of balm formulas you might find inspiring (and I do include suggestions for substitutions where relevant.

Make Your own Bi-Phase Cleansers - a New Publication

Lise

I’m very excited to share the latest LisaLise publication with you! We’re playing with plant colorants and making a bit of fun-loving, colorful cleansing magic in the form of bi-phase cleansers.

I had a blast putting this one together with all of the different colorful options there are to try.

And guess what? This is all about being able to customise!

It’s a Formulation Template

The astute observer may notice that the cover design features a band of color along the left side (which isn’t very common in my publications). That’s a visual indication that this e-book is (what I have decided to call) a Formulation Template.

This is something I have been wracking my brains about for quite a while: how to create a formula that is fully customisable yet contains enough information to ensure as successful a result as humanly possible.

This self-appointed challenge came about because of the many questions I get on ingredient substitutions. And because not everyone can get every ingredient all over the planet (well, duh), I wanted to try and accommodate that situation by creating a kind of ‘ open formula with a set of guidelines for a successful outcome’.

So it became a Formulation Template.

What does all this mean? It means you get a ‘toolkit’ of ingredient information and additional useful stuff, a formulation template with instructions on how to use it, and some example formulas to show you a few possible variations and get you comfortable with the whole process.

The first formulation template was the tooth powder e-book and I’ve gotten so much positive feedback on it that I just had to do another one. (And if you have suggestions for additional e-books you’d like to see of this type, please feel free to drop a comment below - I’m all ears!)

3 Bespoke Formulas Included

While developing an e-book of this type, I make and test a lot of formulas in several different versions. I decided to include 3 of the formulas in this book. So apart from the template (which shows you how to create your own formulas), you can also dive right in and get busy making one of my formulas if you like.

Bi-Phase Cleansers are Both Versatile and Easy to Make

What I love most about this type of product is the absolute versatility it offers. You can use these as eye makeup removers or cleansers, dress them up with fancy ingredients or dress them down to the bare basics. You can create specifically for certain skin types or just have fun with color mixing for the sheer playfulness of it.

The book is illustrated with several of the versions I made and I better warn you right now. If you like playing around with colors, you might get little addicted to making and using these.

Click the picture below to learn more about this publication.

Do Tell

Which kinds of products would you like to see available as Formulation Templates?? Please feel free to pop in a comment below!

Below is the first Formulation Template.