Contact LisaLise

Please use the form on the right to contact LisaLise.

Majestic Court 5, St. Mary's Street
Mellieha
Malta

LisaLise offers online education of natural plant-based cosmetics via e-books and courses

LLBlogHEADER2020-3.gif

Shop Blog

A look inside the LisaLise natural cosmetics lab with free formulas, DIY how-to's, ingredients tips, sneak peeks, and more.

Filtering by Category: Product Development

Handcrafted Yarrow Distillate

Lise

yarrowhydrosol-1500.jpg

Pictured above: a handcrafted yarrow hydrosol.

Earlier this year, I bought a still and have been learning a bit about how to use it to make my own plant distillates. Although many distill plants to obtain essential oils, my main interest is in making my own hydrosols to use either straight up as skin mists or as ingredients in my cosmetics.

Today, I’m going to walk you through my process of making this hydrosol.

A Bit About Yarrow

The plant I am using in this batch is known as Yarrow. Its botanical name is Achillea millefolium. The Achillea part of the name has its roots from the Greek God Achilles – the name source of the entire Achillea genus. The word millefolium is (also) from Greek and means ‘bearing numerous leaves’.

Yarrow grows in abundance where I live and the plants I am using in this distillation were all wildcrafted and collected shortly before making the distillation.

yarrowplants-1500.jpg

Yarrow grow in a range of colors - from white to bright pinky-red hues. In my neck of the woods, they range from white to a lovely light pink.

Yarrow gets (part of) its botanical name from the lovely, fern-like leaves which carry as many actives and useful constituents as the flowers. They are therefore included in the still, but I have separated them from the flowers as I wanted to layer the different parts of the plant in the still.

yarrowprepare.jpg

The flowers are placed directly on the steamer insert, which is then placed in the still. The leaves were placed as a top layer over the flowers. On top of all the plant material, my copper ‘birds nest’ is placed before putting on the lid.

Check the previous post for a closer look at how I stack the different parts for the distillation process.

yarroweo.jpg

To my surprise and delight, this batch produced a small, but noticeable amount of essential oil. If you look at the photo above, you’ll see the surface of the water is ‘speckled’ with little droplets. As there isn’t enough to separate it from the water, I am using the hydrosol as is.

Packaging the Hydrosol

Since I started this distillation adventure, I have been packaging my hydrosols in glass karafes (as pictured here). These are super easy to sanitize and reuse. The lid is an airtight silicone ‘cup’ that allows me to ‘burp’ out air and suction down the lid. These karafes are sold to restaurants and cafe’s and are available in numerous sizes.

The yield for this batch was 750 ml.

yarrowbottled.jpg

Do Tell

Have you ever considered making your own hydrosols?

Tip: A handcrafted hydrosol can be used as a lovely skin mist, but can also function as the water phase in an emulsion.

Honey and Fruit Vitamin Rich Cleanser

Lise

honeyfruitcleanser-1500.jpg

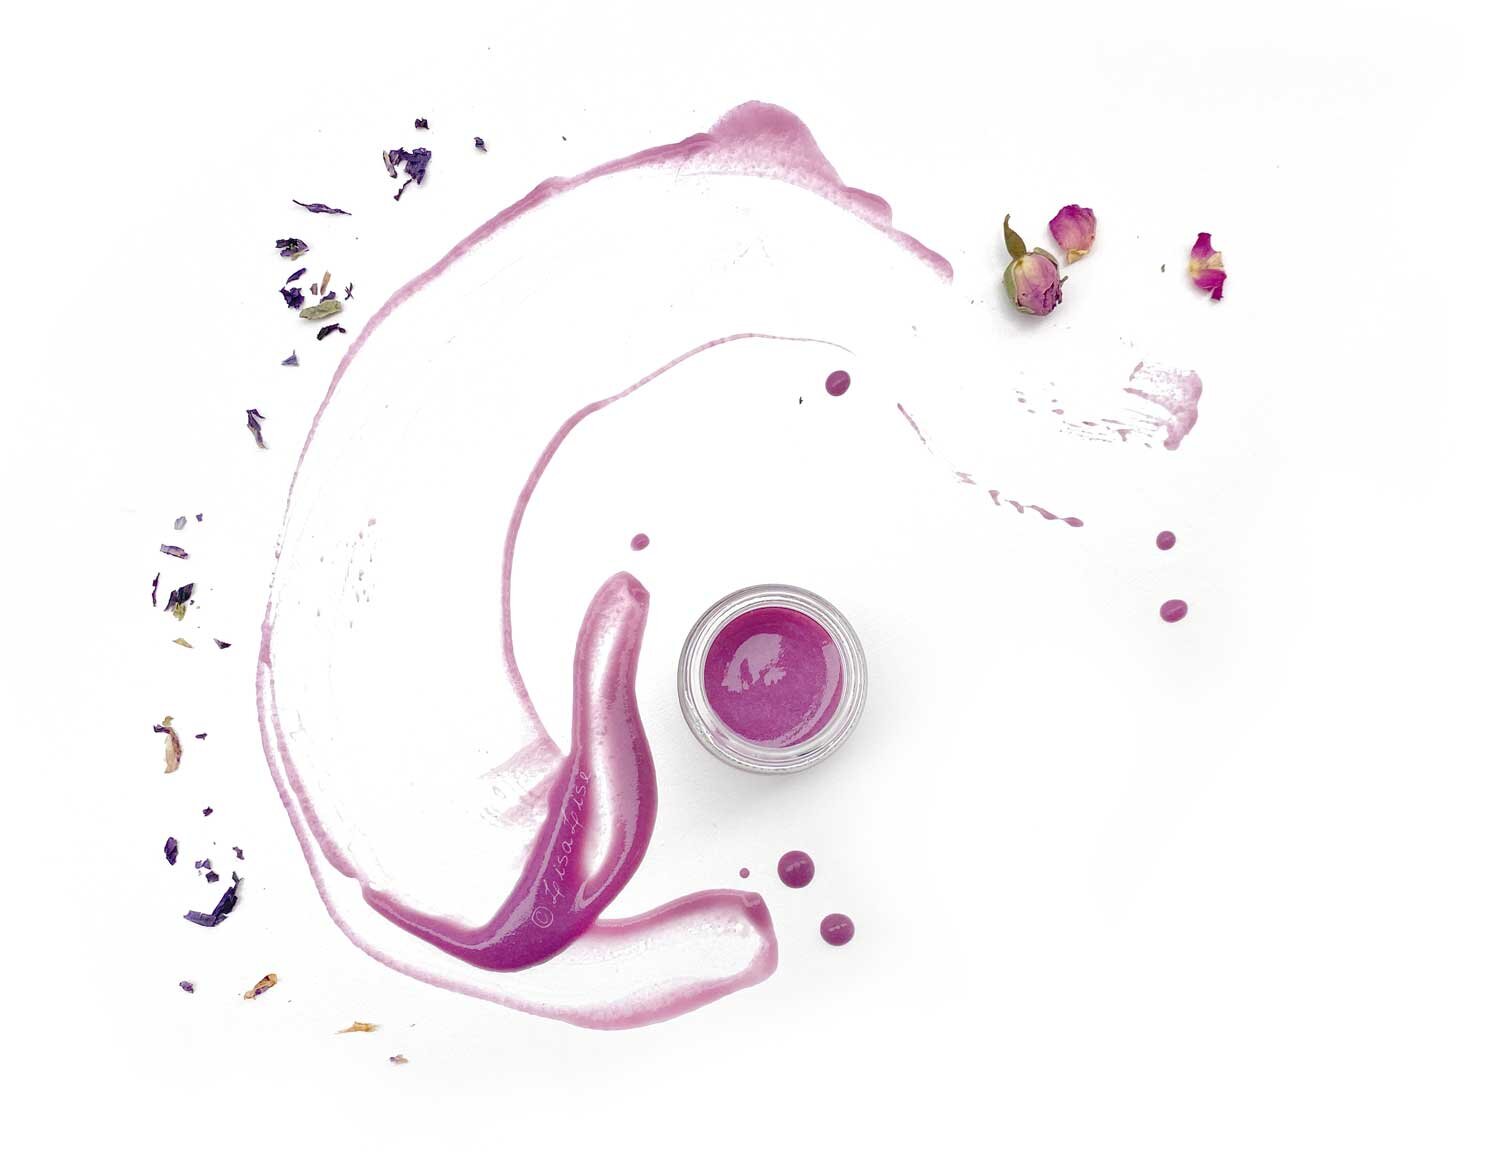
This color of this cleanser reminds me of a lipstick color I like to wear and haven’t made in a while. I created this vitamin-rich honey cleanser using the template in the natural cleansers book (pictured below).

The fruits are all vitamin rich and have been added either as powders or as handcrafted glycerites. Included is amla, cherry, hibiscus, and orange.

These are super easy to make and there are endless ways of putting ingredients together to constantly renew the concept.

Do Tell

Do you make your own honey cleansers? What are your favorite ingredients?

Preservative Free Cleansers with Hurdle Technology

Lise

2hurdle-cleansers-1500.jpg

On the left: my latest batch of this preservative free botanical cleanser that includes a selection of handcrafted extracts.

On the right: an earlier batch of the same type of cleanser that has been going strong since the beginning of 2019. (Here’s what it looked like in the beginning) The color of the batch on the right has faded some and started morphing into a browner hue, but it took well over a year before it started changing color. You can see an update from last year on this cleanser right here.

These are preservative free because of a number of things and if you’re interested in reading a bit more about what Hurdle Technology is all about, I wrote a post about it right here.

My book pictured below shows you how to employ Hurdle Technology in a series of natural cleansers with honey and botanicals.

Working with Extvolat - Preservative Free Skincare

Lise

gelmasksetup-1500.jpg

If you’re a follower of this blog, you may have read this post about pine trunk extract and how it can replace both water and preservatives in cosmetics. The idea of being able to do this with an all natural, sustainably produced ingredient sounds too good to be true, doesn’t it?

Well, guess what.

Not only is it doable, but Extvolat has surpassed my wildest expectations - even when I pulled out all the stops to test the limits of its preservative power.

But before we get busy with my tests, I’ll answer a couple of questions you’ve been asking me.

1. What Does it Smell Like?

Several have asked me about the scent – whether it is necessary to mask or if it smells like “household cleaner”. I am happy to report the scent is quite discreet and pleasant. It is not at all dominant and easily disappears into a mix.

In the product you see pictured above, it was paired with a simple herbal infusion of mallow (which has a relatively mild fragrance) and is not even detectable.

2. Is it Hard to Work With?

Not in the least. It’s as easy as working with water.

3. Does it Give a Different Feel?

Without having done side by side test batches, I can only answer with my general impressions. It doesn’t seem to change the feel of any product I have used it in.

The manufacturer says you can use it straight up as a toner, skin tonic or skin mist and it really feels both refreshing and hydrating. The subtle pine fragrance does come through when you use it solo and I find it quite pleasant.

Testing Limits

The makers of Extvolat suggest replacing all of the water in a formula with their pine trunk extract, and I’ve done that successfully in a couple of small batches of emulsions. The product you see pictured above was made to both test limits and to create a real hydrating gel mask that would provide a powerful moisture boost.

Pictured above is a relatively minimalistic gel with freshly made (but unpreserved) infusion of mallow, handcrafted self preserving rose glycerite, marine algae extract, and Extvolat. (Check this post to learn a bit more about mallow for skincare). I thickened the liquids with a combination of natural gelling agents.

Packaging included bottle, serum bottle, and a sample placed in the bottom half of a small jar (pictured above). Leaving air ‘headroom’ in the jar was deliberate and helps create a more challenging environment for an unpreserved water-based product. Additionally, the jar has been exposed to direct sun and daylight (it’s standing on a windowsill). I have dipped into it a few times with (not recently washed) fingers, opened it and sniffed frequently and pretty much dared it to go bad.

Even though I did replace all water with Extvolat, a generous portion of this formula is herbal infusion (made with distilled water) – and that’s like asking for trouble. Usually an unpreserved herbal infusion will grow mould and all kids of other visible nastiness within a few short days. At the time of writing this, the sample is still going strong at 2 months.

And as a moisturizing mask? This is definitely a winner!

More updates to come!

Want to learn more about this ingredient? Check this post (which also has links to the manufacturer)

Do Tell

Have you worked with Extvolat? What were your impressions? Please leave in a comment below.


How to Make Facial Cleansing Dough

Lise

Cleansingdough-1500.jpg

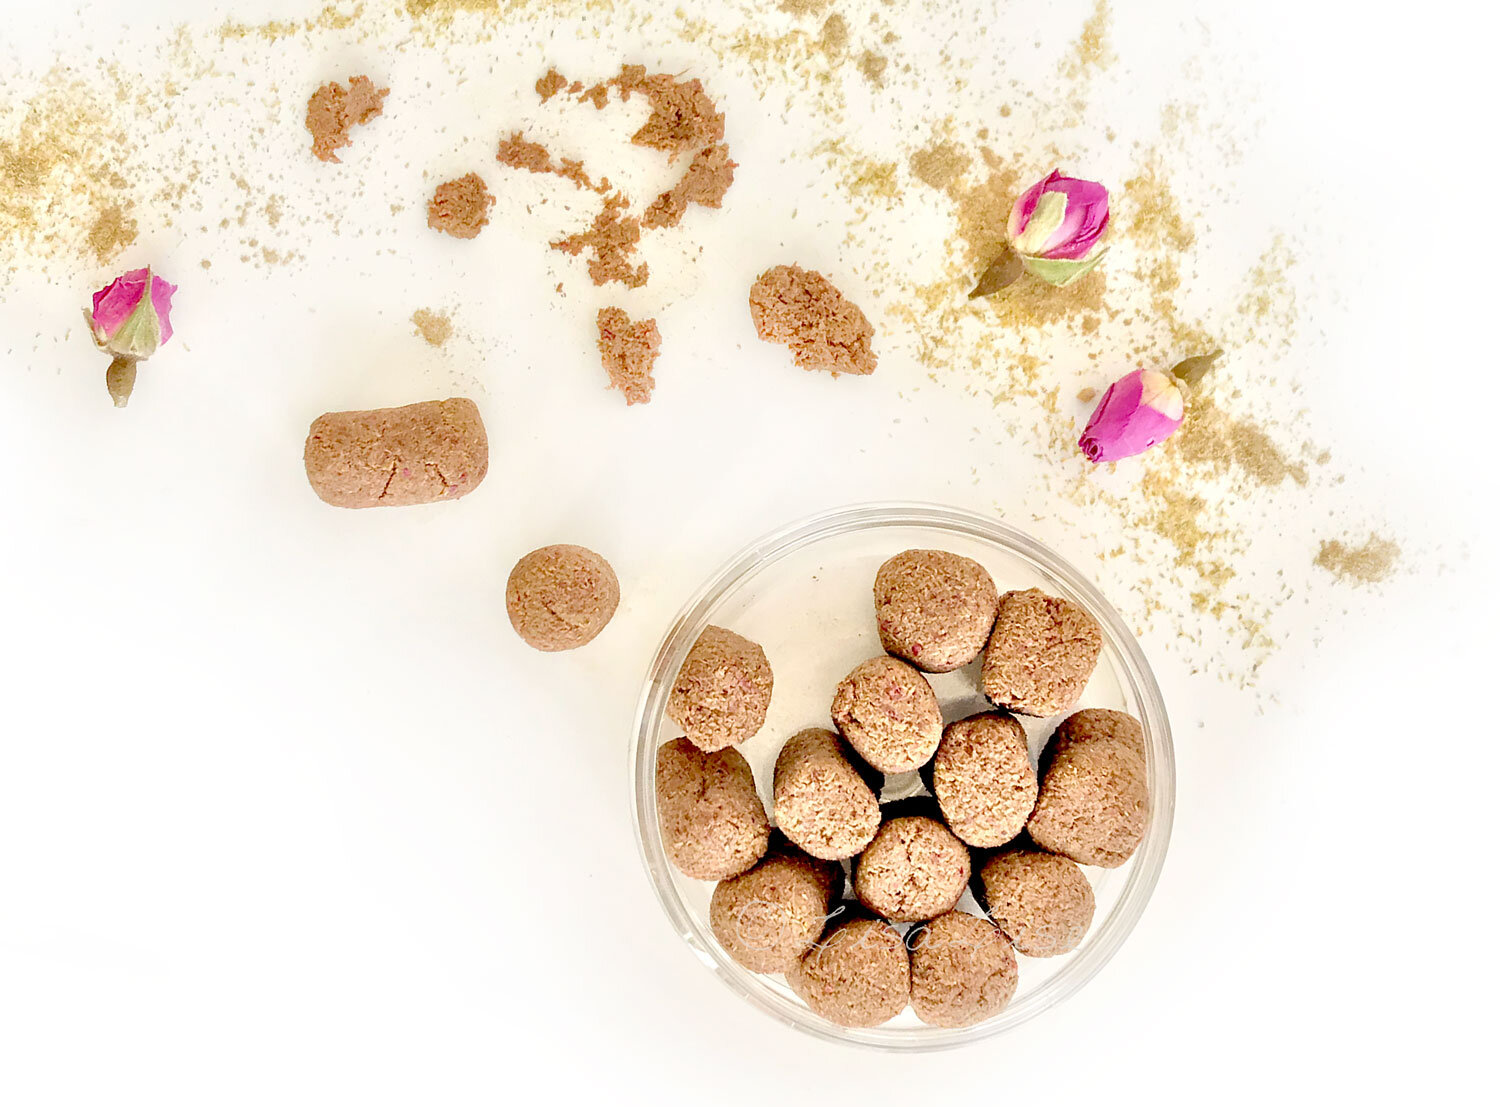
These funny looking little lumps may look a bit like cookie dough waiting to be baked, but what you are looking at is all-natural face cleanser dough pellets that cleanse gently and effectively and leave your skin super duper smooth.

What's even more fun, this product has a skin-friendly pH, is preservative-free and has a shelf life of 3 months. To be honest, the shelf life is longer, but the dough dries somewhat with the passing of time making them too hard and fiddly to use.

Handcrafted Ingredients Make All The Magic

We're going to be incorporating a few handcrafted ingredients to bump up the herbal action in these cleansers.

Remember this post about making your own herbal vinegar tincture with pomegranate? Well, get busy because you'll be needing it to make this cleanser!

And, if you make your own glycerites and happen to have a one at hand, then you're all set to go! (and if you don't make glycerites, check the links at the bottom for more info)

About the Dry Ingredients

The mixture of kaolin clay with botanical powders is what provides the gentle action in these cleansers. This combo is great for most skin types and might just become your favorite ever combination because it works on dry mature skin, sensitive skin, as well as combination skin.

Note: if you have a burning desire to substitute the clay, you risk a completely different (and perhaps unwanted) texture. Kaolin is ideal for this combination of ingredients.

About the Wet Ingredients

Check the photo above for a view at the proportions of the ingredients. The reddish liquid is a handcrafted pomegranate vinegar tincture and the lighter liquid is a combination of handcrafted lemongrass glycerite and a liquid surfactant called Sodium Lauroyl Methyl Isethionate.

Yes, that surfactant is a mouthful. And before you get all worried, I can tell you it is among the mildest of surfactants. It's a sulfate free anionic surfactant that can function as the primary or secondary surfactant in a blend.

So, without further ado, let's get busy making cleansing dough!

LisaLise’s Herbal Cleansing Dough

Phase Ingredient Grams Ounces
A Pomegranate Vinegar Tincture 13.5 0.48
A Glycerite of Choice 13.5 0.48
A Sodium Lauroyl Methyl Isethionate (SLMI) 3.6 0.13
B Brahmi Powder 2.0 0.071
B Rose Powder 3.5 0.12
B Licorice Powder 2.0 0.071
B Kaolin Clay 8.9 0.31

Method

  1. Weigh and mix Phase A ingredients together

  2. Weigh and mix phase B ingredients together until you have a homogenous mass

  3. Place the dough on waxed paper and gentle roll to make a long 'sausage'

  4. Cut into single portion pieces (approx 3 gr / 0.11 oz) per piece

  5. Shape and into balls or 'pellets' and place in an airtight jar.

  6. Place lid on jar and store dry until use.

roll-1500.jpg

Here's a quick peek at the rolling process. As you can see from the 'waxed' paper (it's really not waxed at all any more, but is silicone-coated these days), the mixture is quite soft. The texture changes a bit over the next day or so as the dry ingredients absorb the wet ones.

To Use

Place one pellet in your hand and add water. Squash together and mix until you have a paste. Apply the paste to face and neck with gentle circular motions. Rinse and rejoice!

bubble-factor-1500.jpg

As you can see from this pic, there is a bit of bubble action due to the surfactant. As you can also see from the drops on the table (just behind my little finger) the liquid has a bit of 'cookie-dough-brown' color to it

Stick around for more cleansing dough fun in upcoming posts!

Do Tell

Have you ever considered using such an unusual combination of ingredients on your skin? Are you curious to make your own? Which glycerites and tinctures will you add?


Distilling Plants at Home

Lise

helichrysumstart-1500.jpg

For the past many years, I have flirted with the idea of doing my own hydrosols. This year, I finally got started with it, and I have decided to share this home-crafted hydrosol making journey with you in case you decide you want to give this a try too.

What you see above is the beginning of a distillation of homegrown helichrysum.

The container on the left is the base of the still with some stainless steel cooking equipment placed to create a raised base for the steamer with herbs. The bag on the right holds helichrysum stems and leaves that will be placed on top of the blossoms. The reddish ‘birds-nest’ is a handcrafted copper wire ‘net’ that will be placed on top of the herbs before closing the lid.

stillopen-1500.jpg

The Still

The still I am using is quite compact (about the size of a large thermos) and does not require running water. Instead, it cools using air - hence the name it is sold under: Air Still. I bought mine from a local brewery shop that specializes in all kinds of brewing equipment, but have seen them available online. It was a helpful tip from a lovely member of my Facebook group that brought this apparatus to my attention. The Air Still is made for distilling alcohol (which I may try at one point), but for making (most) hydrosols, there were a couple of small adjustments needed.

i filled the spout cover with copper wiring so the hydrosol passes through copper on its way out of the still.

i filled the spout cover with copper wiring so the hydrosol passes through copper on its way out of the still.

Moderations and Additions

For a home-crafting scenario, this still is absolutely perfect for my needs (so far). It doesn’t take up very much room, is easy to clean, easy to use, and produces beautiful hydrosols (some even with a bit of essential oil — more on that in a future post).

I had to get a little creative with a few moderations (the steamer insert and the rings to raise the herbs above the water level), but these were minor. As this still is stainless steel and many classic stills are all or part copper, I wanted to add a bit of copper ‘somewhere’ for the general benefits it offers. (for distillers of spirits, copper is said to produce a better flavor, and for many distillers of hydrosols/essential oils, it is said to provide a purer product). My first few hydrosols were without copper and there was a tangible difference as soon as I added the little birds nest and outfitted the spout cover with copper wiring.

I’ll be getting into the details of my hydrosol making experiences in future posts.

Meantime, I better warn you right now: if you are a little intrigued at the idea of making your own hydrosols and want to try this too, it’s just as addictive as making your own glycerites, tinctures, and macerations.

The glass container pictured next to the still holds about half a liter. By chance, it fits perfectly below the spout and is my go-to container for collecting the precious waters.

The glass container pictured next to the still holds about half a liter. By chance, it fits perfectly below the spout and is my go-to container for collecting the precious waters.

Do Tell

Have you ever considered making your own herbal distillates?


Vinegar tinctures are included as ingredients in these naturally balanced shampoo bars and there’s a section that shows you how to make your own.