Contact LisaLise

Please use the form on the right to contact LisaLise.

Majestic Court 5, St. Mary's Street
Mellieha
Malta

LisaLise offers online education of natural plant-based cosmetics via e-books and courses

LLBlogHEADER2020-3.gif

Shop Blog

A look inside the LisaLise natural cosmetics lab with free formulas, DIY how-to's, ingredients tips, sneak peeks, and more.

Filtering by Category: Aromatherapy

How to Work With Stinky Ingredients

Lise

Working with plant-based ingredients has its occasional challenges. Some of the ingredients I work with have an inherently heavy, sharp, pungent, musky, or otherwise less than appealing scent.

Ok, that was the diplomatic description.

Some of them are so stinky there is instant nose-wrinkling and the instinctive pull-back when the seal is broken and the package is opened.

Yes, that stinky.

At the same time, some of them have all kinds of skin-loving goodness to offer, so they cannot be disregarded.

Choices must be made.

The Stinky Conundrum

So, how shall we solve this stinkiness? Shall we mask the odor?

Perhaps just replace the ingredient?

There's also 'the industry maneuver' (my term) which consists of using such a small amount of the ingredient that it won't be discernible to the nose. This is common practice in many commercially manufactured cosmetics and is also referred to as a 'tip-in'.

Using an ingredient as a tip-in is great for marketing purposes, but the downside is – of course – having to live with the fact that the ingredient won't do a dang thing because there's such a teensy tiny amount in the product (0.05%) that it might just as well not be there at all.

So, maybe we should give up and dump the stinky ingredients entirely?

Or.

Maybe we could figure out how to incorporate the smelly things in such a manner that the end product doesn’t insult the nose.

Maybe we can even make the end product a delight to the nose?

Considering the Synthetic Factor

In truth, it's relatively easy to mask even the stinkiest ingredients by using a synthetic scent. Think of detergent. Without the addition of (a synthetic) perfume, most household cleaning agents are, to put it politely, downright foul smelling.

Grabbing a bottle of fragrance would be the most obvious and easiest choice, but I have a problem with that as I am not a fan of synthetic perfumes.

Ok that was the diplomatic description.

In truth, I find (almost all) synthetic fragrances worse than the stinkiest ingredients I work with. Despite several attempts, I cannot bring myself to work with them. This might be due to a perfume allergy (I've never been tested, so I can't say for sure), but it could be because of my lifelong inherent aversion to anything synthetic.

What’s the Stinkiest?

A while back, I asked a few fellow formulators if there were any particular ingredients they would categorise as stinky and hard to work with.

There was a literal flood of replies.

Here are the stinky winners

  • Neem oil (the all time winner and receiver of most votes)

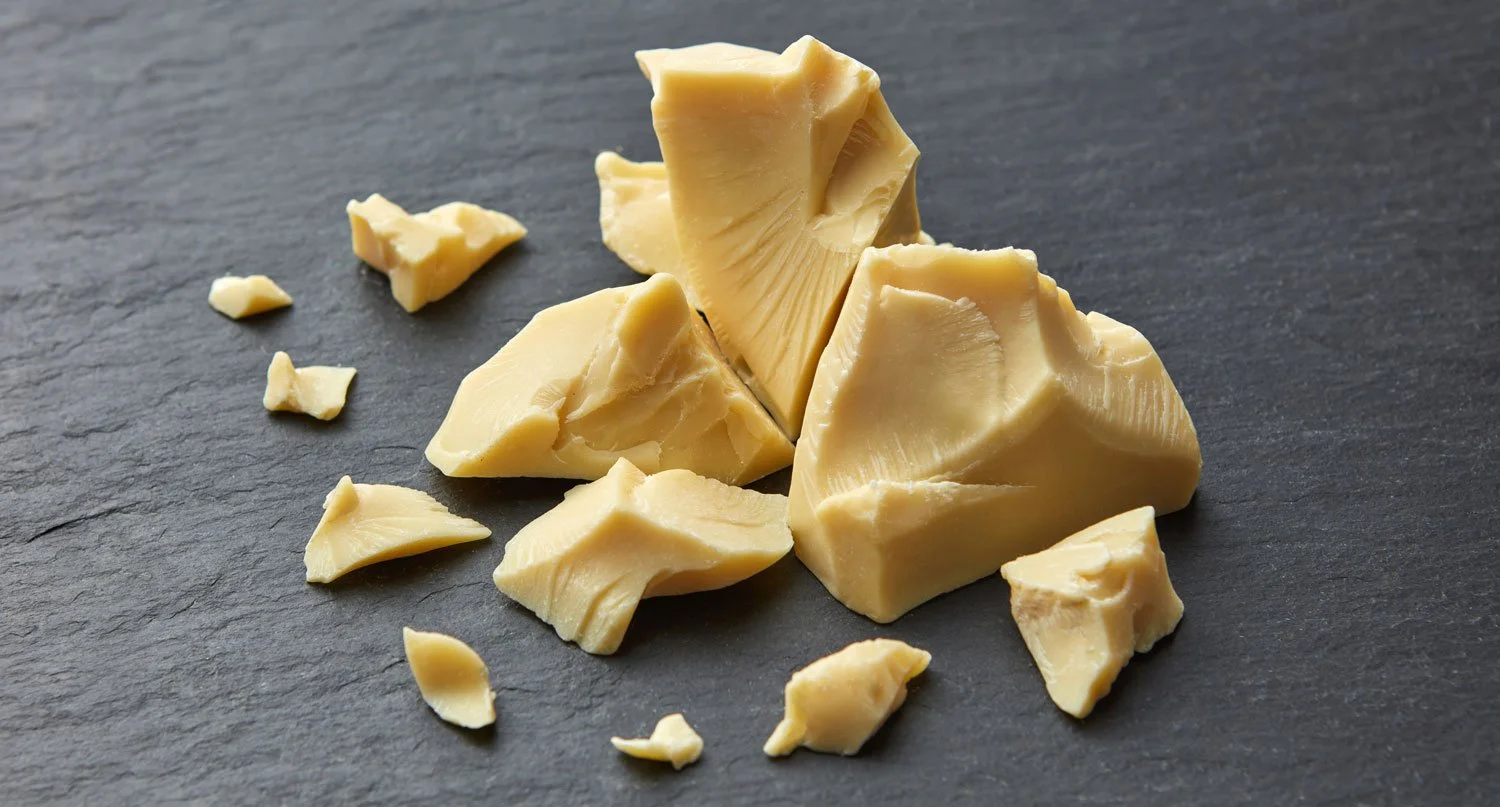
  • Cocoa butter

  • Unrefined shea butter

  • Lanolin

  • Wheat germ oil

  • Argan oil

  • Carrot seed oil

  • Tamanu oil

  • Pomegranate Seed Oil

  • Evening Primrose Oil

  • Raspberry Seed Oil

  • Kelp Powder

  • Spirulina

  • Tea Tree Essential oil

  • Valerian Essential Oil

  • Soapnuts

These ingredients all have wonderful properties that are difficult to simply disregard. So, how do we deal with all this stinkiness?

We Take Stinkiness into Account

After years of trial-and-error, it has become second nature to me to take the inherent stinkiness of some ingredients into account when creating a formula.

Even though there are some limitations, it is possible to 'bend' a stinky ingredient (or 2) into something entirely pleasant with no need of masking the smell.

The secret is deceptively simple: work with, not against.

Get your perfuming nose on and get ready to include said stinky ingredient as part of the fragrance.

You doubt?

It's perfectly ok. I didn't think it was possible in the beginning either.

To get busy, we need to do a bit of nose exercise (and no, you don't need to learn how to wiggle your nose).

How To Get Your Perfuming Nose On

This is a relatively simple exercise, but does require your full attention and concentration.

Your nose may be a little offended at first, but will probably surprise you with hidden secrets sooner than you expect.

The object of this exercise is to train your nose to pick out the components of (any) fragrance.

Choose an ingredient. Don't start with the absolute stinkiest ingredient, but choose one you perhaps find a bit challenging. For example, if you have an ambivalent relationship with the scent of unrefined shea butter, start there.

Sniff the ingredient until your nose is thoroughly acquainted with it.

Alternate between sniffing the ingredient and sniffing fresh air.

Continue for a few minutes and you will start to discover the 'undertones' and 'overtones' of the scent. Is there a muskiness in the background? Is it slightly woodsy? Nutty? Fruity?

Identify the components as best you can and write down your impressions.

At one point, your nose is going to ‘sign off’ and that will be your signal that this session has ended.

Wait at least an hour before continuing.

It will probably take a few sessions, but I’m pretty sure it won't be long until you have dissected the scent and can begin to work with it. If there is a musky undertone you find unappealing, the addition of a woodsy fragrance can synergise and 'bend' the scent in an entirely different (and more pleasing) direction.

I admit this takes a bit of practice, but I also know you can totally do this. I think you will surprise yourself at how quickly your nose is able to 'dissect' what you are sniffing. Keep at it and you will discover how easy it suddenly is to dissect the components of a wine, perfume, or any dish.

Let’s Take Cocoa Butter

When you've been exercising your nose and making all kinds of amazing discoveries at how clever your nostrils are at picking out subtle details and undertones, you can move on to this exercise.

We're going to 'bend' the scent of an ingredient that made it quite high up on the list of stinky ingredients in my impromptu poll: cocoa butter.

It almost seems unfair to call it a stinky ingredient. Most people love the smell and taste of a chocolate bar. I know I do. I actually also love the scent of cocoa butter if I am thinking of dessert. But right now, we're putting it on our skin. And not everyone wants to smell like dessert all day.

As delicious and chocolatey as unrefined cocoa butter might smell in the container, it can be downright overpowering when it is applied to the skin in a leave-on product.

In a body butter, non-chocolate-tasting lip balm, or any other water-free product, cocoa butter can have an uncanny ability to take over the entire fragrance profile and become both heavy and cloying.

How to include cocoa butter as a component of our fragrance? Here's a little exercise on how to do just that.

Cocoa Butter Base Note Exercise

For this exercise, you’ll need

  • Unrefined cocoa butter

  • Essential oils

  • Any infused oils you might want to include

Method

  1. Have your essential oils at room temperature

  2. Gently melt 5 grams (a teaspoon) of cocoa butter in a small glass container (5 grams for each scent you want to create).

  3. Sniff the cocoa butter. Note the properties: heavy, creamy, and chocolate-like. This is the base note from which you shall create your fragrance.

  4. The next step is to decide which direction you want to take this base. Here are a couple of examples to help inspire.

Woodsy : For a woodsy scent, add a component such as cedarwood, rosewood, petitgrain, or sandalwood. A combination could also be used. Round out the blend by introducing an element of citrus freshness – bergamot, mandarin, blood orange, grapefruit, or lemon could all be considered.

Oriental : To bend your cocoa butter in a more exotic direction, add myhrr or frankincense. Introduce a floral element with rose or geranium, then consider a titch of vanilla to round out the scent and make it deliciously exotic.

Floral : For a floral scent, start with a woodsy component to anchor the cocoa butter (cedarwood might be great here). Then add some rich, dense florals such as geranium or rose. Lighter florals risk being 'buried' in the fragrance profile. Chamomile – with its inherent earthy note – is another possible option. Lavender and/or an element of citrus can be added to round out the scent.

Want to try something else? Go for it! When your nose is 'tuned in', you can create any fragrance combination you think you would like.

Chill, Solidify, and Do a Nose Test

When you have finished your test bowls with essential oils and cocoa butter, pop them into the fridge and let the mixture solidify.

To test the solidified samples, warm the bowl (or solidified cocoa butter) slightly in the palms of the hand and then do a nose test to see if you are satisfied with scent profile. If you are, then you know the EO’s you blended into the sample will in all likelihood be useful for anything you make with cocoa butter

TIP : If you happen to make your own botanically infused oils, these can also be super useful in a fragrance creating setting.

Do Tell

Which scent combos have you tried adding to cocoa butter to create your fragrance? Were you happy with the results? Please share in a comment below.

Almost Accidental Jasmine Enfleurage

Lise

Look what happened to be growing over the fence from my neighbour around the end of August. These beautifully fragrant jasmine flowers were picked the same day they flowered. I know because I had been eyeing (what I could see of the plant) with great interest.

This ‘haul’ of 10 blossoms was carefully spread out to dry in my lab. The next day, a new bunch showed up and was promptly plucked. This went on for a little more than a week (I stopped counting). I picked every blossom I could with a clear conscience as only a very small area of the plant had decided to grow near enough for me to reach.

The entire batch was a relatively modest amount (about 100 flowers in total), but the fragrance was quite powerful.

And as I brought them into the lab to dry, there were other lab things going on… like little swatches of freshly made balms undergoing a bit of scrutiny.

The Enfleurage Urge

It has long been one of my desires to learn proper enfleurage. I’ve read a bit about it and listen with great interest to those who practice it and are willing to share their wisdom and experience with me.

Enfleurage originated in France in the 1700’s and is a perfuming technique used to capture the scents of plants that are otherwise hard to capture by distillation or maceration. There are several different enfleurage methods that can be employed. One method calls for freshly picked blossoms being placed ‘face down’ on – or very near – a thin layer of neutral smelling fats in a special container/tray. They then ‘breathe’ their fragrance molecules onto the fat layer. Blossoms are replaced regularly until the fat is satisfactorily fragrant.

With this method in mind, a couple of balm swatches became impromptu fat layers for some jasmine flowers.

Guess what?

Even without the correct equipment, the scent transferred beautifully.

To be sure my own nose wasn’t playing tricks on me, I brought one of the balm swatches (sans flowers) to my husband and asked him what he thought it smelled like. He immediately said jasmine (wrinkling his nose a bit as he doesn’t much like jasmine).

Doing proper enfleurage just got bumped up my to-do list.

Do Tell

Have you ever tried enfleurage? Which flowers and method did you use?

More Enfleurage Stuff

The inspirational Jade Forest on Enfleurage (LINK)

My interview with Jade (Jade Grows her Own Perfume) on this blog

A previous enfleurage attempt using lilacs in coconut oil (LINK)

Want to make your own balms? Below is my ebook about natural balms. Click the picture to learn more about what’s included.

Cucumber and Rose Hydrosol

Lise

This may seem like an odd pair for a distillate, but it worked beautifully. Today, I’m going to walk you through the steps I took to make this hydrosol.

Combining Raw Materials in a Distillate

Mixing ingredients like this is called co-distilling. There are really no rules for co-distillation. You can mix as many different things as you please. A colleague of mine combines both herbs/plants and fruits/vegetables to create stunning results. If you forage for ingredients, it can be a great way to make use of smaller amounts, but co-distillation also allows you to maximise the synergy of the ingredients you are working with.

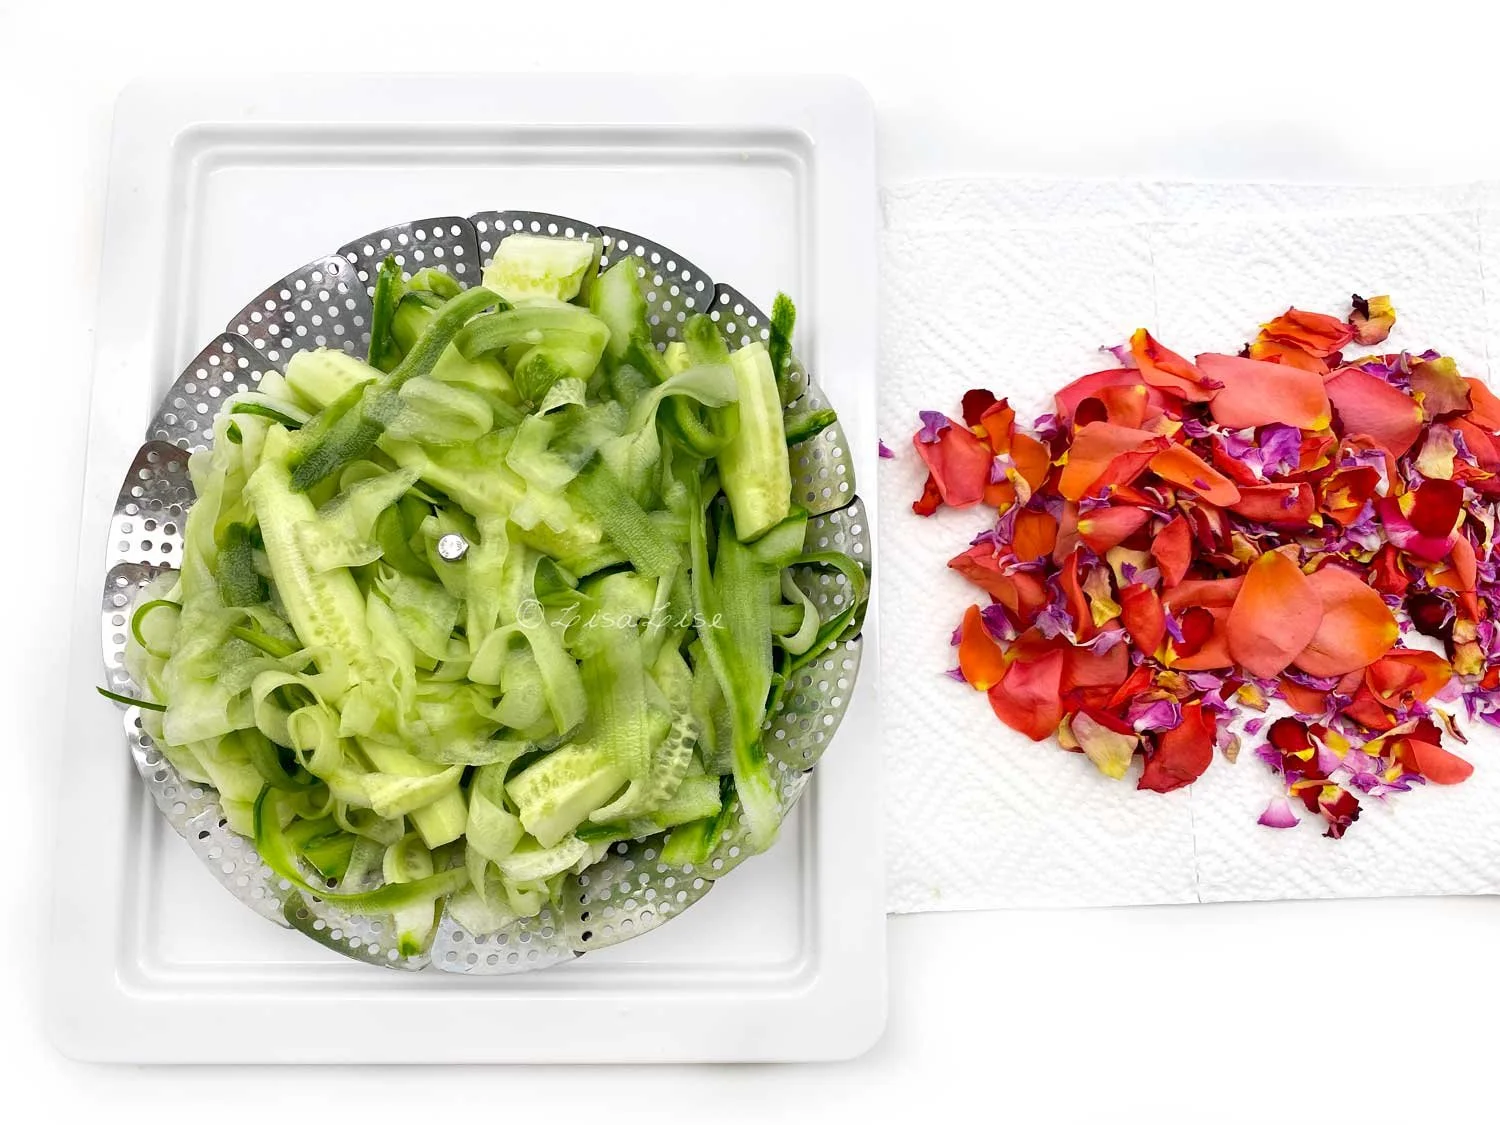
This particular combo came about quite by chance actually. As I was preparing to make a cucumber hydrosol last summer (while still in Denmark), my lovely neighbour (who knew I both love and use roses for my skincare) popped by with a small basketful of freshly picked roses from their garden. It was a mix of different kinds of roses and the total amount was as you see above. They were quickly incorporated into my distillate.

Small Batch Preparation

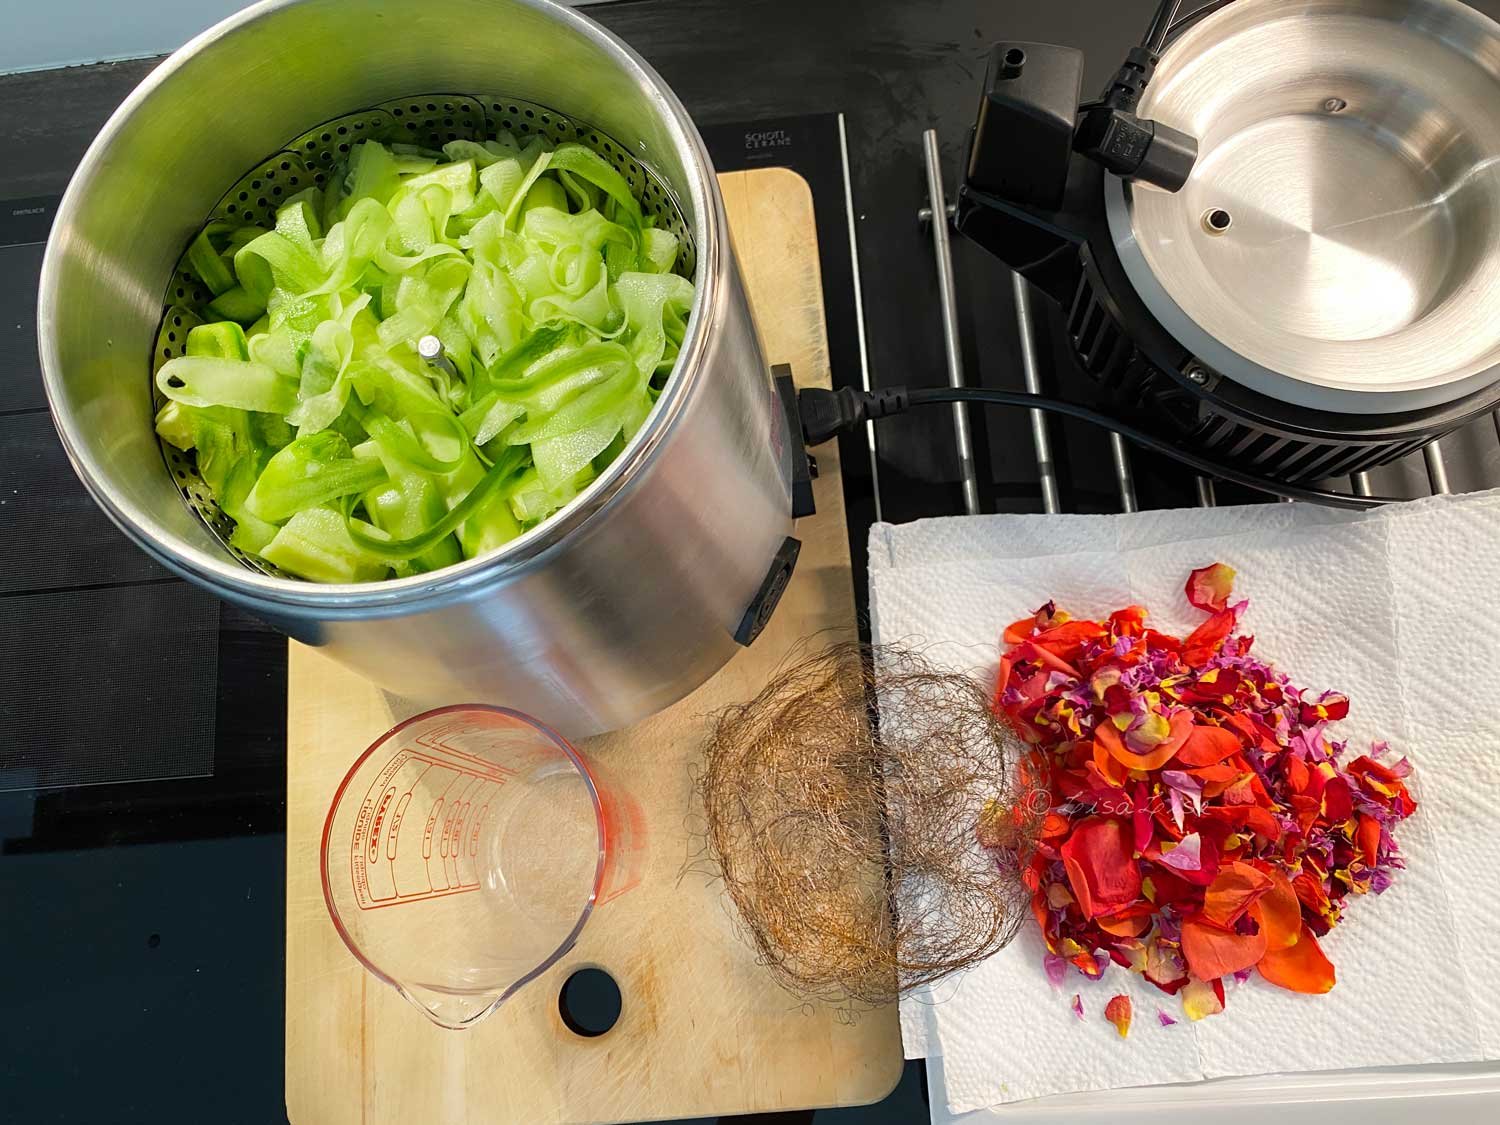
This distillation (as all of my previous ones) was made in my Air Still. Preparation of the raw materials is pretty much the same as it is for making your own glycerites; use quality (organically grown) ingredients in prime condition. Discard any bits that are damaged.

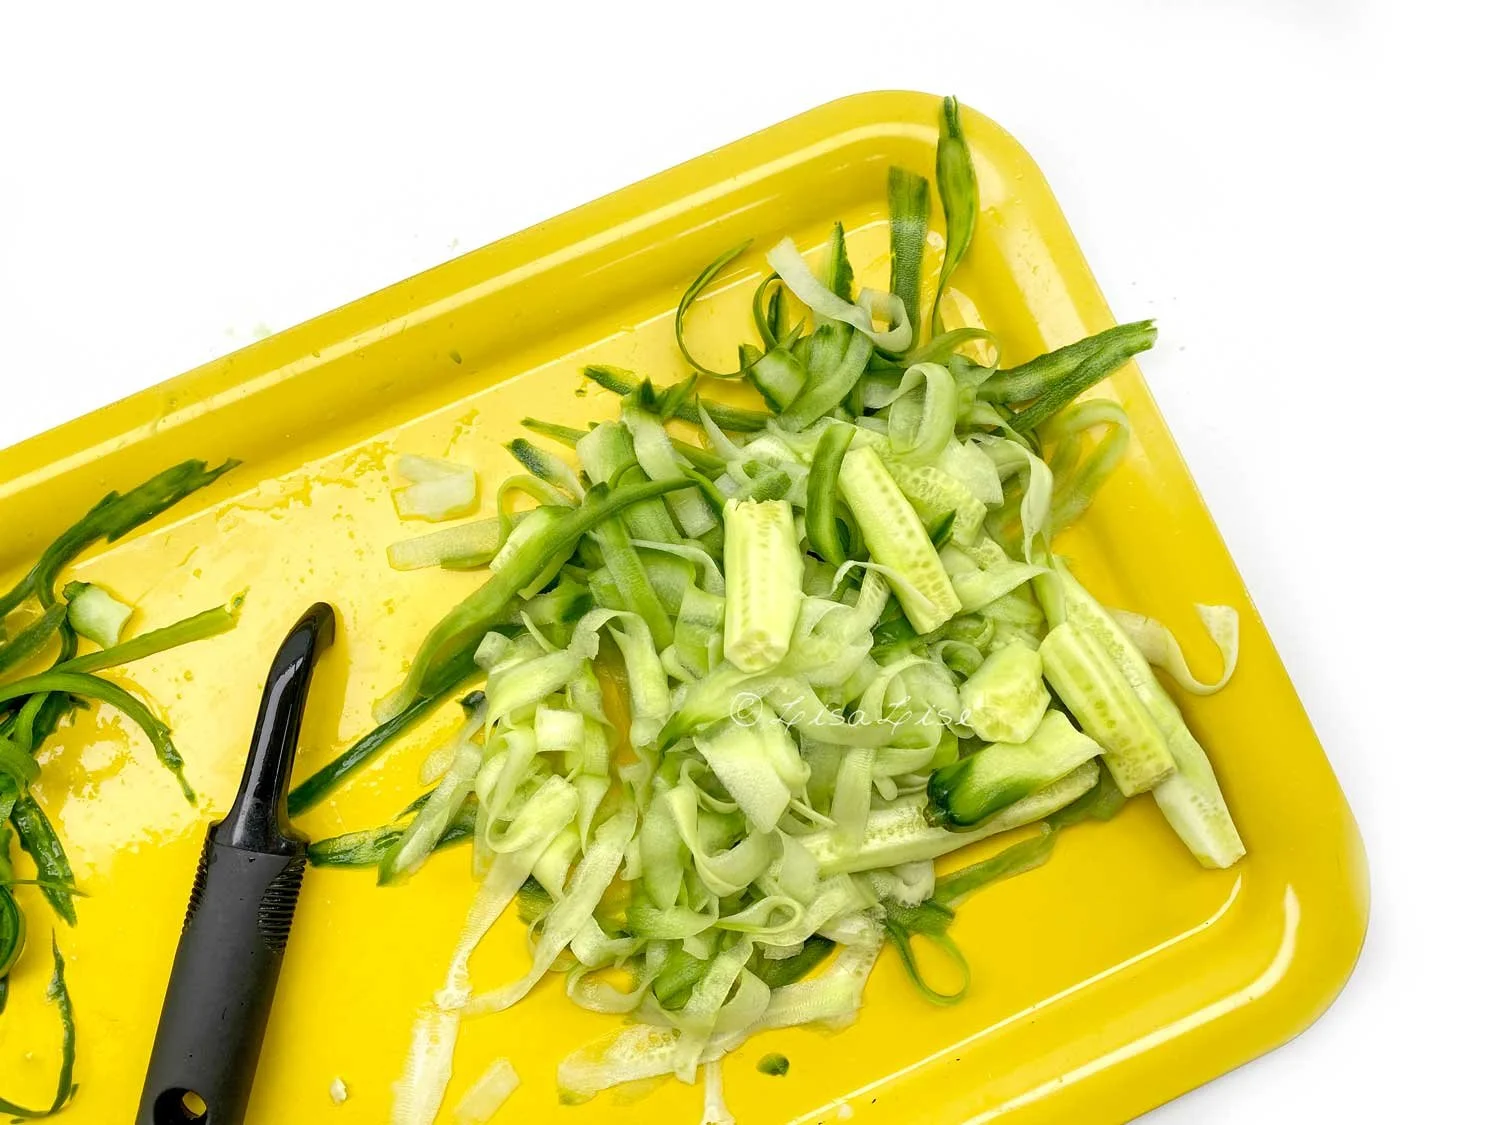
For this small batch (about 500 ml yield), I used 2 cucumbers and a handful of roses.

Even though I use organic, I remove some peel from the cucumbers. This is just my preference - you don’t have to remove the peel. I got into the habit of removing the peel from cucumbers when cooking (they are generally more bitter tasting than the flesh) and this just carried over to my distillation.

Layering Ingredients

For this distillation, I placed the heaviest ingredients on the bottom. This isn’t a rule — you can combine and layer any way you like. I have had success placing heavy slices of pineapple on top of a bed of light herbs as well as the other way around.

Pictured below, cucumber in place, ready for roses and then my ‘copper birds nest’ on top before placing the lid on.

For details on the still and all the bits I use (and how I have modified them), please see this post.

How the Hydrosol Turned Out

Both the function and fragrance of this hydrosol turned out as a lovely marriage of rose and cucumber - The fragrance was not easy to distinguish as either one ingredient or the other. It was both fresh and floral - and it felt both refreshing and soothing to use. As the liquid matured, so did the fragrance. This is one hydrosol that got compliments from my husband every time I used it.

Do Tell

Have you ever combined ingredients to make a hydrosol? Which were your favorites?

Check below for more posts about hydrosols and distillates on this blog

Dandelions and Skincare - What Does Science Say?

Lise

When I started researching dandelion’s possible uses for skincare some years ago, I was pretty impressed at what this common plant has to offer.

Useless weed?

Ahem.

Think again.

Even science has declared dandelions 'warrant further study'.

(Science usually says this kind of thing when it finds evidence that traditional remedies aren’t all fairy tales and fantasy). I seem to be seeing that happening more and more these days.

And the truth is, there is a wealth of hidden treasure in this multifunctional and bountiful plant.

Shall we take a closer look at dandelions?

Dandelions Have Healing Properties

Science agrees the chemical composition of Taraxacum officinale (that's the botanical name for dandelion) makes it helpful and useful for numerous medical conditions and ailments.

Dandelions are

  • Antioxidative

  • Anti-inflammatory

  • Antimicrobial (to some degree)

  • Diuretic

  • Tonic

All this medicinal magic from a 'weed' most homeowners are busy trying to banish from their gardens.

Extraction Methods are Up for Discussion

The most up to date scientific articles I have found on dandelions seem to be focused on examining which plant part has the most to offer in the way of actives.

Some studies are focused on the root while others are studying plant parts and their constituents in correlation to what time of year they are harvested before extraction.

Extraction methods are also being studied to determine which is most efficient. Ethanol extraction seems to be getting the most attention in the scientific community, although there are a few scientific souls looking into oil extraction. Check the links below for more information.

LisaLise Soothing Dandelion Balm Experiment

Pictured here: side-by-side infusions in 2 different oils. On the left, dandelion blossoms in sunflower oil and on the right, leaves-and-stems in sweet almond oil.

I combined the 2 finished macerations with a few other other plant-based soothing ingredients in a test balm (pictured at the top of this post).

This is a bit typical of the way I work - a combination of research, trying out ideas, and experimentation.

What started me on this dandelion research was a comment about dandelions for pain relief. Admittedly, the commenter was taking dandelion internally (by the drop as a tincture), but the idea of trying it in topical application was the basis for the infusions and a foot balm for tired aching feet.

You know when you have been on your feet all day and your feet start yelling at you to sit down? That kind of tired and aching.

I got such a great response from my extensive test team (foot left and foot right) that I have done many batches since and have even handed out a samples to a few willing testers.

Dandelion TIP

If you want to get max bang for your buck, try doing oil extractions with the alcohol intermediary method using all plant parts. I split up the parts of the planet so I can also combine oils.

Do Tell

Do you use dandelions in any of your skincare products? Please share what your experiences are in a comment below!

More About Dandelions: Nerdy Stuff

Dandelion (taracum officinale and T Mongolicum), Erik Yarnell, Kathy Abascal (LINK)

Taraxacum Officiale herb as an Antiinflammatory Medicine, American Journal of Advanced Drug (LINK)

Taraxacum- a review on its phytochemical and pharmacological profile (LINK)

Anti inflammatory evaluation of the methanolic extract of taraxacum officinale in LPS stimulated human umbilical vein endolethial cells (not oil extracted, but still interesting) (LINK)

Topical herbal Therapies and Alternative and Complementary Choice to Combat Acne (LINK)

Taraxacum: an overview (Science Direct) (LINK)

Qualitative and Quantitative analysis of phytochemicals of Taraxacum Officinale (LINK)

If you want to make a few balms with me, please check out the ebook below.

How to Make a Botanical Face Tea

Lise

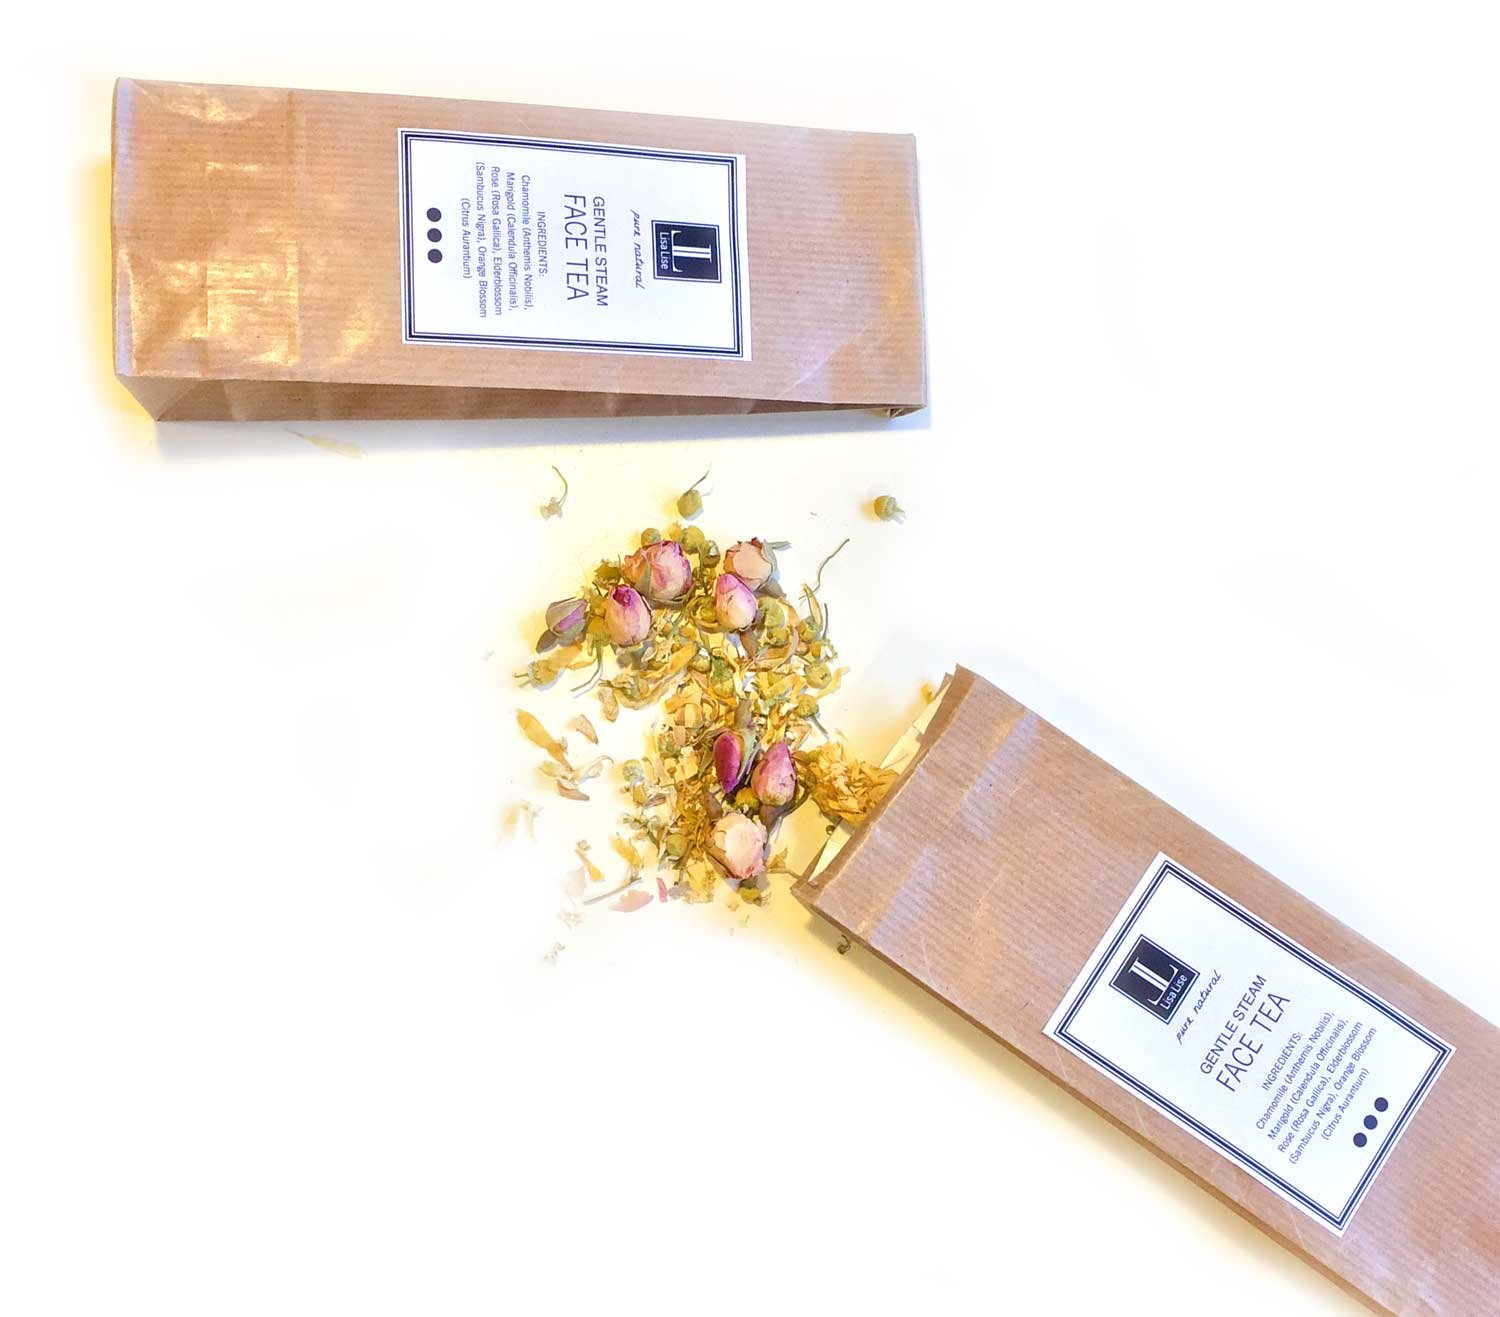
How about a nice cuppa for your face? In truth, this is simply a different name for a traditional facial steam (except with added herbs and botanicals). But since it's herbs infused into hot water, I quite like the idea of calling it face tea.

Not only is this product easy to make, but it's a real skin pampering treat.

Let's make Face Tea!

Choosing Botanicals

Combine dried herbs and plants to your hearts content, but do keep in mind that you (or whoever you gift this to) will be enjoying the steam of your blend at a close distance.

I generally like to keep my dry herb blends at around 5-6, but there are no hard or set rules on this. Concentrate on combining plants that work well together and will create a good synergy.

Method

Gather your desired dried herbs.

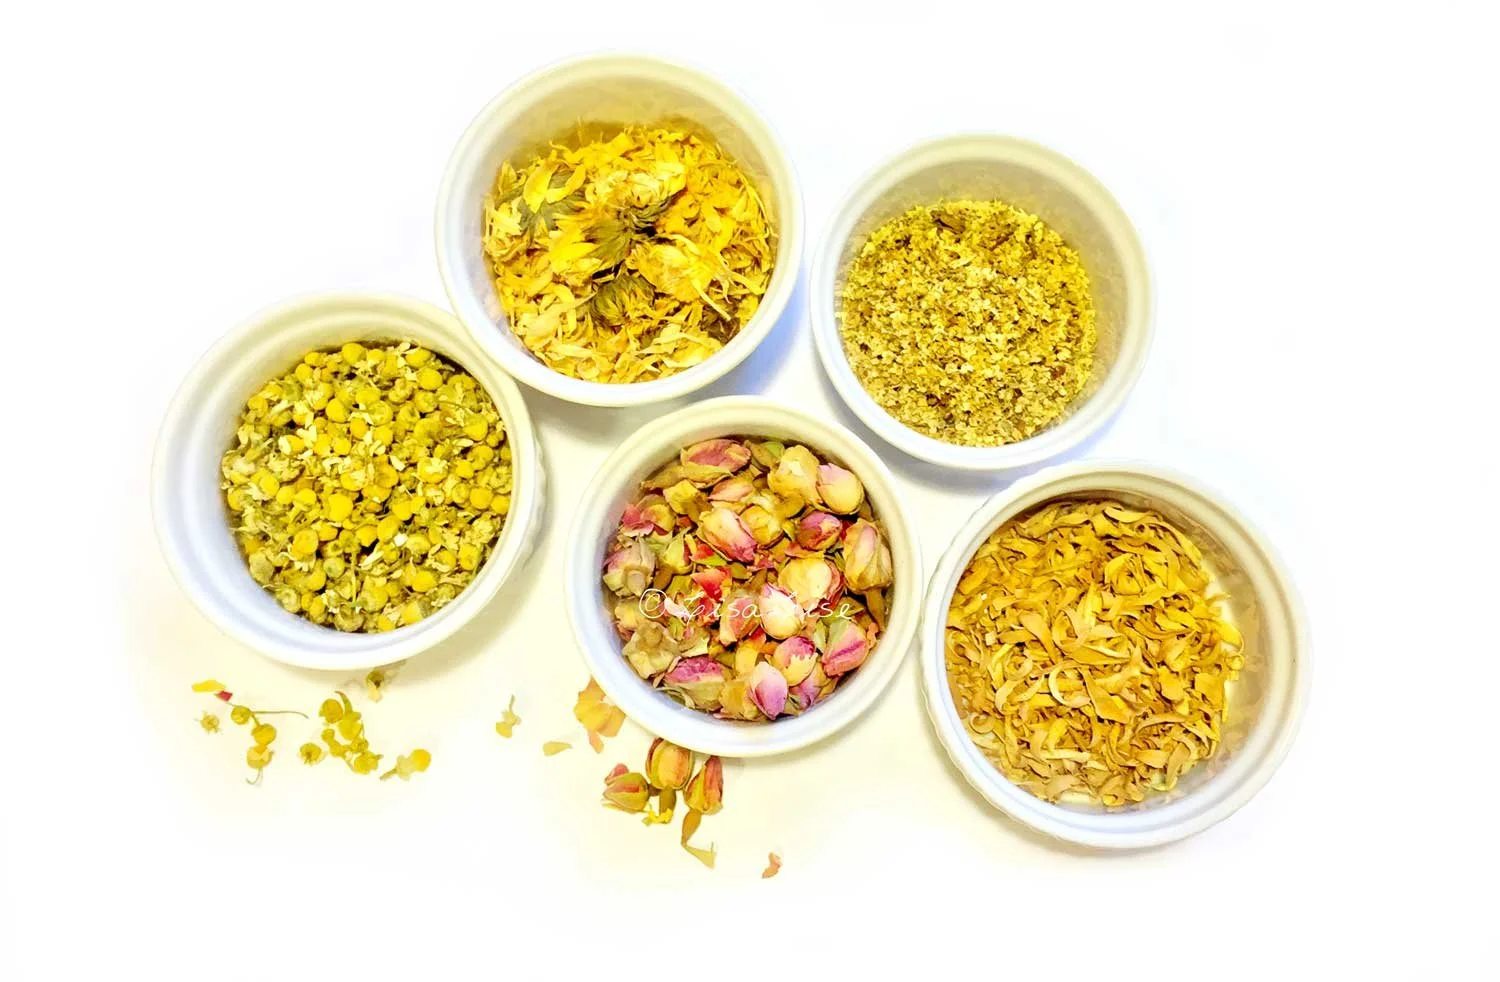
For this face tea, I went for a calming theme and ended up with a sunny golden combination of chamomile, elderblossom, rose, orange blossom and calendula.

I find the task of choosing botanicals to be quite therapeutic. Apart from being possessors of magical properties, botanicals are a bit of eye candy in any form. I mean, who could look at these beauties and not smile?

But I digress.

Mix the herbs together thoroughly, then package.

How to Use a Face Tea

  1. Remove make-up and wash face

  2. In a large bowl, pour boiling water over 1-2 tablespoons of tea blend

  3. Hold face over bowl for 5-10 minutes at a comfortable distance

  4. If desired, place a towel over head to keep in steam. The steam will open pores and refresh.

  5. Rinse face with lukewarm, then cool water.

  6. Finish with a spritz of hydrosol or light skin tonic and a few drops of face oil

TIP: If you are a bit creative with packaging, these facial teas make lovely personal gifts for the special people in your life.

Who Face Tea is Not Ideal For

Anyone with a tendency to rosacea or with ultra sensitive skin, may not do well with a face tea. Hot steam can exacerbate some sensitive skin conditions, so be mindful if gifting your face tea to someone with sensitive skin.

My own 'ridiculously sensitive' skin is OK with most face teas, but I don't use them more often than every other month.

Do Tell

Have you ever made a face tea? Which herbs did you use?

The book below includes a section on herbs and their uses and there’s a bundle offer in the shop too!

Footsie Tootsie Balm

Lise

Balms are often associated with cold and winter, but even in the heat of mid summer, a balm can be the best thing imaginable. This one has proven to be a fabulously foot-friendly product - perfect after a long day of holiday sightseeing.

After testing the blend of infused oils and macerated oils featured in this post, the ingredients proportions were tweaked ever so slightly and then made into this balm.

I can attest that it helps soothe my tired, achey and arthritic feet.

The working title of the original oil blend became the inspiration for the name of this product: Footsie Tootsie Balm.

Want to make your own balms? The book below can show you how.