Contact LisaLise

Please use the form on the right to contact LisaLise.

Majestic Court 5, St. Mary's Street
Mellieha
Malta

LisaLise offers online education of natural plant-based cosmetics via e-books and courses

LLBlogHEADER2020-3.gif

Shop Blog

A look inside the LisaLise natural cosmetics lab with free formulas, DIY how-to's, ingredients tips, sneak peeks, and more.

Filtering by Category: Cleansers

How to: Easy Peasy Green Comfort Face Mask

Lise

Happy August!

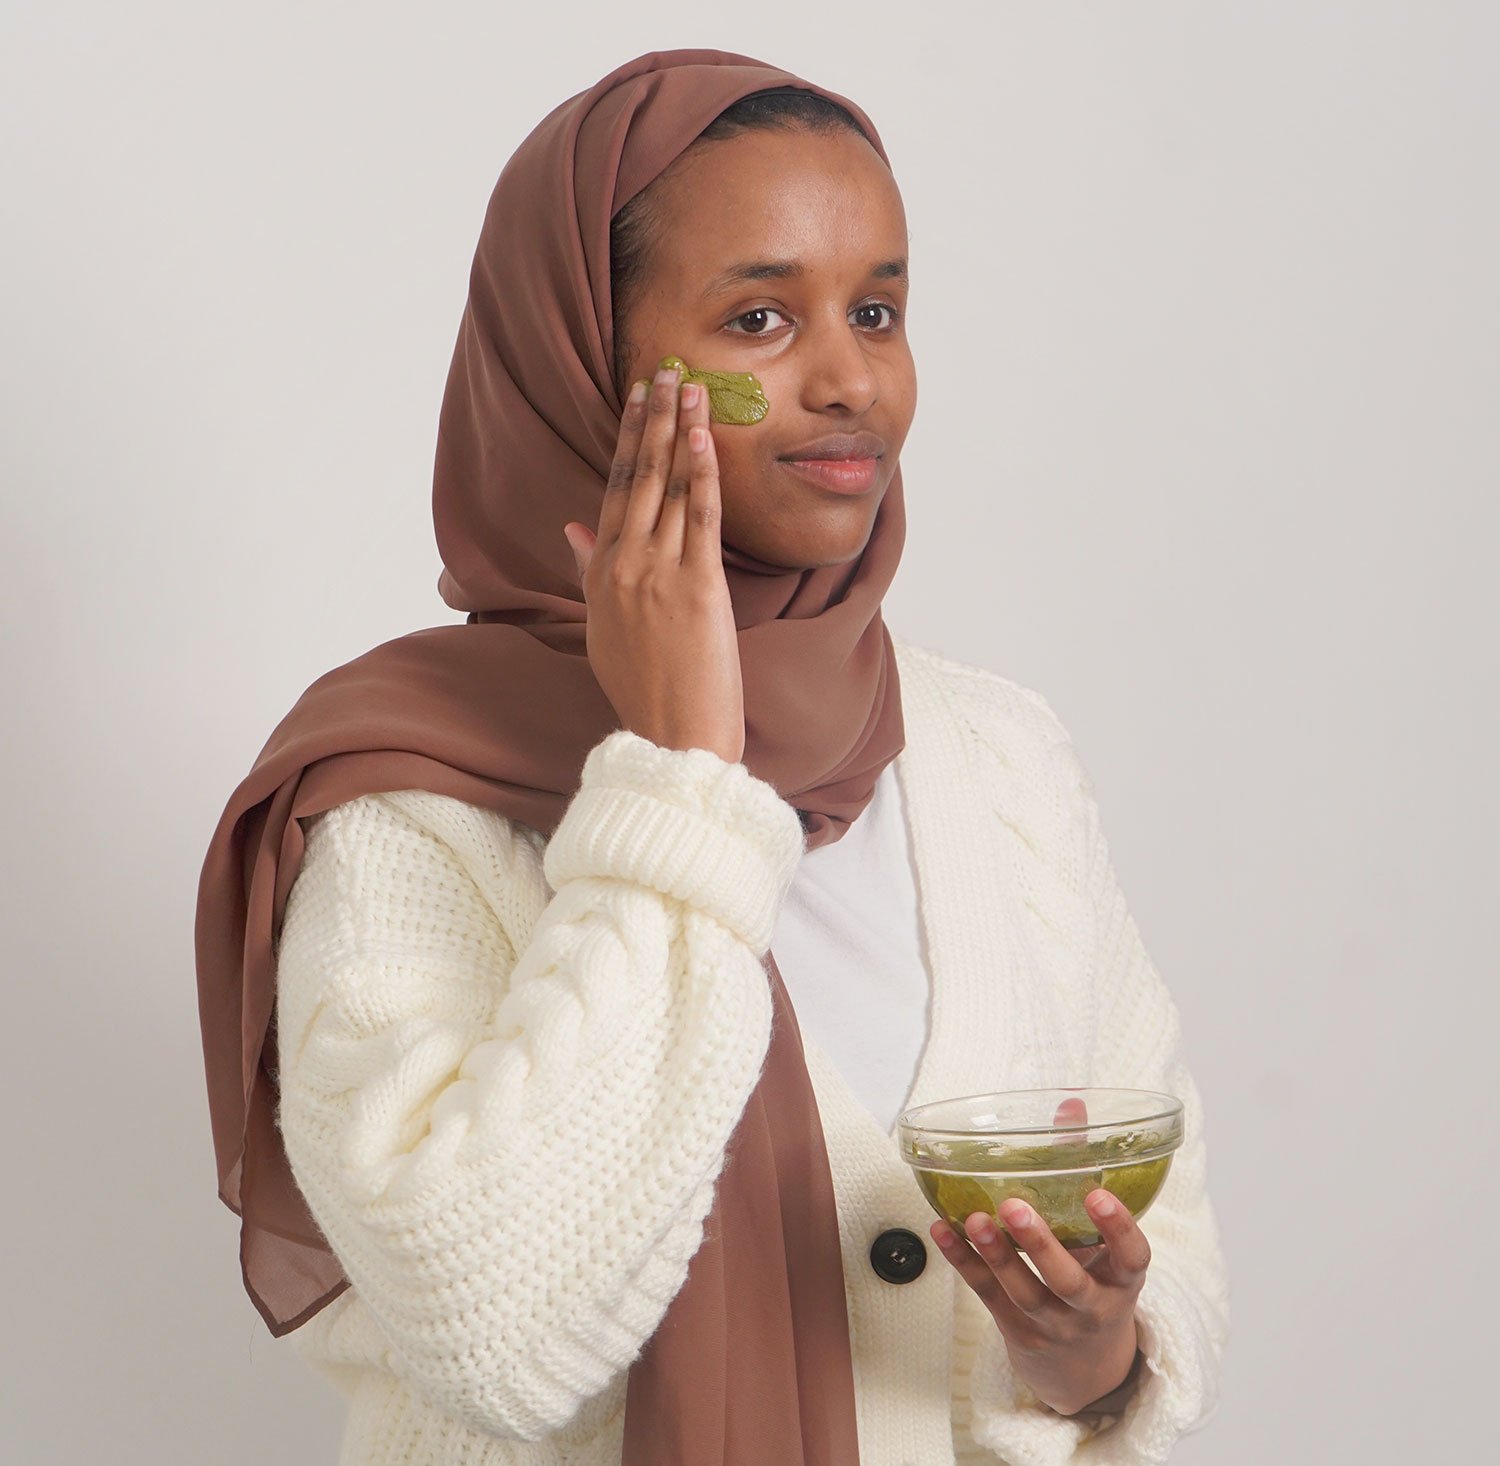
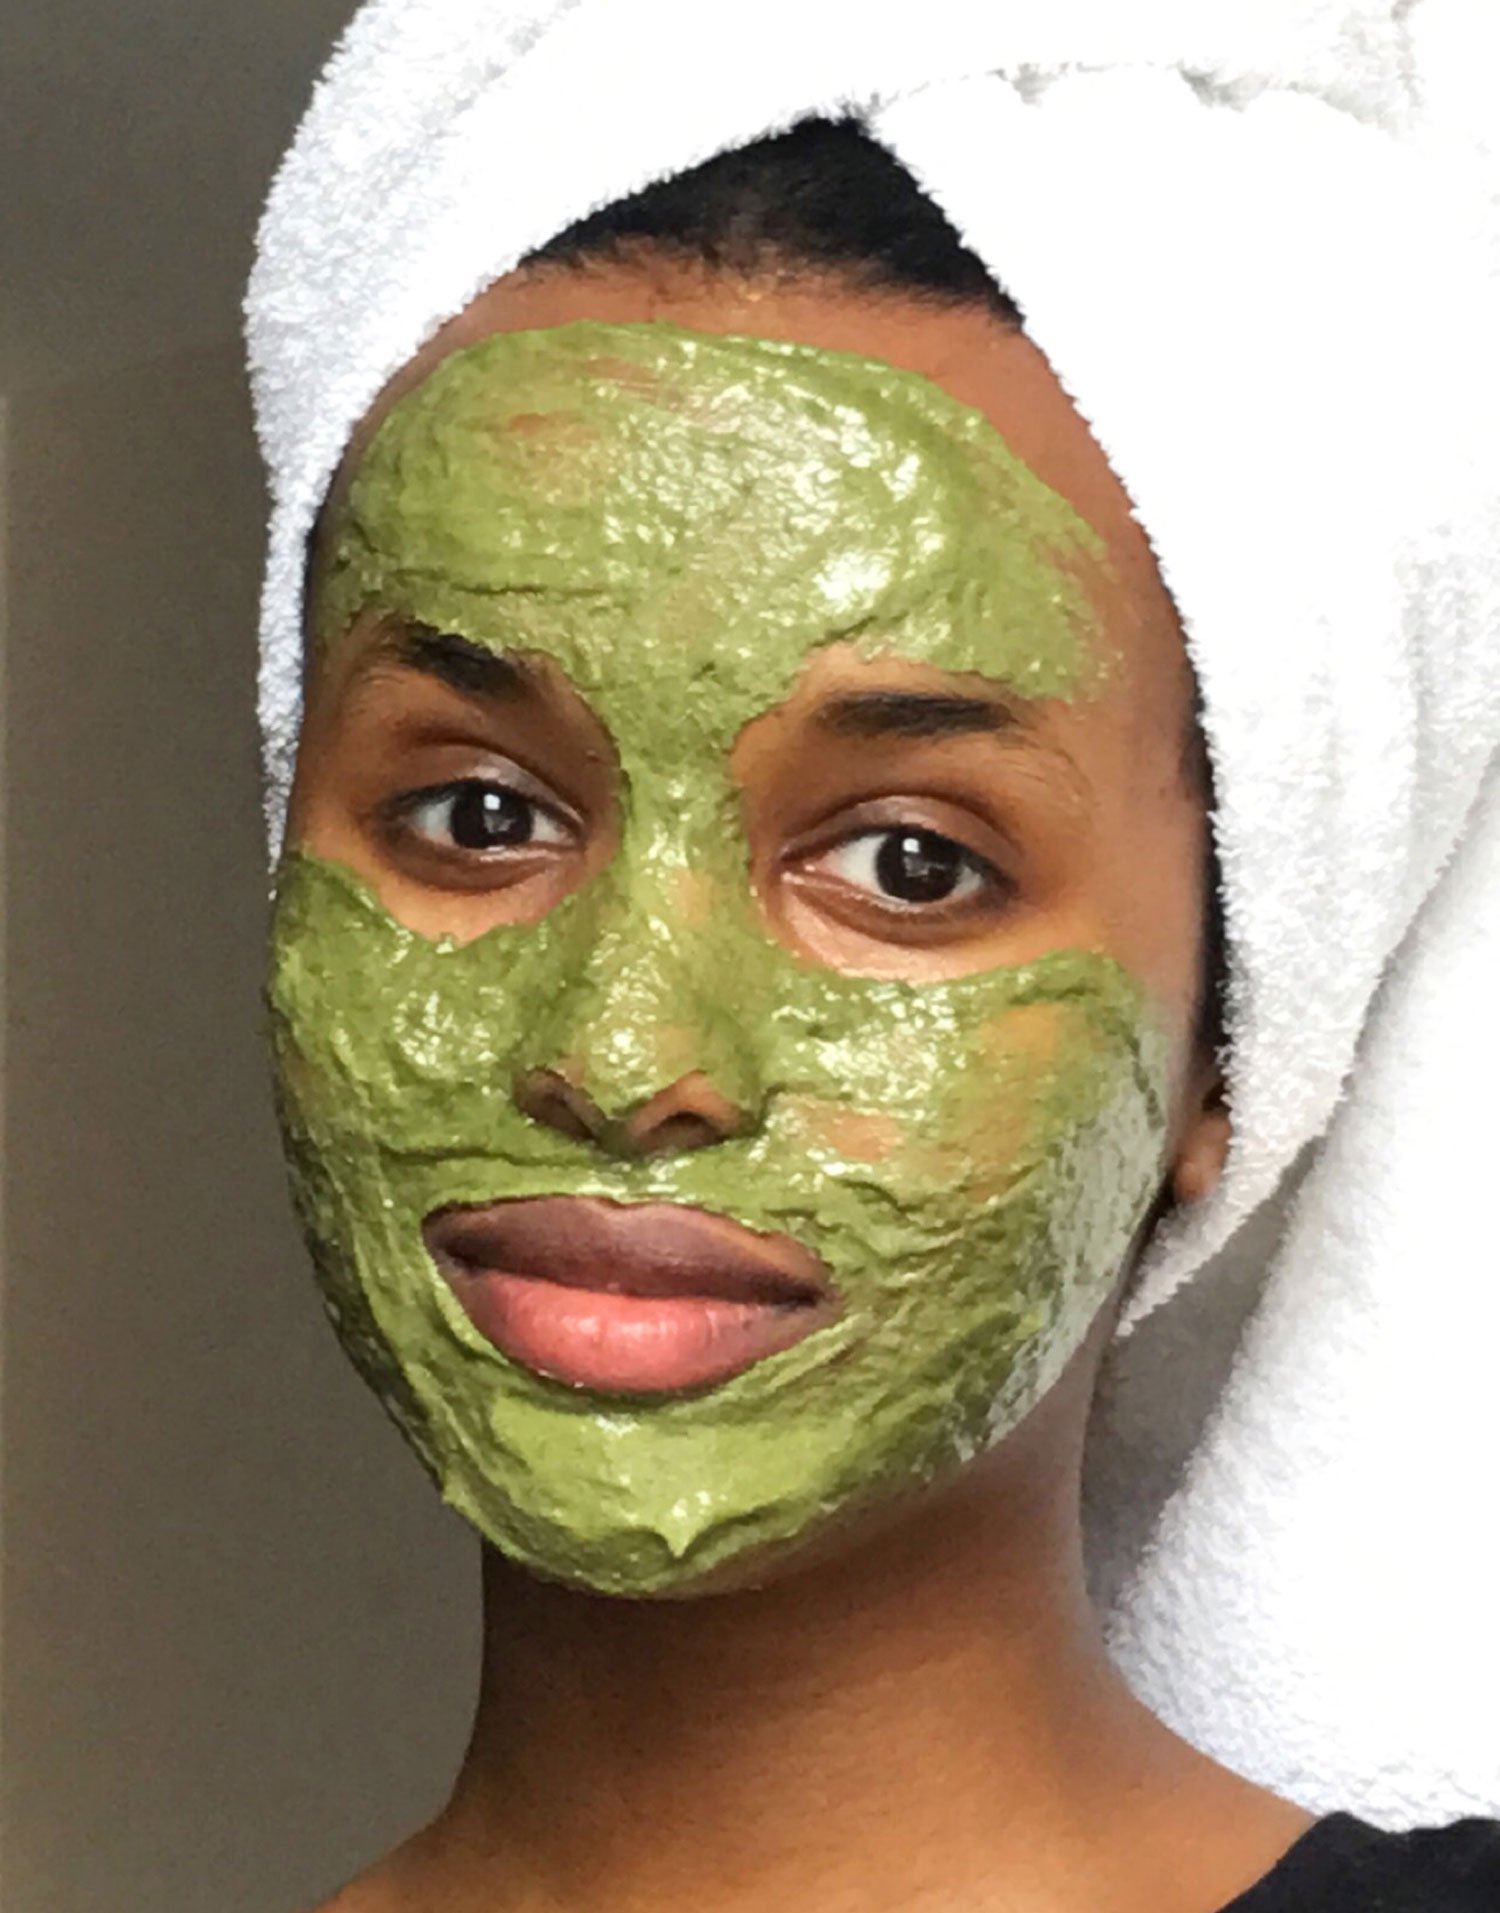
Today we're going to mix green things together and put them on our face. Why? Because our skin is going to love it, and these particular green things feel downright comfortable and cozy while they are doing their skin-nourishing magic.

It's green synergy at its best.

Let's make a green comfort face mask!

Ingredients

For this mask, I have combined the following:

  • Moringa powder

  • Powdered Pumpkin Seed

  • Spirulina

  • French Green Clay (Montmorillonite)

Do you have to use these ingredients? Nope - you can choose any clay and any green powdered botanicals you like.

For the liquid, a green tea and/or matcha infusion makes the entire experience pure green pleasure, but you could also make a fresh cucumber juice, use distilled water or another herbal tea.

Method

Making this mask is simply a question of starting with about 2 tablespoons of liquid and adding the desired powders to the liquid bit by bit until you have a lovely, spreadable consistency.

Super Cool Clay Tip:

Start by adding a teaspoon of green clay and letting the liquid absorb it completely before adding the other green things. This will make for a perfectly lump-free and easily spreadable mixture.

Applying

You can use a small natural bristle brush to apply if you like, but it is also quite do-able to use the back of the spoon you just used to mix everything together with.

Tip: Clay masks should be removed before they are completely dry, so to allow yourself more mask-sitting time, either apply a thick layer or have a hydrosol or other skin mister at hand to moisten the mask as desired. For a thick layer (which is super comfy feeling), I usually layer up 3 or 4 times.

Let the mask sit for 10-15 minutes. This is the perfect time to sit and enjoy the rest of that cup of green tea you just made to use as the liquid.

To Remove the Mask

Soften and remove the mask with a moistened natural sponge (or grab the spoon you used to apply and gently remove the mask by ‘scraping’ it off with the spoon).

Finish with a spritz of skin tonic, hydrosol, and a light layer of face oil if you so desire.

Do Tell

Are you a regular user of face masks? Have you ever applied a mask with the back of a teaspoon? And if you have applied with a teaspoon, did you also remove it with the teaspoon?

Psst: The book below is a beginner friendly guide to cosmetics and has a section with face masks using normal easy-to-get ingredients. Scroll down for the book in Spanish.

Let's Go Green and Clean with Spirulina

Lise

Spirulina is a fabulous ingredient. I know because I've been using it for years as an ingredient in various face cleansers.

Although spirulina has mostly been studied (and used) as a food supplement, it has a lot to offer with topical use as well.

Let's take a closer look at this dark green substance and see what it's all about.

Spirulina is a Nutrient Powerhouse

Spirulina is a microscopic blue-green algae that is composed of 2 types of cyanobacterium: Arthrospira platensis and Arthrospira maxima.

Spirulina is cultivated for use as food supplement because, among other things, it is a complete protein (read: it contains all the amino acids).

It is also rich in gamma linolenic acid (GLA), contains a slew of vitamins (B1, B2, B3, B6, B9, A, E, and C), and boasts a content of trace minerals.

In short: it's a nutrient powerhouse.

What Science Says about Spirulina

The documentation I have been able to find about spirulina is that 'it causes no adverse effects' (with internal use).

This is of course positive, but in truth, I was expecting to find study after study documenting that spirulina did everything from cure ailments to provide a veritable fountain of youth to all who use it.

But I guess it's (still) a challenge to get modern science all excited about all natural ingredients.

The US National Library of Medicine states that blue green algae is:

  • Possibly effective for high blood pressure

  • Might lower blood sugar levels

But also has some precautions and concludes:

"There is interest in using blue-green algae for a number of purposes, but there isn't enough reliable information to say whether it might be helpful."

(link)

Really? Not enough reliable information?

Despite this rather reserved statement, it can't be ignored that spirulina was chosen as a food source for American astronauts on space missions. (REF)

Spirulina for Topical Use

If you follow the 'if A, then B' line of logic, the many proteins and nutrients spirulina contains provides it with the ability to protect collagen and enhance the skins elastin. In skin care products, spirulina is indeed characterised as an 'anti-aging' ingredient.

The recommended topical uses for spirulina mostly involve incorporating it into masks, wraps, hair treatments, and other spa-related treatments. I haven't seen it used as an addition to leave-on products such as creams or moisturisers very much (come to think of it - not at all!)

As to how it has behaved in my cleansers, there are some cons, but there are certainly also many pros.

Below are my personal observations.

Spirulina Topical Use Pros

  • Spirulina provides a feel that is truly silky and luxurious on the skin.

  • Because of the intense color, there is never any doubt about whether or not the product is completely rinsed off.

  • Despite the intense color, it rinses off easily and doesn't stain sinks, tiles etc.

  • After cleansing (regardless of the type of cleanser I have used with it), my skin often feels so 'nourished', I have often forgotten to apply moisturiser.

Spirulina Topical Use Cons

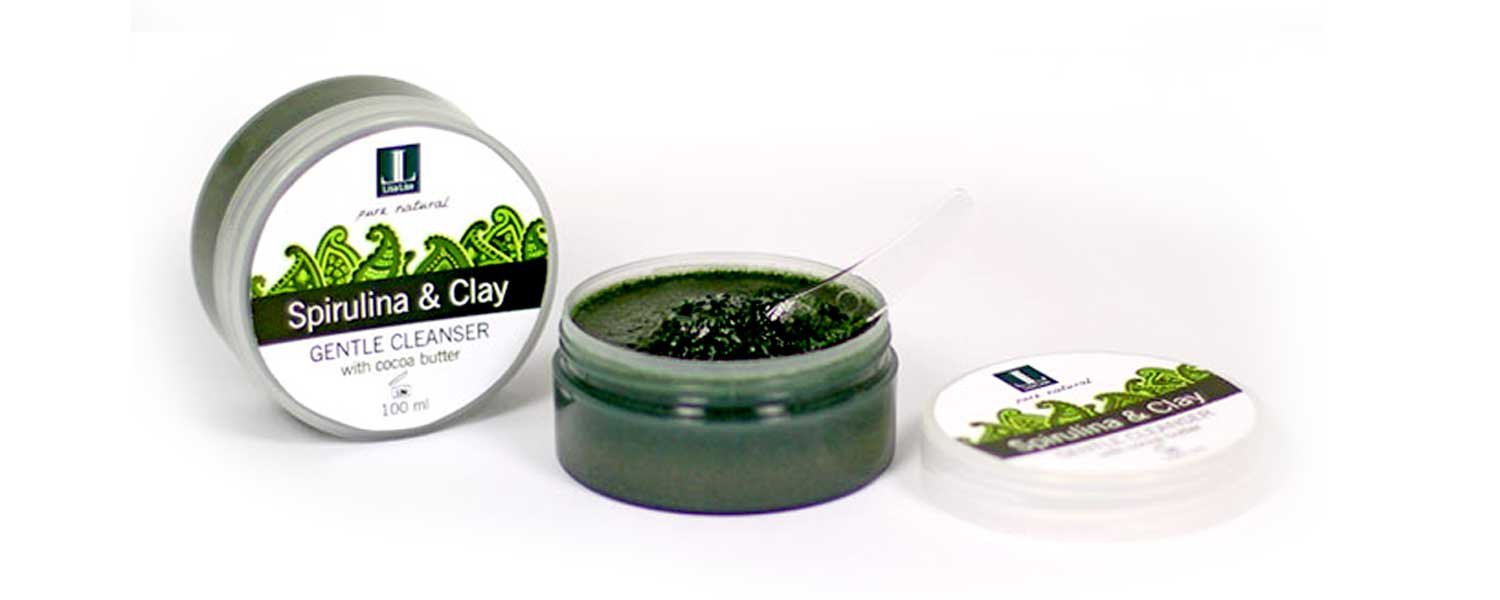
  • The color is so dark that takes some getting used to. Not a lot of people could look at a dark-green-bordering-on-black substance and associate it with cleansing. It even took me a bit of time (the jar pictured above is a clay and oil cleanser from 2014).

  • Because of the intense color, it seems to take extra rinsing to remove the product completely (which could almost count as a pro if you think about it). I have found it best to apply my spirulina-rich cleansers before stepping into a shower where rinsing is easier.

SPIRULINA TIP

Look for spirulina that has not been heat processed for a product with a maximum nutrients.

Do Tell

Have you worked with spirulina in your cosmetics? What is your favorite use of it?

Find More Posts with Green Cleansers Below

Make your own preservative free ingredients and cleansers with the bundle offer below.

Another Self Preserving Honey Cleanser

Lise

I don’t believe I will ever grow tired of making these self preserving cleansers. The combination possibilities are quite literally only limited by ones imagination. And since these are my regular morning instant mask and cleanse, I do go through quite a few of them. I generally apply to hydrosol-misted face and neck a few minutes before entering the shower, then rinse off as the last thing before leaving the shower. This gives the ingredients maximum time to do their skin-loving magic.

Combining honey with glycerites and botanicals in the perfect proportions means they function as an excellent moisture boost and facial cleanser.

It’s hard to believe something like this could be so easy to make and offer so many ways of customisation.

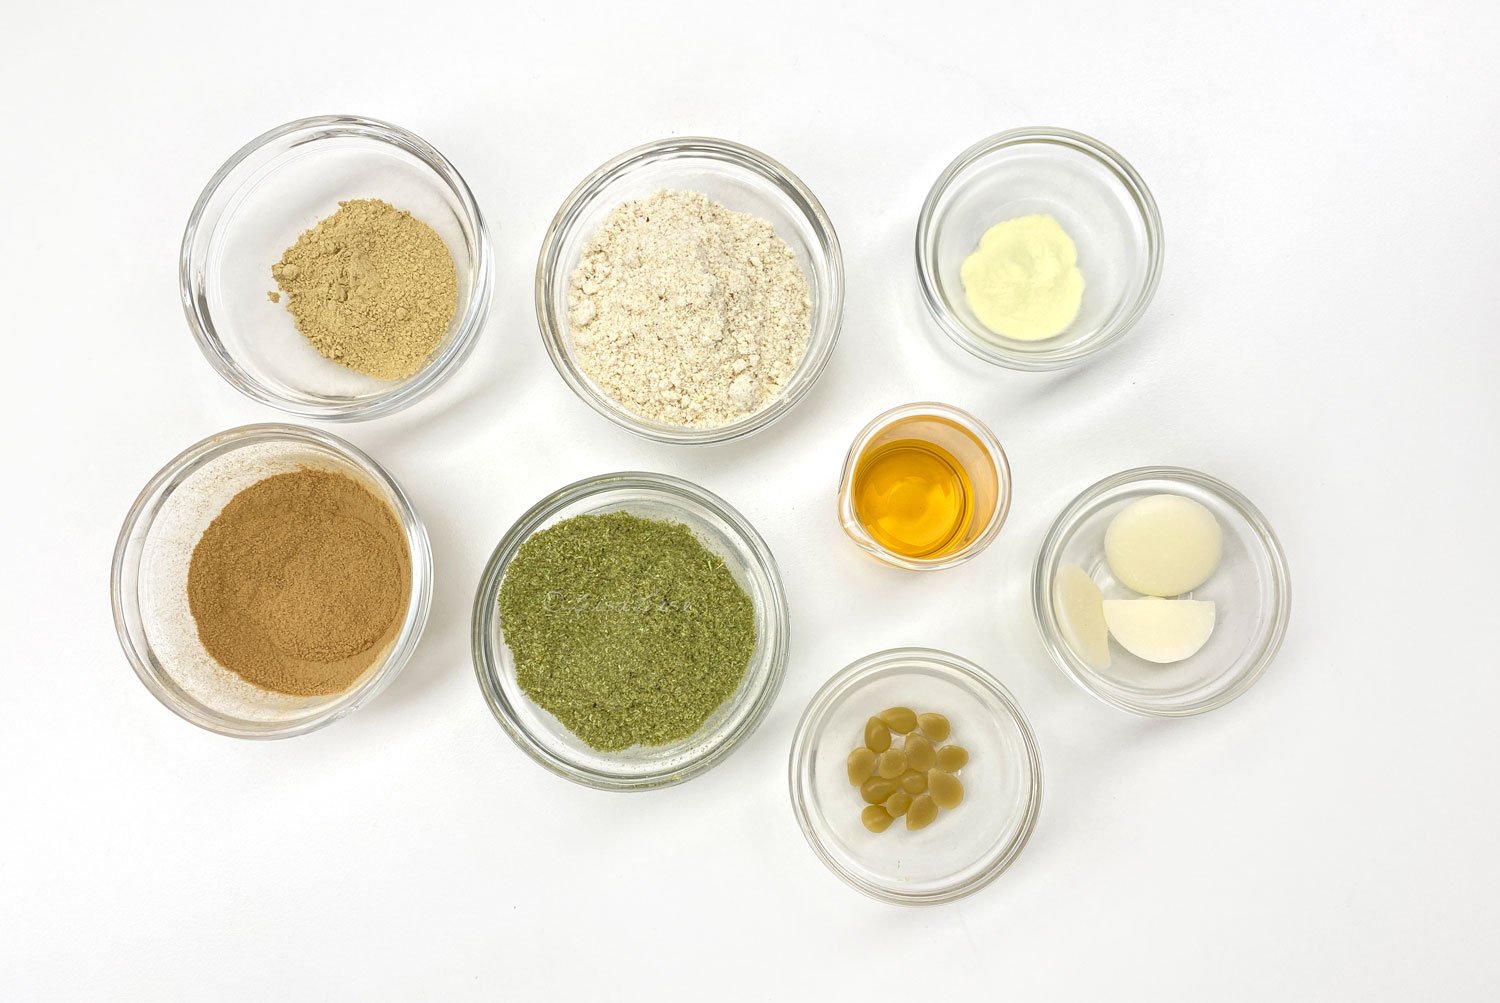
The pictured cleanser is made with spirulina, chamomile, and rosehips powder. I used the formulation guideline in the Natural Cleansers book linked below.

Do Tell

Do you make your own honey cleansers? What are your favorite botanicals to add? Please feel free to share in a comment below.

Want to make your own self preserving glycerites too? Check the bundle offer below.

How to Make a Plant Saponin Cleansing Bar

Lise

Not long ago, I showed you how to make your own conkers powder. Today, we're going to use the powder to make a cleansing bar in 2 different versions.

For the purists, I've designed a 100% plant-based item that combines conkers with hops and shikakai to gently cleanse both hair and skin. That’s it pictured above.

Spoiler alert: do not expect any foam or lather from the purist version. It will cleanse effectively and gently, but expect to do a bit of rubbing to release the actives.

The following formula is for a single bar of 55 grams.

LisaLise's Purist Plant Saponin Cleansing Bar

Phase Ingredient Grams
A Hops Powder 5.0
A Conkers Powder 21.0
A Shikakai Powder 5.0
A Multani Mitti Clay 4.0
A Skimmed Milk Powder 1.0
B Vinegar Tincture of Choice 11.0
C Floral Wax of Choice 1.0
C Cocoa Butter 7.0

Method

  1. Weigh up ingredients

  2. Melt phase C ingredients over water bath, then remove from heat

  3. Place phase A ingredients in bowl and stir to combine

  4. Add phase B and stir together/work together by hand (wear protective gloves)

  5. Drizzle in melted phase C ingredients and work together to form dough.

  6. Press into mold or shape by hand

  7. Chill until firm (30-60 minutes), then unmold and allow to set/dry thoroughly (2-3 days)

Ingredient Substitutions

The hops powder can be replaced with marshmallow, mallow, or purple hibiscus powder (red hibiscus powder will color the water and risks staining - purple/blue hibiscus does not stain).

If you don’t make or use vinegar tinctures, feel free to replace the tincture with distilled white vinegar, coconut vinegar, or apple cider vinegar.

The floral wax is mainly added for fragrance but does also add a bit of structure to the bar. It can be left out if you prefer. Simply replace the wax with 1 gram (extra) cocoa butter.

The multani mitti clay can be replaced with rhassoul clay.

Cocoa butter can be replaced with cupuacu butter if you prefer.

Usage Tip

Because this formula is preservative free, store the bar dry and allow it to air dry thoroughly after each use.

Cleansing Bar with Surfactants

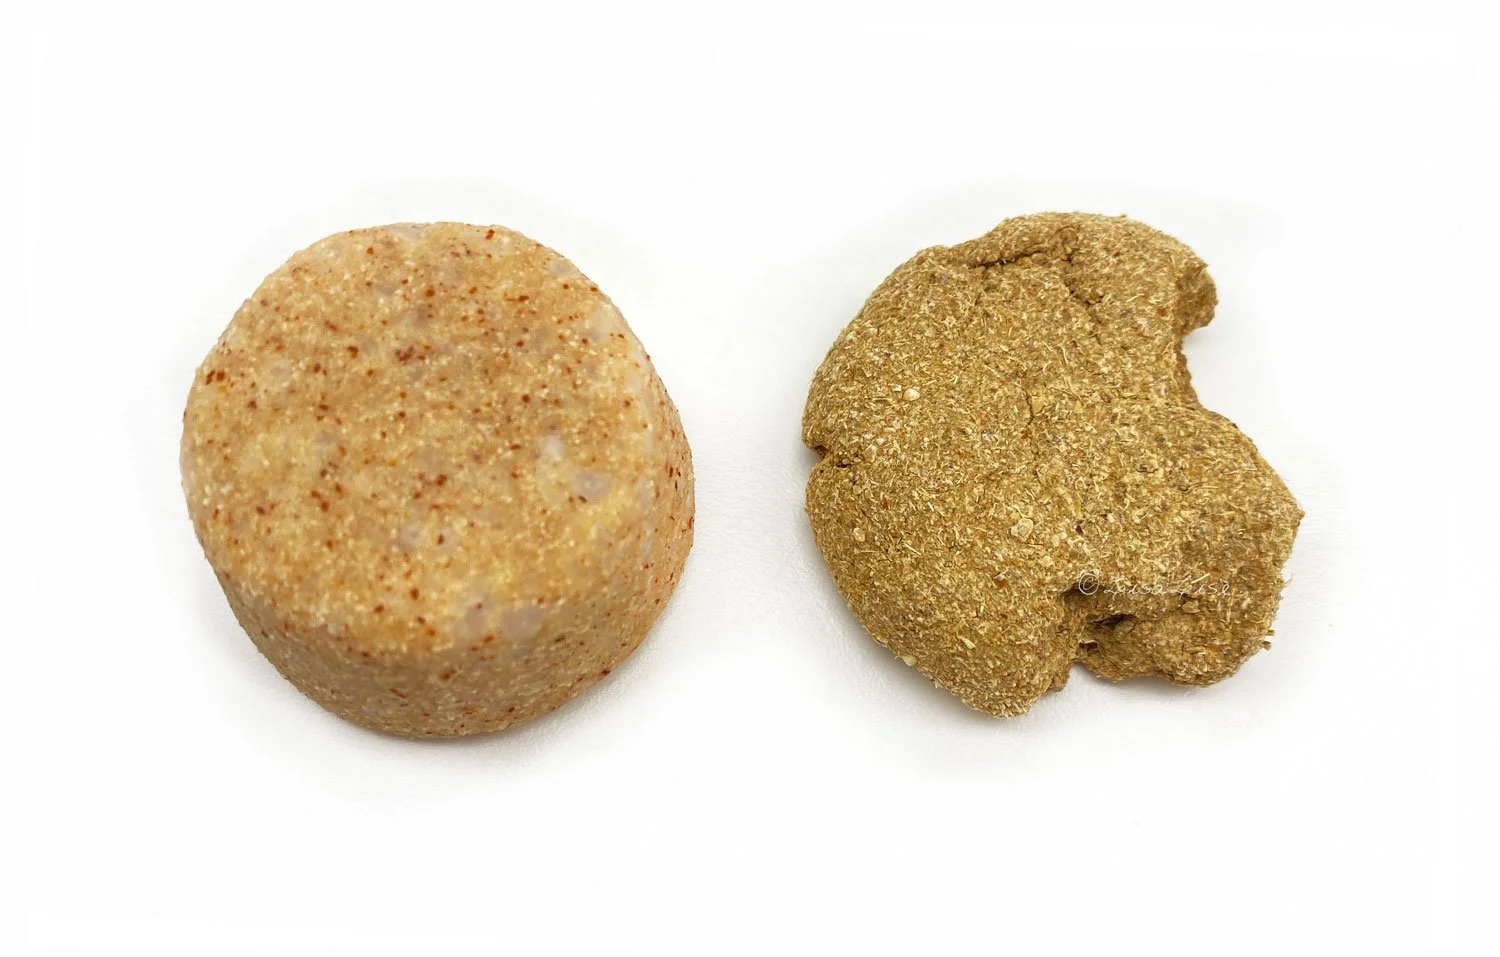
Below is a comparative photo of the purist bar (after a several uses) and the (unused) bar with surfactants.

If you're a die-hard fan of bubbles and prefer easy application with minimal rubbing, you may want to make the version below.

Because this version contains concentrated (dry) surfactants, you may find this bar is more suitable as a shampoo bar than a facial cleanser. While some people are fine with soap on their face, not everyone does well with it, so you'll have to do your own trials and testing to see what you prefer.

The following formula is for a single bar of 55 grams.

LisaLise's Cleansing Bar with Surfactants

Phase Ingredient Grams
A SCI (powder or needles/prill) 5.0
A Conkers Powder 21.0
A Shikakai Powder 5.0
A SCS (powder or needles/prill) 4.0
A Skimmed Milk Powder 1.0
B Vinegar Tincture of Choice 11.0
C Floral Wax of Choice 1.0
C Cocoa Butter 7.0

Method

  1. Weigh up ingredients (wear a protective dust mask when weighing up and handling dry surfactants!)

  2. Melt phase C ingredients over water bath, then remove from heat

  3. Place phase A ingredients in bowl and stir to combine

  4. Add phase B and stir together/work together by hand (wear protective gloves and keep your protective dust mask on until the mixture is moistened)

  5. Drizzle in melted phase C ingredients and work together to form dough.

  6. Press into mold or shape by hand

  7. Chill until firm (30-60 minutes), then unmold and allow to set/dry thoroughly (2-3 days)

Ingredient Substitutions

If you want to use an even gentler surfactant than the listed ones, try replacing the SCS with Surfalux/Iselux (INCI: Sodium lauroyl methyl isotheonate).

If you don’t make or use vinegar tinctures, feel free to replace the tincture with distilled white vinegar, coconut vinegar, or apple cider vinegar.

The floral wax is mainly added for fragrance but does also add a bit of structure to the bar. It can be left out if you prefer. Simply replace the wax with 1 gram (extra) butter.

The shikakai can be replaced with rhassoul clay.

Cocoa butter can be replaced with cupuacu butter if you prefer.

Usage Tip

Because this formula is preservative free, store the bar dry and allow it to air dry thoroughly after each use.

Do Tell

I’d love to hear form you if you make either or both of these versions. Please feel free to drop a comment below.

Want to make your own collection of naturally balanced shampoo bars? The book below shows you how and includes a section on making your own vinegar tinctures.

This Green Powder Cleanses both Skin and Hair

Lise

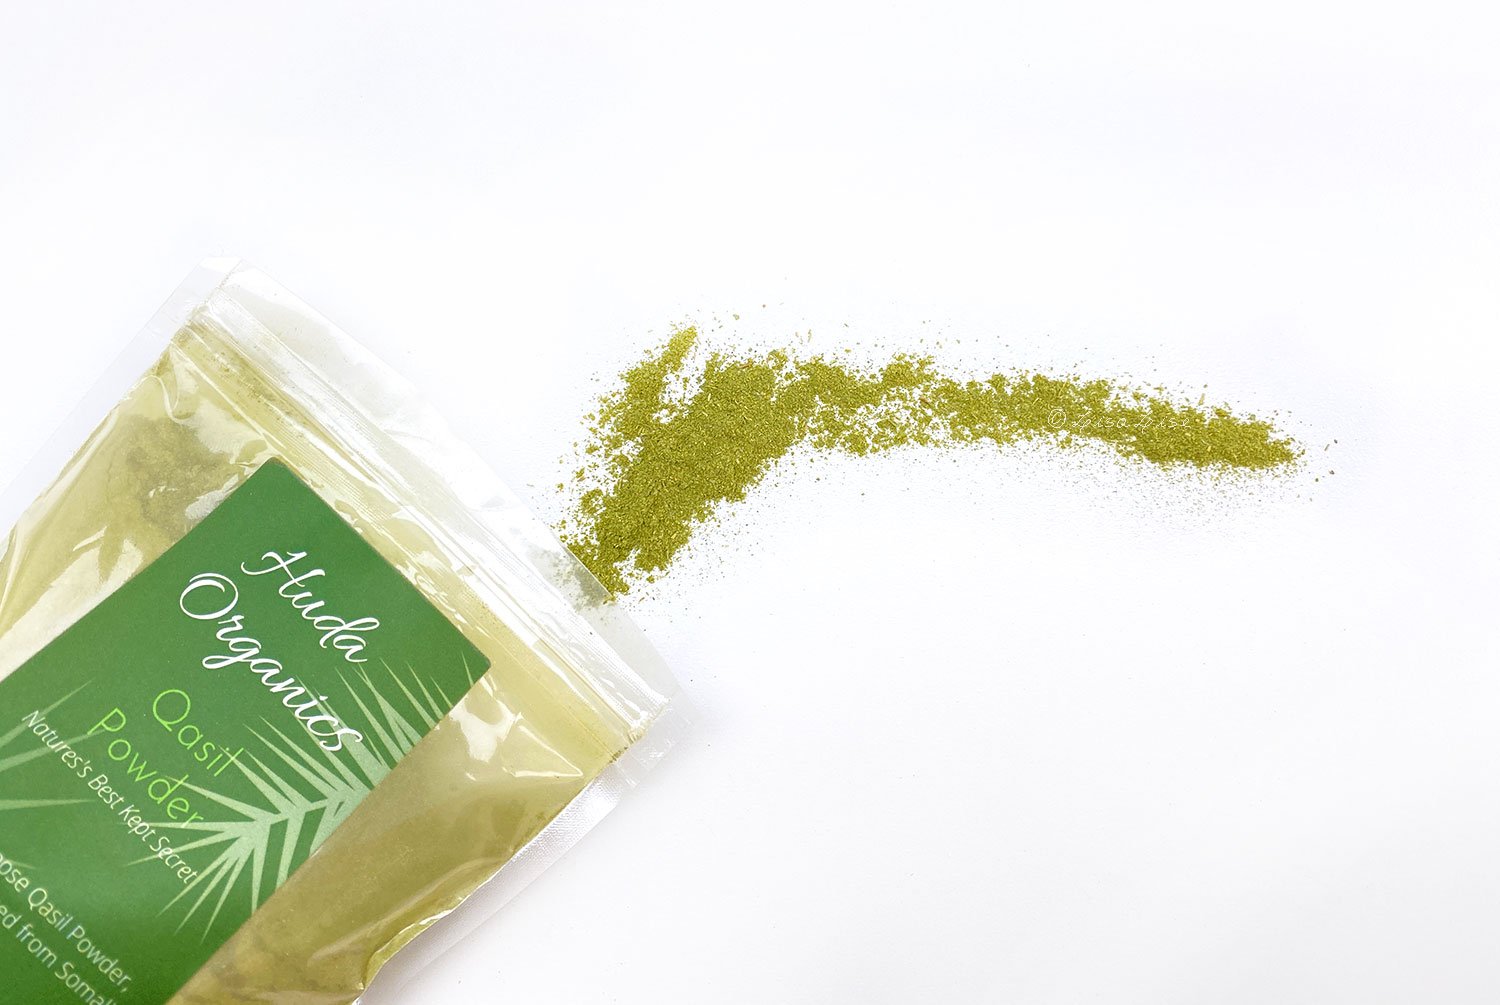
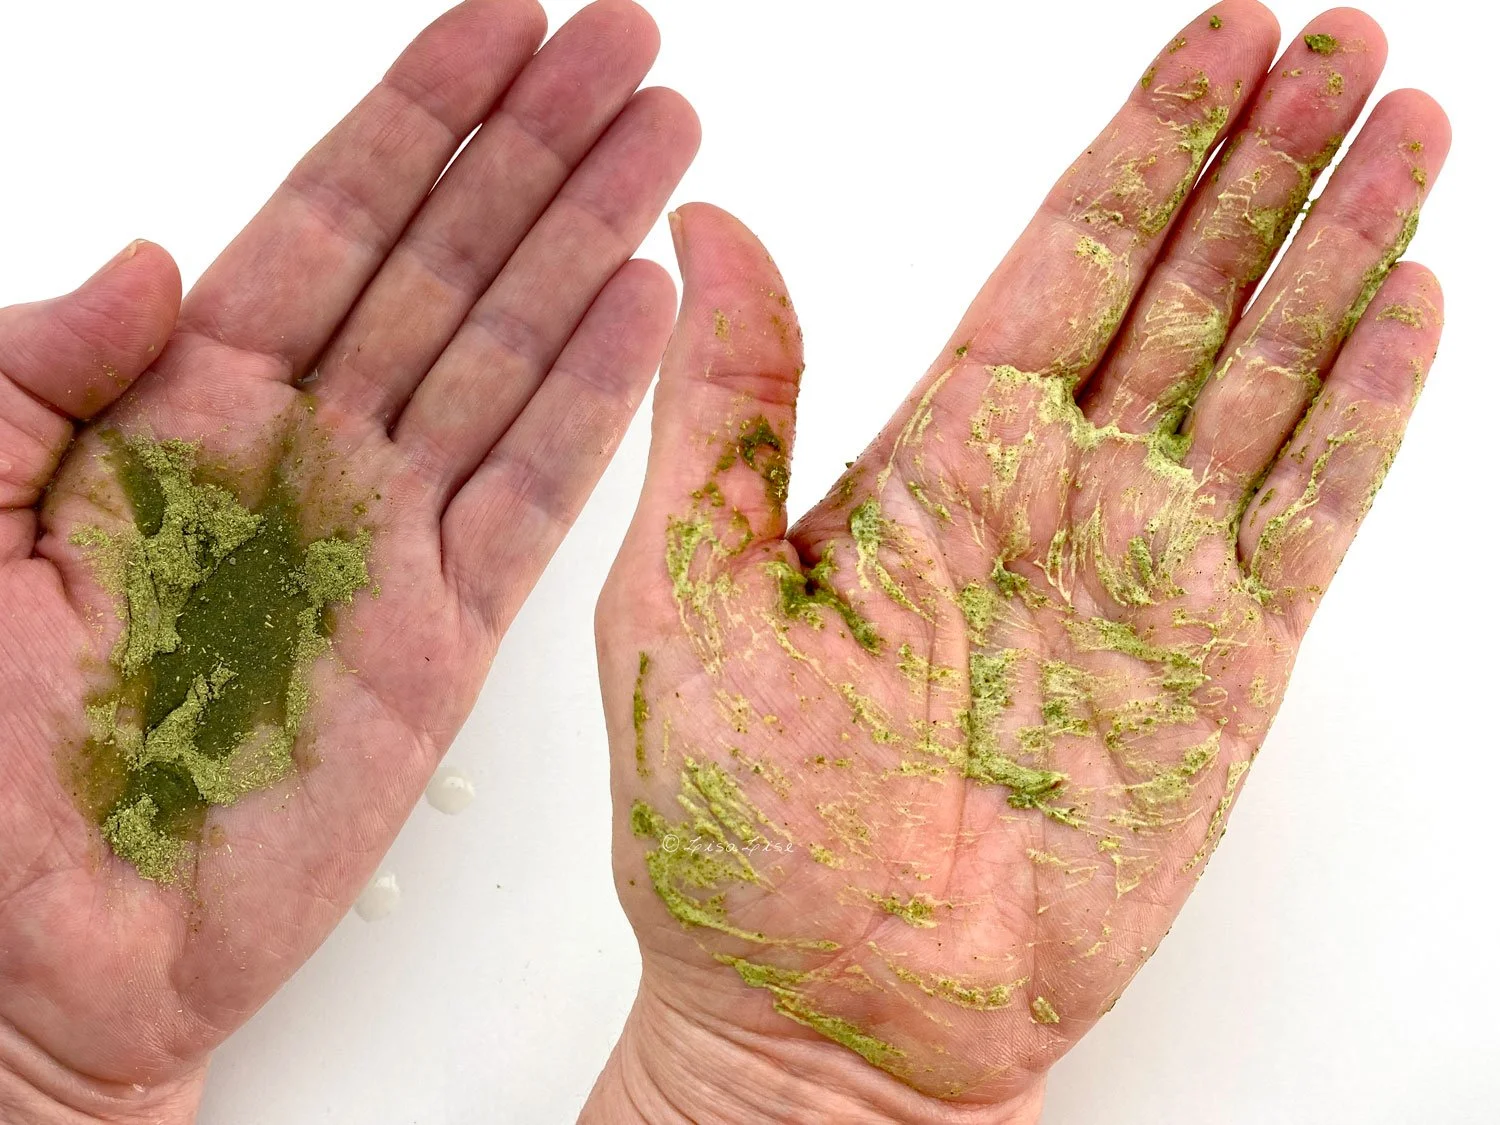
This lovely green powder is an all-natural cleanser for both skin and hair with a lovely herby fragrance and a unique ability to foam when wet. The company that produces it was kind enough to gift me the sample pictured above, and after I tried it (and got all excited about how cool it was to work with), the founder agreed to be interviewed and tell me a bit of the story behind this amazing ingredient.

Please join me in welcoming Huda Ahmed, founder of Huda Organics.

Welcome Huda! Would you share a bit about how you came to create Huda Organics?

I founded Huda Organics in 2017, while I finished my Master’s Degree in Business at Brunel University.

Although I grew up in Norway, my family is originally from Somalia. Qasil powder is a staple in Somali homes. I was accustomed to seeing my mother, aunts, and grandmother using Qasil powder both as a face mask and a cleanser. It was second nature to see my mother running around the house or doing chores with a bright green face. I never actually thought much of it until I reached my early teens.

It’s fairly common, although unfortunate, for young girls to become self-conscious about their skin and their bodies at this age, and the same was true for me. During this time, I became really interested in skincare. I was up to speed on all of the latest creams, serums, active ingredients, and gadgets. This wasn’t because I had particularly problematic skin, but because I had formed the terrible habit of being critical of every inch of skin on my face. I convinced myself that if I did not have the latest beauty product I could never have perfect skin or be beautiful. I now know that this thinking is absolute nonsense and it’s something I actively try to prevent our customers from feeling. Nevertheless, it was difficult for me to view things in any other way at the time.

What ended up happening was that I ended up with extremely irritated skin and a beauty routine with about 500 different steps. This was not just impractical, but also extremely expensive - especially during my last years of high school, and when I became a university student. As many students can attest to, university (particularly exam time) is extremely stressful, and things as inconsequential as brushing your hair or cooking a proper meal can be viewed as major successes. I, like many other students, was juggling going to university and working part-time. It’s no surprise that the mere thought of completing all of the steps in my skincare routine was becoming increasingly more overwhelming, especially as my skin just stayed constantly irritated and inflamed.

I realised that instead of listening to everybody else talk about what worked for their skin, I needed to listen to what my skin wanted and needed. I also needed to buy back some of the time I was wasting on such an elaborate routine every day. I have always had a keen interest in natural beauty, which I inherited from the women in my family, and of course, at their insistence, I have used Qasil powder sporadically over the course of my life. In an effort to improve my skin and simplify my routine, however, I decide to listen to my mother and go back to our ancestor’s tried and true product, Qasil powder, to see whether it would make a difference. I cut out all other products and started using Qasil powder daily. To begin with, I used Qasil as a cleanser, and later on, I started to mix it with either honey, yoghurt, or turmeric to create face masks. My skin started to clear up pretty quickly and was no longer as inflamed as it had been for several years. My friends commented that my complexion was brighter than usual. Qasil powder was definitely working for me, just as it has worked for members of my community for centuries - that much was clear to me. What I wasn’t so sure about for a few years was whether it was working for us because we all shared similar complexions and skin concerns. I thought the only way to find out was by giving Qasil powder to as many of my friends as possible to see if they noticed any difference in their skin. Practically every single one of them got back to me with hugely positive feedback about how their skin looked and felt after using Qasil.

After receiving some great news about how it was helping a friend with acne, I decided to Google Qasil for the first time. I was a little shocked to find there was practically nothing about it online. That was my lightbulb moment. That was when it truly clicked that instead of waiting for somebody else to carve their own niche selling Qasil, I could create this space myself. I was studying Business at the time, so it made perfect sense to combine my love for this product with the knowledge I acquired doing my degree.

Once I got the idea of starting my own Qasil company, I developed a bizarre sense of urgency. When you’re the first one to do something, there’s a huge amount of pressure and responsibility to get it right. In my case, nobody around me believed this would be anything more than a small and temporary side-hustle that I would eventually give up on once I finished my degree and found a ‘real’ job. I’m quite stubborn and hate to feel that people are placing bets against me, so instead of viewing this as Plan B, I made this my Plan A. I initially started selling on Etsy, and even though I rarely made more than about 2-3 sales a month for several years, I used the time to bulk-make videos, and other graphic content, and really cultivate a space on the internet for Qasil that hadn’t ever existed before. Part of me continued to pursue this, despite low sales, because I truly believed in Qasil and knew it could be the stepping stone for more than just a beauty company, but a lifestyle company that could give back to my home country of Somalia. Two of my main passions are female empowerment and sustainability. I was well aware that because the powder comes from Somalia, where there is little employment regulation and an ongoing climate crisis, that selling this type of product could lead to the unmitigated exploitation of land, resources, and people. I also knew that when Huda Organics became a more well-known company that other companies selling Qasil would emerge, but because we had already set an ethical precedent they would be forced to answer to the same expectations and questions our customers have become accustomed to.

Huda Organics did take off, albeit three years after I started selling on Etsy, when a TikTok video I posted went viral in mid-2020. Fast forward to 2022, we’re now a team of nine people working between London and Somalia - and we ship worldwide! We’re fortunate enough now to have been able to establish our own supply chain and we’re actually in the process of starting our own environmental charity. As we are still entirely self-funded, it has been a little bit of a slow burn when it comes to finding sustainable and biodegradable packaging, but we’re really happy to begin incorporating that element into our company. We’re also just as excited for the release of a new product (a Qasil moisturiser) this year, which has been two years in the making.

Could you tell my readers a bit about how your product is produced?

Qasil powder comes from the leaves of the gob tree, which grows all over Somalia. As I mentioned earlier, we have nine members in the Huda Organics team. Five of our team members work in our office in Somalia. I’ll break down the process of how the Qasil powder is picked and processed from start to finish.

First and foremost, the leaves need to be picked from the tree. Unfortunately, there isn’t any industrial machinery available in Somalia that can pick leaves out of the trees, and it is also extremely difficult to import a tool of this nature. This could be interpreted as a curse that extends the harvesting process as the leaves need to be handpicked. However, in some ways, it could be viewed as a positive - we are able to harvest the exact quantities we need to prevent having too much overstock or creating excessive waste.

Once the leaves have been picked and put into sacks, they are driven to our local office area where the leaves are put out to dry in the sun for about 2-3 days. The climate is extremely dry and arid in Somalia, which is why the drying process is quite quick. When this process is complete, the dried leaves are separated into piles and ground into a fine powder using a contraption that resembles a mortar and pestle. This powder is then strained several times to remove any stubborn chunks that may have survived the pulverisation process.

The powder is then packaged in Somalia and shipped over to us in the UK where it is labelled and warehoused.

I was very impressed at how this green powder foams up and cleanses both skin and hair. Could you share some of your best tips about how to best use Qasil powder?

Qasil’s strength is in its versatility. As I mentioned earlier, part of my thought process for making this a staple in my routine was to save time by using a product that could do multiple things at once. A great hack that I use is to mix the powder with enough water to create a thick paste. I apply this paste onto my skin, like I would any face mask, and leave it on for around 15 minutes as I potter about the house doing other things. As Qasil is rich in antioxidants and vitamins (particularly vitamins C and E). As such, leaving on the skin a little longer allows these compounds to penetrate the skin more deeply than they would if you just washed them off in a minute or so. Once I’m ready to rinse it off, I just run my hands under some water and add it to the mask so that it starts to foam up (just as it would if you used it to simply cleanse your face). By doing this, I get the added bonus of a gentle exfoliation that leaves my skin feeling extra soft and supple!

Qasil is also great for hair, but I recognise that people’s sensory expectations when using shampoo are very different to using a face product. As you’ve probably been able to gather, getting the water-to-Qasil ratio can be a little tricky at first, although I do believe that it becomes intuitive the more you use it. While I don’t think people are as fussy about their face products lathering up like a bubble bath, there is something quite satisfying about the experience of shampoo foaming up and being gently massaged onto the scalp. For this reason, I recommend putting 2-3 tablespoons of Qasil powder in a bowl, and adding 2 glasses of water, and beating it with a fork just as you would an egg mixture! This will create a foamy lather that will stay super creamy when applied to the scalp! You’ll retain all of the usual sensory experience of shampoo, while gently exfoliating the dead skin cells and excess oils from the scalp, which can help to accelerate hair growth!

Thank you so much for sharing your story Huda! Please visit Huda Organics to try Qasil powder for yourself.

(most) photos in this post are used by kind permission from Huda Organics.

How to Wash Your Hair With Rhassoul Clay

Lise

If you're a green beauty purist, you may prefer making all your own personal care products using minimally processed ingredients. And even though it means full control over every ingredient and process, going the purist route can sometimes be laborious, fiddly, and time consuming.

But not today.

Today, we're going to make a purist-friendly, environmentally-friendly, instant hair wash that is suitable for all hair types.

You: All hair types, Lise?? From thin, straight fly-away hair to super curly 4c hair?

Me: Yup.

Although this may sound impossible, I have yet to hear from anyone who has tried this and didn't find it effective for their hair - regardless of hair type. If you do give this a try, I’d love to hear your feedback.

Here's the coolest (and most purist) part of this whole exercise: you only need one ingredient.

Rhassoul Clay

This is also known as Moroccan Lava Clay, Ghassoul, and Moroccan Soap Clay.

There's a reason it has earned the name 'soap clay'. Not only will this rather boring-looking brown substance cleanse your hair and scalp effectively, it's recommended to help prevent dandruff. And if you have a tendency to itchy scalp after using a normal shampoo, prepare for non-itchy scalp bliss.

Are you ready to give it a try?

Tools and ingredient

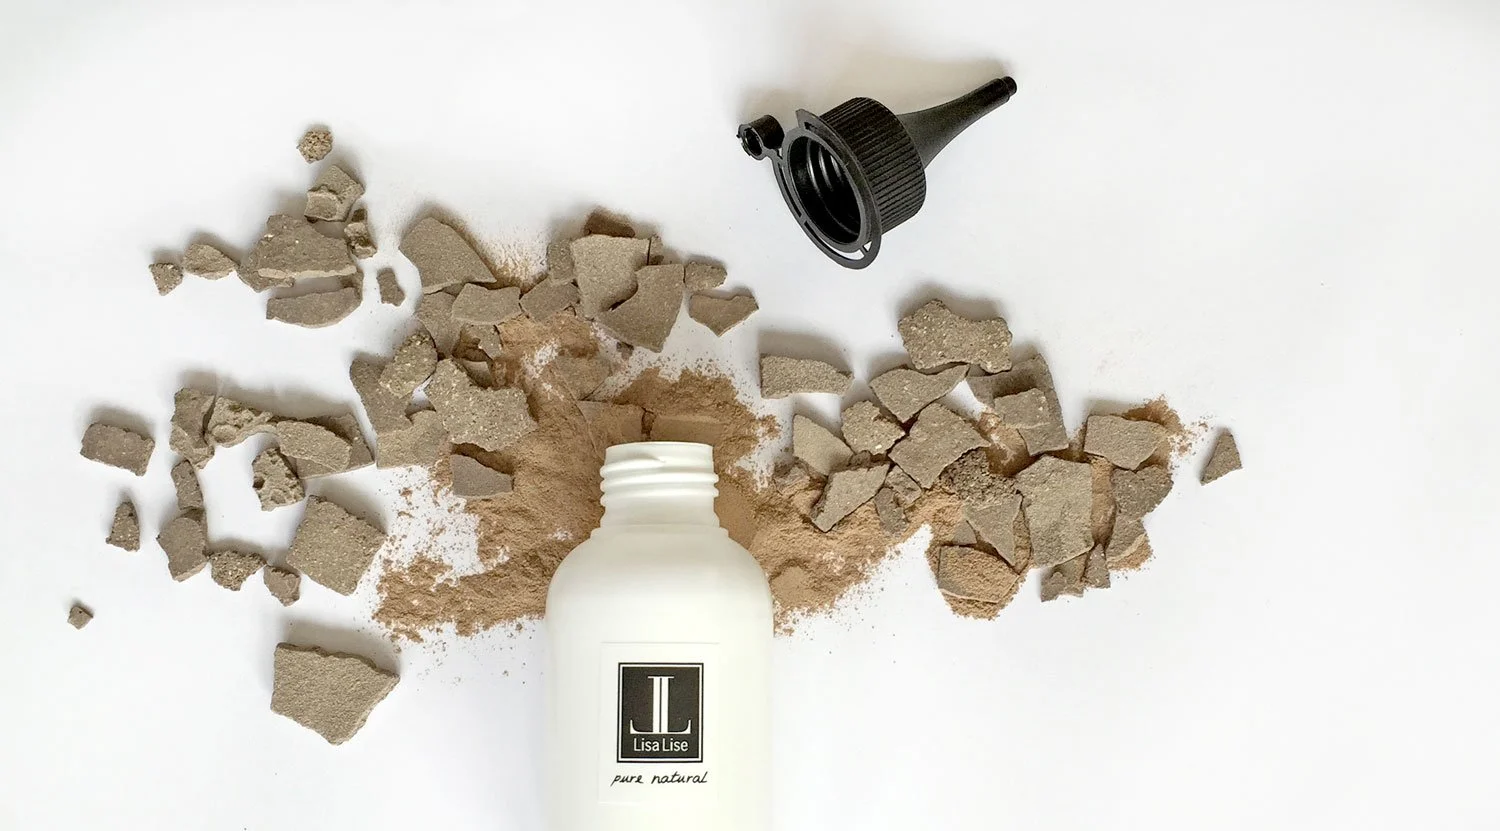
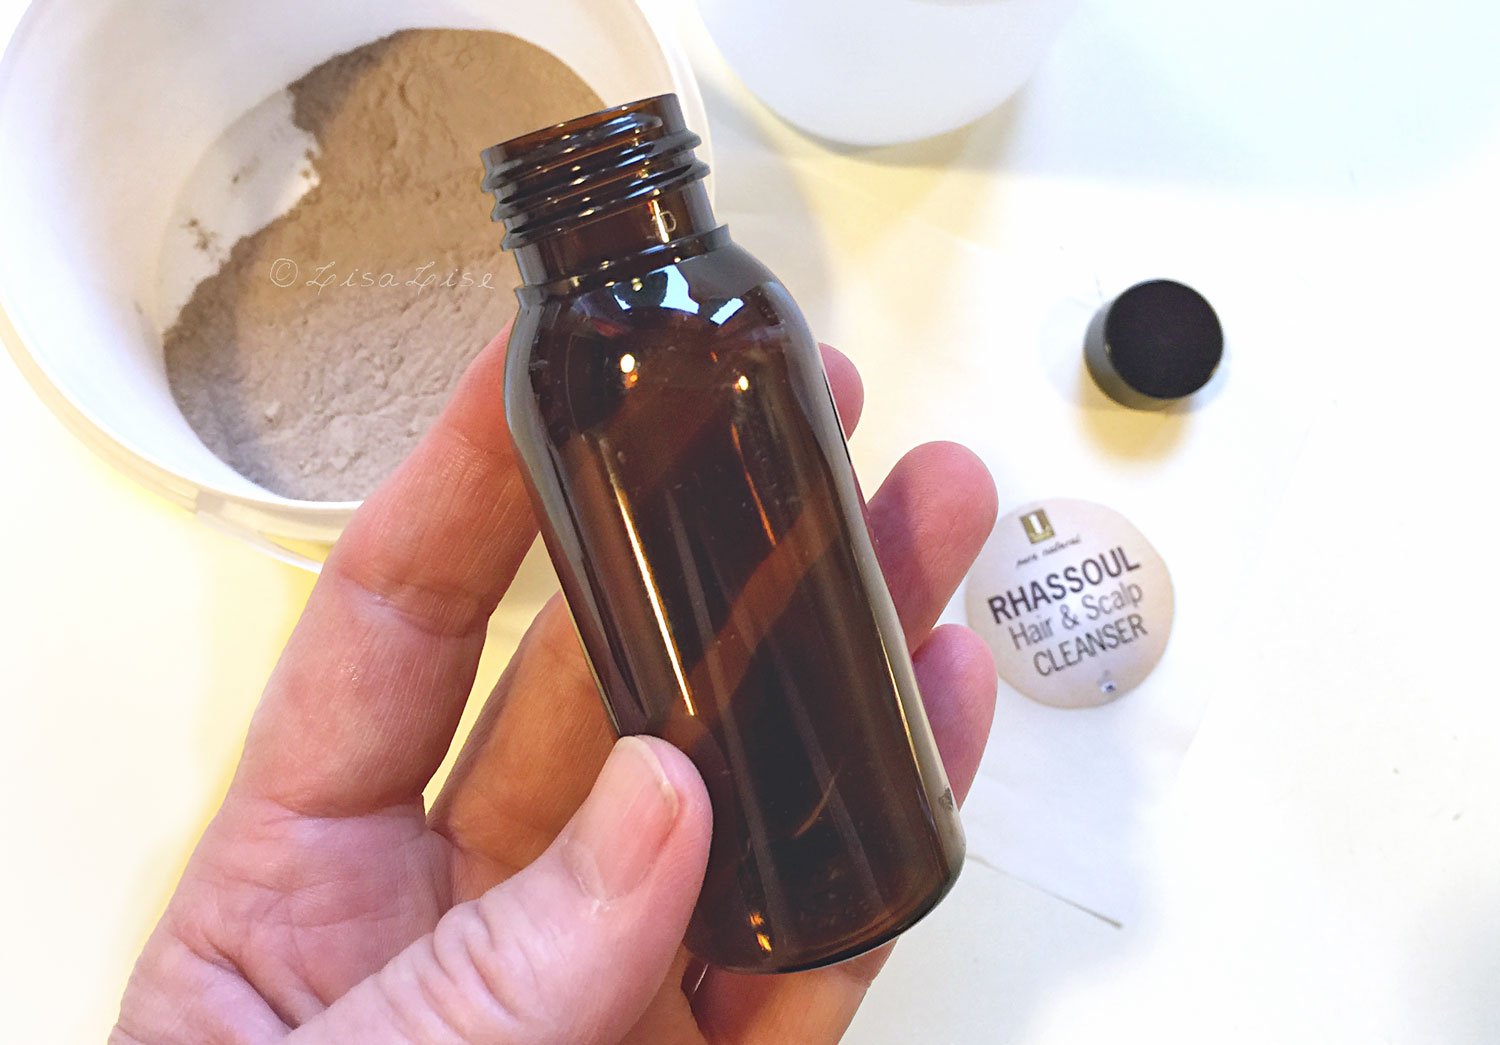
  1. Rhassoul clay (in powder form! The chunks shown above may look great but they are fiddly to work with)

  2. Scale

  3. Small bottle (50-60 ml) for short to medium long hair

  4. Large bottle (75-100 ml) for long, thick hair

Tip: A dispenser cap will make application easy. Check the cap pictured at the top of this post.

Extra things you might want

  • Your own label (cuz you're awesome at making instant hair wash and want to show it off)

How Much Rhassoul

Depending on your hair type, the amount needed for a single application ranges from about 5-6 grams (approximately a teaspoon) to about 20 grams (approximately 2 tablespoons).

For short, fine hair, 5-6 grams does the job.

If your hair is thick, super-curly, and long, you'll probably be needing the max amount – about 20 grams.

The specific amount that works best for your hair will come down to a bit of trial and error.

Method

  1. Place a piece of non-stick paper on the scale

  2. Weigh the necessary portion of rhassoul for a single application

  3. Transfer the rhassoul to your empty bottle

  4. Apply your own label (if you so desire)

You now have a ready-to-go handy dandy hair wash in a bottle. All you need to do is add water when you want to wash your hair.

Mixing For Use

  1. Add water to the bottle until it is 4/5 full.

  2. Shake vigorously to disperse the rhassoul.

  3. Your hair wash is ready to use.

Tip: Do not add water until immediately before use as there is no preservative!

How to Wash Your Hair With the Mixture

  1. Wet hair

  2. Apply the rhassoul mixture directly to the scalp

  3. Work the mixture around the scalp and to the tips of the hair

  4. Let sit for a minute or 2

  5. Rinse thoroughly

  6. Dry and set hair as usual

Note: The liquid will feel a little 'slippery' on the scalp and will not make any suds. Even though it doesn't lather, it will cleanse both hair and scalp.

Tips

  • This hair cleanser can take a bit longer to rinse out than 'normal' shampoo, so don't rush when rinsing.

  • Depending on your hair type, you may find your hair has no need of conditioner.

  • For extra soft and shiny hair, add a splash of vinegar to the water when preparing the mixture for use.

  • Allow the bottle(s) and lid(s) to dry completely before next use.

Enjoy!

Where to Get Rhassoul Clay

Aroma Zone (France)

Mountain Rose Herbs (USA)

New Directions (Australia)

The Soap Kitchen (UK)

Soap and More (Canada)

Skin Dewi (Jakarta)

Do Tell

Feel free to share your experiences with this hair wash by dropping a comment below and remember to include your hair type.

If you prefer making shampoo bars, there’s a book in a shop to show you how. Click the picture below to learn more.