Contact LisaLise

Please use the form on the right to contact LisaLise.

Majestic Court 5, St. Mary's Street
Mellieha
Malta

LisaLise offers online education of natural plant-based cosmetics via e-books and courses

LLBlogHEADER2020-3.gif

Shop Blog

A look inside the LisaLise natural cosmetics lab with free formulas, DIY how-to's, ingredients tips, sneak peeks, and more.

Filtering by Category: Product How To's

How to Make Facial Cleansing Dough

Lise

Cleansingdough-1500.jpg

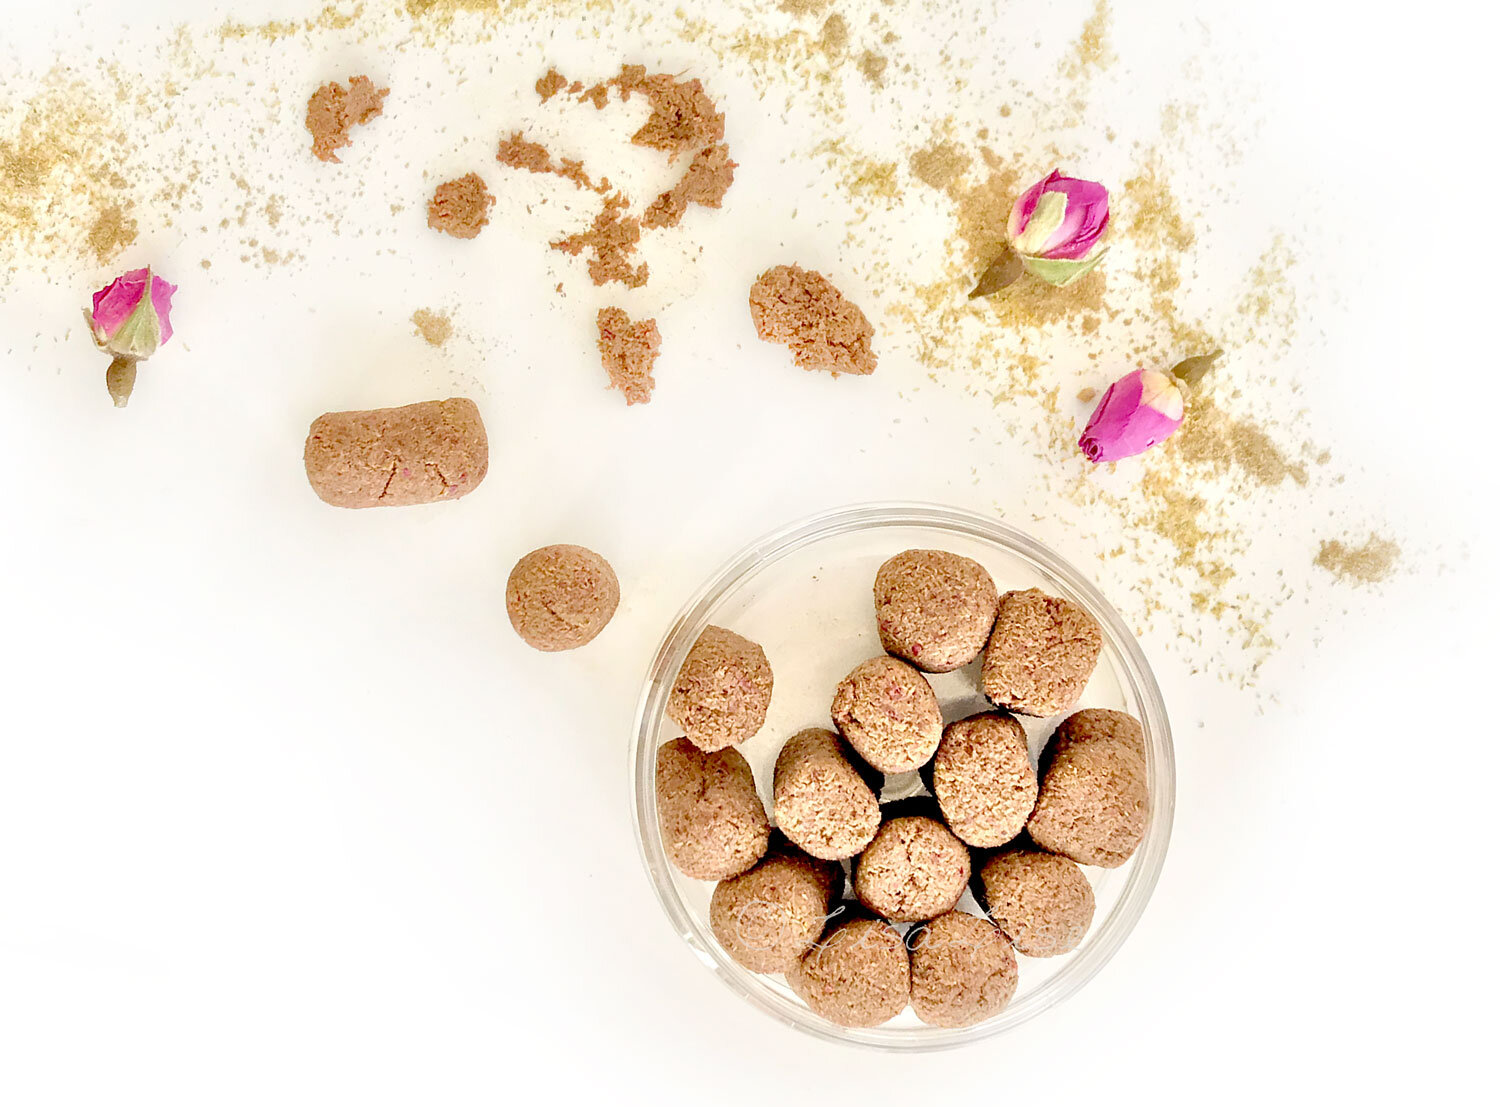
These funny looking little lumps may look a bit like cookie dough waiting to be baked, but what you are looking at is all-natural face cleanser dough pellets that cleanse gently and effectively and leave your skin super duper smooth.

What's even more fun, this product has a skin-friendly pH, is preservative-free and has a shelf life of 3 months. To be honest, the shelf life is longer, but the dough dries somewhat with the passing of time making them too hard and fiddly to use.

Handcrafted Ingredients Make All The Magic

We're going to be incorporating a few handcrafted ingredients to bump up the herbal action in these cleansers.

Remember this post about making your own herbal vinegar tincture with pomegranate? Well, get busy because you'll be needing it to make this cleanser!

And, if you make your own glycerites and happen to have a one at hand, then you're all set to go! (and if you don't make glycerites, check the links at the bottom for more info)

About the Dry Ingredients

The mixture of kaolin clay with botanical powders is what provides the gentle action in these cleansers. This combo is great for most skin types and might just become your favorite ever combination because it works on dry mature skin, sensitive skin, as well as combination skin.

Note: if you have a burning desire to substitute the clay, you risk a completely different (and perhaps unwanted) texture. Kaolin is ideal for this combination of ingredients.

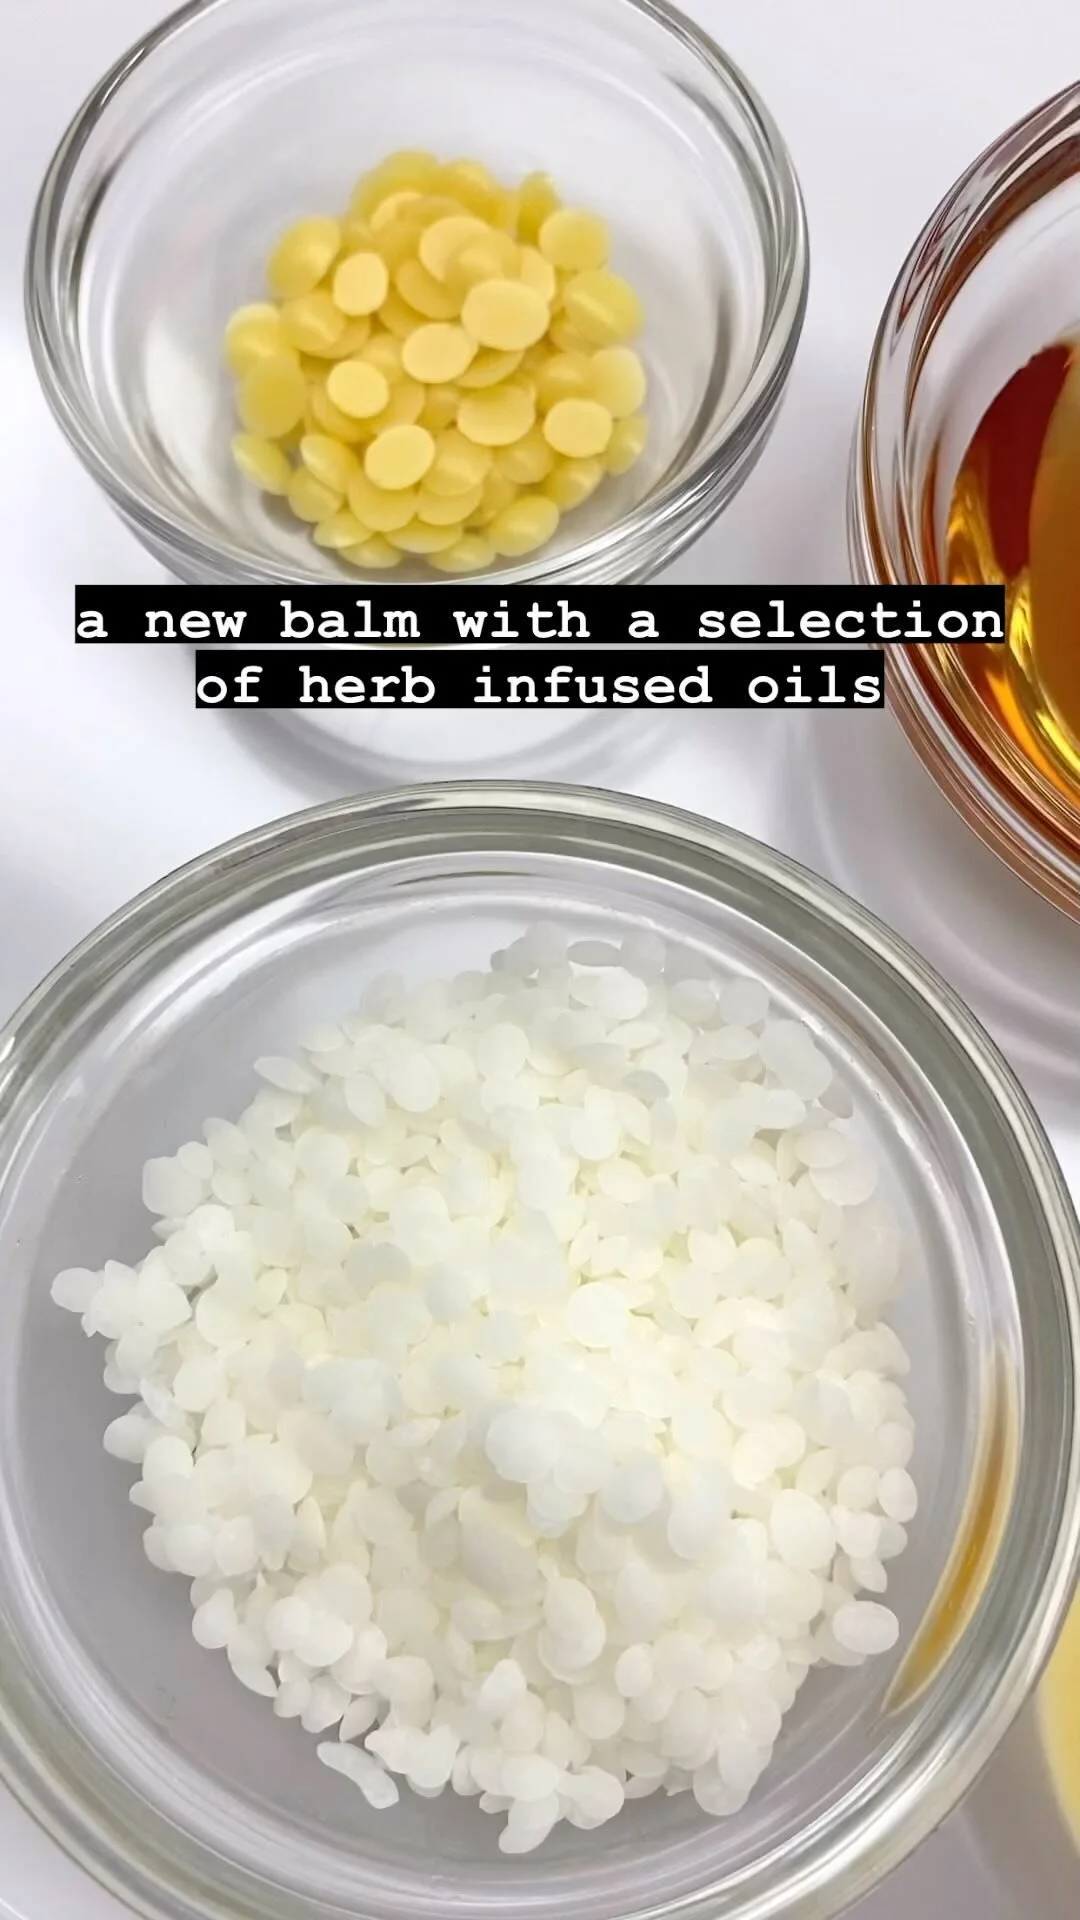
About the Wet Ingredients

Check the photo above for a view at the proportions of the ingredients. The reddish liquid is a handcrafted pomegranate vinegar tincture and the lighter liquid is a combination of handcrafted lemongrass glycerite and a liquid surfactant called Sodium Lauroyl Methyl Isethionate.

Yes, that surfactant is a mouthful. And before you get all worried, I can tell you it is among the mildest of surfactants. It's a sulfate free anionic surfactant that can function as the primary or secondary surfactant in a blend.

So, without further ado, let's get busy making cleansing dough!

LisaLise’s Herbal Cleansing Dough

Phase Ingredient Grams Ounces
A Pomegranate Vinegar Tincture 13.5 0.48
A Glycerite of Choice 13.5 0.48
A Sodium Lauroyl Methyl Isethionate (SLMI) 3.6 0.13
B Brahmi Powder 2.0 0.071
B Rose Powder 3.5 0.12
B Licorice Powder 2.0 0.071
B Kaolin Clay 8.9 0.31

Method

  1. Weigh and mix Phase A ingredients together

  2. Weigh and mix phase B ingredients together until you have a homogenous mass

  3. Place the dough on waxed paper and gentle roll to make a long 'sausage'

  4. Cut into single portion pieces (approx 3 gr / 0.11 oz) per piece

  5. Shape and into balls or 'pellets' and place in an airtight jar.

  6. Place lid on jar and store dry until use.

roll-1500.jpg

Here's a quick peek at the rolling process. As you can see from the 'waxed' paper (it's really not waxed at all any more, but is silicone-coated these days), the mixture is quite soft. The texture changes a bit over the next day or so as the dry ingredients absorb the wet ones.

To Use

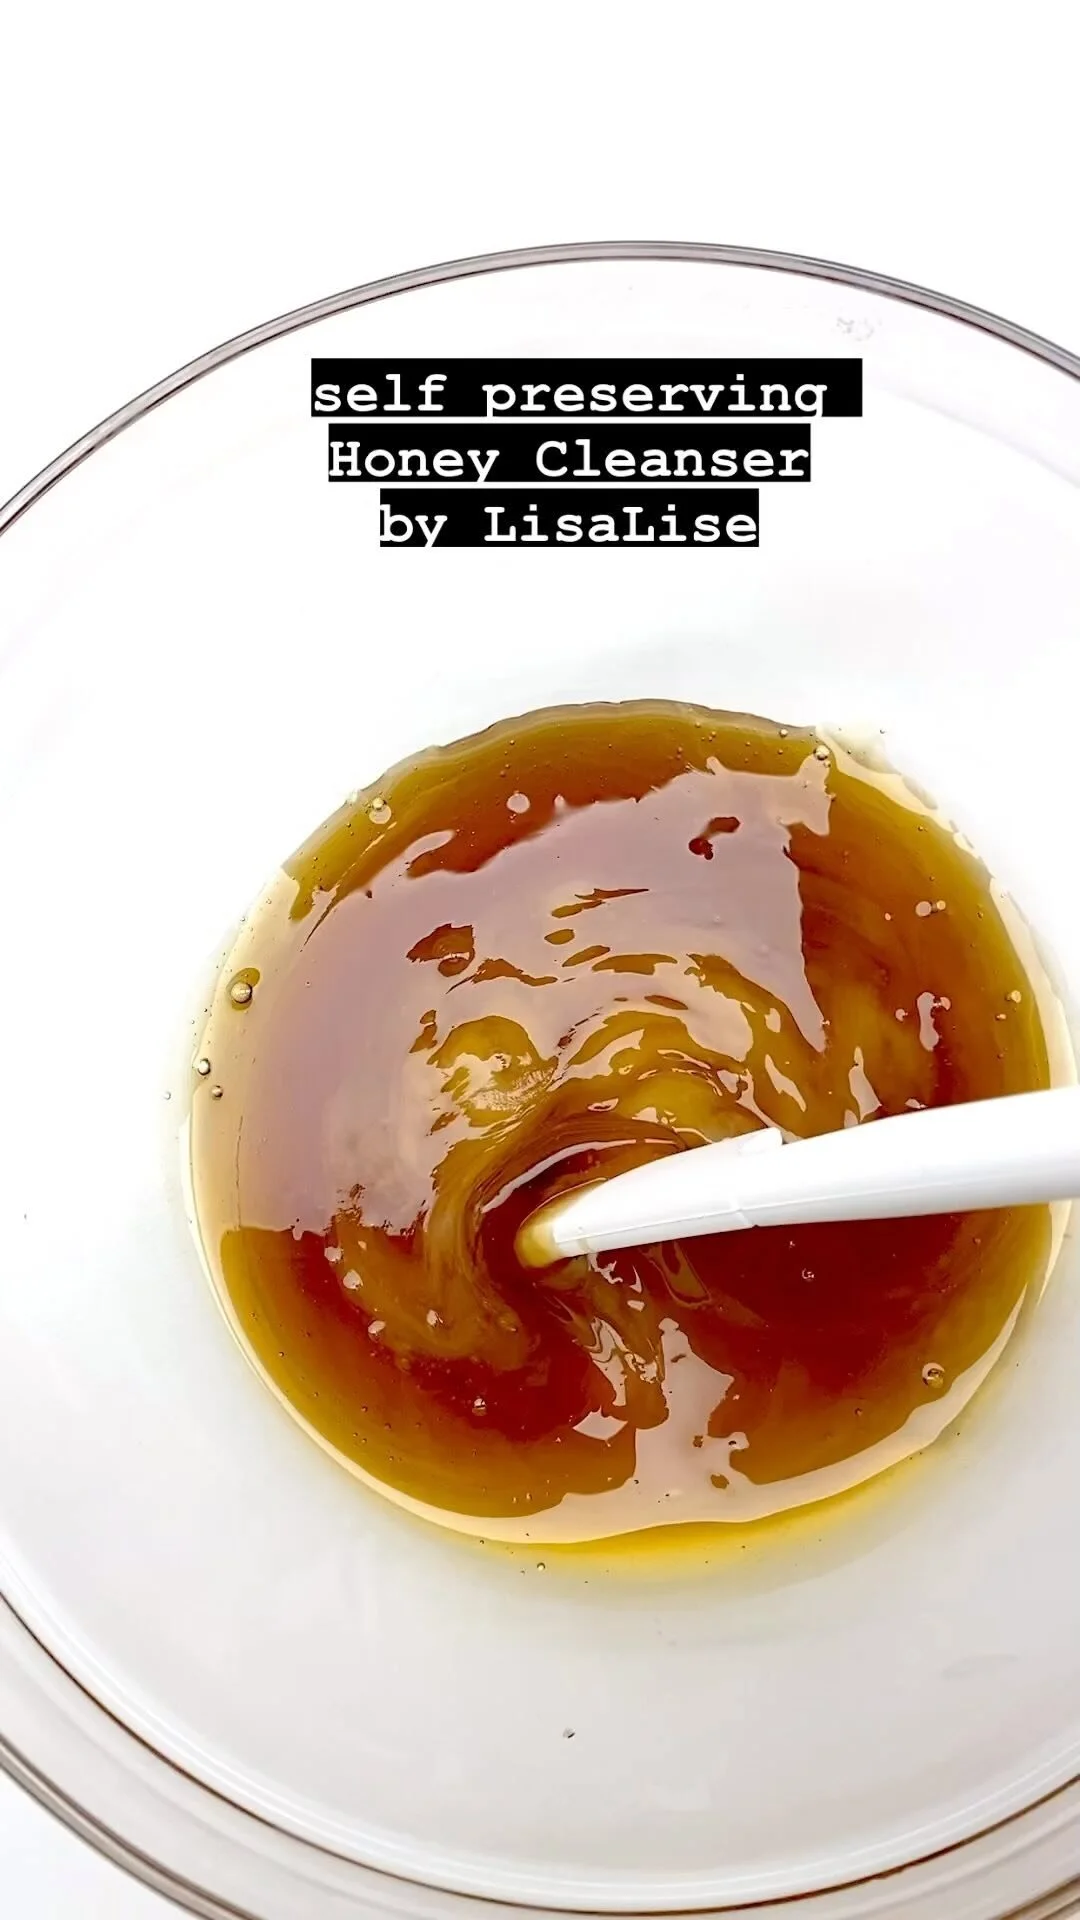
Place one pellet in your hand and add water. Squash together and mix until you have a paste. Apply the paste to face and neck with gentle circular motions. Rinse and rejoice!

bubble-factor-1500.jpg

As you can see from this pic, there is a bit of bubble action due to the surfactant. As you can also see from the drops on the table (just behind my little finger) the liquid has a bit of 'cookie-dough-brown' color to it

Stick around for more cleansing dough fun in upcoming posts!

Do Tell

Have you ever considered using such an unusual combination of ingredients on your skin? Are you curious to make your own? Which glycerites and tinctures will you add?


How to Make Fresh Raspberry Face Cream

Lise

Raspberrycreamsetup.jpg

Loads of people who have caught the glycerite-making bug have asked me ‘What can I use my glycerites in? Formulas rarely call for very much glycerine/glycerite.’

So I decided to see if it was possible to create a lovely face cream with a whopping amount of hand-crafted glycerite that didn’t feel tacky or draggy.

And wouldn’t you know, I succeeded.

This raspberry cream is absolutely divine (if I do say so myself), is fabulously pink, has a massive 30% glycerite (yes, THAT much), and I have been so pleased with the result, I just had to share it with you.

Fair warning on the color: it looks really fabulously pink right after you make it, but will fade slowly but surely as time passes. I took pictures of it after 3 months that you can check below. It morphed into quite a pleasant baby-pink color. Mind you, it has been packaged in a frosted clear jar and stored in my bathroom where it has been exposed to quite a bit of daylight. I’m guessing if you package this in a UV safe jar, it will keep the color a lot longer.

This batch makes 100 g (about 3.5 oz).

LisaLise’s Raspberry Cream Delight Formula

Phase Ingredient Grams
A Freshly Boiled Demineralized Water 40.0
A Aloe Vera Juice 10.0
A Raspberry Glycerite 30.0
B St. John's Wort Infused Olive Oil 8.0
B Olivem 1000 Emulsifying Wax 6.0
B Cetyl Alcohol 2.0
C Extracts of Choice 3.0
C Broad Spectrum Preservative 1.0
Here are phases A and B ready to be heated.

Here are phases A and B ready to be heated.

METHOD

  1. Heat phases A and B in separate containers over a hot water bath until fully melted (about 70 C)

  2. As soon as phase B has fully melted, remove both phases from the heat.

  3. Pour phase B into phase A in a slow steady stream while stirring continuously. Take care not to introduce air into the mixture. Your stirring tool (I use a whisk) should be in constant contact with the bottom of the container. TIP: the emulsions book lined below gives you a blow by blow the hand-stirring technique I have used for yonks (that means a long time).

  4. Continue stirring at a comfortable speed. The mixture will emulsify and thicken as it cools.

  5. At 40 C, add phase C ingredients and stir to incorporate fully.

  6. Check pH and adjust if necessary. (You may also want to check pH before adding phase C ingredients if you are using any extracts/preservative with specific pH requirements)

  7. Transfer to jars

  8. Pat yourself on the back for making all-natural fabulousness.

Extracts

The pictured batch has 1.5% raspberry extract, 0.5% Algica (in gel form), and 1% additional raspberry glycerite.

Preservative

For this batch, I used 1.0% Spectrastat (from Inolex). If the preservative you use calls for a different dosage, adjust the amount of water accordingly.

Glycerite

I used a self-preserving fresh raspberry glycerite in the pictured batch, but you could also make a strawberry (or other fruit) glycerite and change the whole scent profile. You can even replace the glycerite with glycerine, but obviously, your cream won’t have the fragrance or popping color from the glycerite. There’s a link below to my glycerites book if you want to see more.

Oil

Use any red oil you like (consider buruti, unrefined palm oil, etc). If you use a different fruit glycerite, choose an oil with a color that will complement your glycerite.

Here is the cream after 3 months. The color has faded some, but then, it is packaged in a clear container and has been exposed to daylight since making, so this isn’t too bad as color fading goes.

Here is the cream after 3 months. The color has faded some, but then, it is packaged in a clear container and has been exposed to daylight since making, so this isn’t too bad as color fading goes.

If you don’t already make your own glycerites and want to get busy, the book below will show you how.

The cream in this post is stirred by hand. The book below shows you my hand-stirring technique (and also has a selection of formulas you may want to make too.

A Tablespoon of Beeswax

Lise

tblspofbeeswax.jpg

Every time I see a cosmetic how-to that calls for tablespoons and teaspoons, I cringe (a lot) and cry (a little), then hope the person following this kind of inaccurate instruction finds their way to a better source of information before they give up on making cosmetics due to a string of failed batches.

Because a good part of the time, an inconsistent and unsatisfactory outcome is exactly what they will experience.

The Biggest Beginner Mistake of Making Cosmetics

The number one mistake made by cosmetics making newbies is measuring ingredients by volume.

TIP: An indicator that you may well be following unprofessional instruction is if the ingredients list calls for teaspoons, cups, and tablespoons.

Let’s take a look at why this is a recipe for failure. (pun totally intended).

Say you’re following an instruction that calls for ‘a tablespoon of beeswax’.

You pull out your beeswax. Perhaps you are using unbleached pellets, or maybe you have bleached beeswax beads, or perhaps your beeswax is in sheets. You might even have a block of beeswax.

How do you measure a tablespoon of beeswax?

And does a tablespoon mean a ‘level’ tablespoon? Maybe it means a ‘heaping’ tablespoon? In a cooking recipe, this kind of thing might not matter too much, but in a cosmetic formula, it can (and will) make the difference between a successful or failed batch.

If you’re making a lotion bar and measure everything by volume, the bar might end up so soft it doesn’t hold its shape, or it could be so hard it is unpleasant and difficult to apply.

Measuring by volume is fine for cooking, but simply not accurate enough for cosmetics.

Cosmetics Making Rule Number One

In lesson 1 of the Essential Formulation course at Tisserand Institute, one of the first things participants hear from me is: “Get yourself an accurate scale because cosmetics ingredients are always measured by weight”.

This isn’t something I invented. It is standard procedure for making cosmetics - whether you are working in your own kitchen, in a development lab, or at a production facility.

After taking the picture you see above, I weighed these tablespoons of beeswax. Here are the results.

  • Bleached beads 8.3 g / 0.29 oz

  • Yellow pellets 6.6 g / 0.23 oz

  • Sheet 3.5 g / 0.12 oz

Quite a difference there, don’t you agree? Imagine the different outcomes you would have experienced in your lotion bar depending on which beeswax you had used.

As for measuring a tablespoon from the block of beeswax: this could have been approached several ways: shaving off bits, cutting off bits, or melting and pouring up. Each of these methods would have given different results.

The moral of this story: well, heck, you’ve guessed that by now, haven’t you?

PS: My talented formulating friend Marie Rayma of Humblebee & Me does an excellent demonstration of how inaccurate measuring (flakes of) beeswax by the tablespoon is in her latest YouTube presentation. (The beeswax measuring starts at 4:26).

Do Tell

How do your measure your cosmetics ingredients? Have you ditched the cups and spoons and fallen in love with your scale yet?

TIP: This book shows you how to work with percentages, calculate your batches and measure by weight.

How to: Carrot and Celery Cuticle Serum

Lise

Not long ago, I came across an interesting bit of information about celery seed oil. It would seem celery seed oil is good for helping cuticles, nails, and ridges in nails.

I have had ridgy nails for as long as I can remember. In my youth, there used to be special ‘nail ridge removing files’ available, so I’m guessing ridgy nails is more common than not.

Read More