Contact LisaLise

Please use the form on the right to contact LisaLise.

Majestic Court 5, St. Mary's Street
Mellieha
Malta

LisaLise offers online education of natural plant-based cosmetics via e-books and courses

LLBlogHEADER2020-3.gif

Shop Blog

A look inside the LisaLise natural cosmetics lab with free formulas, DIY how-to's, ingredients tips, sneak peeks, and more.

Filtering by Category: Oils

Are Seed Oils Dangerous? An Interview with Susan M Parker

Lise

After seeing numerous posts/comments and memes on social media warning about seed oils as health hazardous, I contacted the one person I knew would be able to set the record straight about seed oils. I am absolutely thrilled that Susan M. Parker agreed to answer my questions and be interviewed here on the blog.

Susan is author of Power of the Seed (the Bible of any cosmetic formulator interested in understanding carrier/fatty oils) and the Founder of the Lipid Oils Academy (links below). I regard her as The Lipid Trailblazer – apart from being incredibly knowledgable about all things lipid, she is an all around lovely lady.

Please join me in welcoming Susan M Parker to the blog.

Welcome to the blog, Susan! You are known as the primary source of information about vegetable and plant oils in the beauty industry (and probably beyond). How did you learn about the properties of carrier oils?

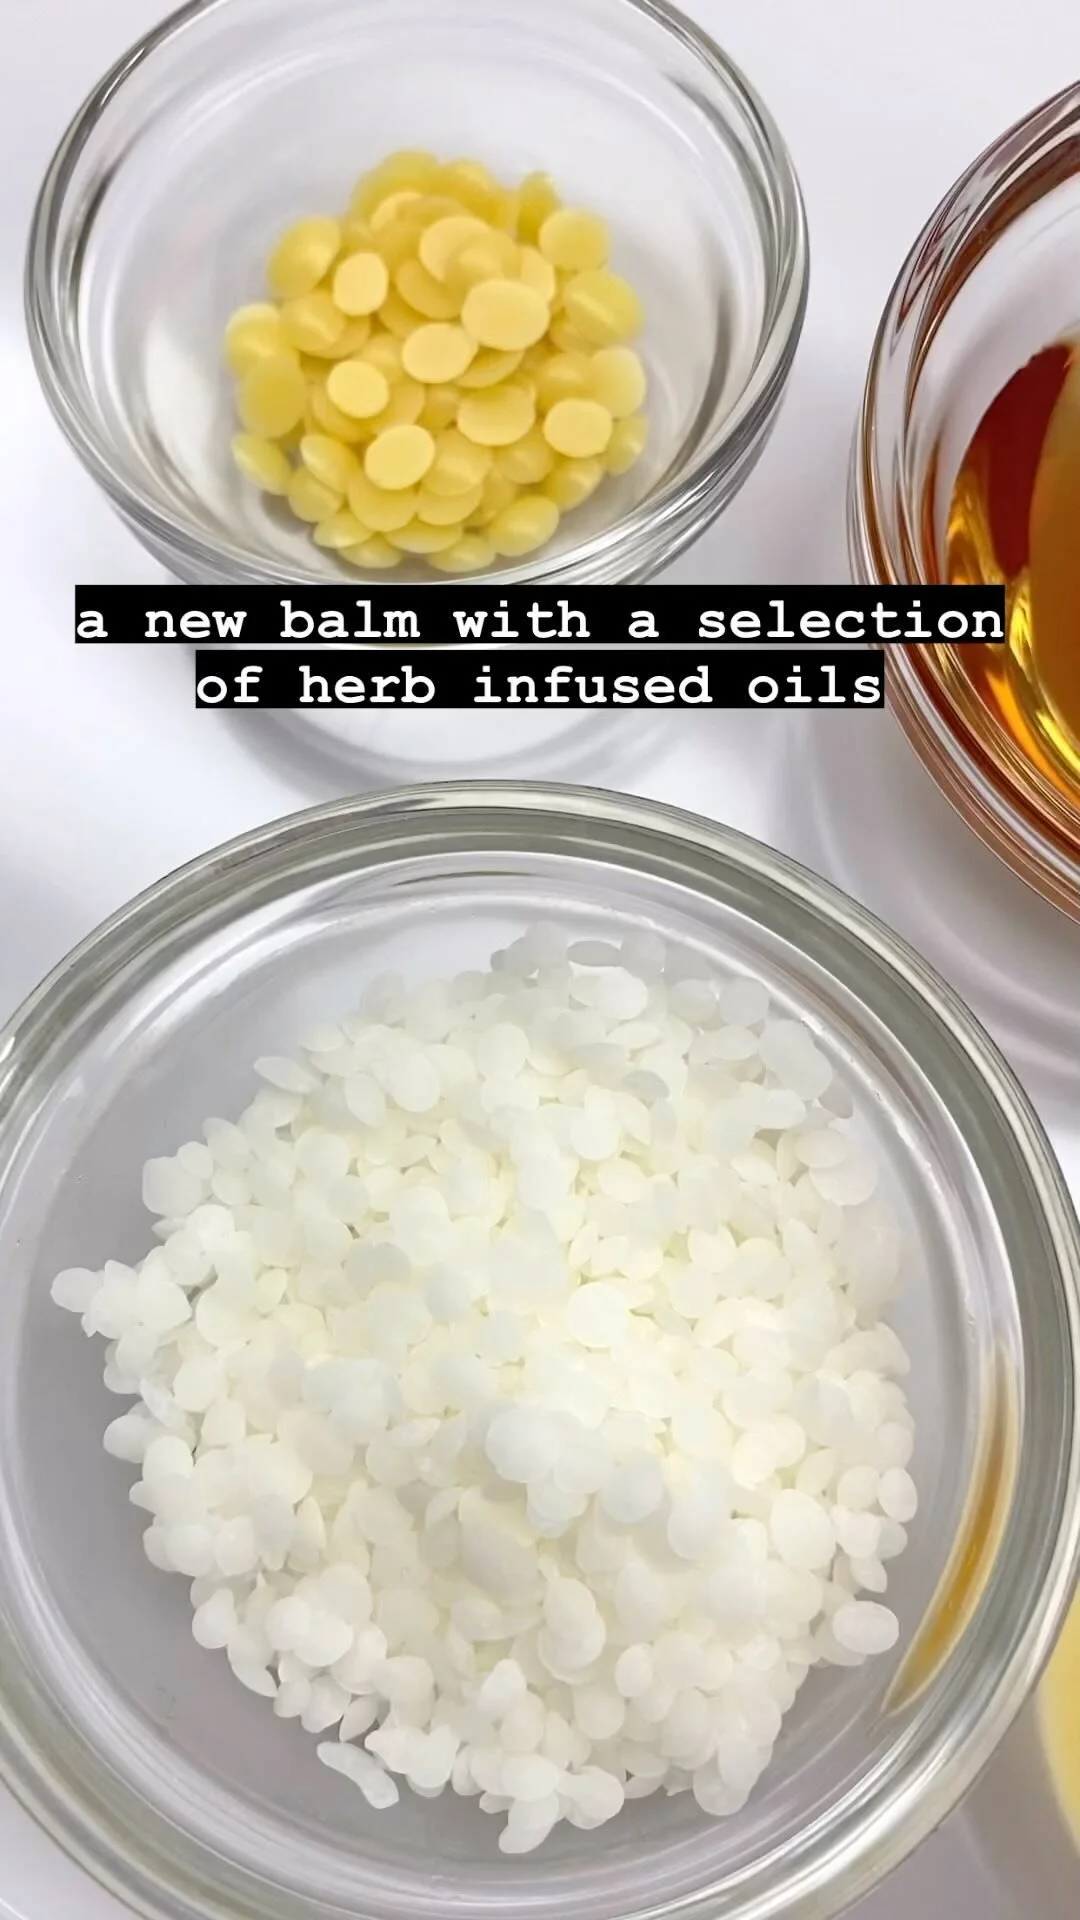
It is funny that I am known as the primary source! I only arrived at this point as I needed help finding enough information on the oils that made sense to me. I started an herbal products business after my herbal apprenticeship, where making herbal infused oils was magical.

Herbal infusions led to balms and salves, soap, then I branched out into facial care - and I kept pottering away and bought books on essential oils and herbalism but there were no books or websites to understand the carrier-type oils.

I had a chemist friend who gave me some pointers about fatty acids in making soap, which led to a self-published booklet that was the infancy of Power of the seed. This was in 2000 and 2001. The title only came later from my publisher when the "real" book was in the works in 2014.

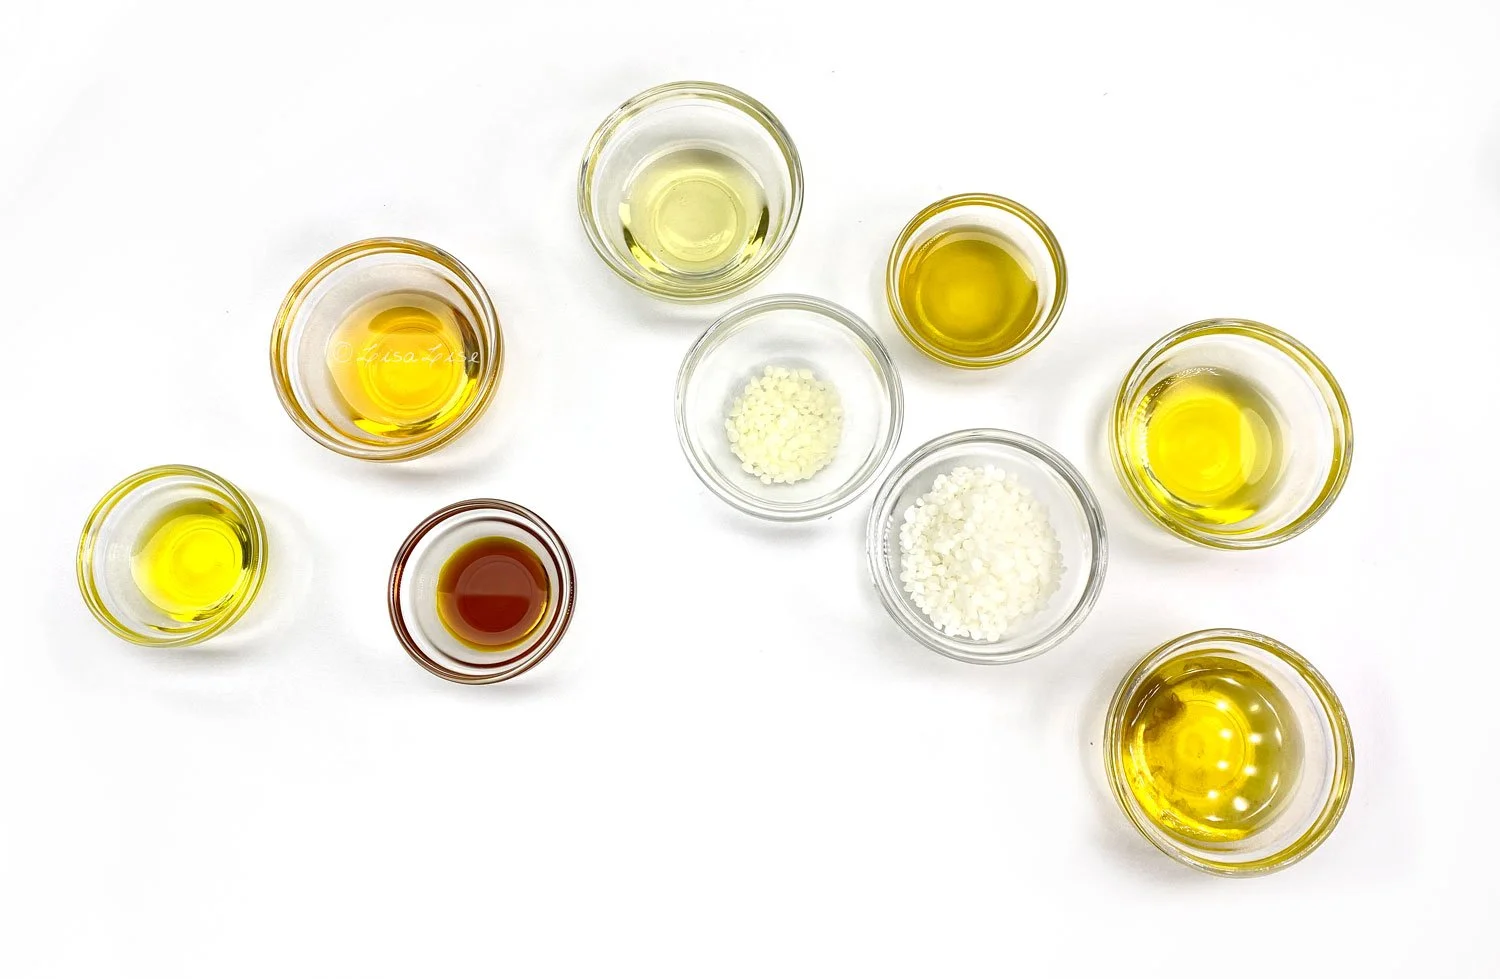
When I got the go-ahead for the book proper, I dove in to try as many oils as I could - this was where I discovered that applying oils to wet skin in the shower or bath could tell you a whole lot about the nature of the oil. I still recommend this to my students to learn about the oils intimately on the skin. Not just by fatty acid pie charts.

So the book came out in 2015, which was a long time ago. Once I started working with Olivia to put courses online, the research kept expanding. And every time I rewrote the Lipids Decoded course, I learned more and wanted to include it, so my knowledge base kept growing too.

And I have just rewritten the course and reformatted it again 2022. Believe it or not, new information about oils - primarily within botanical families - appeared, so I got all excited again. The botanical families of lipid oils are fascinating because big themes jump out when you put oils from a family group together with pie charts and color photos.

Like in the Rose family - almond, apricot, apple, pear, raspberry, rose hip - a few of the 14 oils fall within four different fatty acid groups! Trees and shrubs are different growing shapes, but the fatty acid groups grew from two to four over about three years as new oils appeared and staked their part of the family.

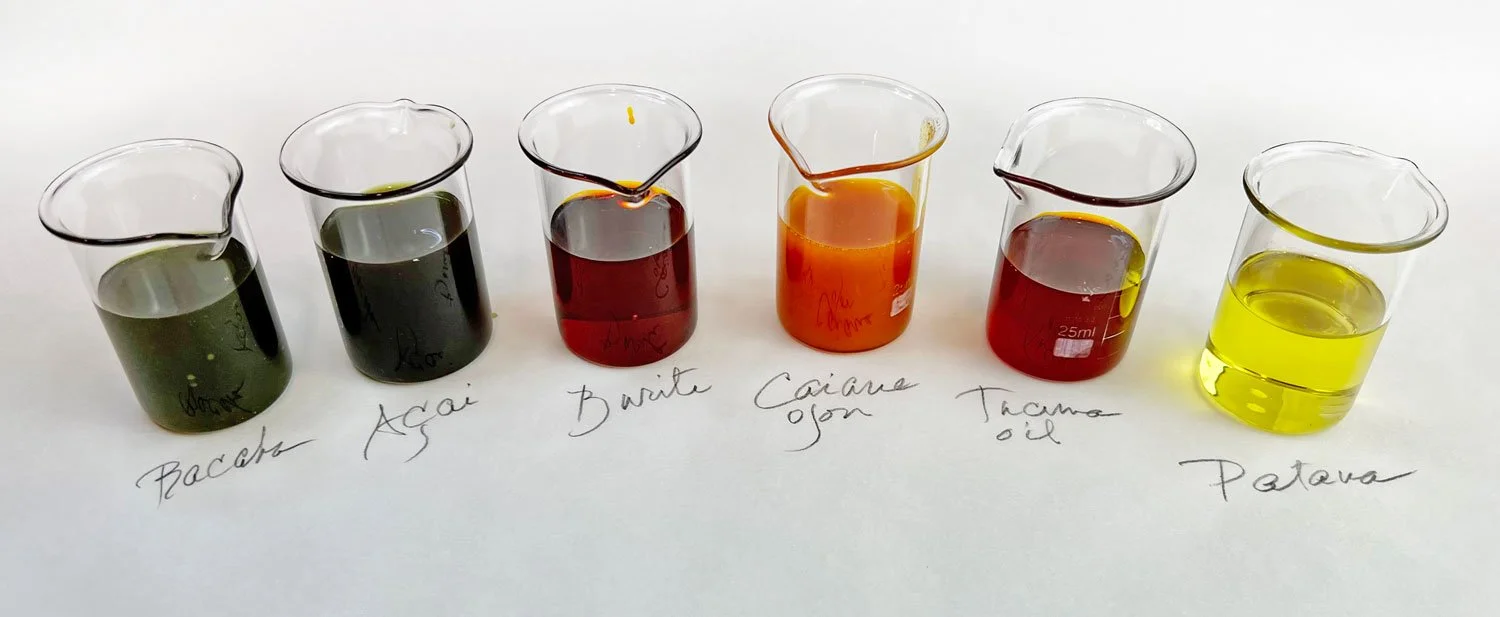
The other family that is so much fun now is the palm family - even with all the issues with using palm oil as a social problem. I have had people want to string me up if I mention "palm oil," but there are 14 of them, too, from 12 different trees, and only one is the problem because of who and how it is grown. —- But going past all that, I have recently found two distinct fatty acid profiles in the family, and each group is very different from a color point of view. One is all red and green oils, while the other is white, tan, and cream colors.

I could only have seen that by rewiring the course and laying out the material in a new way with new photos. I have an art background so laying out the courses helps that part of my brain. I have no real science except what a few friends have helped me with, so it is kind of crazy that I am the primary source, as you say. I get interested and dive down rabbit holes, and that is where the discovery happens.

Whew!

Is there a difference between oils produced for skincare and for consumption? If so, what should people be aware of?

The oils for skin care and eating are pretty much the same, but there are things to watch out for - not that there is any harm, but most cooking oils are more highly refined than those for natural skin care. That said, I am seeing more natural unrefined cooking oils - avocado is one. Big bottles for cooking are usually mostly clear with little color, so refined, but I do have a few that are very green and unrefined - so lots of unsaponifiable goodies in them.

The other thing to watch out for is toasted oils - sesame oil is the one most people encounter, but lots of oils are toasted for flavor, which is just too strong a scent for most skin care. Not harmful, but strongly scented of dinner might differ from what formulators are looking for.

There are currently many rumors circulating about 'seed oils’ being bad for your health. Could you shed some light on this?

Yes, the rumors circulating are about PUFA (PolyUnsaturated Fatty Acid), seed oils, omega-6. People are completely misreading the nature of these oils.

And there is an issue with internal consumption versus topical application on the skin.

Internally, omega-6 oils are mostly from seeds, and omega-6 is a polyunsaturated fatty acid (PUFA), so they are the same thing. This is linoleic acid, and it is one of two essential fatty acids. Both of these fatty acids need to be consumed in relative proportion because they work in tandem with the body. Omega-6 linoleic acid promotes inflammation that we need to heal when we are sick or injured. Omega 3- its counterpart, a-Linolenic acid, checks that inflammation keeps the body in balance.

Most of our modern diets skew towards omega-6 rather than omega-3 because of food processing and agriculture because omega-3 fatty acids are more highly susceptible to oxidation than omega-6. Common ratios of O-6 to O-3 are 30 or more to 1. To be in balance, it should be more like 3 or 4 to 1.

So needing to understand the dual nature of both EFA essential fatty acids in the problem - not omega-6.

And don't get me started on "seed oils" are bad for you - All plant oils are from some sort of seed, and we call them kernels, grains, beans, or pulps, but they are still the reproductive part of the plant - the seed.

So what is it that people are misunderstanding about seed oils? How could they possibly be bad for health?

The seed oils reference the omega-6 or PUFA oils - they all fall into the same group - usually high in polyunsaturated linoleic acid. And these oils can also be commodity oils - soybean, sunflower, cotton seed, and others, and the argument is that they are "full of toxic" compounds. This is a valid point if not grown using organic practices and use a lot of synthetic fertilizers and pesticides. But there are many wholesome oils to use, olive, coconut, avocado, ghee, peanut, and even red palm, where you get the benefit of a strong dose of carotenoids which are pro-vitamin A.

The quality of the oils does matter. And who is growing and processing it matters a lot. So these commodity oils can be of lesser quality. Still, then if, in addition, the omega-6 fatty acids are consumed in too great a ratio to the omega-3 I mentioned above, we get out of balance, and then our health can be pro-inflammatory rather than in balance. These oils are often made into margarine and shortening to extend their shelf life, but these are very bad for our health as recent studies show.

But when they use the term seed, they don't realize that all oils are from some aspect of seeds. Olives are seeds; we just don't call them that, avocados too, and all the rest.

I hope this will allay fears!

What about rancidity? There seems to be discussion about the dangers of oxidated oils as well.

Some people are afraid that oils applied in the morning will go rancid by tea time! This isn’t true unless you live in a hot oven, in which case we wouldn't make it to tea time!

It takes several hours at 110℃, which is 230℉, for rosehip seed oil to oxidize. For apricot and avocado, it takes 10 hours at those temperatures, so the idea that oils can go rancid in a day is not reasonable.

People hear "rancid" and "oxidize" and figure it happens fast, and they get scared without thinking about the process.

Thank you Susan for giving us your insight into the world of lipid oils!

Applying oils to wet skin in the shower or bath can tell you a whole lot about the nature of an oil. I recommend this to all my students to learn about the oil intimately on the skin and not just by reading fatty acid pie charts.
— Susan M Parker

Testing an Ingredient Blend

Lise

This little bottle doesn’t look like much, but the contents is about effect more than anything else. As you may guess from the name on the label, this has been created with feet in mind. To be more specific: tired and arthritic feet.

This is a mixture of macerations and essential oils with herbs/botanicals that include comfrey, daisy, black pepper, eucalyptus, meadowsweet, and wintergreen (to mention the main players).

If you are used to blending essential oils, I’m betting you can already tell this is not a deliciously intoxicating perfumed fragrance, but more of an earthy-herby medicinal type of scent - definitely not something you want to be applying on a face.

But that’s ok for this product.

When I’ve tested this to my satisfaction, these ingredients will be adjusted (if needed) and used to make a soothing balm for a special and very loyal client.

Do Tell

Do you make test blends of ingredients before committing to making a balm? Please share in a comment below.

Spicy Ointment

Lise

Here’s a peek at the ingredients of an ointment I put together not long ago. The inspiration came from fire cider.

If you are not familiar with fire cider, I can reveal it is a spicy, strong, multifunctional immune boosting cocktail of herbs in a vinegar base. If you want to make your own (it’s super easy!), please visit this page for more information.

Fire cider is a great tonic to have at hand and can be used in any number of delicious ways. (It is the only vinegar I use in my salad dressings now).

So how did fire cider inspire me to make a spicy ointment? Blame my feet. A ‘warming, pain-relieving, soothing, spicy ointment’ was something my feet decided I should try, so I did.

Pictured above: several handcrafted macerations with spices and oils. To mention just a few of the spices included: ginger, cloves, black pepper, nigella seed, coriander seed, fennel, chili, turmeric, and cinnamon. How do all these combine? To my delight, beautifully! The fragrance of the final product even has full husband approval.

Although the result is a fabulous foot-friendly ointment that does everything I hoped it would do, it comes with requirements. I learned (the hard way) that it is imperative to wash hands thoroughly immediately after applying. Do not even think about rubbing anything even remotely close to your eyes. Do not consider applying to lips (too late — I did and it took about a nanosecond before I was removing it again).

Do Tell

Have you ever made a spicy ointment? Which spices did you use?

The book below shows you how to make several spicy lip balms with your own spice-infused oils.

Rich Rose Cleanser

Lise

richrosecleanser-1500.jpg

I seem to have a thing for developing cleansers. There’s something about the ritual of cleansing the face that makes me feel luxuriously pampered - whether it’s a morning or evening cleanse.

Above is an experiment that includes a medley of rose ingredients: rose powder, rose essential oil and rose-infused oil. To round out the rosiness, I also added rose clay (which does not include rose but gets its name from the color). I probably don’t need to describe the fragrance for you, but if you are a fan of all natural rose, then I’m pretty sure you’d love this.

This is an anhydrous product that rinses away without leaving the skin dry. And even though it ‘lives’ in my bathroom and is – in effect – exposed to moisture to some degree, I have not included a preservative. The packaging is carefully selected to ensure the product is squeezed out and not dipped into.

Do Tell

Do you take packaging into consideration when you formulate preservative free products? Please share in a comment below.

GelsCourse-banner-880.jpg

Psst! Enrollment for this course closes on August 22nd and classes start on August 24.

Will you be joining me at Tisserand Institute? Click the button below to learn more and to sign up

Solid Oil Cleansing Balls

Lise

blue-ball-art-1500.jpg

Pictured: a formulation idea in progress. This is ‘a kind of take’ on an oil cleanser that is preservative free, effective, easy to make, and easy to use. It can also be customized dozens of ways with almost any botanical you fancy, but before I start ‘selling’ it too much, there’s still some testing to be done.

The little bowl of water is to show you what the water looks like after you have used ‘a blue one’. That stunning deep blue is all natural and from blue spirulina.

I’ve also made batches with wheatgrass, coconut, and banana and have a few fruity ideas in the making as well.

My favorite thing about this concept is how wonderful it makes the skin feel. I’ve always liked the idea of oil cleansers, but somehow they can seem too fiddly to use. These little handy dandy spheres are not fiddly at all and even make the water look at pretty too.

More to come!

Do Tell

Do you get ideas for products that you simply have to make and test or you will get no rest? Please share in a comment below.


Below is a peek at some of the products we'll be making in the brand new course at Tisserand Institute Essential Gels and Serums. Are you signed up yet? Don’t wait too long because classes start on August 24. Click here (or the picture below) to learn more.

How to Make Lotion Bars

Lise

lotionbarsetup2021-1500.jpg

Has it been a while since we've done a how-to around here?

Yes!

Shall we make something quick and easy that won't break the budget?

Yes!

How about a soothing, moisturizing lotion bar?

Yay!

Why Lotion Bars?

Lotion bars are often described as 'solid lotion'. They are easy to use; simply rub the bar between hands. The bar will soften slightly and start to melt. The softened mixture is then applied to arms, legs, feet, hands - anywhere you need a moisture boost.

The multi-functionality of a lotion bar makes it great for all climates, seasons, places, and purposes. A lotion bar is long-lasting, compact, and water-free – perfect for popping into your purse or baggage.

Lotion Bar Basic Guideline

This basic guideline will give you a range of textures (depending on the climate you live in and time of year it is).

LisaLise's Lotion Bar Ingredient Guideline

Ingredient Percent
Oils 30 - 45
Waxes 20 - 25
Butters 30 - 40
Antioxidant 0.5 - 1.0

NOTE: It is important that your total adds up to 100%.

For an all-round solid texture that doesn’t feel too draggy, you might start with a formula that looks something like this:

LisaLise’s All-Round Lotion Bar

Ingredient Percent
Oils of choice 41.0
Beeswax 23.0
Shea Butter 18.0
Mango Butter 17.0
Vitamin E Antioxidant 1.0

Method

  1. Weigh ingredients and add oils and wax to beaker or other heatproof container

  2. Melt waxes and oils slowly over low heat until thoroughly melted (water bath is ideal)

  3. Remove from heat, add butters (which are at room temperature and have been cut into small uniform pieces so they melt evenly) and stir until fully melted

  4. Add antioxidant

  5. Continue stirring until the mixture turns opaque and starts to thicken.

  6. Pour into molds and let set in a refrigerator for about 30 - 60 minutes (or until fully set)

  7. Unmold and enjoy!

Tip: Experiment with different ingredient combinations and make very small batches at a time. Remember to keep notes so you can recreate your successes.

Extra Tip: Do NOT measure cosmetics ingredients by volume. A 'teaspoon' of wax is not an accurate measurement. Measuring by weight is the only way to be sure of exactly how much of each ingredient is in your product.

Get Creative

Lotion bars can be fancied up or simplified to your hearts (and skins) desire.

For the bars pictured above, I used a very simple combination of beeswax, coffee-infused jojoba, and shea butter with e-vitamin as my chosen antioxidant.

Note that butters have different hardnesses. Feel free to mix the butters you prefer. Harder butters will give you a more solid bar, softer butters will (obviously) result in a softer bar.

You can substitute beeswax with rice bran wax, berry wax, or any other skin-friendly wax. Using other waxes is going to require a bit of experimentation to get the consistency to your desire. With vegan waxes, I find a combination usually works best.

The oil doesn’t have to be one oil - it can be a blend of different oils.

Tip: if you are using heat-sensitive oils, do not heat them, but add them as the mixture is cooling (pour in a slow steady stream while stirring constantly to avoid lumping)

Warning: If you do not keep detailed notes on your experiments and batches, this is going to happen: your very first batch will be the most perfect, luxurious lotion bar on the planet. It will make your skin sing and be pure unadulterated pleasure to use. People will flock to you asking to buy. News will spread and several major cosmetics companies will beg you to let them mass produce and sell your fabulous creation. You will then spend the next 10 years trying to recreate your formula because you were convinced you would be able to remember exactly what you did.

Don't say I didn't warn you.

Do Tell

Do you make lotion bars? What’s your favorite ingredient combination?

For more anhydrous formulas, check out the book below.

Follow me on Instagram for up to the minute peeks at what I’m working on