Contact LisaLise

Please use the form on the right to contact LisaLise.

Majestic Court 5, St. Mary's Street
Mellieha
Malta

LisaLise offers online education of natural plant-based cosmetics via e-books and courses

LLBlogHEADER2020-3.gif

Shop Blog

A look inside the LisaLise natural cosmetics lab with free formulas, DIY how-to's, ingredients tips, sneak peeks, and more.

Filtering by Category: Balms

How to Make Lotion Bars

Lise

lotionbarsetup2021-1500.jpg

Has it been a while since we've done a how-to around here?

Yes!

Shall we make something quick and easy that won't break the budget?

Yes!

How about a soothing, moisturizing lotion bar?

Yay!

Why Lotion Bars?

Lotion bars are often described as 'solid lotion'. They are easy to use; simply rub the bar between hands. The bar will soften slightly and start to melt. The softened mixture is then applied to arms, legs, feet, hands - anywhere you need a moisture boost.

The multi-functionality of a lotion bar makes it great for all climates, seasons, places, and purposes. A lotion bar is long-lasting, compact, and water-free – perfect for popping into your purse or baggage.

Lotion Bar Basic Guideline

This basic guideline will give you a range of textures (depending on the climate you live in and time of year it is).

LisaLise's Lotion Bar Ingredient Guideline

Ingredient Percent
Oils 30 - 45
Waxes 20 - 25
Butters 30 - 40
Antioxidant 0.5 - 1.0

NOTE: It is important that your total adds up to 100%.

For an all-round solid texture that doesn’t feel too draggy, you might start with a formula that looks something like this:

LisaLise’s All-Round Lotion Bar

Ingredient Percent
Oils of choice 41.0
Beeswax 23.0
Shea Butter 18.0
Mango Butter 17.0
Vitamin E Antioxidant 1.0

Method

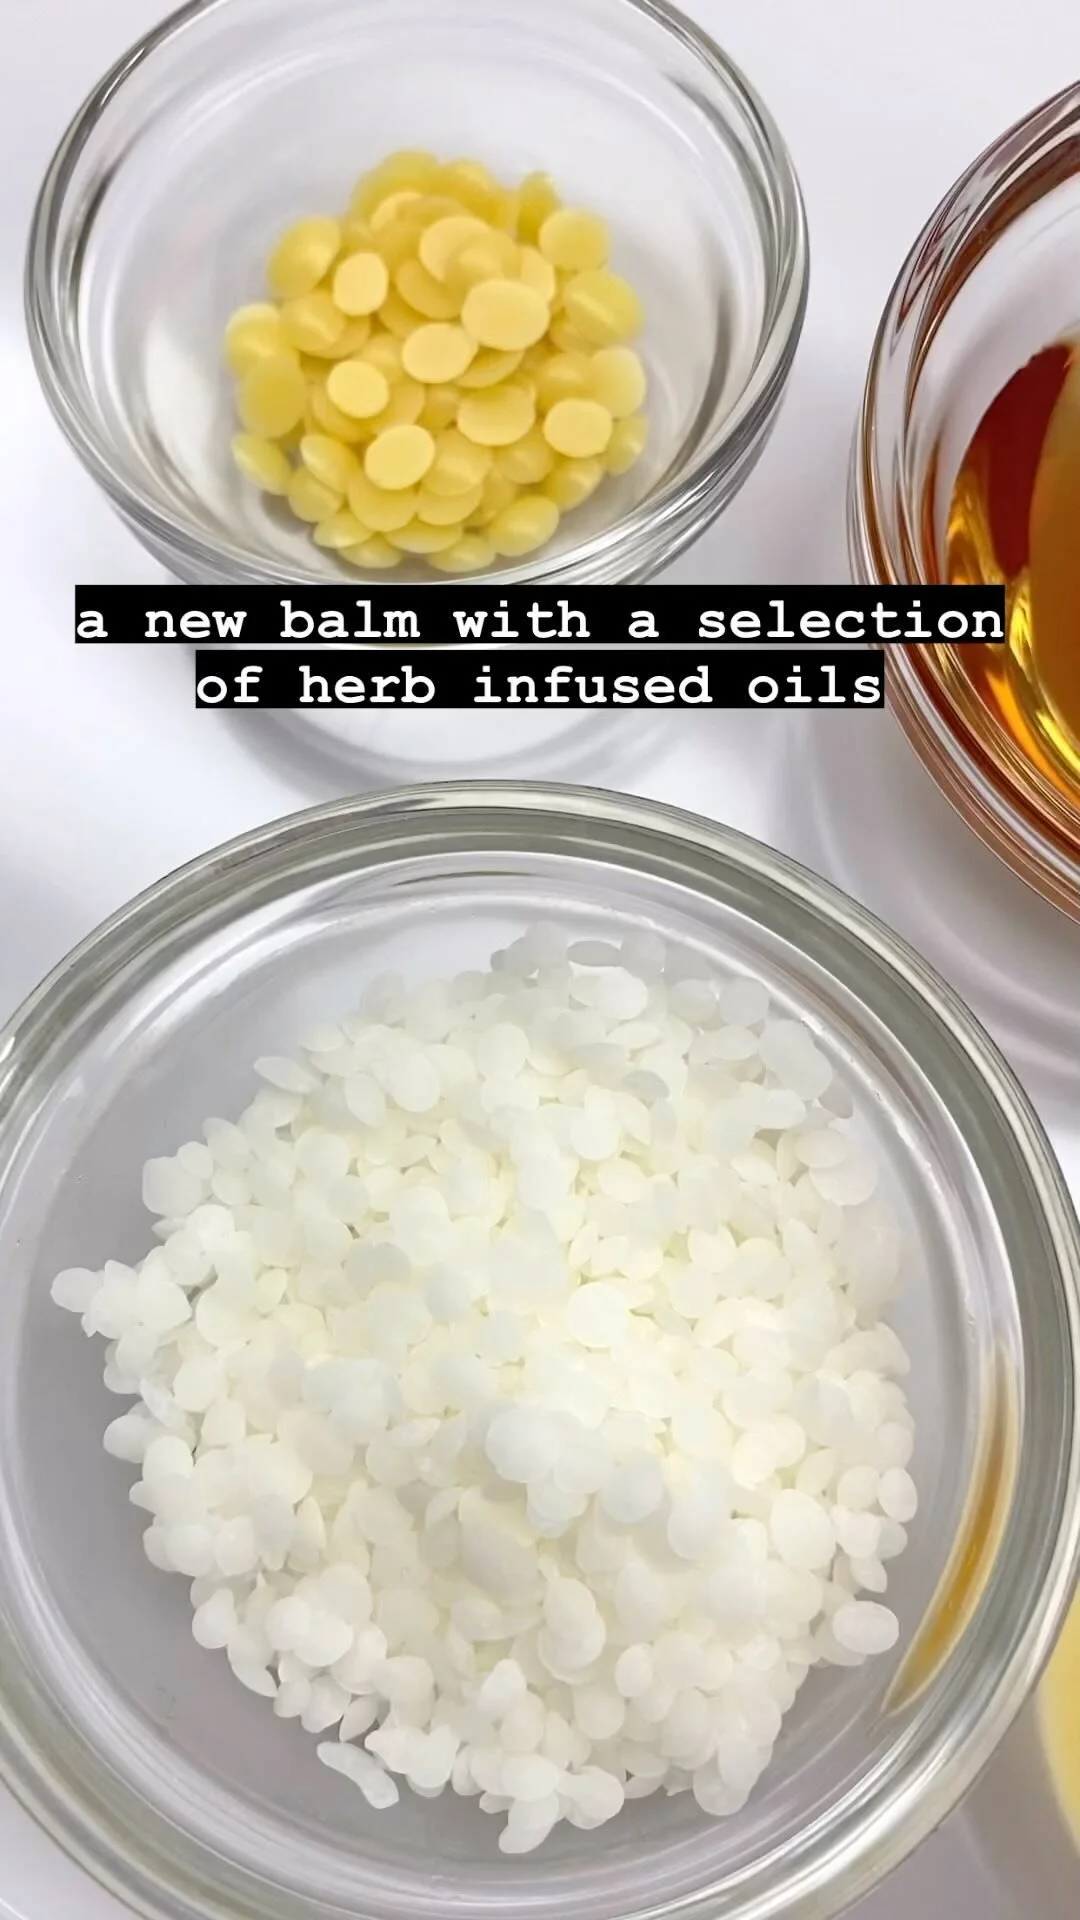
  1. Weigh ingredients and add oils and wax to beaker or other heatproof container

  2. Melt waxes and oils slowly over low heat until thoroughly melted (water bath is ideal)

  3. Remove from heat, add butters (which are at room temperature and have been cut into small uniform pieces so they melt evenly) and stir until fully melted

  4. Add antioxidant

  5. Continue stirring until the mixture turns opaque and starts to thicken.

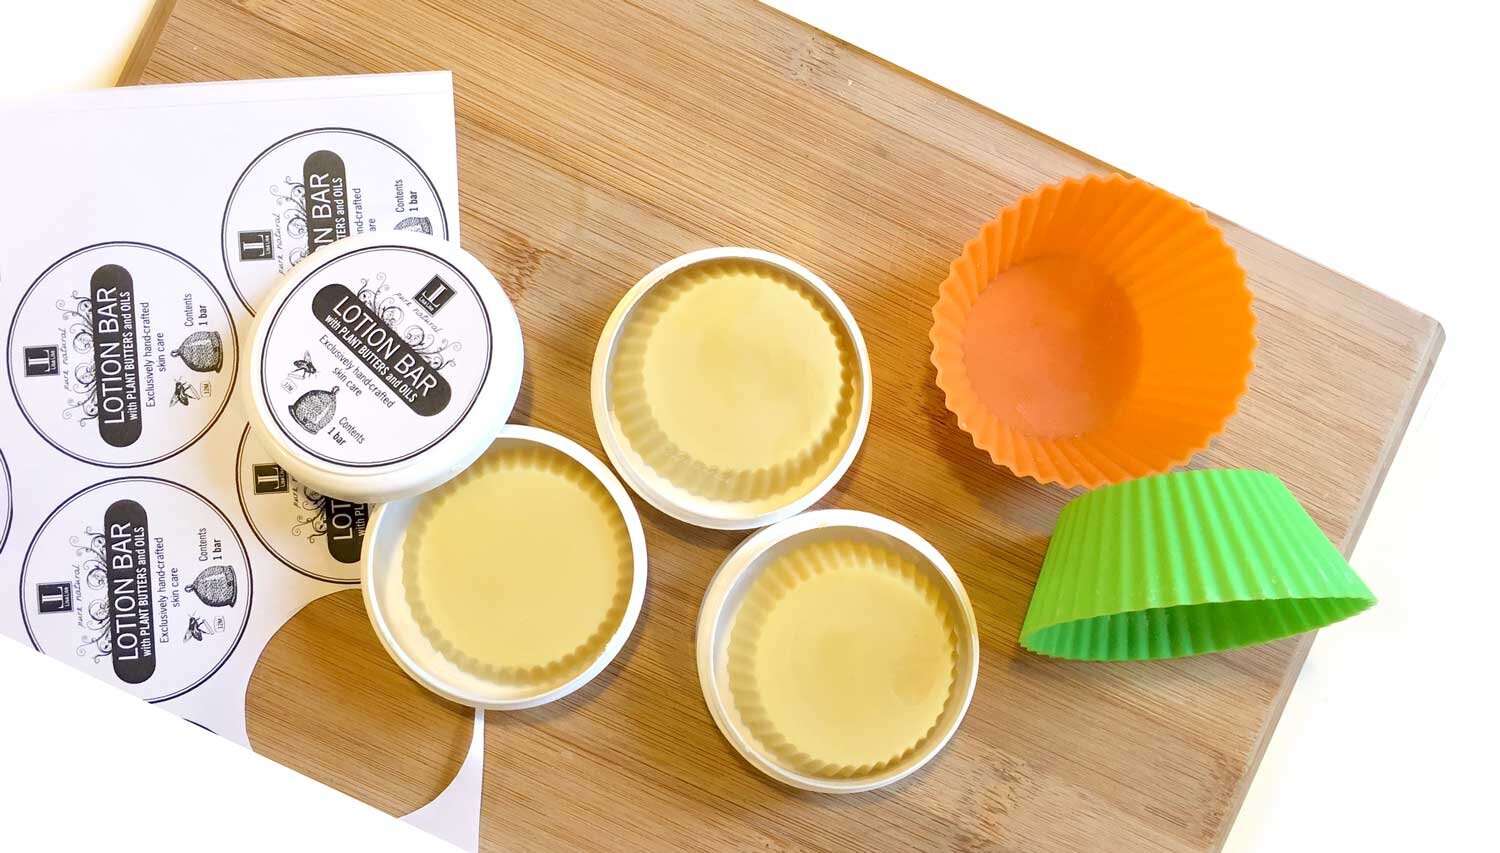
  6. Pour into molds and let set in a refrigerator for about 30 - 60 minutes (or until fully set)

  7. Unmold and enjoy!

Tip: Experiment with different ingredient combinations and make very small batches at a time. Remember to keep notes so you can recreate your successes.

Extra Tip: Do NOT measure cosmetics ingredients by volume. A 'teaspoon' of wax is not an accurate measurement. Measuring by weight is the only way to be sure of exactly how much of each ingredient is in your product.

Get Creative

Lotion bars can be fancied up or simplified to your hearts (and skins) desire.

For the bars pictured above, I used a very simple combination of beeswax, coffee-infused jojoba, and shea butter with e-vitamin as my chosen antioxidant.

Note that butters have different hardnesses. Feel free to mix the butters you prefer. Harder butters will give you a more solid bar, softer butters will (obviously) result in a softer bar.

You can substitute beeswax with rice bran wax, berry wax, or any other skin-friendly wax. Using other waxes is going to require a bit of experimentation to get the consistency to your desire. With vegan waxes, I find a combination usually works best.

The oil doesn’t have to be one oil - it can be a blend of different oils.

Tip: if you are using heat-sensitive oils, do not heat them, but add them as the mixture is cooling (pour in a slow steady stream while stirring constantly to avoid lumping)

Warning: If you do not keep detailed notes on your experiments and batches, this is going to happen: your very first batch will be the most perfect, luxurious lotion bar on the planet. It will make your skin sing and be pure unadulterated pleasure to use. People will flock to you asking to buy. News will spread and several major cosmetics companies will beg you to let them mass produce and sell your fabulous creation. You will then spend the next 10 years trying to recreate your formula because you were convinced you would be able to remember exactly what you did.

Don't say I didn't warn you.

Do Tell

Do you make lotion bars? What’s your favorite ingredient combination?

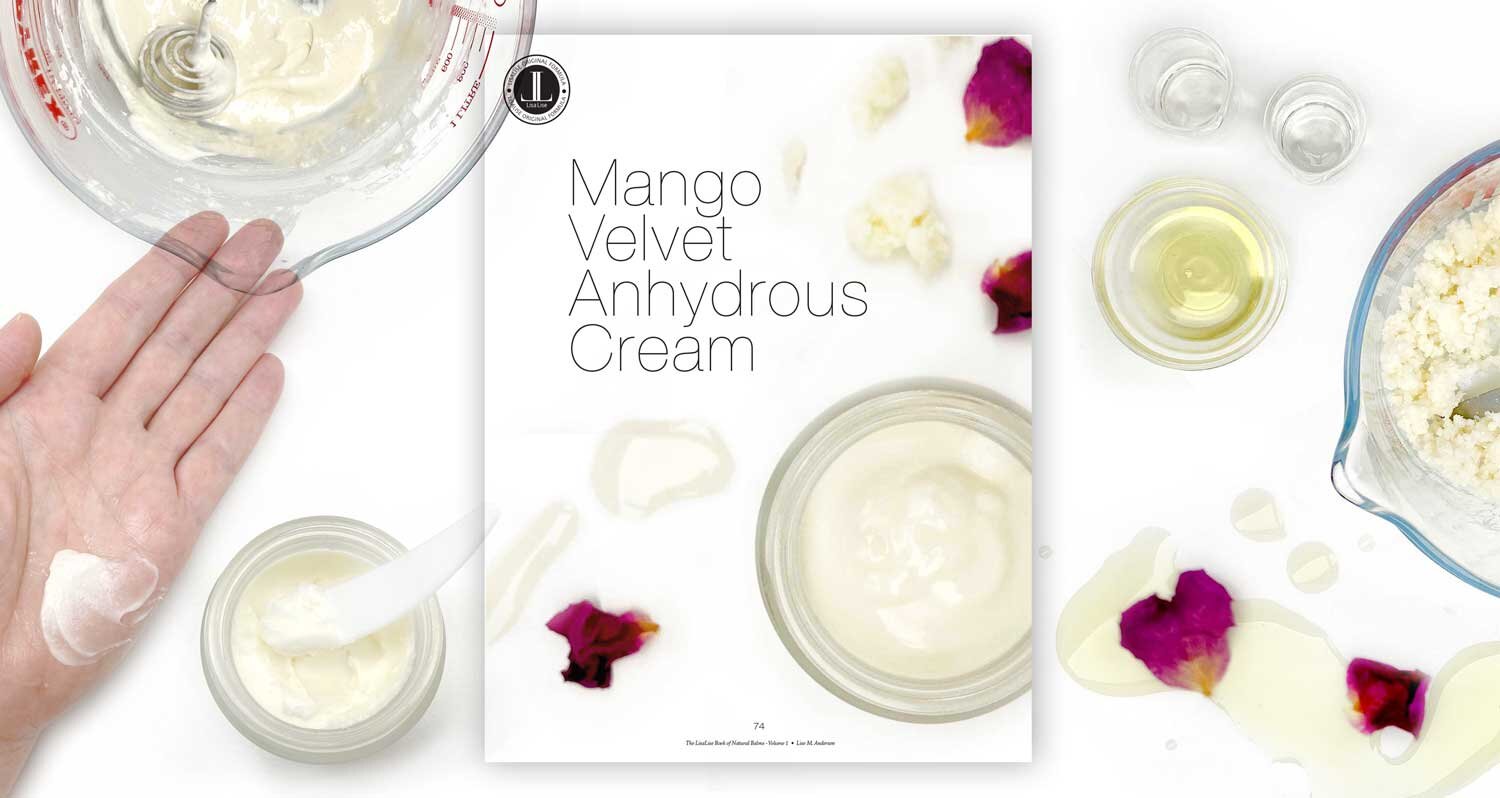
For more anhydrous formulas, check out the book below.

Follow me on Instagram for up to the minute peeks at what I’m working on

Edible Shimmer in Cosmetics

Lise

shimmeropen-1500.jpg

These colored powders are from the baking section of my local supermarket - they are all edible shimmer and are made for adding a bit of shininess to cakes, pastries, and chocolates.

The INCI on the label is non existent as these are food items. The ingredients list on them reads either E171 (Titanium dioxide) and/or E172 (Iron oxides). That’s it.

The powder is so fine, it is perfect for applying with a brush (think sparkly chocolate).

I have tried them in a few lip balms and glosses, and they do an excellent job of staying dispersed and adding a bit of soft bling to the lips. They also mix well.

Pictured above from left to right: rosa, silver, gold and bronze edible shimmer powder.

shimmerhand-1500.jpg

Here they are applied neat on my hand.

Do Tell

Have you ever tried edible shimmer in a lip gloss or balm? How did yours turn out?

PS. There’s a formula in the book below that includes edible shimmer as an option. I added gold shimmer to a chocolate face cleanser and the result was absolutely decadent. Click the pic below to learn more

Are We Going to be Formulating Together This Summer?

There’s still time to sign up for the 12 week Aromatic Formulation Program at Tisserand Institute - but hurry! Enrollment closes on May 30! Check it out now!

Infused-Oil Balm

Lise

Mixedbutterbalm2-1500.jpg

One of the best things about working with botanicals and making your own infusions is they become bespoke ingredients. In a world of cookie cutter ingredients and products, being able to combine everything into a truly unique product is something I never seem to tire of.

Pictured: one of my latest balms with a blend of different butters and handcrafted infused oils. The all natural fragrance is from the combination of ingredients.

Although this particular formula is not in my latest book (pictured below), it might just make its way to volume 2, because making balms is a bit of a passion for me.

Natural Balms - A New Publication

Lise

BALMS-Violetbutter-1500.jpg

Balms are rarely as straightforward as one might expect them to be.

Even though there’s no worry about pH, preservation, emulsion stability or any of the other fiddly challenges that come with water-containing cosmetics, getting a balm consistently right can be an absolute bucket of worms.

Confession time: it has taken me over 2 years to finish this publication.

One wouldn’t think it should take so long to write a book about making balms, but I wanted to be sure every product behaved nicely.

Consistently.

Even if there were ingredient substitutions.

BALMS-MANGOVELVET-1500.jpg

So many of you have asked (ever so nicely) and have waited (ever so patiently) for this anhydrous ‘cream’.

I am truly grateful for your patience and thrilled to say I can finally share this one with you. The formula is included in my latest publication: The LisaLise Book of Natural Balms - Volume 1.

There’s loads more about what’s in the book this if you click the picture below.

Pine Cleanser

Lise

pineconecleanser.jpg

Here’s a peek at a product I made using the infusion from this post. The little pine cone and bit of green up there is taken directly from the tree for your viewing pleasure.

This cleansing balm contains green clay and a handcrafted rosemary blossom glycerite made last year. Also added are a couple of emulsifying waxes to help this balm turn milky/lotion-like and rinse away easily.

So far I am loving the feel and how it works on my (mature, sensitive) skin. This will in all likelihood not be the last batch I make

Click the picture below to learn more about making your own glycerine extracts for your cosmetics.

Checking in on this Preservative Free Cleansing Balm

Lise

Although the shelf life of this preservative free cleansing balm is listed as 4 months in the e-book, I have been using and testing it a while longer.

It was made in Sept 2018 and has been living in my bathroom ever since. Although the balm is packaged in an air-tight PET container, has been stored at room temperature and used occasionally, I have been meticulous about keeping the contents free of moisture at all times. For the first half a year or so, I used an applicator, but then started dipping directly into the product with (dry) fingers.

Above is a little video I made of the very last bit of the jar. Time since date of production: 19 months.

While I cannot recommend letting a preservative free product stand around for quite this long - even if it is anhydrous - this little exercise demonstrates how packaging, storage conditions and how the product is dispensed can have a considerable influence on the shelf life of a product. Also, using fresh, quality ingredients and observing proper GMP is always going to be imperative to the success of a product of this type.

The formula for the Gentle Cleansing Balm is featured on page 92 of the book pictured below. If you’re a fan of chocolate-scented anything, I can recommend trying the (pictured) version with raw cocoa powder.