Contact LisaLise

Please use the form on the right to contact LisaLise.

Majestic Court 5, St. Mary's Street
Mellieha
Malta

LisaLise offers online education of natural plant-based cosmetics via e-books and courses

LLBlogHEADER2020-3.gif

Shop Blog

A look inside the LisaLise natural cosmetics lab with free formulas, DIY how-to's, ingredients tips, sneak peeks, and more.

Filtering by Category: Infusions

How to Make an Ivy Leaf Hair Cleanser

Lise

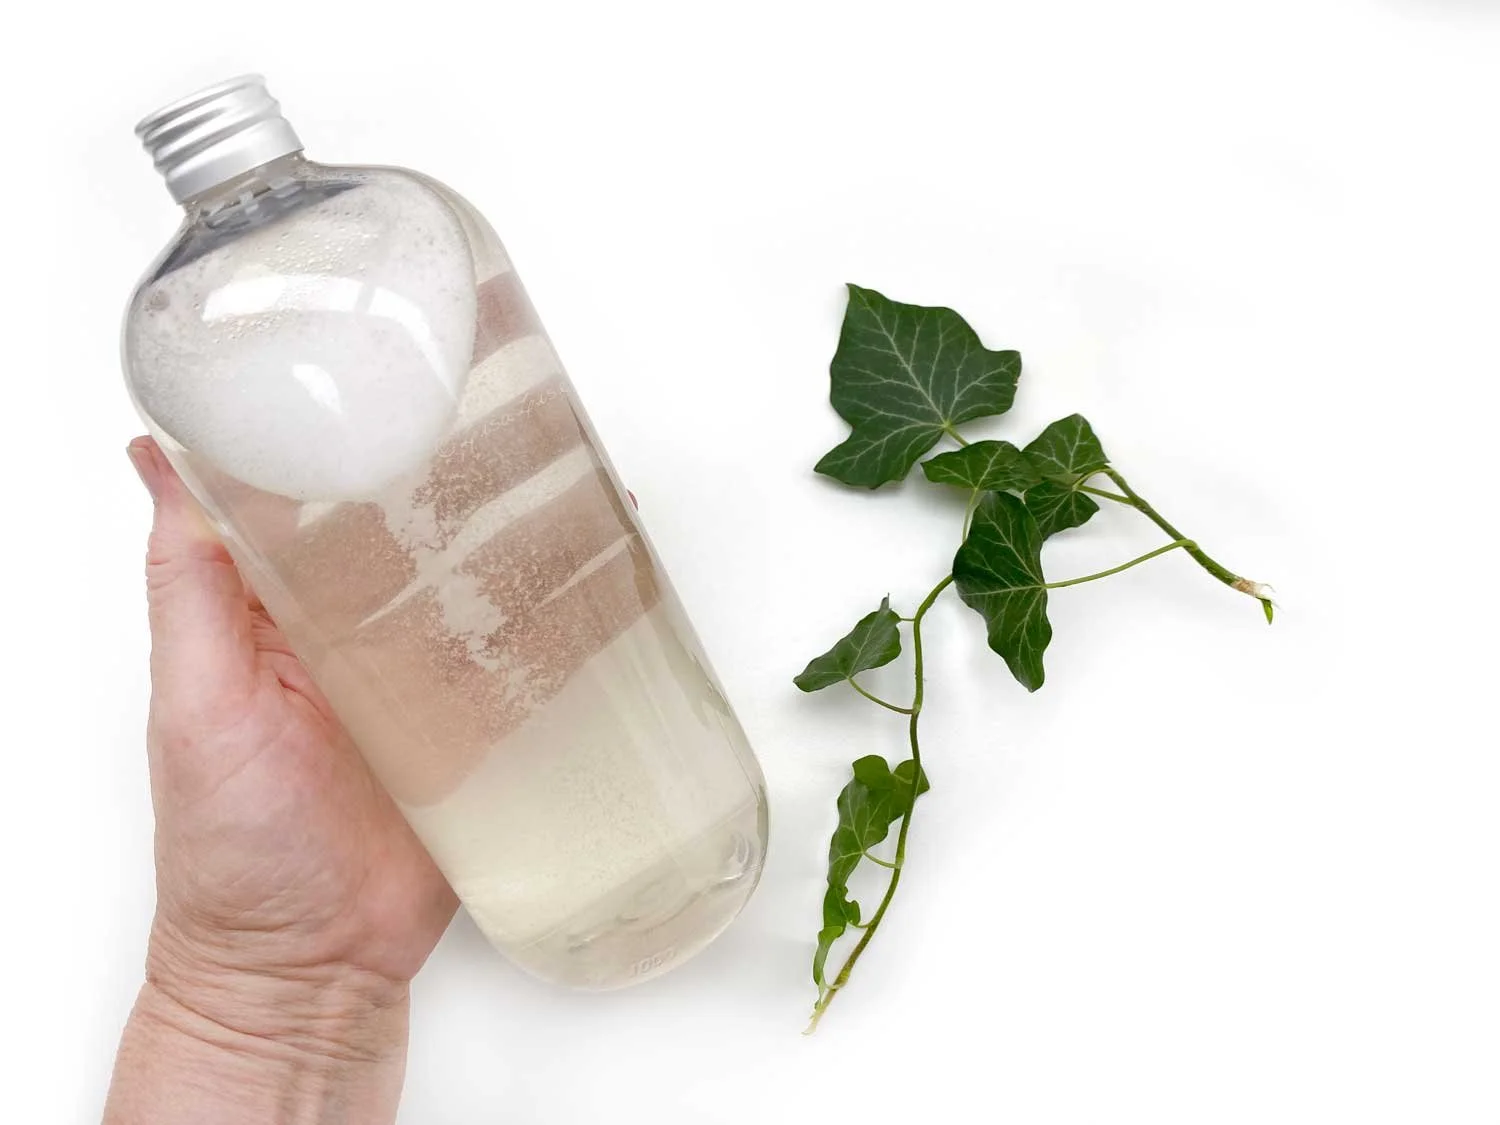
Pictured above: an all natural sudsy liquid that will cleanse your hair and scalp beautifully.

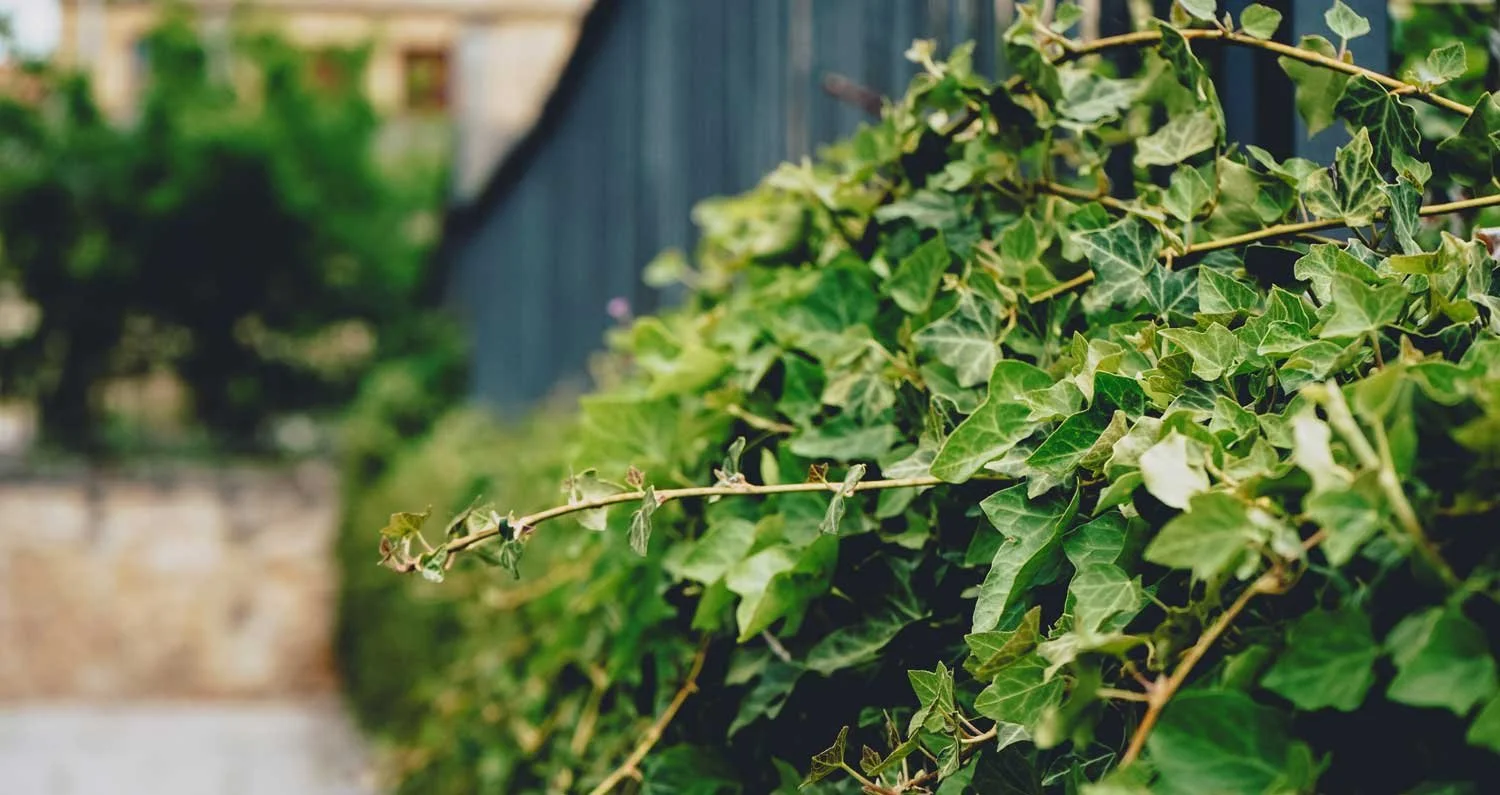
You've probably seen this plant many times and in many places: parks, gardens, fields, forests, and urban areas.

I seem to remember hearing it referred to as 'the architects comfort' somewhere. Perhaps this is because it seems to grow just about anywhere (like, up brick walls) and adds a touch of green and a cozy atmosphere wherever it grows.

While it is both decorative and hardy, Hedera helix - otherwise known as Common ivy – is also a very useful plant for cleansing due to its natural content of saponins. (The word saponin comes from Latin: sapo means soap).

Ivy leaves can be transformed into an all natural cleanser for numerous things: dishes, laundry, and even your scalp and hair.

There is a slight difference in the method for making laundry and dishwashing liquid (which is more concentrated) as compared to a scalp and hair cleanser.

Today, I'm going to show you how to make your own hair and scalp cleanser with nothing more than a few freshly picked ivy leaves and some water.

Did someone say sustainable, planet-friendly effective hair and scalp magic?

Ivy Leaf Picking Tips

  • Select leaves that are growing up (and not along the ground)

  • Select healthy looking leaves

  • If you are picking leaves from someone’s garden, remember to ask first

  • Bring a small scissors to cut the leaves instead of tearing them off

Batch Size

I usually make a liter at a time (to last about a week), but feel free to make a smaller batch (which will also allow you to leave out the preservative and use regular tap water instead of distilled water)

For a 1 liter batch, you'll need:

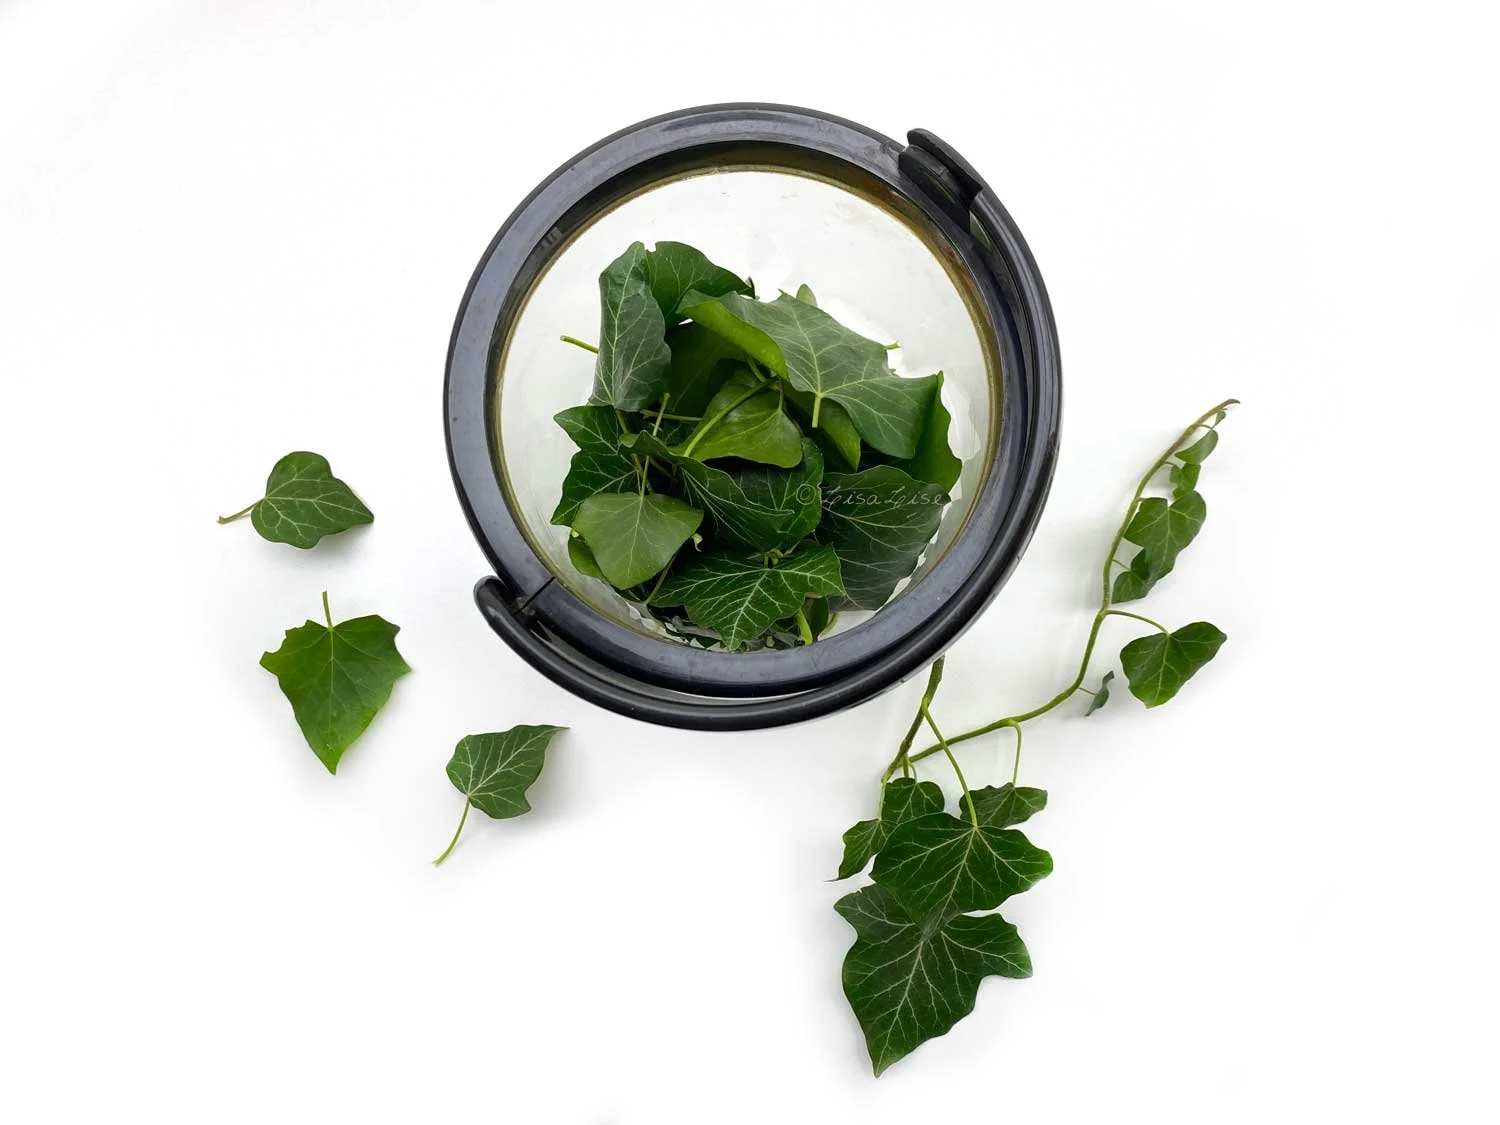
  1. Handful of fresh-picked ivy leaves (enough to fill about a third of a container that holds 1 liter)

  2. Demineralised water

  3. Broad spectrum preservative

For a use-the-same-day batch, you'll need

  1. Small handful of ivy leaves (enough to fill about half of a container that holds 200 ml / 16,7 fl oz)

  2. Tap water

Method

  1. Inspect leaves and discard any unhealthy looking specimens.

  2. Place leaves in container (do not pack them tightly, just drop the whole leaves into the container)

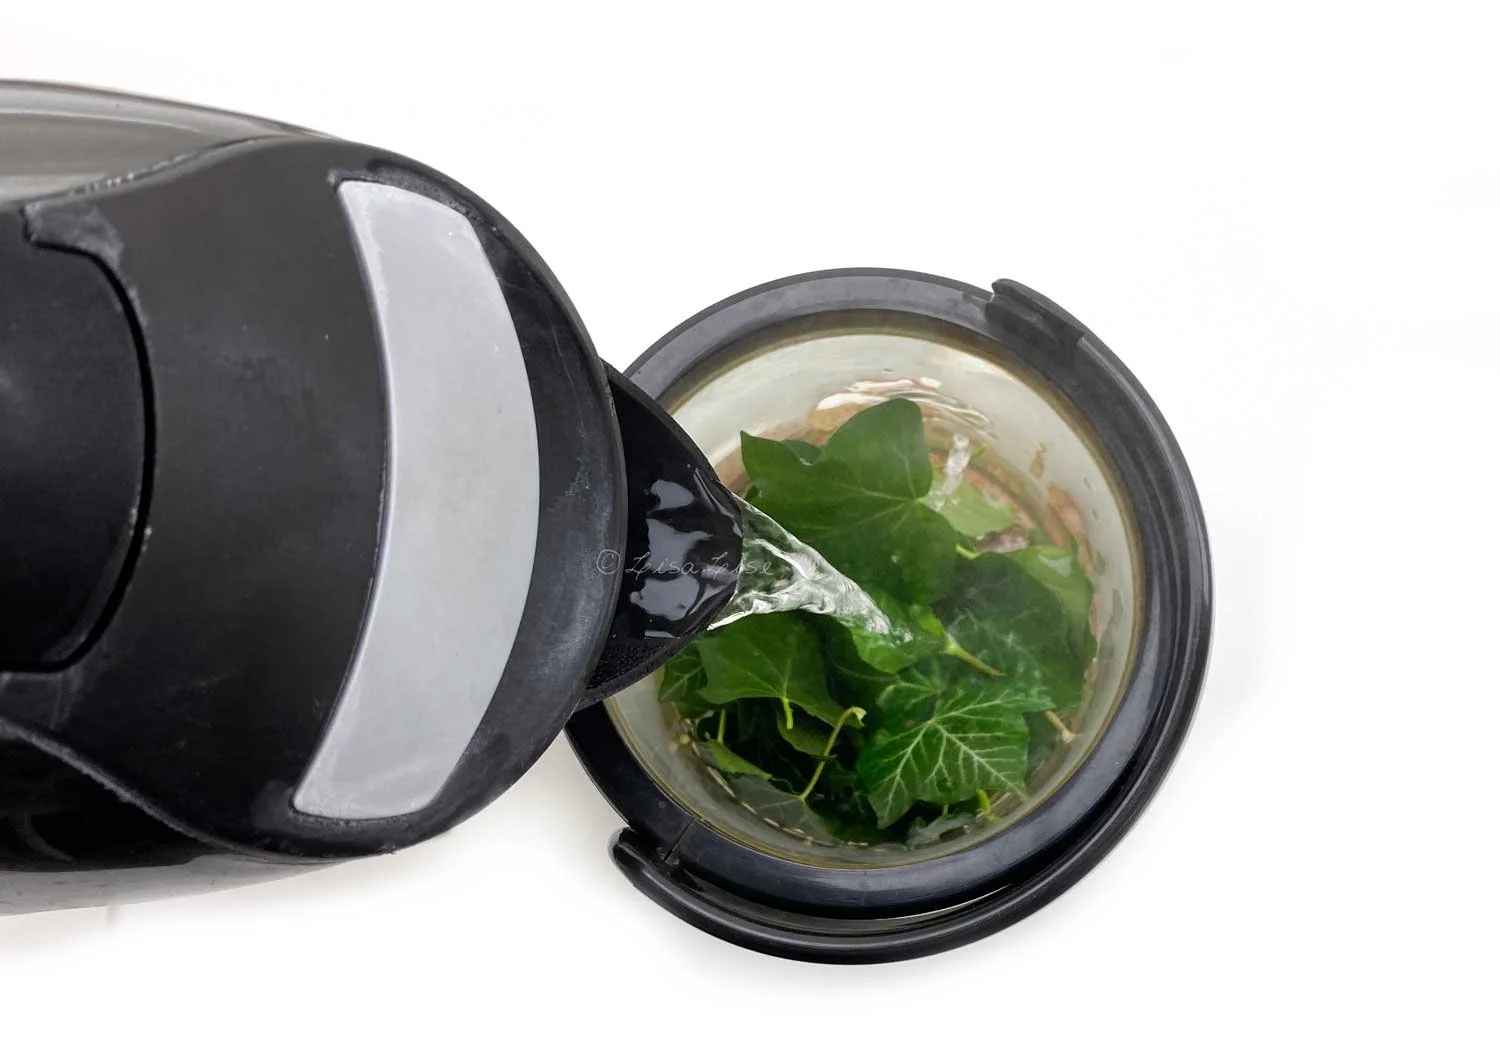
  3. Boil water

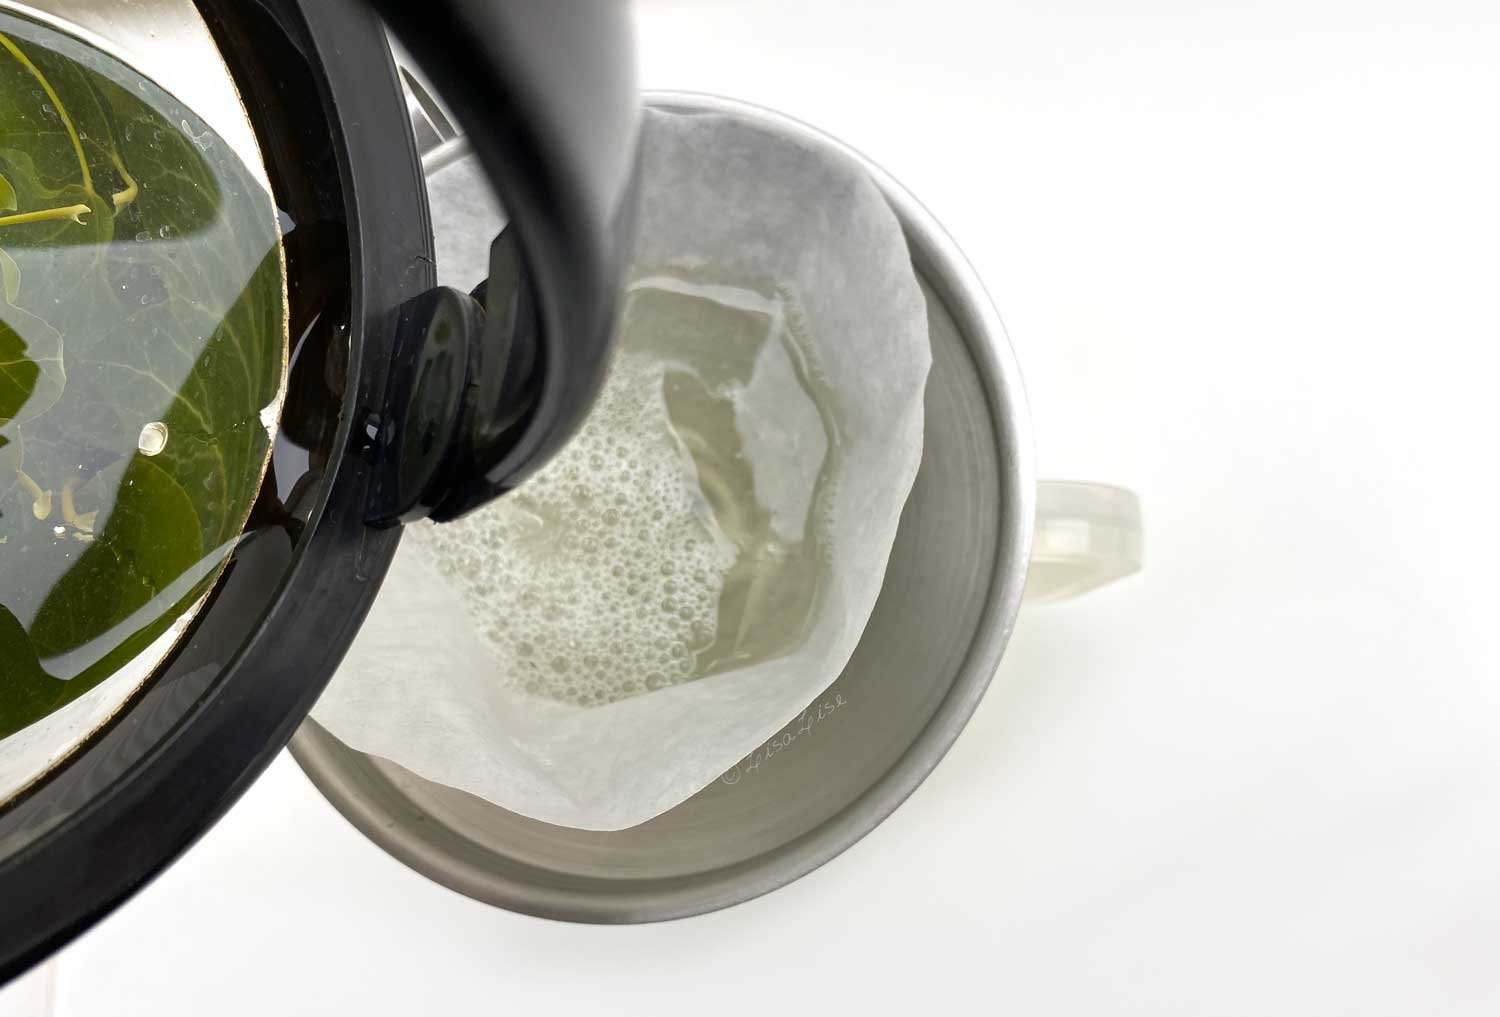
  4. Pour freshly boiled water over leaves

  5. Cover container and allow to steep until the liquid reaches room temperature

  6. Strain (and use same day if you made a single use portion). Otherwise continue with the next 6 steps below.

If you are making 1 liter:

  1. Weigh the strained liquid

  2. Weigh out appropriate amount of preservative and add to liquid.

  3. Stir to thoroughly incorporate

  4. Check pH (this infusion measured pH 6.0)

  5. Adjust pH if necessary (I generally add a splash of herb-infused vinegar to function both as pH adjuster and hair-shine booster)

  6. Bottle

I used phenonip as the preservative for this 1 liter batch.

How To Use the Ivy Leaf Hair Cleanser

  1. Enter shower

  2. Wet hair

  3. Apply about 100 ml of liquid (for short fine hair -- you may need more if your hair is longer/thicker)

  4. Massage scalp and hair lightly (as you would if you were using a shampoo).

  5. Allow the liquid to sit in hair for about 4-5 minutes (while you finish showering)

  6. Rinse hair

  7. Do a 'squeak test' on your hair. If it doesn't feel clean enough, repeat steps 2 and 3.

  8. Dry and set as usual

No Lather I Gather?

We’ve been taught for generations to equate lather with cleansing, but it is possible to cleanse thoroughly and completely without any lather or sudsing action.

This cleanser may foam up beautifully when you shake the bottle, but it goes on like water and rinses off like water.

Doing a squeak test will reveal that it really cleanses your hair. I’ve experimented a bit with how much it can handle, and can attest that this latherless cleanser even removes my pre-poo hair oil treatment with a mere 2 applications. The secret to optimal cleansing action is letting the liquid sit on the scalp for about 4-5 minutes after massaging and before rinsing off.

Enjoy!

Do Tell

If you decide to give this cleanser a try, I’d love to hear your feedback!

Find More Information

About Saponin Synthesis and Function (LINK)

Saponins and flavonoids in Ivy Leaf extracts (LINK)

Saponin content of ivy leaves (LINK)

Triterpenoid biosynthesis and engineering in plants (LINK)


If you prefer lather in your hair cleanser, then maybe the book below is for you.

Why Get Started Making Plant Extracts for Cosmetics

Lise

Learning how to make your own extracts for cosmetics is both super easy and at the same time not as easy as it might appear. The basics can quickly be outlined, but it takes dedicated practice to master.

I have been making all kinds of herbal extracts (specifically for cosmetics) for many years, but would still not call myself a master. Maybe I will in a few more years or so, but meantime, I am constantly learning and discovering new plant synergies, refining my methods and trying different raw materials.

In truth, learning how to make extracts of all kinds has proven to be as involved, multifaceted, and fascinating as learning how to formulate natural cosmetics.

All You Need is to Want To

While making extracts could be described as 'a journey with no end in sight', it really is easy to get started – it doesn't require much more than raw desire (and no special equipment is needed).

And it can't be dismissed that having the ability to compose and produce your own botanical extracts with confidence is truly empowering.

So where does one begin?

There are countless fabulous raw materials to work with - from botanicals to spices to fresh vegetables and fruits. There are numerous solvents to choose from: oil, vinegar, alcohol, glycerine, water – and it's even possible to combine solvents in different ways.

There is also an entire range of method options; from a simple infusion that is ready within an hour to an overnight slow-heat maceration to a several-step multi-medium process that takes weeks.

Which is best? Or most correct?

They might all be.

It depends entirely on what you want to achieve

  • an all natural colorant for your emulsion?

  • a powerful antioxidant for your face serum?

  • a natural fragrance for your balm?

  • a skin soothing addition to a shower gel?

All of these (and much much more) are possible with the right extract.

Can you see what I mean by a journey with no end in sight?

The Perfect Extract Starts in Your Mind (and Notebook)

Allow me to give you a tip about getting started: It's much easier to approach extract making if you know the intended end use before you start pulling out equipment and raw materials.

When you have a clear vision of what you expect your extract to do and (where you expect it to function), you will have laid the groundwork for which solvent, production method, and raw materials to focus on.

Example: a (water-soluble) glycerite is going to be a much better match for a skin mist than an anhydrous product that would require additional ingredients in order to be incorporated into the formulation.

Why Don’t You Tell me Everything?

One of the reasons I wrote the book Get Started Making Plant Extracts for your Cosmetics was to offer an overall introduction to the vast world of extract making - because it is truly an area where the possibilities are endless.

Not long ago, a customer wrote and asked me why there aren't there any specific amounts listed or detailed method instructions in the book.

It's a perfectly understandable question.

One would imagine it shouldn't be all that much effort to include an easy peasy guideline for each type of extract as the book includes a description of different solvents.

Here's what I replied:

"When it comes to making extracts (regardless of whether they are oil, water, vinegar, glycerine, alcohol or mixed medium), ingredient quantities are going to vary greatly and will always depend on which raw material (as well as the condition of the raw material), which solvent(s), and which extraction method or combination of methods is used. A 'general guideline' with listed amounts would have to include so many exceptions-to-the-rule that it would quite simply not be useful.

I am guessing it would take me a few years to write a comprehensive guide to extract making for cosmetics (and that probably wouldn't even cover everything)."

She wrote me back that she 'appreciated learning that there was more to this than meets the eye' and 'that's probably why so many of the things that you try on the internet turn out with mixed results'.

Explaining the complexities of extract making without making everything seem too arduous is a bit of a balancing act I still struggle with, because making extracts for cosmetics it is not difficult when you are confident about what you're doing. The best news? It doesn't take too terribly much effort to get to the point where you do feel confident.

Want to Get Started?

If you are an absolute beginner to extract making and want an overview, this e-book is for you.

If you want to get started with an overview as well as get busy making right away, this e-book bundle offer is for you.

Additionally, you will find specific listed amounts, calculation charts, and detailed information on the complete process of some different extract types in the books below.

I’d like to extend my kind gratitude to Lorena for inspiring me to write this article.

LisaLise Books With Specific Extract Formulations

The shampoo book has a section on making vinegar tinctures (that are used in the formulas in the book)

The book below has a section on making vinegar tinctures (used in the formulas in the book), and it’s also available in Spanish here

The bath book has a section on making aromatic powders (used in the formulas in the book)

The balm book has oil infusion and (some) glycerine infusion instruction for the formulas in the book

The glycerites book is a complete guideline to making glycerites

Hair Rinse with Fresh Herbs

Lise

Here’s a peek at an infusion about to happen that is going to become a quick and easy hair rinse featuring a few fabulously fresh herbs. Nettle and horsetail are both great herbs for haircare, and the cleavers made its way into the pot because it just jumped straight up into my basket while I was out collecting herbs.

Working with fresh herbs this way is a real summer treat and easy to incorporate into a daily routine if you have access to fresh plants. Happily, I live near a park and also have generous neighbors with fabulous gardens.

These are so easy to make and can be varied according to which herbs you can source, what’s in season, and what you like!

Pick only what you need for a smallish pot of tea (about half a liter). If you don’t want to add preservative to the hair rinse, only make enough for a day or 2 and remember to store the liquid chilled.

Here’s how I made this hair rinse

  1. Place selected fresh botanicals in heat-tolerant container

  2. Pour freshly boiled water over the herbs

  3. Allow to steep for 10-20 minutes

  4. Strain

  5. Add a couple of tablespoons of apple cider vinegar

  6. Bottle

Use as a final rinse for the hair. Simply pour a generous amount through the hair after washing - or even without washing first.

Enjoy!

PS: a fresh herb hair rinse is a perfect after shampooing with your own solid shampoo bars. The book below shows you how to make your own.

Cherry and Hibiscus Vinegar Tincture

Lise

Combining botanicals for vinegar tinctures can make for some fabulous results.

This is a combination of dried organic cherries with hibiscus flowers. The result is a rich, luscious red color with a fragrance that has all but ‘disappeared’ the pungency of the vinegar.

I use vinegar tinctures (acetums) in numerous things: hair rinses, bath products, shampoo bars, and sometimes a tincture will even make its way into the kitchen to be drizzled over a salad.

This one did.

Do Tell

Do you make your own vinegar-based infusions? Which are your fave ingredients?

PS. The e-books below both have sections on making vinegar tinctures.

Testing an Ingredient Blend

Lise

This little bottle doesn’t look like much, but the contents is about effect more than anything else. As you may guess from the name on the label, this has been created with feet in mind. To be more specific: tired and arthritic feet.

This is a mixture of macerations and essential oils with herbs/botanicals that include comfrey, daisy, black pepper, eucalyptus, meadowsweet, and wintergreen (to mention the main players).

If you are used to blending essential oils, I’m betting you can already tell this is not a deliciously intoxicating perfumed fragrance, but more of an earthy-herby medicinal type of scent - definitely not something you want to be applying on a face.

But that’s ok for this product.

When I’ve tested this to my satisfaction, these ingredients will be adjusted (if needed) and used to make a soothing balm for a special and very loyal client.

Do Tell

Do you make test blends of ingredients before committing to making a balm? Please share in a comment below.

Elderblossom Infusion

Lise

One of the most overlooked skincare tips is pictured above – a cuppa that consists of freshly picked seasonal botanicals (in this case, elder blossoms), a slice of lemon and a small dollop of raw honey infusing in boiled water.

How is this skincare?

Taking a break to enjoy a freshly made botanical tea with your favorite herbs is relaxing, refreshing, calming, and guaranteed to put a smile on your face. I dare you to try it and then tell me you don’t both feel and look amazing afterwards.

TIP: When using fresh botanicals for tea, allow them to infuse a bit longer (5-10 minutes should do it). If you choose a cup that presents your brew beautifully, infusion time is also a bit of eye candy.

Enjoy.

Follow me on Instagram for up to the minute peeks at what’s going on in the LisaLise lab.