Contact LisaLise

Please use the form on the right to contact LisaLise.

Majestic Court 5, St. Mary's Street
Mellieha
Malta

LisaLise offers online education of natural plant-based cosmetics via e-books and courses

LLBlogHEADER2020-3.gif

Shop Blog

A look inside the LisaLise natural cosmetics lab with free formulas, DIY how-to's, ingredients tips, sneak peeks, and more.

Filtering by Category: Essential Oils

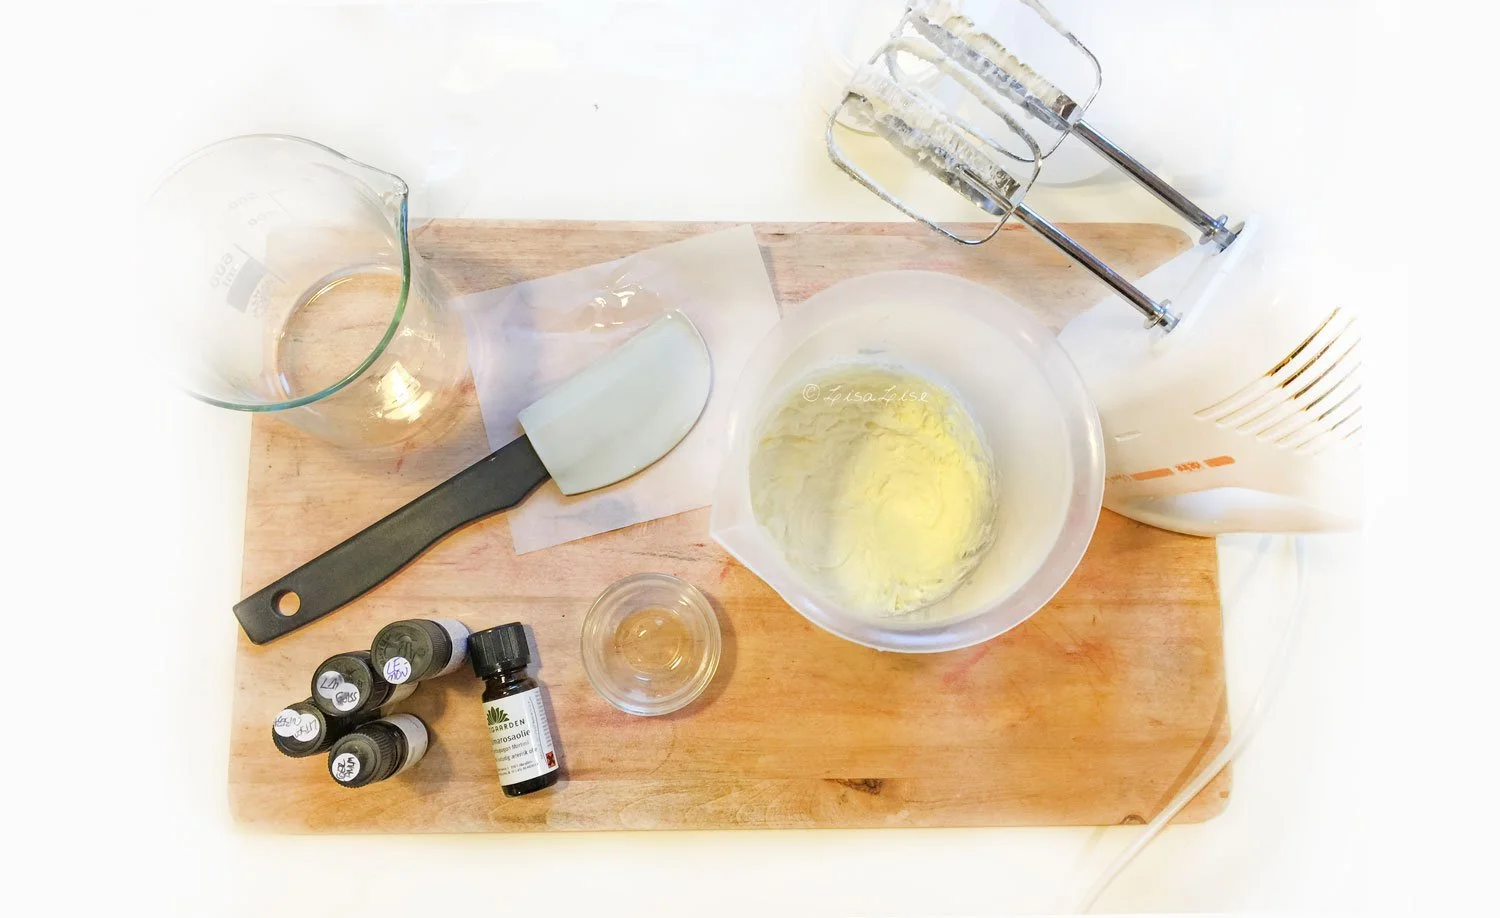
Easy Whipped Shea Butter

Lise

Over the years, I have used shea countless ways - in emulsions, melt-and-pour products, bars, bath products, hair products, and a plethora of skin care products.

Along the way, there have been lots of opportunities to experience fails, and there have been many, but I have also learned from every single one of them.

A lot of formulators have a love/hate relationship with shea butter. While that’s perfectly understandable, I find it has far too much to offer in the way of skin and hair care to be dismissed simply because it can be fiddly to work with.

Today, I'm going to show you a beautifully simple whipped shea that works for me every time so even if you are new to working with shea, this might be a great way to get acquainted with this wonderful skin-and-hair-loving ingredient.

You can use either refined or unrefined shea butter, but be sure the butter is at room temperature and has a creamy, grain-free texture before you start.

LisaLise's Easy Whipped Shea

Ingredient %
Shea Butter 80.0
Jojoba (oil) 18.0
Antioxidant of choice 1.0
Essential Oil Blend (optional) 1.0

If you don't want to add essential oils, adjust the amount of jojoba accordingly.

Method

  1. Sanitise your equipment and work area

  2. Weigh oil and warm to 40°- 45°C

  3. Weigh shea and cut into small uniform pieces and transfer to 'whipping container' (choose something tallish that has room for your mixer blades)

  4. Transfer oil to shea

  5. Whip the mixture. Start at a low speed, then increase until the mixture is homogenous and light (2-4 minutes - depending on batch size)

  6. Add antioxidant and (any) essential oils

  7. Whip the mixture again until the consistency is light and airy (1-2 minutes).

  8. Transfer the mixture to your final container.

It's ready!

Note the difference in color of the final shea - that wasn’t due to whipping, but to the essential oil blend I added.

Over the next 24 hours the butter will ‘set up’ a bit, but will still be light, yet stable. You should be able to easily dip into the balm without having to 'dig’ it out.

A Few Whipped Shea Uses

This simple product is ideal for numerous things! Try it as

  • Hand & Cuticle Cream (a little goes a long way)

  • Foot Softener (apply after a footbath and don a pair of cotton socks for at home foot spa luxury)

  • Dry Hair Tips Conditioner (rub between hands and apply to tips of hair)

  • Body Cream (apply after bath for super soft skin)

  • Deep Moisturising Night ‘Cream’ (apply after your evening cleanse and massage in gently)

Do Tell

Have you ever made a simple whipped shea? What did you use it for? Please share in a comment below.

How to Work With Stinky Ingredients

Lise

Working with plant-based ingredients has its occasional challenges. Some of the ingredients I work with have an inherently heavy, sharp, pungent, musky, or otherwise less than appealing scent.

Ok, that was the diplomatic description.

Some of them are so stinky there is instant nose-wrinkling and the instinctive pull-back when the seal is broken and the package is opened.

Yes, that stinky.

At the same time, some of them have all kinds of skin-loving goodness to offer, so they cannot be disregarded.

Choices must be made.

The Stinky Conundrum

So, how shall we solve this stinkiness? Shall we mask the odor?

Perhaps just replace the ingredient?

There's also 'the industry maneuver' (my term) which consists of using such a small amount of the ingredient that it won't be discernible to the nose. This is common practice in many commercially manufactured cosmetics and is also referred to as a 'tip-in'.

Using an ingredient as a tip-in is great for marketing purposes, but the downside is – of course – having to live with the fact that the ingredient won't do a dang thing because there's such a teensy tiny amount in the product (0.05%) that it might just as well not be there at all.

So, maybe we should give up and dump the stinky ingredients entirely?

Or.

Maybe we could figure out how to incorporate the smelly things in such a manner that the end product doesn’t insult the nose.

Maybe we can even make the end product a delight to the nose?

Considering the Synthetic Factor

In truth, it's relatively easy to mask even the stinkiest ingredients by using a synthetic scent. Think of detergent. Without the addition of (a synthetic) perfume, most household cleaning agents are, to put it politely, downright foul smelling.

Grabbing a bottle of fragrance would be the most obvious and easiest choice, but I have a problem with that as I am not a fan of synthetic perfumes.

Ok that was the diplomatic description.

In truth, I find (almost all) synthetic fragrances worse than the stinkiest ingredients I work with. Despite several attempts, I cannot bring myself to work with them. This might be due to a perfume allergy (I've never been tested, so I can't say for sure), but it could be because of my lifelong inherent aversion to anything synthetic.

What’s the Stinkiest?

A while back, I asked a few fellow formulators if there were any particular ingredients they would categorise as stinky and hard to work with.

There was a literal flood of replies.

Here are the stinky winners

  • Neem oil (the all time winner and receiver of most votes)

  • Cocoa butter

  • Unrefined shea butter

  • Lanolin

  • Wheat germ oil

  • Argan oil

  • Carrot seed oil

  • Tamanu oil

  • Pomegranate Seed Oil

  • Evening Primrose Oil

  • Raspberry Seed Oil

  • Kelp Powder

  • Spirulina

  • Tea Tree Essential oil

  • Valerian Essential Oil

  • Soapnuts

These ingredients all have wonderful properties that are difficult to simply disregard. So, how do we deal with all this stinkiness?

We Take Stinkiness into Account

After years of trial-and-error, it has become second nature to me to take the inherent stinkiness of some ingredients into account when creating a formula.

Even though there are some limitations, it is possible to 'bend' a stinky ingredient (or 2) into something entirely pleasant with no need of masking the smell.

The secret is deceptively simple: work with, not against.

Get your perfuming nose on and get ready to include said stinky ingredient as part of the fragrance.

You doubt?

It's perfectly ok. I didn't think it was possible in the beginning either.

To get busy, we need to do a bit of nose exercise (and no, you don't need to learn how to wiggle your nose).

How To Get Your Perfuming Nose On

This is a relatively simple exercise, but does require your full attention and concentration.

Your nose may be a little offended at first, but will probably surprise you with hidden secrets sooner than you expect.

The object of this exercise is to train your nose to pick out the components of (any) fragrance.

Choose an ingredient. Don't start with the absolute stinkiest ingredient, but choose one you perhaps find a bit challenging. For example, if you have an ambivalent relationship with the scent of unrefined shea butter, start there.

Sniff the ingredient until your nose is thoroughly acquainted with it.

Alternate between sniffing the ingredient and sniffing fresh air.

Continue for a few minutes and you will start to discover the 'undertones' and 'overtones' of the scent. Is there a muskiness in the background? Is it slightly woodsy? Nutty? Fruity?

Identify the components as best you can and write down your impressions.

At one point, your nose is going to ‘sign off’ and that will be your signal that this session has ended.

Wait at least an hour before continuing.

It will probably take a few sessions, but I’m pretty sure it won't be long until you have dissected the scent and can begin to work with it. If there is a musky undertone you find unappealing, the addition of a woodsy fragrance can synergise and 'bend' the scent in an entirely different (and more pleasing) direction.

I admit this takes a bit of practice, but I also know you can totally do this. I think you will surprise yourself at how quickly your nose is able to 'dissect' what you are sniffing. Keep at it and you will discover how easy it suddenly is to dissect the components of a wine, perfume, or any dish.

Let’s Take Cocoa Butter

When you've been exercising your nose and making all kinds of amazing discoveries at how clever your nostrils are at picking out subtle details and undertones, you can move on to this exercise.

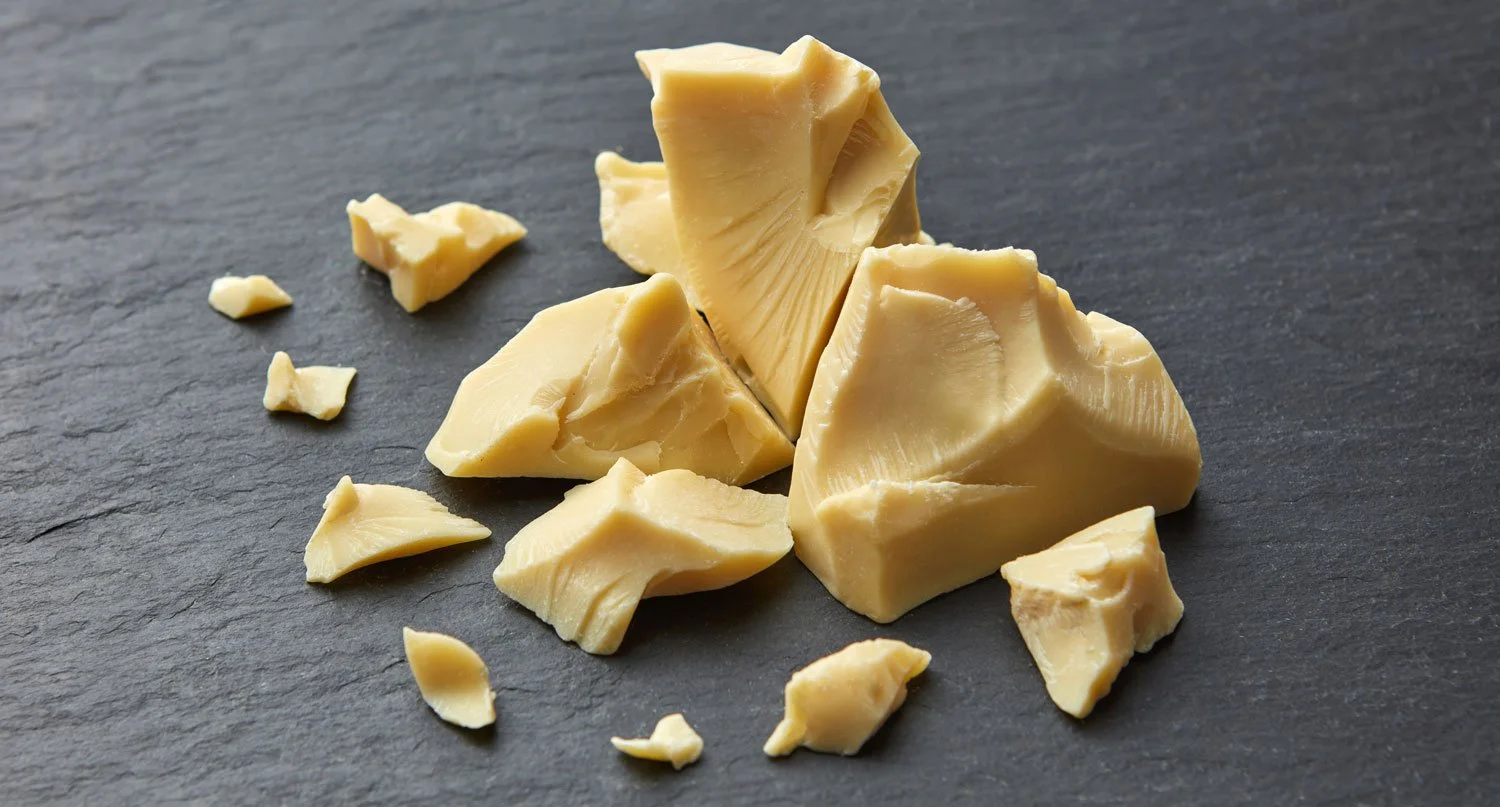
We're going to 'bend' the scent of an ingredient that made it quite high up on the list of stinky ingredients in my impromptu poll: cocoa butter.

It almost seems unfair to call it a stinky ingredient. Most people love the smell and taste of a chocolate bar. I know I do. I actually also love the scent of cocoa butter if I am thinking of dessert. But right now, we're putting it on our skin. And not everyone wants to smell like dessert all day.

As delicious and chocolatey as unrefined cocoa butter might smell in the container, it can be downright overpowering when it is applied to the skin in a leave-on product.

In a body butter, non-chocolate-tasting lip balm, or any other water-free product, cocoa butter can have an uncanny ability to take over the entire fragrance profile and become both heavy and cloying.

How to include cocoa butter as a component of our fragrance? Here's a little exercise on how to do just that.

Cocoa Butter Base Note Exercise

For this exercise, you’ll need

  • Unrefined cocoa butter

  • Essential oils

  • Any infused oils you might want to include

Method

  1. Have your essential oils at room temperature

  2. Gently melt 5 grams (a teaspoon) of cocoa butter in a small glass container (5 grams for each scent you want to create).

  3. Sniff the cocoa butter. Note the properties: heavy, creamy, and chocolate-like. This is the base note from which you shall create your fragrance.

  4. The next step is to decide which direction you want to take this base. Here are a couple of examples to help inspire.

Woodsy : For a woodsy scent, add a component such as cedarwood, rosewood, petitgrain, or sandalwood. A combination could also be used. Round out the blend by introducing an element of citrus freshness – bergamot, mandarin, blood orange, grapefruit, or lemon could all be considered.

Oriental : To bend your cocoa butter in a more exotic direction, add myhrr or frankincense. Introduce a floral element with rose or geranium, then consider a titch of vanilla to round out the scent and make it deliciously exotic.

Floral : For a floral scent, start with a woodsy component to anchor the cocoa butter (cedarwood might be great here). Then add some rich, dense florals such as geranium or rose. Lighter florals risk being 'buried' in the fragrance profile. Chamomile – with its inherent earthy note – is another possible option. Lavender and/or an element of citrus can be added to round out the scent.

Want to try something else? Go for it! When your nose is 'tuned in', you can create any fragrance combination you think you would like.

Chill, Solidify, and Do a Nose Test

When you have finished your test bowls with essential oils and cocoa butter, pop them into the fridge and let the mixture solidify.

To test the solidified samples, warm the bowl (or solidified cocoa butter) slightly in the palms of the hand and then do a nose test to see if you are satisfied with scent profile. If you are, then you know the EO’s you blended into the sample will in all likelihood be useful for anything you make with cocoa butter

TIP : If you happen to make your own botanically infused oils, these can also be super useful in a fragrance creating setting.

Do Tell

Which scent combos have you tried adding to cocoa butter to create your fragrance? Were you happy with the results? Please share in a comment below.

Easy Double Cleansing Tip

Lise

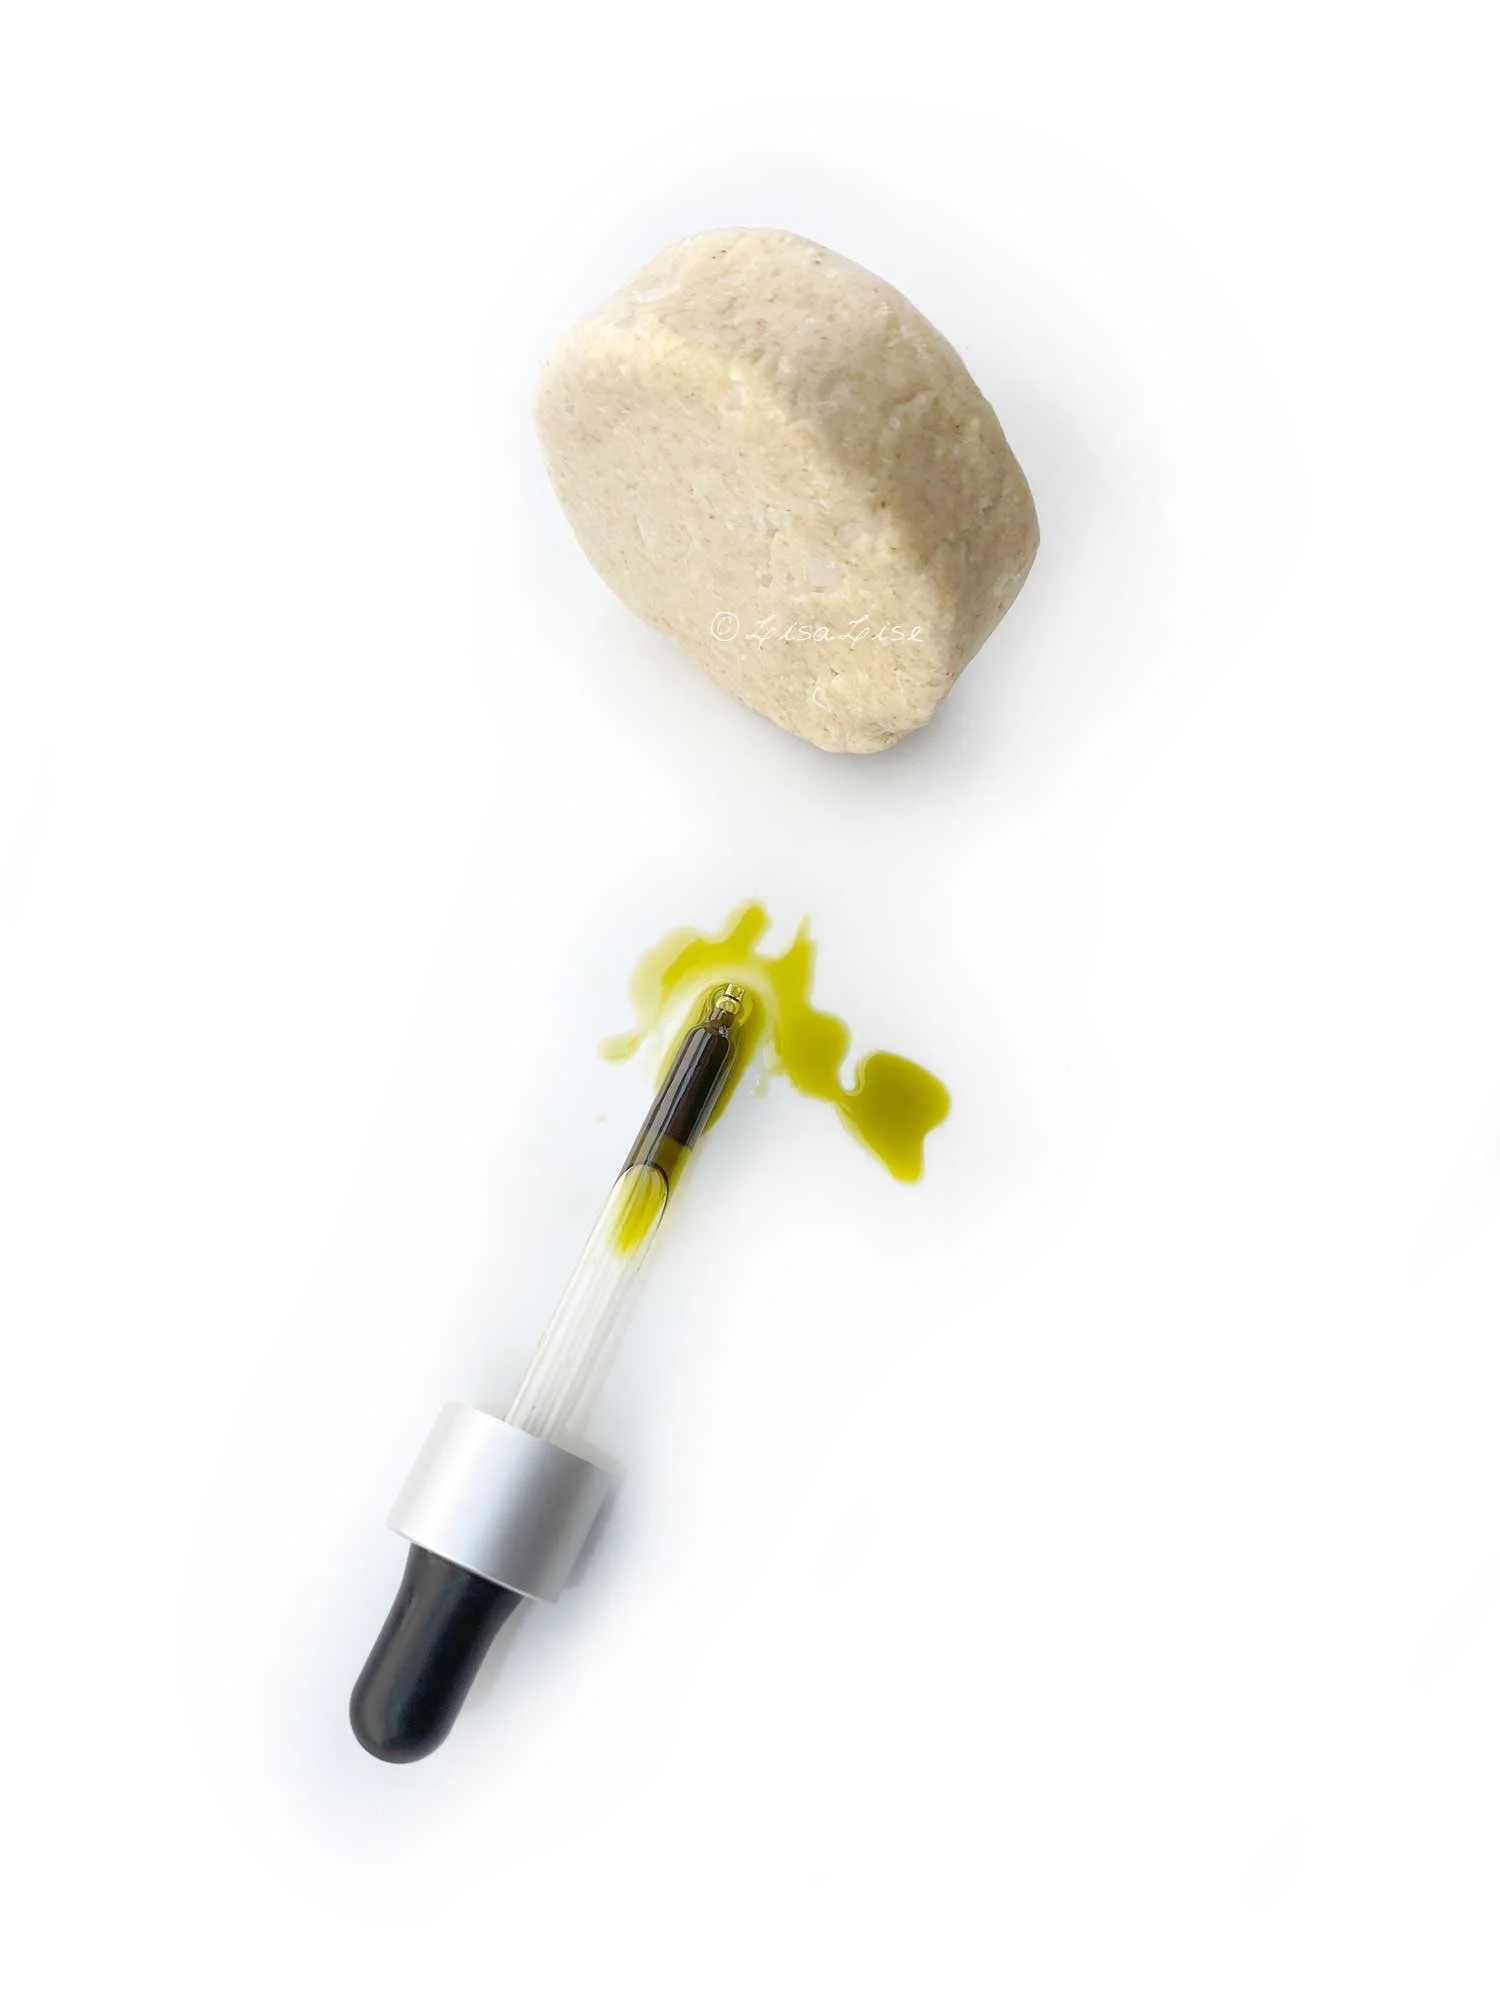
Pictured above: my current cleansing oil and my oatmeal and milk ‘syndet’ (read: synthetic detergent) cleansing bar. The bar has a skin friendly pH and consists of my fave super-mild ingredients for sensitive and dry skin. The oil is a blend of castor, coriander seed (carrier) oil and açai oil.

Today, I’m going to share a tip on how to combine traditional oil cleansing with a cleansing bar and create your own 2-in-one easy peasy double cleansing routine. This is great for sensitive and dry skin (and for those who love oil cleansing but hate the cleanup).

Here’s how I double cleanse using these 2:

  1. Apply cleansing oil to dry skin. Massage skin gently using circular movements

  2. Wet hands and create lather with bar. Notice how extra creamy the lather is with the addition of the oil on your hands.

  3. Apply lather to face and massage skin gently using circular motions. The lather will become even more creamy as you massage your skin.

  4. Rinse off with comfortably warm water

There are 2 things you achieve with this method

  1. Super gentle cleansing for sensitive skin

  2. Super easy cleanup

I tried taking a picture of the latheriness of this combination but this picture doesn’t really do it justice. By the time I had rinsed and dried my one hand to take the photo, a lot of the lather was already gone. But you can get an idea. The lather does look a little green because the açai oil really colors a lot.

Make it Your Own

Use your cleansing oil of choice and combine it with any gentle face cleansing bar you like.

The book below is beginner friendly (available in Spanish) and has formulas for cleansing oils for all skin types.

The Dissolving Door Handle Mystery

Lise

Pictured above: the door handle inside the bathroom of my previous home (with inserted close-up). It was a modern home with modern door handles made of a very sturdy plastic material. The handle is not very old here, yet it looks weathered and 'lumpy'. That's because the plastic has started to dissolve.

This lumpiness didn't happen over night. It took a bit of time.

I remember that we had picked these specific handles when we remodelled our home because – despite being plastic – they were all the rage and supposed to be able take just about anything you could throw at them.

Except apparently, they couldn't.

At least, this one couldn't. Not on the inside of the bathroom. The handle on the other side of the door was fine. So were the handles on ALL the other doors in the house, which made this even more confusing.

It took me ages to figure what caused this. Looking closely, you'd think someone had applied some kind of chemical to it.

That's exactly what happened.

Someone did.

It was me.

Plastic Doesn't Like Essential Oils

One would think – after so many years of working with essential oils – I would have savvied up sooner.

But no.

I would regularly examine the door handle and wonder what the heck was going on. I even tried to blame my husband for it (although I couldn't figure out what he could possibly be doing to the door handle).

Then one morning, it dawned on me.

It was right after I had applied my face oil and grabbed the handle to open the door.

Ding.

“Essential oils react with plastic”

Even when they are highly diluted in a face or body oil, they will – over time – still react with plastic.

As you can see.

After realising what had happened, I was too embarrassed to tell my husband. To protect the handle from further damage, I placed a tissue between my hand and the handle every time I used the door.

It wasn't until we had moved into our next home (that just happened to have the exact same type of door handles!) that I finally told him.

He just looked at me, smiled, then casually replied "Yeah, I figured as much."

PS: Want to make your own bath products with essential oils? The e-book below might be just the thing!

Footsie Tootsie Balm

Lise

Balms are often associated with cold and winter, but even in the heat of mid summer, a balm can be the best thing imaginable. This one has proven to be a fabulously foot-friendly product - perfect after a long day of holiday sightseeing.

After testing the blend of infused oils and macerated oils featured in this post, the ingredients proportions were tweaked ever so slightly and then made into this balm.

I can attest that it helps soothe my tired, achey and arthritic feet.

The working title of the original oil blend became the inspiration for the name of this product: Footsie Tootsie Balm.

Want to make your own balms? The book below can show you how.

Testing an Ingredient Blend

Lise

This little bottle doesn’t look like much, but the contents is about effect more than anything else. As you may guess from the name on the label, this has been created with feet in mind. To be more specific: tired and arthritic feet.

This is a mixture of macerations and essential oils with herbs/botanicals that include comfrey, daisy, black pepper, eucalyptus, meadowsweet, and wintergreen (to mention the main players).

If you are used to blending essential oils, I’m betting you can already tell this is not a deliciously intoxicating perfumed fragrance, but more of an earthy-herby medicinal type of scent - definitely not something you want to be applying on a face.

But that’s ok for this product.

When I’ve tested this to my satisfaction, these ingredients will be adjusted (if needed) and used to make a soothing balm for a special and very loyal client.

Do Tell

Do you make test blends of ingredients before committing to making a balm? Please share in a comment below.