Contact LisaLise

Please use the form on the right to contact LisaLise.

Majestic Court 5, St. Mary's Street
Mellieha
Malta

LisaLise offers online education of natural plant-based cosmetics via e-books and courses

LLBlogHEADER2020-3.gif

Shop Blog

A look inside the LisaLise natural cosmetics lab with free formulas, DIY how-to's, ingredients tips, sneak peeks, and more.

Filtering by Category: Distillates

Butterfly Bush Hydrosol

Lise

Here’s a throwback to a distillate I made last summer. These flowers are from the Butterfly Bush (Botanical name: Buddleja davidii) which also goes under the common name Summer Lilac.

The name is fitting because the fragrance is quite similar to lilac, but while lilacs readily spread their heady floral perfume everywhere when they are blooming, butterfly bush flowers need up close and personal nose contact in order to find the fragrance.

They also differ from lilacs in that their fragrance is much easier to capture. If you have ever tried to extract lilacs in any kind of solvent in order to capture their fragrance, you’ll know how difficult it is.

These flowers were gifted to me from a neighbor at the height of the season and went straight into my (newly aquired) still.

The resulting distillate is the most deliciously fragrant hydrosol - full of fragrance without being cloying.

Every whiff brings me right back to summer.

I have been using it straight up as a skin mist.

Read about my still here

Below is a bit more about hydrosol making on this blog.

Spring Plants in Fall

Lise

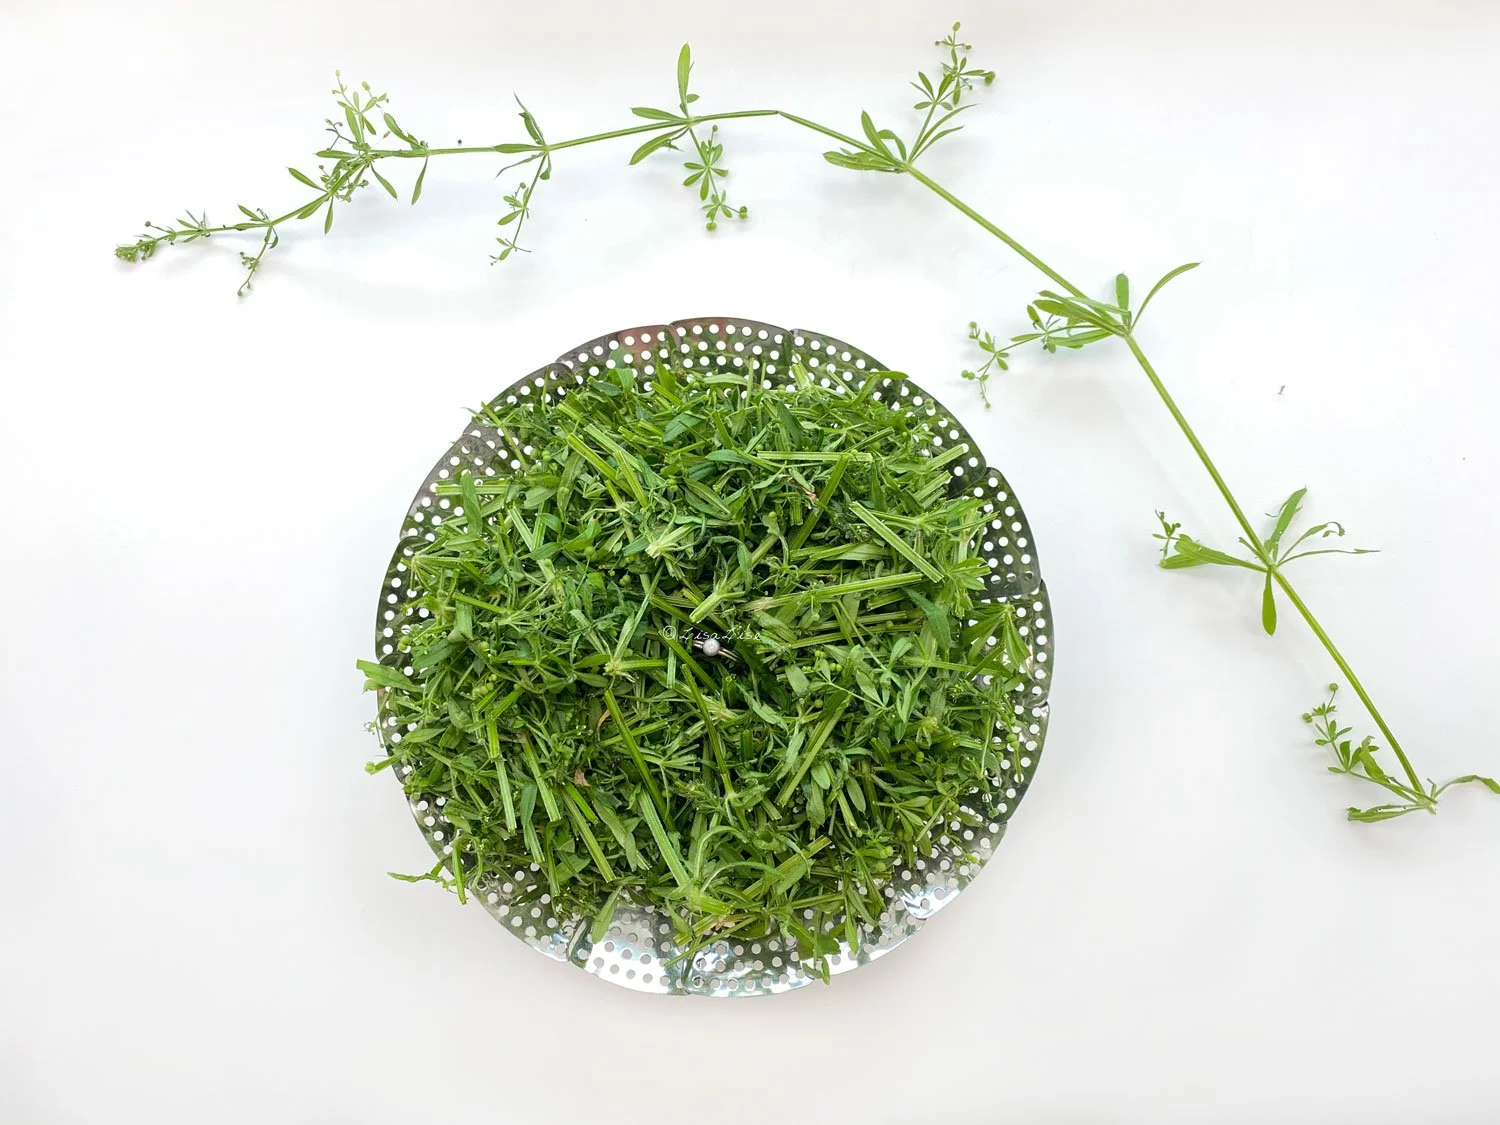
If you recognize (and know) this plant, you’ll immediately understand why this picture looks all kinds of wrong. In my gloved hand is a small bouquet of freshly picked cleavers (Galium aparine).

This is a plant that (normally) pops up around Spring and grows all summer, disappearing from the landscape around Fall.

And it did that, but now, in this chilly Scandinavian NOVEMBER, it has decided to start popping up all around and act like it’s Spring.

It sure as heck doesn’t feel a lot like Spring, but who am I to argue with cleavers? I’m keeping my eye out for a bigger patch as I’m almost out of the cleavers distillate I made earlier this year, so I’m ready to go foraging so I can make a new batch!

Below, a peek at the preparation of the batch I made earlier this year.

Do Tell

Have you experienced plants acting like they haven’t a clue what time of year it is? Please share in a comment below.

PS: A distillate can be used solo as a lovely skin mist, but can also function as the water phase of an emulsion.

Handcrafted Yarrow Distillate

Lise

yarrowhydrosol-1500.jpg

Pictured above: a handcrafted yarrow hydrosol.

Earlier this year, I bought a still and have been learning a bit about how to use it to make my own plant distillates. Although many distill plants to obtain essential oils, my main interest is in making my own hydrosols to use either straight up as skin mists or as ingredients in my cosmetics.

Today, I’m going to walk you through my process of making this hydrosol.

A Bit About Yarrow

The plant I am using in this batch is known as Yarrow. Its botanical name is Achillea millefolium. The Achillea part of the name has its roots from the Greek God Achilles – the name source of the entire Achillea genus. The word millefolium is (also) from Greek and means ‘bearing numerous leaves’.

Yarrow grows in abundance where I live and the plants I am using in this distillation were all wildcrafted and collected shortly before making the distillation.

yarrowplants-1500.jpg

Yarrow grow in a range of colors - from white to bright pinky-red hues. In my neck of the woods, they range from white to a lovely light pink.

Yarrow gets (part of) its botanical name from the lovely, fern-like leaves which carry as many actives and useful constituents as the flowers. They are therefore included in the still, but I have separated them from the flowers as I wanted to layer the different parts of the plant in the still.

yarrowprepare.jpg

The flowers are placed directly on the steamer insert, which is then placed in the still. The leaves were placed as a top layer over the flowers. On top of all the plant material, my copper ‘birds nest’ is placed before putting on the lid.

Check the previous post for a closer look at how I stack the different parts for the distillation process.

yarroweo.jpg

To my surprise and delight, this batch produced a small, but noticeable amount of essential oil. If you look at the photo above, you’ll see the surface of the water is ‘speckled’ with little droplets. As there isn’t enough to separate it from the water, I am using the hydrosol as is.

Packaging the Hydrosol

Since I started this distillation adventure, I have been packaging my hydrosols in glass karafes (as pictured here). These are super easy to sanitize and reuse. The lid is an airtight silicone ‘cup’ that allows me to ‘burp’ out air and suction down the lid. These karafes are sold to restaurants and cafe’s and are available in numerous sizes.

The yield for this batch was 750 ml.

yarrowbottled.jpg

Do Tell

Have you ever considered making your own hydrosols?

Tip: A handcrafted hydrosol can be used as a lovely skin mist, but can also function as the water phase in an emulsion.

Distilling Plants at Home

Lise

helichrysumstart-1500.jpg

For the past many years, I have flirted with the idea of doing my own hydrosols. This year, I finally got started with it, and I have decided to share this home-crafted hydrosol making journey with you in case you decide you want to give this a try too.

What you see above is the beginning of a distillation of homegrown helichrysum.

The container on the left is the base of the still with some stainless steel cooking equipment placed to create a raised base for the steamer with herbs. The bag on the right holds helichrysum stems and leaves that will be placed on top of the blossoms. The reddish ‘birds-nest’ is a handcrafted copper wire ‘net’ that will be placed on top of the herbs before closing the lid.

stillopen-1500.jpg

The Still

The still I am using is quite compact (about the size of a large thermos) and does not require running water. Instead, it cools using air - hence the name it is sold under: Air Still. I bought mine from a local brewery shop that specializes in all kinds of brewing equipment, but have seen them available online. It was a helpful tip from a lovely member of my Facebook group that brought this apparatus to my attention. The Air Still is made for distilling alcohol (which I may try at one point), but for making (most) hydrosols, there were a couple of small adjustments needed.

i filled the spout cover with copper wiring so the hydrosol passes through copper on its way out of the still.

i filled the spout cover with copper wiring so the hydrosol passes through copper on its way out of the still.

Moderations and Additions

For a home-crafting scenario, this still is absolutely perfect for my needs (so far). It doesn’t take up very much room, is easy to clean, easy to use, and produces beautiful hydrosols (some even with a bit of essential oil — more on that in a future post).

I had to get a little creative with a few moderations (the steamer insert and the rings to raise the herbs above the water level), but these were minor. As this still is stainless steel and many classic stills are all or part copper, I wanted to add a bit of copper ‘somewhere’ for the general benefits it offers. (for distillers of spirits, copper is said to produce a better flavor, and for many distillers of hydrosols/essential oils, it is said to provide a purer product). My first few hydrosols were without copper and there was a tangible difference as soon as I added the little birds nest and outfitted the spout cover with copper wiring.

I’ll be getting into the details of my hydrosol making experiences in future posts.

Meantime, I better warn you right now: if you are a little intrigued at the idea of making your own hydrosols and want to try this too, it’s just as addictive as making your own glycerites, tinctures, and macerations.

The glass container pictured next to the still holds about half a liter. By chance, it fits perfectly below the spout and is my go-to container for collecting the precious waters.

The glass container pictured next to the still holds about half a liter. By chance, it fits perfectly below the spout and is my go-to container for collecting the precious waters.

Do Tell

Have you ever considered making your own herbal distillates?


Vinegar tinctures are included as ingredients in these naturally balanced shampoo bars and there’s a section that shows you how to make your own.