Contact LisaLise

Please use the form on the right to contact LisaLise.

Majestic Court 5, St. Mary's Street
Mellieha
Malta

LisaLise offers online education of natural plant-based cosmetics via e-books and courses

LLBlogHEADER2020-3.gif

Shop Blog

A look inside the LisaLise natural cosmetics lab with free formulas, DIY how-to's, ingredients tips, sneak peeks, and more.

Filtering by Category: ChitChat

Lab Tips: Cleaning Away Fats

Lise

Any anhydrous mixture with a large percentage of butters and/or waxes is inevitably going to leave a layer of product on your equipment that can be a major chore to remove.

Fats and waxes don't just magically melt away with a bit of detergent and water - especially if they have had time to set up and cool. And your water pipes will thank you for not pouring melted fats and waxes into them because they WILL harden into a clogged mass and cause all kinds of plumbing hell that costs a fortune to repair (can you tell I speak from experience?).

So today, I’m going to share a simple and effective way to clean your containers and tools after making a batch of balms, solid lotion bars, or other fat-rich products without causing plumber anxiety.

Work Fast and Work Warm

While containers and tools are still warm, wipe away excess product with a paper towel (or 2).

To work warm, you have to act immediately after pouring. While this is easiest from a cleaning perspective, it’s not always possible, so if your equipment has cooled and the product has stiffened up and set, gently reheat just enough to where you can easily wipe away the fats.

If you have been using a water bath, it’s just a question of placing the container back over the warm water briefly. If your heat source has cooled in the meantime and you happen to have a microwave available, place any (microwave safe) containers in the oven and do a few short bursts of heat to soften and remelt the product so it can be wiped away.

Don’t Skimp on the Paper Towel

With beakers or glass containers, wipe the inside with paper towel to remove as much excess as possible.

Do your best to remove everything (read: change the paper as often as needed). I generally use between 3-5 sheets of paper towel for each beaker.

When your beaker (or glass container) looks like this (slightly frosted), it is relatively easy to clean away any remainder with ordinary detergent and hot water.

Some folks have suggested saving the fatty paper towels to use as fire starters. I think this sounds like a useful idea but am not a fire starting expert, so if you have tried this or have any additional tips, please feel free to share!

Every Last Bit

Finish the cleanup process with a pass of boiling water (or dip into a basin of boiled water) before drying and storing your equipment. This will remove every last bit of residue.

Alternative Cleanup Methods

You can also use a (70% solution) of isopropyl alcohol to break down fats. Simply spray the solution onto/into the container, let sit momentarily and then wipe the fats away. This may need to be repeated a few times depending on how much there is to remove.

A 70% solution means it is a mixture of 70% isopropyl alcohol with 30% distilled water. If you have access to both ingredients, you can easily make your own .

Baking soda is said to be useful for removing fats but as I haven't tried this on my cosmetic making equipment, I am unsure of how best to use it. Perhaps making a paste with it and applying? If you have tried this please feel free to share your experiences.

Do Tell

If you have any tips for cleaning fats off of equipment, please feel free to share in a comment below.

How to Have Fabulous Feet Forever

Lise

A good friend asked me if I had any good foot care tips (which I did and shared with her). After having tried goodness knows how many methods for keeping feet looking and feeling great, I thought I’d share my own tried and true method with you today.

If you are struggling with thick skin build-up on your feet (otherwise known as 'cheese rind heels'), this method should be quite useful to you. Depending on how bad your feet are to begin with, this beauty treatment can cost you as little as the price of a brush to as much as the price of one foot-treatment plus one brush.

Start by Ditching The File

Despite what many may believe, foot files do more damage than good. The instrument functions by grating and tearing the surface of the skin which only makes things worse. Filing your feet only encourages an increased production of hardened skin (I have this on good authority from a couple of foot-treating pros). It doesn’t matter if you are using a fancy schmancy brand named tool, the function is the same: results that unfortunately only exacerbate the problem.

If your heels are really bad, start by getting the built-up, hardened skin removed by a professional. When that's done, you will be able to keep your heels smooth and supple with the following method.

Brush Your Feet Daily

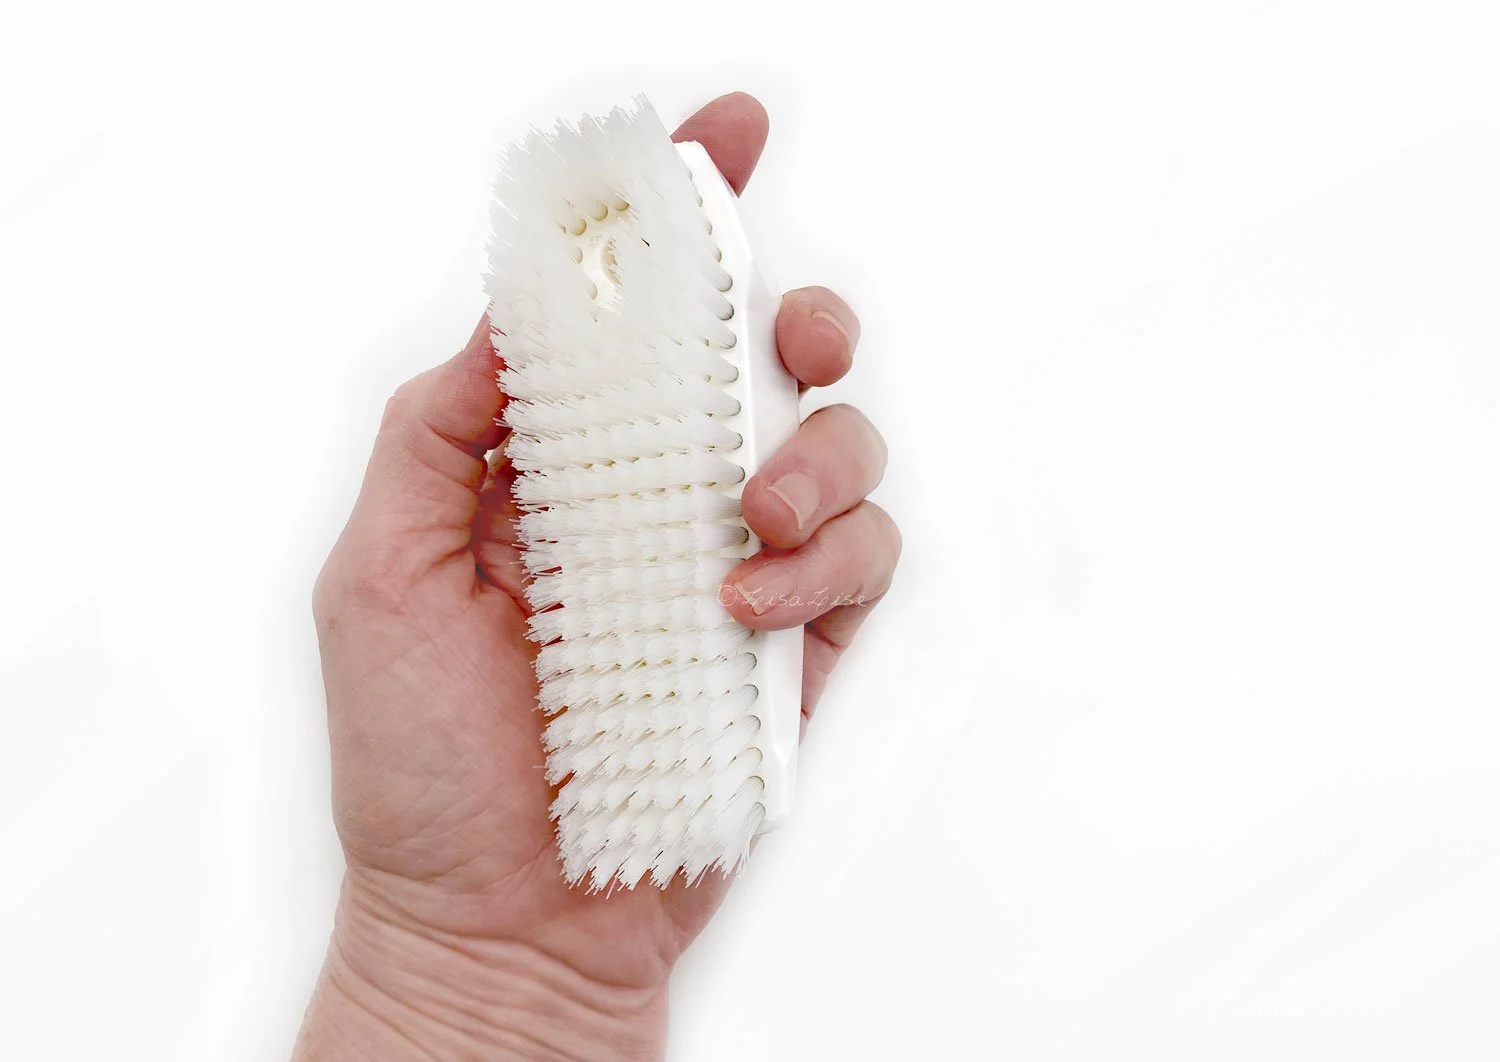
Get a brush that fits well in your hand with stiffish bristles (think nail brush). If you can get an oversized nail brush, that's ideal (see mine below).

After bathing/showering while the skin is still soft, brush your heels (and wherever else the hard skin build-up happens) vigorously for a minute or 2.

The stiff bristles of the brush will remove dead skin and the brushing will encourage circulation in the feet (which also keeps hard skin build-up at bay).

Don't forget the toenails – brushing lightly around the toes will keep the cuticles back and encourage circulation.

TIP: wash the brush regularly to keep it smelling sweet. (If you don't think this is necessary, try not washing your brush for a couple of weeks and then give it a sniff. Even if you don’t have a tendancy to get stinky feet, a brush full of dead skin cells starts to smell pretty awful pretty quickly.)

Then Soften

Finish your foot care routine by applying a body butter, cream or lotion to your feet. Give yourself ample time to apply and massage each foot to work the moisturiser in.

Then put on a pair of socks. Even if you plan on wearing sandals that day, 10-15 minutes with socks will allow time for the moisturiser to sink in.

All That Takes Way too Long!

If we don’t count the sock wearing time, this entire process only takes about 5-6 minutes in total: 2-3 minutes of vigorous brushing, 2-3 minutes of moisturising.

If you can make this little routine a daily habit, your feet will repay you in spades by looking and feeling fabulous – forever.

You’re welcome.

Do Tell

Do you have any foot care tips you swear by? Please share in a comment below

Merry Holidays

Lise

In these transformative and unusual times, it seems the world is on a course unlike anything we have seen before. It’s hard to process the entirety of what is going on and even more difficult to know how to react to it all. I truly wish I had a magic wand that could remove suffering, transform war to peace, hate into love, and sorrow to joy for all human souls on this planet.

I am at the same time absolutely convinced we are a majority who share this perception, and allow myself to take comfort in that thought.

This year I am sending you my warmest holiday wishes from a country where winter isn’t really winter at all - at least not to anyone with Scandinavian roots.

It has been a very eventful year for me and I will be posting a summary of the things experienced since making my move from the chilly North to sunny Portugal. There are so many things I want to share with you about my new home.

Meantime, allow me to introduce you to a classic Portuguese Holiday Season dessert: Bolo Rei (or ‘Kings Cake’). This is a baked celebration of fruits, raisins, nuts, and icing (or a dusting of powdered sugar) wrapped in a delicious cake. Bolo Rei is sold from bakeries but also homemade and served to holiday guests, family members and friends.

I hope you will be enjoying lots of wonderful warm moments with family and friends over the holidays - regardless of which holiday you might celebrate.

Myself? I have a house full of guests, mulled wine in the making, and a selection of both Portuguese and Danish holiday sweets & goodies decked out for everyone to enjoy.

Thank You for 2023

Before I sign off for this year, I want to thank you (yes, YOU) for sticking around and for showing me such loving support throughout this year.

I cherish every inspiring comment and question, and am truly grateful for being able to continue doing what I love most. So many of you continue to show an interest in following my work, and that truly warms my heart. Thank you so much.

Here’s a massive cyber hug from across the planet straight to you – thank you for making 2023 a truly memorable year.

Have a lovely holiday season and a wonderful New Years Eve!

And for your reading enjoyment: below is an overview of some popular how-to’s that have been featured on the blog.

Aromatherapeutic Smelling Salts (and other DIY Gift Ideas)

Lise

So there are undoubtedly some last minute things that need doing before the holiday break, some of which might be gifts. This post shows you a few things you can put together and add all kinds of your own personal touch to.

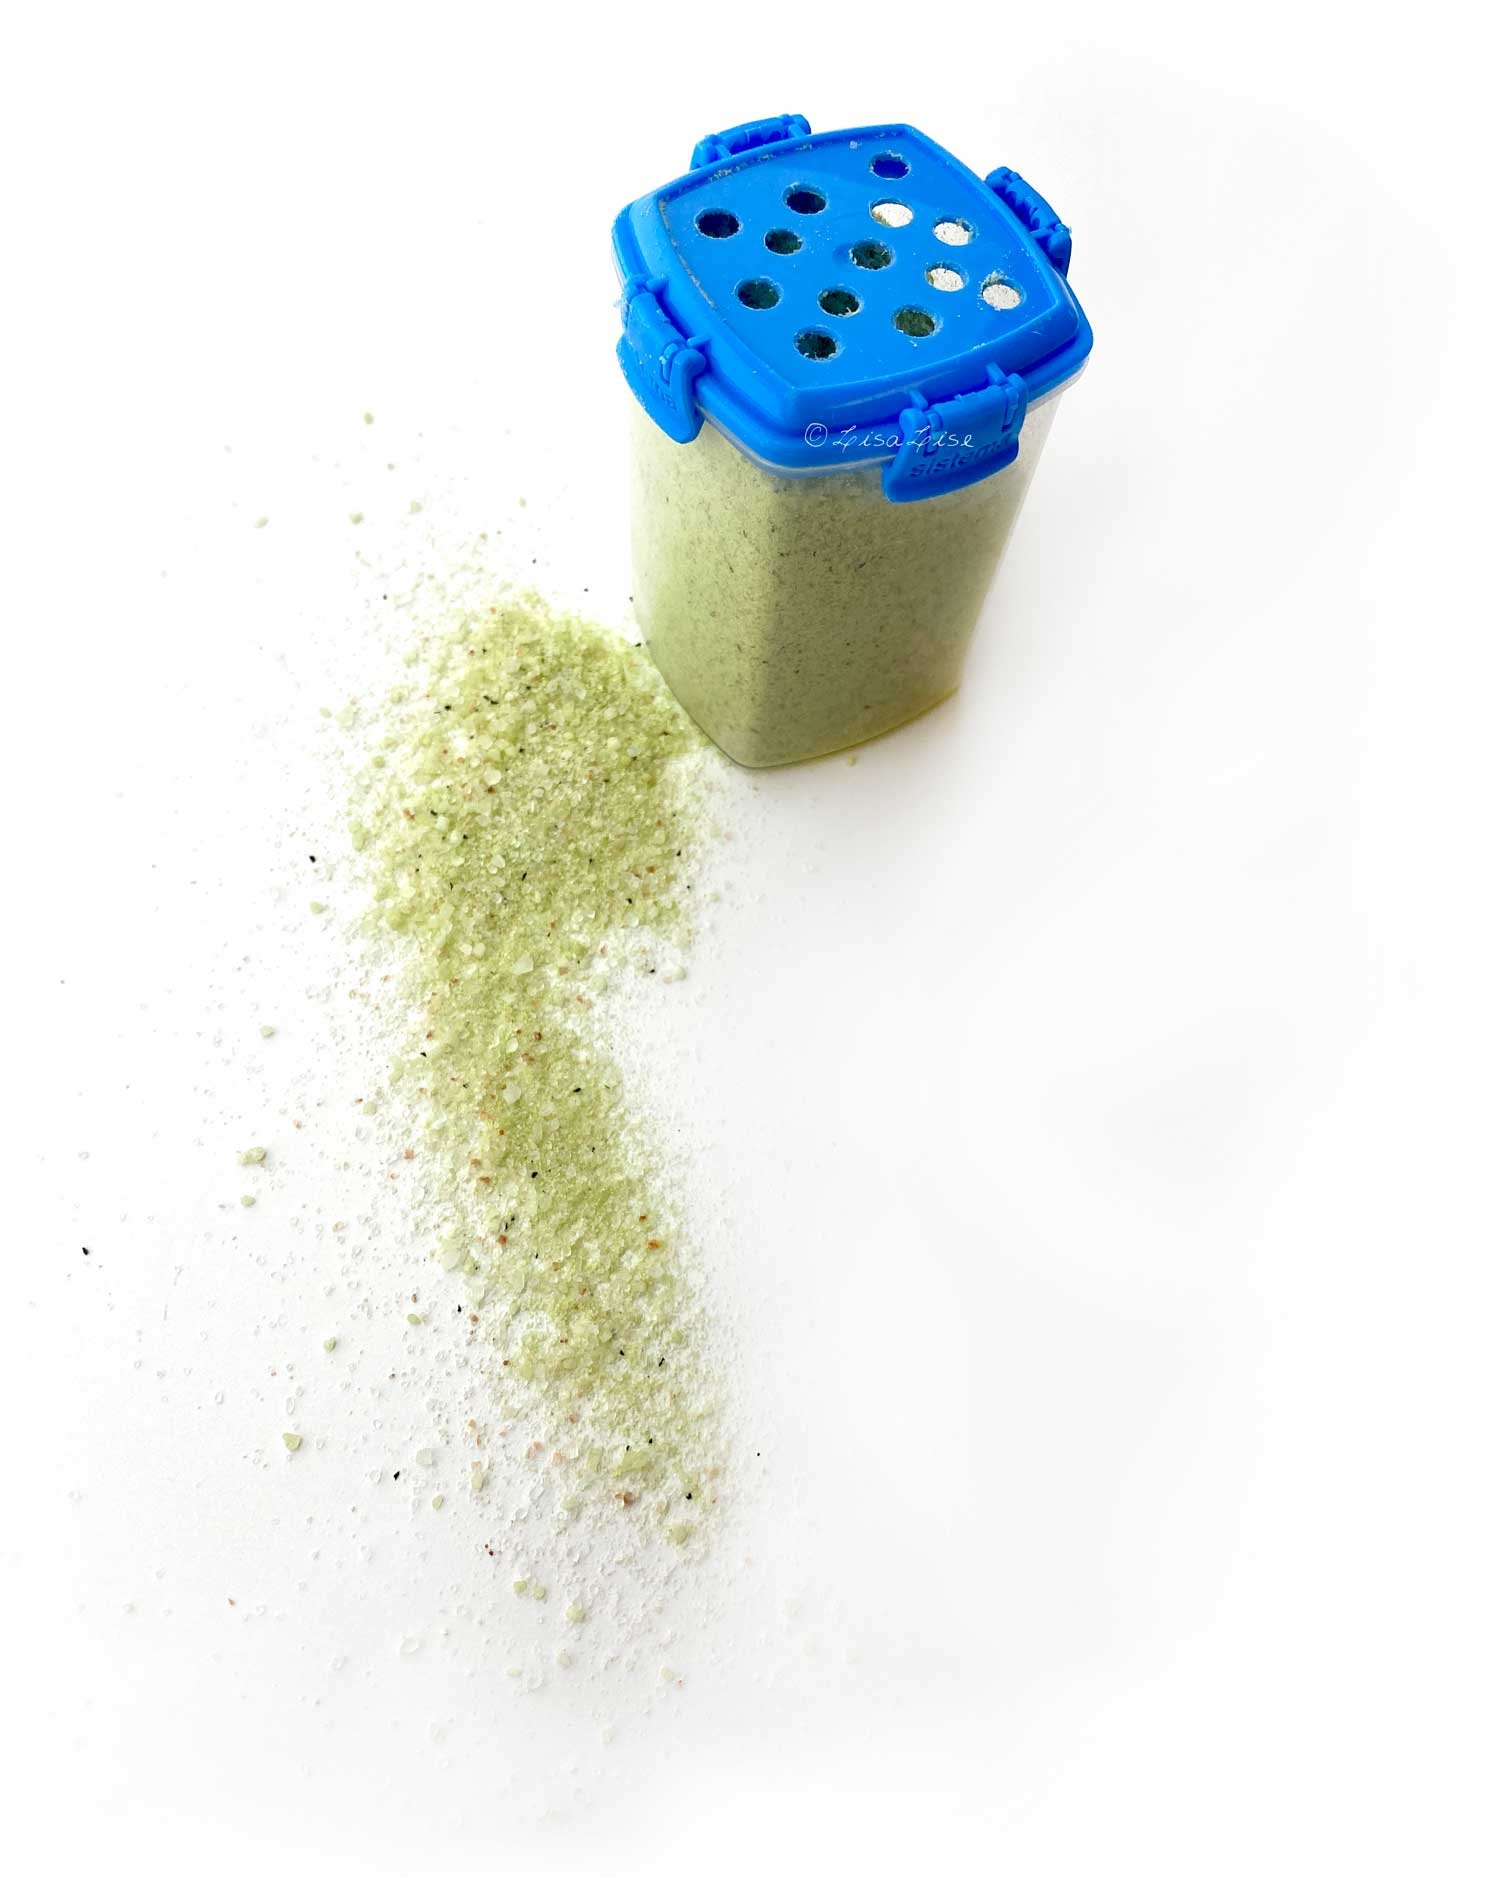
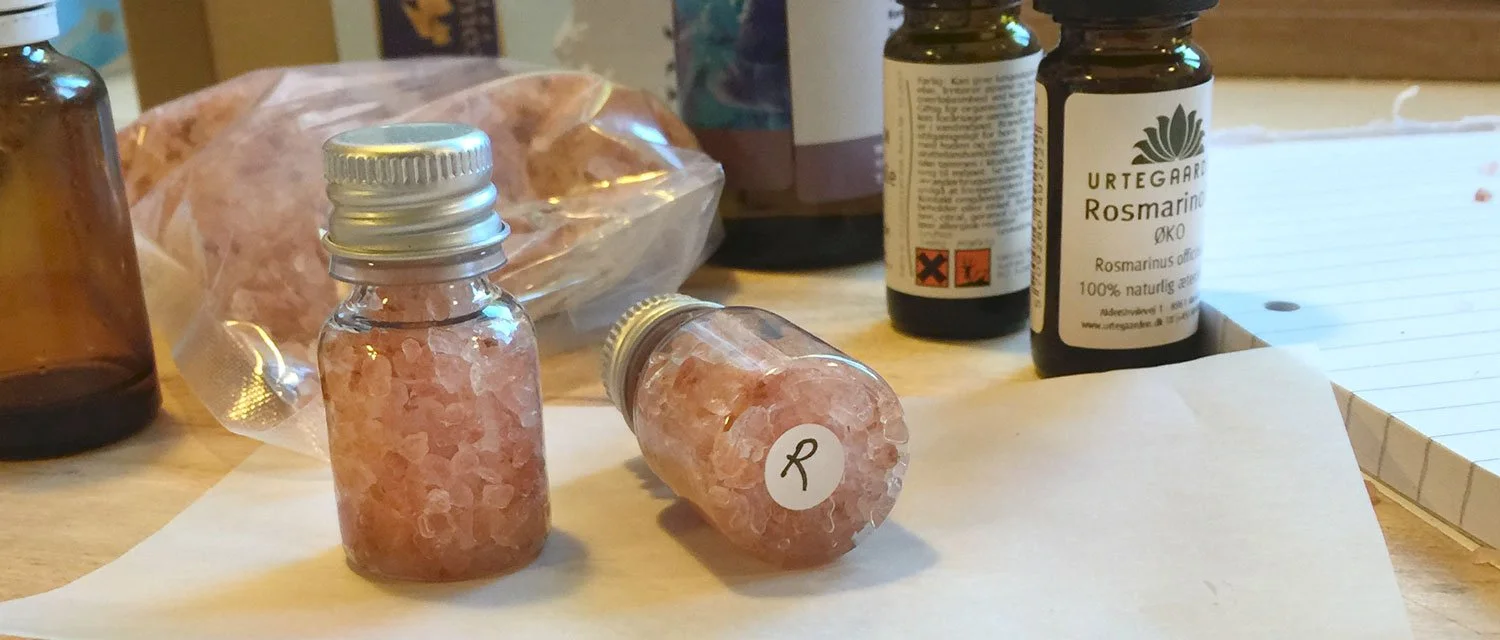
Let’s start with these lovely smelling salts (pictured above).

Classic Smelling Salts

Smelling salts have been around for ages. From days of yore, where they functioned as a go-to remedy for ladies who would tend to faint (due to their constrictive corsets). But smelling salts are still in use today. I’m sure you’ve seen them used in televised sports-related situations. Classic smelling salts pack a real punch due to the content of ammonia.

But.

What if smelling salts could have other functions?

Like, say

  • a 'Christmas Spirit' blend to jump-start the holiday cheer

  • a 'Clear The Head' blend to help battle stuffy noses

  • a 'Summer Memories' blend to bring a whiff of summer warmth

  • a 'Calm Your Spirit' blend to aid sleep and relaxation

One might even consider making a lovely personalised gift for someone.

Are you inspired?

Good, then let's get started!

Ingredients & Necessities

  • Small glass bottles that hold 10-15 ml with tight-fitting lids

  • Coarse salt (The Himalayan Crystal salt I used has a fabulous pink color, but you could use normal coarse salt or even decorative colored salts)

  • 25-30 drops essential oil blend per bottle

  • Small funnel (for dripping accuracy)

Method

Plan and combine your blend(s) before you start. Make a note of how much of each essential oil (EO) you want to use. In this example, I have created a small batch I call My Good Morning Pick Me Up blend which consists of

  • Rosemary EO: 1 g

  • Peppermint EO: 0.75 g

  • Menthol Crystals: 0.5g

  • Eucalyptus EO: 0.5 g

  • Tea tree EO: 0.5 g

When you've planned and made your blends, it's simply a matter of

  • Filling the bottle with salt

  • Adding your essential oil blend

  • Capping the bottle and giving it a bit of a shake

  • Rejoicing at your fabulous creativity

If you make different blends and are using the same salt in all of them, do find a way to mark or label your bottles. I did 2 different blends here. The mix including rosemary got a little sticker at the bottom. Optional: make a proper label for each bottle.

How To Use Aromatherapeutic Smelling Salts

  • Uncap the bottle

  • Waft the under the nose and inhale deeply

Note: keep your smelling salts out of the reach of children.

More About Classic Smelling Salts (LINK)

Inhalers

If you happen to have the necessary containers, you can also make personalised inhalers.

Click the picture to see the Clear Nose Inhalers post.

Or click the picture below to make aromatherapy inhalers

Teas

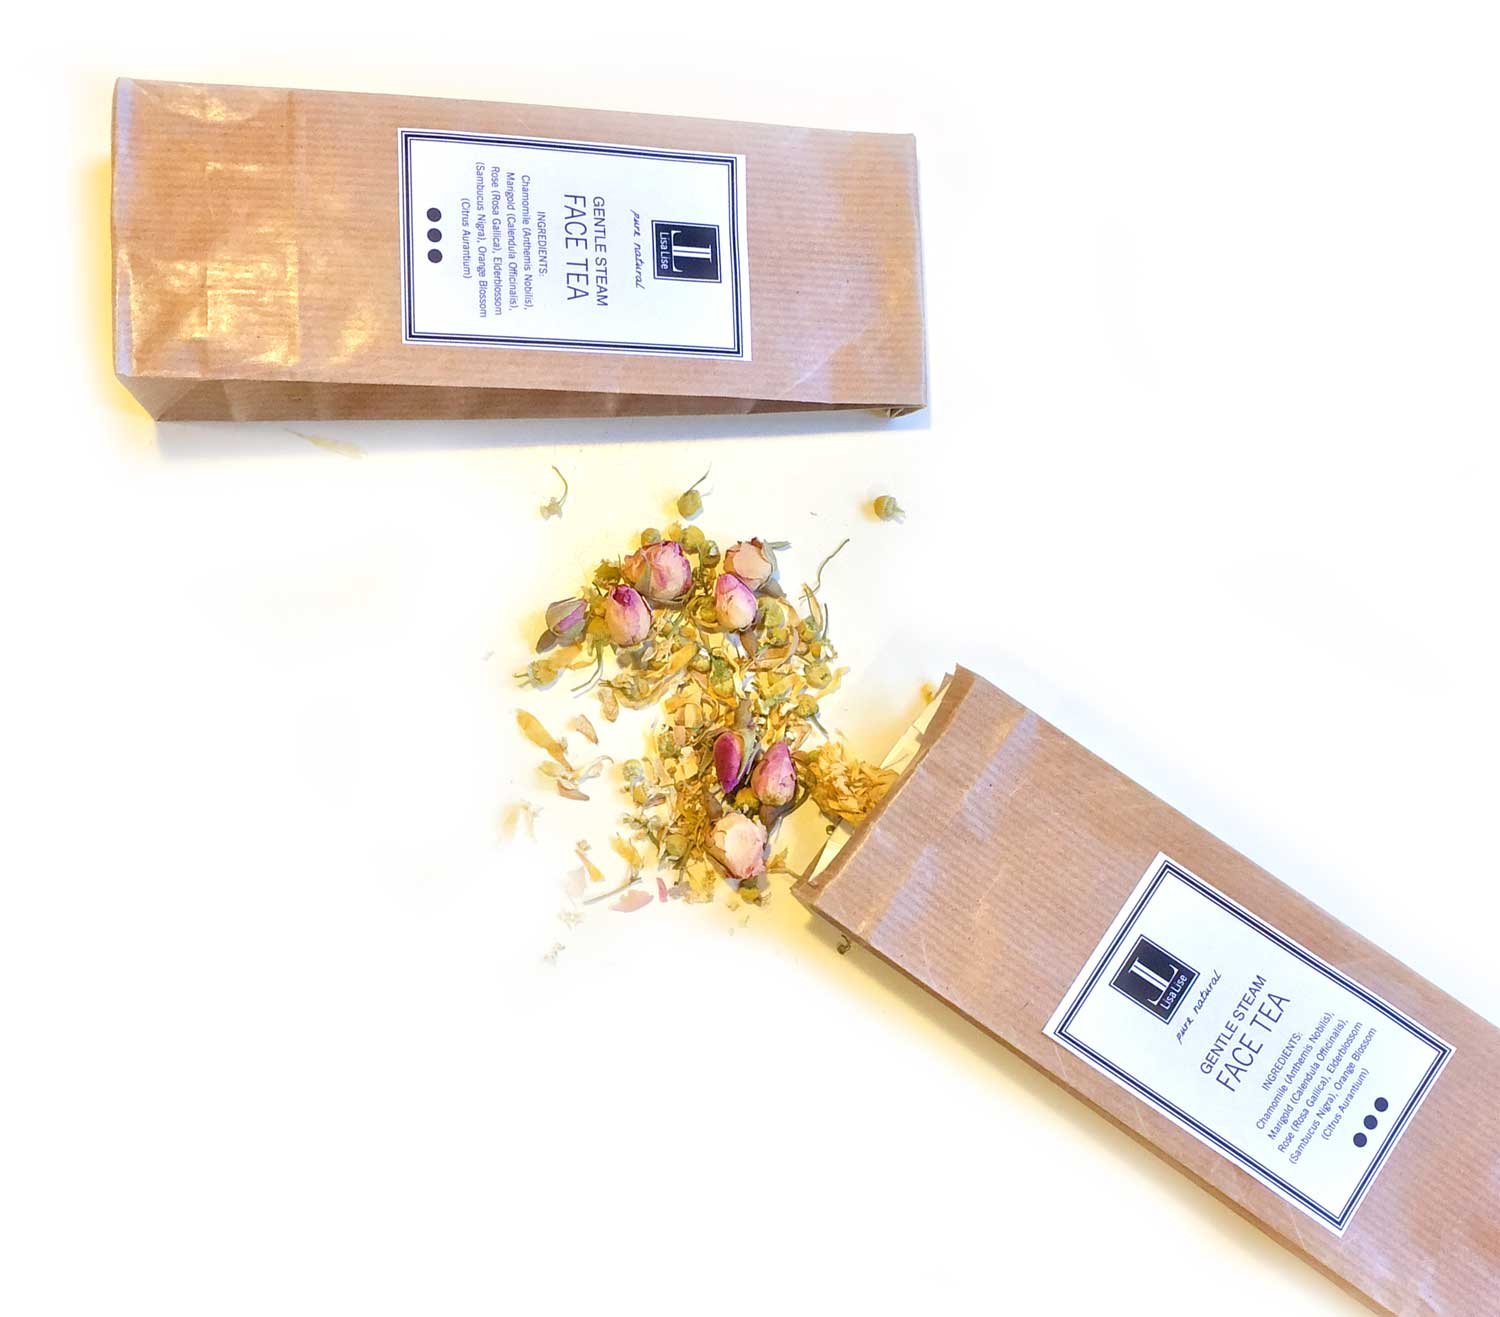
If you have a stock of dried herbs, there are a few ideas for personalised tea blends.

Click the picture below to make Calm Steam Face Tea

Clicking the picture below will take you to the Gentle Steam Botanical Face Tea post.

Finally, there is a guide to how I make my own Personalised Herbal Tea Blends if you click the picture below (for sipping)

Have fun!

Do Tell

Which essential oil combinations would you use to make your smelling salts? Which herbs you you use to make a personalised tea blend?

PS: If you happen to have this book, creating and making your own bi-phase cleansers is both easy and fun

Introducing LisaLise Club

Lise

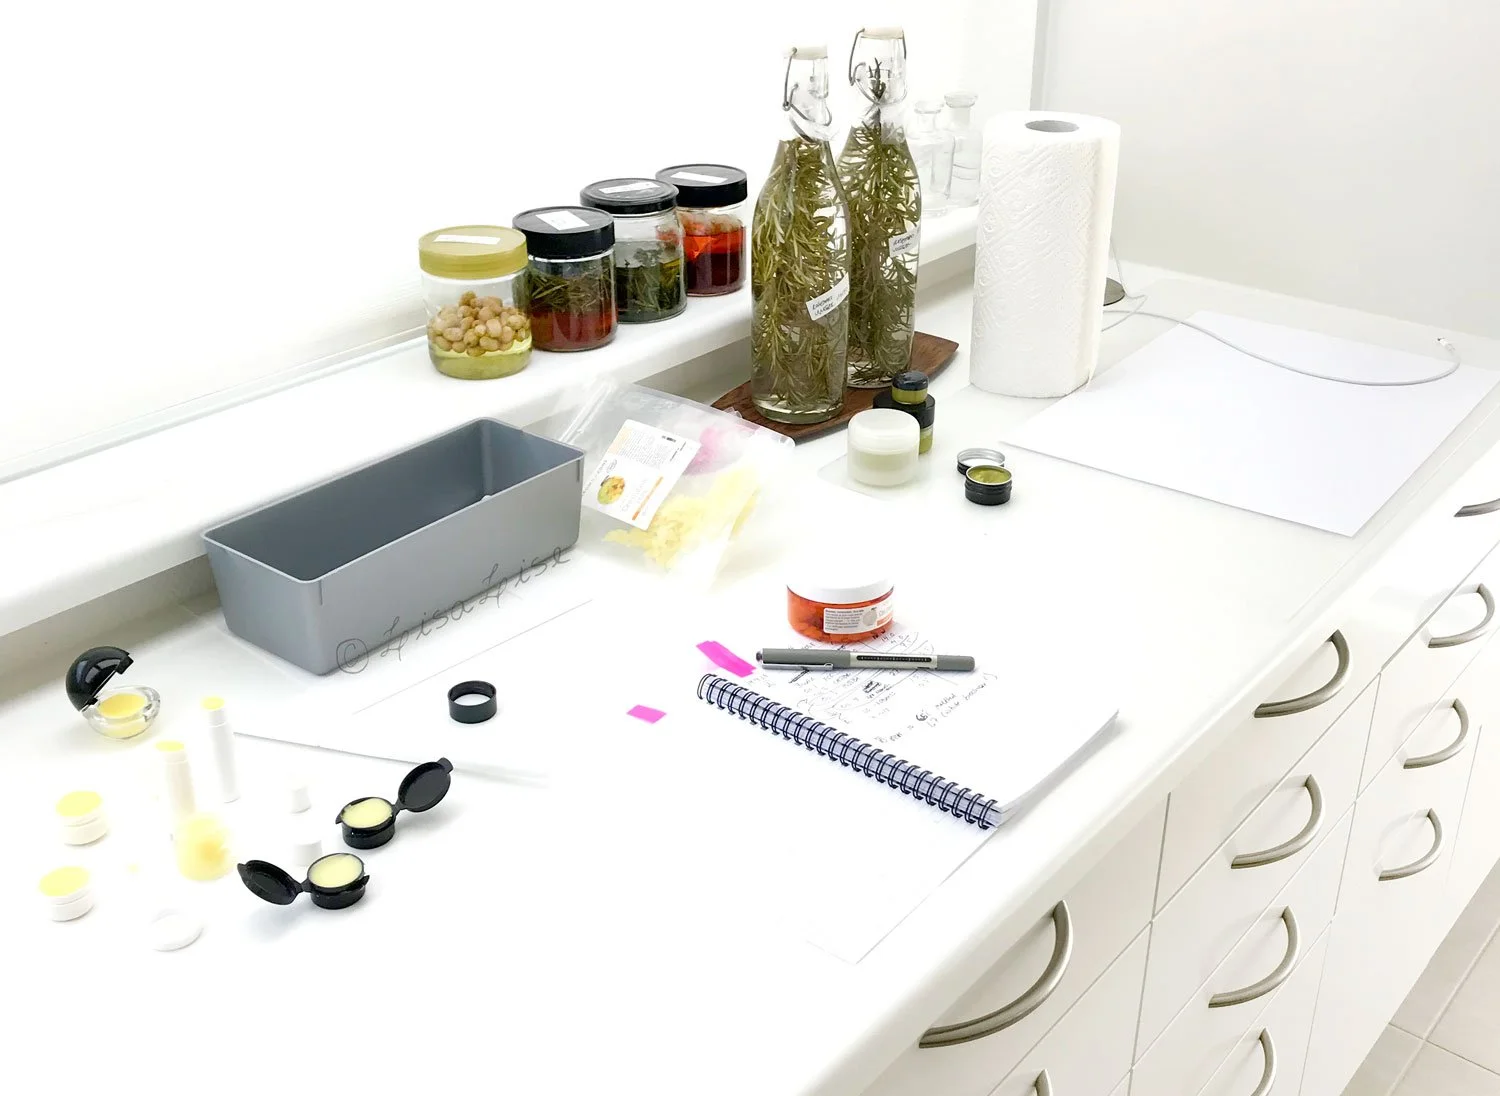
Here’s a peek in my lab from a while back but it’s pretty typical of what the lab looks like at almost any given time. There are almost always more than a few ongoing projects.

My passion for working with natural ingredients in a multitude of ways has grown exponentially with the passing of time. Being interested in so many different aspects of working with plants has brought me down all sorts of interesting new paths of discovery (some call these rabbit holes) resulting in an ever-growing to-do list.

Some might call it stubbornness, but it isn’t often I will say no to a challenge. Perhaps because of this, I am regularly commissioned to create the kinds of products others claim can’t be done. (spoiler alert: they generally can be done). This translates into a great deal of research, experimentation, and testing.

My formulations come about via

  • Researching and working with all manner of botanicals (sourcing, wildcrafting, processing)

  • Handcrafting extracts of all types (dry extracts, tinctures, glycerites, infusions, macerations, distillates, etc)

  • Creating bespoke ingredients (emulsifiers, botanical colorants, multi-medium extracts, etc)

  • Creating stable cosmetics that include all manner of food items as ingredients

  • Researching and working with applied Hurdle Technology

  • Testing the limits of both ingredients and methods

There always seems to be heaps of interesting things on my plate.

For the longest time, folks have been asking when I will be sharing more about the numerous different aspects of my work. I’ve discovered it is quite difficult to prioritise what to focus on when everything is both fascinating and interesting!

Then it occurred to me that it would be possible to accommodate ALL of these requests by creating a membership space where there was room for everything. This is how the idea for LisaLise Club was born.

It has taken a bit of time and loads of hard work, but has finally come to fruition.

I am thrilled to pieces to announce the launch of LisaLise Club.

Want to know more? Please click the picture below to see what the Club has to offer you!

I hope you’ll be joining us for a lot of botanical formulating fun.

How Formulating Could Change the World

Lise

When I started making cosmetics, there wasn't a fraction of the plant-based ingredients that are available today. The list of plant oils was laughably short, the choice of natural emulsifiers was – let me think a moment – 3 (?), and hydrosols were so rare, it felt like Christmas to find a supplier who happened to carry any at all.

Things have really changed over the past couple of decades.

A New Path

While I heartily applaud seeing green beauty come ever closer to being mainstream, I find I have chosen a slightly different path for myself. In more recent years, it has become far more interesting to focus on paring back.

I am constantly asking myself 'What can I leave out of this formula without sacrificing performance or function?'

Working this way has led to my appreciation of the classic phrase “Less is More”.

Because it's true. Less really is more.

Minimalistic Gets (Somewhat) Easier When You Know What You're Doing

A formula with a short ingredient list may look like it should be easy peasy, but more often than not it has proven to be incredibly challenging for me.

To achieve the ultimate minimalistic formula, you have to get up close and personal with the limitations and capabilities of every single ingredient. And if you happen to discover an unexpected passion for learning how to make your own ingredients, this 'affliction' gets even worse.

Take emulsifiers. Did you know it is possible to produce a stable cosmetic emulsifier in an artisan setting using just plants? To date, I have one I am pretty satisfied with, but as one is not enough for me, I am working on creating some additional ones.

Extracts? I have long since stopped buying commercially made extracts. Sourcing raw materials/botanicals and making my own is much more satisfying, albeit a bit of a mouthful. It’s important to have an understanding of which actives and other components are 'harvest-able' from any given plant in any given form (dried, fresh, freeze-dried, powdered, etc) and in any given medium. (Don’t even try doing the math on that— it’s mind boggling).

When you start getting serious about what plants have to offer, it becomes clear how much botanicals contain – a veritable treasure trove of beneficial properties!

But, as no single medium will successfully extract everything, you also have to know

  • which components you want to capture

  • which solvent(s) are ideal for the job

  • how the final extract can be used

There are numerous ways to 'get it right', but there are also many ways to get it wrong. Example: infusing oil with coffee beans will produce a beautifully coffee-fragranced oil, but if the goal is a caffeine-rich extract, expect disappointing results. Caffeine is not oil-soluble. REF

Testing Limits is Part of the Job

To successfully minimalise any formula, limits must be tested. How much can any given component be tweaked and still produce a functional product? Sometimes, the results can be quite surprising. Sometimes, changing an ingredient a mere 0.2% can make all the difference in the world.

It takes quite a bit of bench-time, batches, and in-depth study before the perfect less-is-more formulation reveals itself. My quest for minimalisation is admittedly a long and winding road, but my reasoning for following this path is quite simple.

Here it comes.

I Believe This Kind of Formulating Can Change the World

You: Seriously, Lise? (insert snicker) You think making less-is-more cosmetics can change the world?

Yes, I do.

Allow me to explain.

If you happened to have read this interview a while back, you might have noticed I describe myself as an old hippie. This is partly because I am, but also because the idea of spreading love & peace and taking good care of our planet are important to me.

And I really, truly mean it.

It's all very idealistic, and although I am fully aware it is not possible to change the world and fix everything...

somewhere...

deep inside...

I believe we really can change the world and fix everything. We all have our bit to contribute, and my little piece of this huge puzzle seems to be developing and making plant based cosmetics.

Imagine For a Moment

So, what if...

It was not necessary to transport pricey, processed ingredients all over the world in order to create effective, quality personal care products?

And what if

We could get stunning results using local materials with no need of costly equipment or fancy facilities?

And what if

Excellence could be created and produced in any neck of the woods - regardless of background or experience level?

Are you beginning to get my drift?

You Started This

You are, in fact, one of the reasons this back-to-the-roots minimalistic thing has become my main focus.

Yes, you.

You are located all over the world and speak dozens of different languages. Your tools, means, access to materials, and requirements are (in many instances) widely different from mine.

And even though you live in Pakistan, Uganda, Saudi Arabia, America, Switzerland, Peru, Australia, Malaysia (if I go on you'll stop reading, but there's much more), your comments and inspiring questions have made it abundantly clear to me that we are all seeking the same thing: to create excellence using the abundance of natural plant power this planet has to offer us - no matter where we reside.

So that's why I passionately remain on this quest.

What do you think? Can we formulators help change the world?

Do Tell

Have you ever considered that even the most modest of contributions can make a massive difference? Please share in a comment below.

PS: The books below (both in English and Spanish) are great for both beginners and minimalists.