Contact LisaLise

Please use the form on the right to contact LisaLise.

Majestic Court 5, St. Mary's Street
Mellieha
Malta

LisaLise offers online education of natural plant-based cosmetics via e-books and courses

LLBlogHEADER2020-3.gif

Shop Blog

A look inside the LisaLise natural cosmetics lab with free formulas, DIY how-to's, ingredients tips, sneak peeks, and more.

Introducing Tutorials

Lise

I’m pretty excited to be able to introduce you to my very first tutorial - right here on the website!

Squee!

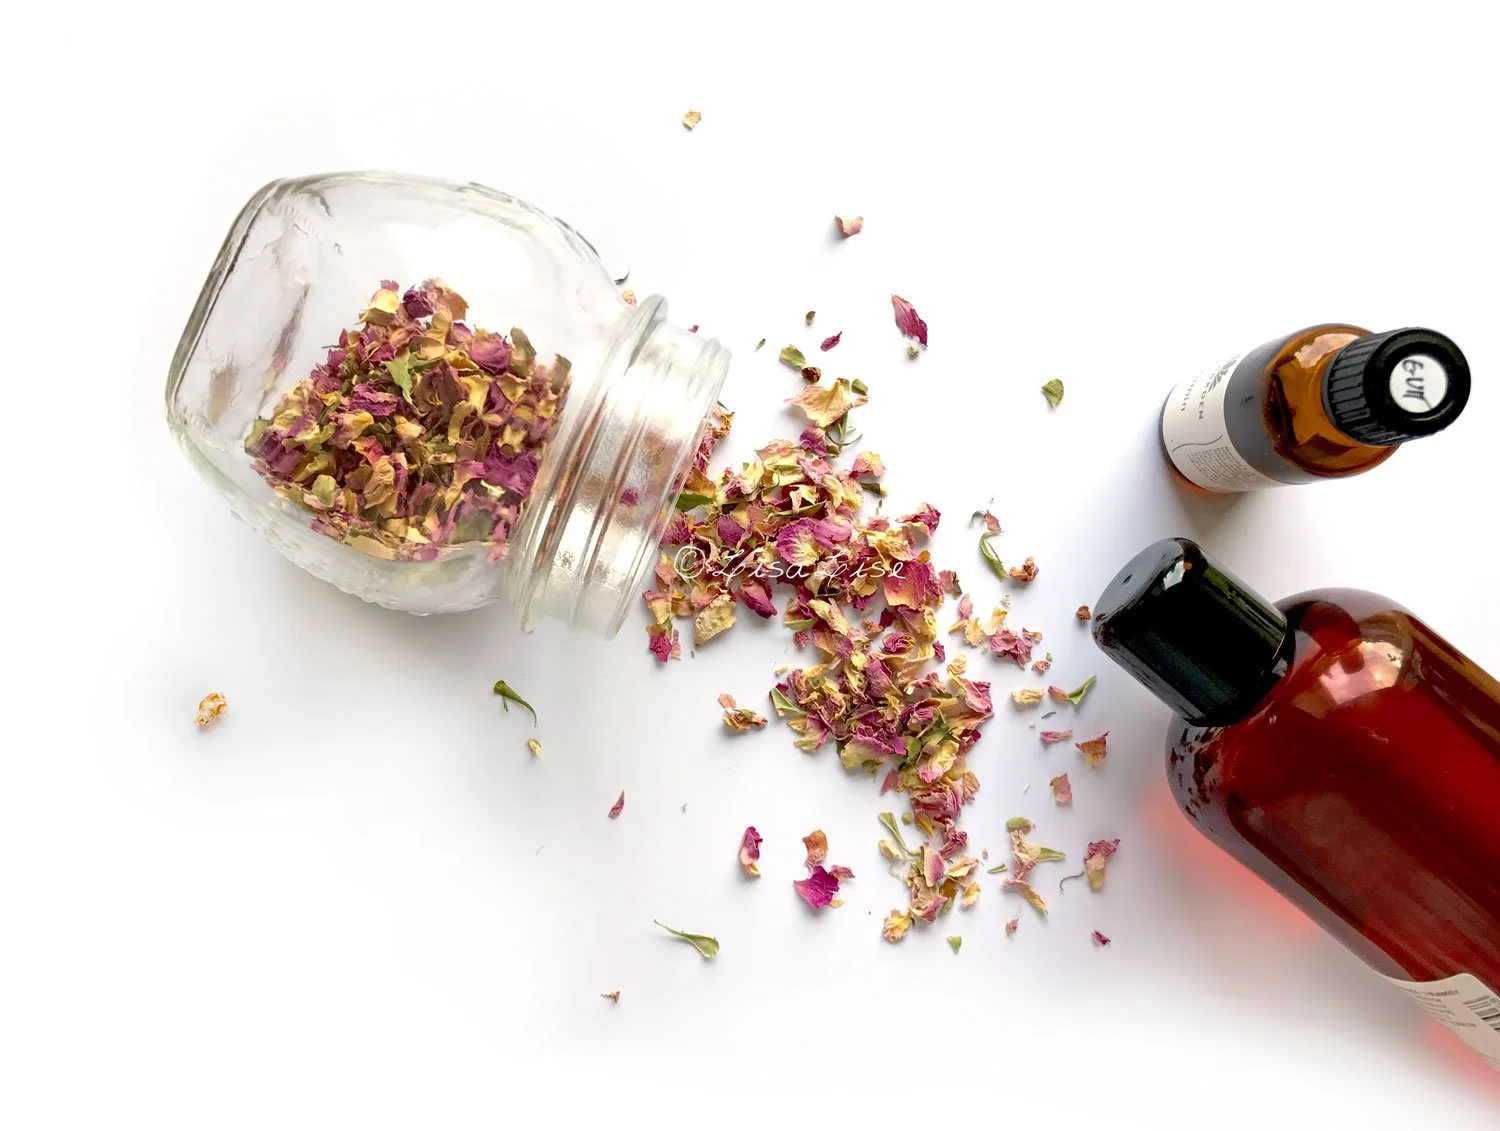
If you have been following me for a while, you already know I love working with botanicals of all types for all kinds of things. One increasing interest in recent years has been creating flavour oils. It began with lip balms in mind, but as I started getting more and more into combining ingredients to smell nice as well as taste nice, I kept coming up with even more things I wanted to try.

I’m not even going to mention how long my to-do list is at the moment.

This particular challenge (capturing the flavours of a classic gin and tonic) has taken much longer than I expected (that seems to be a bit of a pattern when I start out thinking I can ‘knock something out relatively quickly’). Many of the initial batches started out well, but then the fragrance faded, or flavour changed, or something else went annoyingly wrong.

Fast forward 3 years and a few more batches than I originally thought were going to be necessary, and finally I could say I was happy with the results.

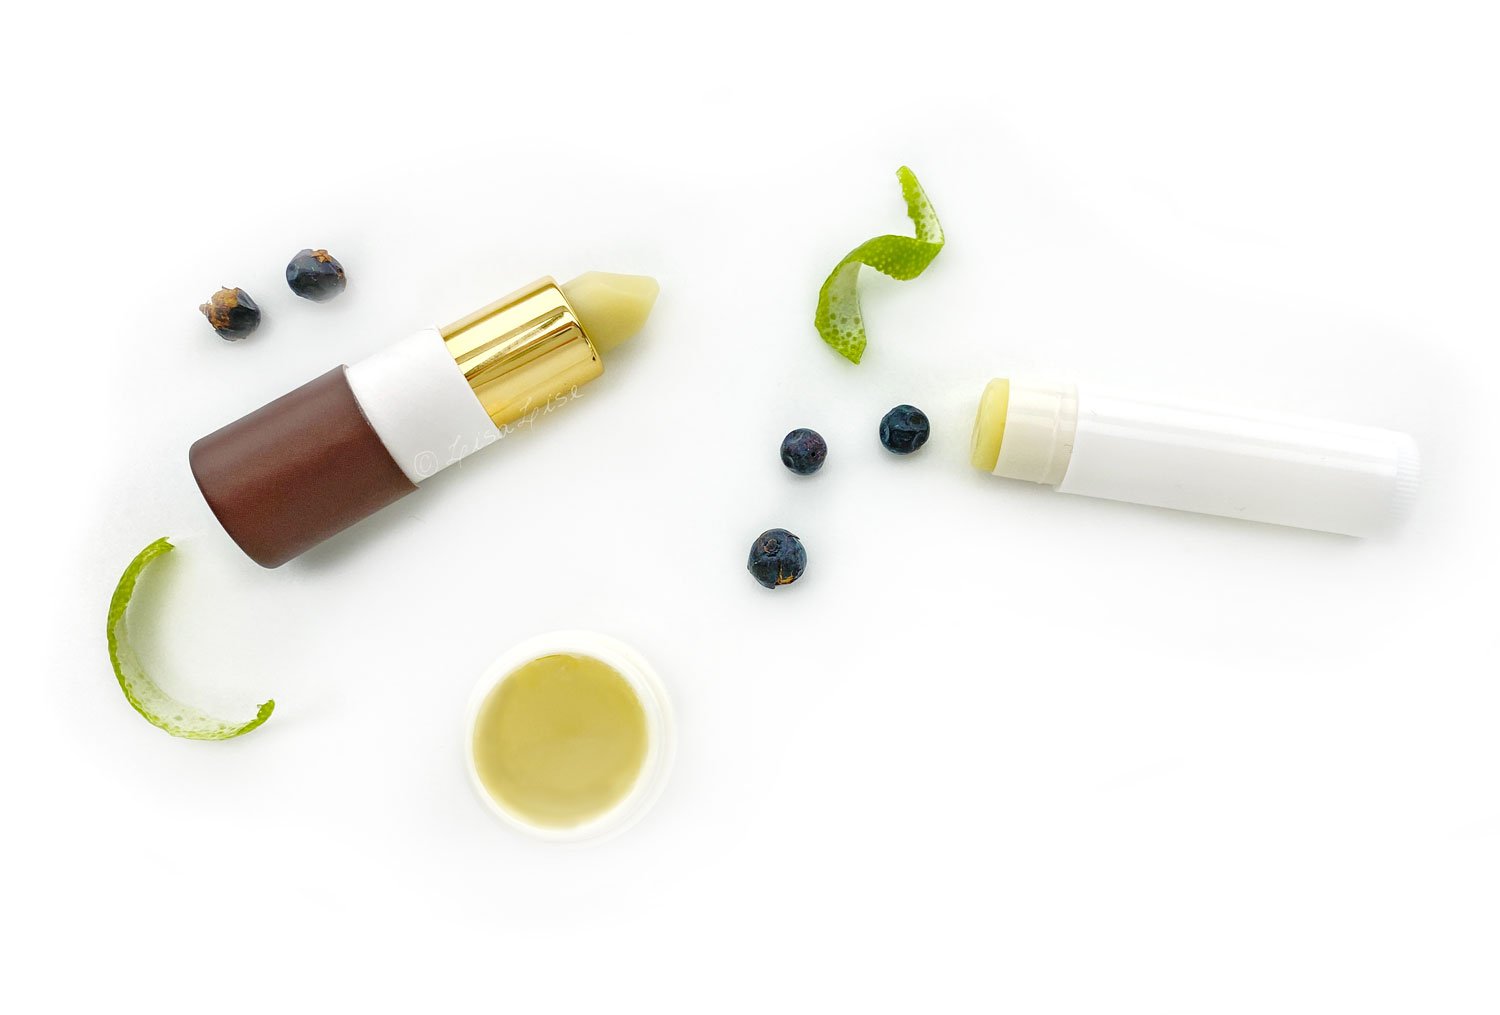
The star of this tutorial is making the flavour oil (which is super for several different products), but I’ve also created a couple of lip balm formulas to use the flavour oil in: a vegan version and a version featuring beeswax.

Wouldn’t you know the balms also took a bit longer than expected to get right (I’m looking at you vegan waxes), but as it turned out, quite a bit of it was solved when I got the flavour oil right.

Does this sound complicated? Well, before I had figured out how to do it, it was, but when you know how to do it, it’s not that complicated. (Isn’t that true of so many things?)

Are you a little curious about getting busy making your own?

Click the picture below to read more.

PS: The formulas for both of these balms as well as the flavour oil are free for LisaLise Club members. If you think you might want to check out becoming a member, click the picture below.

Understanding Cloudiness in Vinegar Tinctures

Lise

Even though tincture making has been around for ages, it is perhaps more known as something created specifically for consumption. And while I love using herbal tinctures in the kitchen (and for health and well being), I’ve been just as busy making and using them as cosmetic ingredients. And apparently, so are more and more cosmetic makers.

It has been a thrill for me to see a widespread increase in interest for vinegar tinctures. And with growing interest comes an increase in questions - like what cloudiness means. Today, we’re going to take a look at what it can mean if a vinegar tincture is cloudy.

Defining Cloudiness

Cloudiness is used to describe any vinegar (or alcohol-based) tincture where the liquid is semi-opaque or opaque. If you can't see through the liquid in the bottle, then you've got cloudiness.

To illustrate, the top of this post shows a cloudy tincture.

The picture was taken shortly after straining and bottling. This tincture was made with distilled white vinegar and crushed juniper berries.

A Cloudy Tincture Isn't Necessarily Bad

An opaque tincture doesn't necessarily mean it is wonky. As you can see from the picture above, even a freshly made tincture can be quite cloudy.

Here are a couple of the most common reasons for cloudiness.

1. Type of Vinegar Used

One reason for cloudiness could be the vinegar. Not all vinegars are the same.

Check the post that uses coconut vinegar. My description of the vinegar is 'frosted white'. It kind of goes without saying if the vinegar isn't crystal clear to begin with, the end product won't be either. (but I said it anyway)

2. Material Used

Another possible reason for cloudiness is the infused material. Some herbs and plant materials disintegrate into particles that are so fine they become difficult to remove – even after straining.

Juniper is one example. To extract the most from juniper berries, it is recommended to crush or grind them before infusing.

And that's what I did. These were whacked to smithereens with a rolling pin prior to infusing.

Note how opaque the liquid is in the picture at the top. Despite being strained through several layers of muslin and followed by 2 passes through paper filters, the liquid is still cloudy.

If the material is the cause of the cloudiness, to all you need to do is let the tincture stand undisturbed for a while (read: it could be anything from a few days to 2-3 weeks)

Below is one of the juniper tincture bottles (after some use) and a couple of undisturbed weeks in my ingredients fridge.

Seeing residue settled at the bottom of a bottle might look worrying, but in this instance, it's a bit of good news.

The clear liquid (that took 14 days to achieve by letting nature take its course) might have been achievable with advanced filtering equipment, but that's not even necessarily the case.

Even some commercially produced tinctures will have residue. I've experienced this on more than one occasion.

Tip For Using Tinctures With Residue

If your requirement is a crystal clear tincture and you have a very steady hand, it is possible to carefully decant the clear liquid into a new bottle. Use the remainder of the tincture in a product that doesn't require a clear liquid.

(This post is an updated version of a post from 2018)

Do Tell

Have you ever experienced cloudiness in one of your vinegar tinctures? Did you discover the cause? Please feel free to share in a comment below.

PS. LisaLise Club members have access to this as well as a section of posts and tutorials about making and using vinegar tinctures for cosmetics. Think you want to start this year as a Club member? Click the picture below to read more about what the Club has to offer you.

How to Make a Strawberry Glycerite with Preservative

Lise

Today, we’re making strawberry glycerite.

You: Lise, it’s not summer, and there are no strawberries available.

Me: It’s summer in Australia right now, so somewhere on the planet, this is a timely post.

Important: Use the ripest, plumpest, freshest (organic) strawberries available to you for optimal results. If that means you have to wait for summer, then wait. Trust me when I say it will be worth it.

Because we are using fresh strawberries (which are about 92% water), there is no need to add any water.

Ingredients

  • Fresh strawberries

  • Glycerine

  • Preservative (I used benzyl alcohol)

Water to Glycerine Ratios

One of the most common ratios of water-to-glycerine for an extract with preservative is 50/50. It’s easy to work with too.

I generally start by seeing how much preservative is recommended, choose a dosage a little higher than middle, then calculate ‘backwards’ to find how much glycerine and strawberry to add. I used benzyl alcohol in this extract which has a recommended max dosage of 1%. But because glycerine is ‘aiding’ the preservative, I chose to use less than max: 0.6%. I made this pictured batch some years ago and it performed beautifully so if I were to repeat this today, I would use the same amounts.

Strawberry Glycerite with Preservative

Ingredient %
Preservative 0.6
Organic Strawberries 49.7
Glycerine 49.7

Method

  1. Sanitise the jar and equipment

  2. Place the jar on a scale and set to 0

  3. Slice or chop the strawberries

  4. Add strawberries to jar to desired weight

  5. Set scale to 0

  6. Weigh up glycerine to desired weight

  7. Weigh and add preservative

  8. Place lid on jar (TIP: If your lid isn’t in pristine condition, place a protective layer of food-safe paper or plastic between the lid and jar)

  9. Place jar out of direct sunlight at room temperature. I find putting a tea towel over the jar works well.

  10. Gently agitate the jar once a day for 7-10 days. The strawberries will start to look a little ‘spent’ and ‘tired’ when the mixture is ready for straining.

You Might be Wondering…

If we are using a preservative, can we add it after straining instead of before infusing?

Yes you can. To do so, weigh up the amount of strained liquid and then calculate how much preservative to add.

Why I don’t do it this way.

I prefer adding preservative at the beginning because the water to glycerine ratio is lower than when making a self-preserving glycerite (read: the preservative is working while the infusion is ongoing), and I just find it easier (and makes for less math) all around.

Straining

  1. Sanitise your equipment

  2. Place funnel in receptacle

  3. Place filter/ lining in funnel (1-2 layers of clean muslin, cheesecloth, or suitable paper filters)

  4. Pour mixture into funnel and allow to strain

  5. Decant into bottle

  6. Label and date the bottle

  7. Store the extract cool, and use within 6 months.

Do Tell

Are you a fan of strawberries in your skincare? Please share in a comment below.

Are you a member of LisaLise Club? If not, you may want to check out what it has to offer you by clicking the picture below.

Club Highlights

We’re welcoming the new year with all kinds of great new content! Click the picture below to check out what the club has to offer you!

Things I Love About Portugal

Lise

Welcome to 2024!

I am wishing you Happy New Year from a new country.

Last year, quite unexpectedly, my husband and I packed up and moved to Portugal, and it didn’t take very long for us to fall head over heels in love with it. Actually, we fell a little head over heels in love with Portugal the very first time we visited, so the decision to move became a no-brainer.

Here are just a few of the things I appreciate and love about my new home.

The People

While the language is a bit of a challenge to get a proper handle on, it has been my experience that everyone is kind and go out of their way to be helpful - regardless of age – even when we have no common (spoken) language.

It is heartwarming to experience such an outpouring of friendliness and smiles. I would really like to hug everyone I meet for being so wonderful and making us feel so very welcome.

Most folks speak excellent English but seem to think their English is not very good. I don’t know how many people have tried to apologise for their ‘poor English’ when they were practically speaking fluently! It is in fact I who should be apologising for not knowing enough Portuguese yet. To be fair, everyone seems to agree this is a very difficult language to learn and many are also willing to take any opportunity to practice their English so I cannot complain about that.

Thank you Portugal for your wonderfully positive people who have all demonstrated the kindest patience with my (still) stammering Portuguese.

The Food

One of the first things I noticed (and continue to notice) is that EVERYTHING TASTES AMAZING in Portugal. I am not even close to exaggerating when I say everything. It’s really true.

Coming from Denmark – home to world famous butter, delicious pastries, the sweetest carrots, fabulous new potatoes, and most delicious summer strawberries - I truly expected it was going to be a little difficult to find produce of equal quality.

Boy, do I ever stand corrected.

Not only does everything I have tasted here literally sing in my mouth, it has almost become a bit of a quest to find something I don’t like! Fruits and veg, breads, butter, EVERYTHING IS FANTASTIC.

I am struggling to think of a single food item from Denmark that I miss. If I think of it. I’ll let you know.

The Calçada (Stone Flooring)

There is a book called the Art Beneath our Feet that describes the history of the natural stone flooring that decorates both the streets and sidewalks of the cities and urban areas of Portugal.

Laid by hand in a bed of powdered stone, calçada (pronounced Kahl-sah-dah) is an art that not many learn to master. I have found myself looking down more than up when visiting places like Lisbon, Porto, Coimbra, and Funchal because there is history, stories, and art to be viewed by simply looking at the pavement. It’s impossible not to appreciate the combination of skilled craftsmanship and artistry of the multitude of wonderful designs.

And to continue on the artistry of Portuguese stonework, have a look at the picture below to get an idea of how street signs look. No 2 areas are the same, but the variety of artistic stone and tilework is absolutely delightful. The road sign below reads ‘Street of Mill’ or ‘Mill Street’.

The Nature

Coming from ‘flat as a pancake’ Denmark, it is such a treat to experience hills and mountains dotted with agricultural farms, vineyards, and more.

Olive trees grow in abundance and every view is breathtaking when driving around the countryside. The botanicals this country offers are so very plentiful, and I look forward to getting upclose and personal with them all.

The first plants that greeted us when we moved into our new home were blossoming bougainvillea and jasmine growing right over the fence from our neighbour. (Check the photo at the top of this post for a peek at some bougainvillea). This was the month of February, so seeing anything blossoming at that time of year created a lasting and wonderful memory that I will carry with me for years.

The Weather and the Sun

Waking up to blue skies and the glorious sun almost every single day - even in winter - is a soothing treat for the soul that I can hardly even begin to describe. The first words out of my mouth almost every single day when I look out of the window is ‘Yay! Look, it’s Portugal!’

Being in this warm climate has made it possible to spend much more time outdoors which enables us to enjoy both the weather and nature at the same time. I cannot count how many dinners we have enjoyed in the garden, how many swims (from as early as April) and what an absolute pleasure it is to be able to move around comfortably outside wearing short sleeves for a good part of the year.

Even when it gets cold, the amount of clothing needed to keep warm doesn’t even begin to compare to a Nordic winter.

Dining outside in comfortably warm evenings is commonplace here - what an absolute treat for a Dane who can count on one hand how many days this is generally possible during a normal Scandinavian summer. I will not grow tired of the weather here any time soon.

I am expecting the years forward will see me choosing to vacation in my new home country as I want to visit all of it.

I wish you a wonderful 2024 where I am looking forward to sharing several new projects with you - one of which will be taking place in Portugal for lovers of herbs and cosmetic making.

Happy New Year!

Want to start the year as a LisaLise Club Member? There are still spots available. Please click the photo below to read a bit more about what the Club has to offer you.

Merry Holidays

Lise

In these transformative and unusual times, it seems the world is on a course unlike anything we have seen before. It’s hard to process the entirety of what is going on and even more difficult to know how to react to it all. I truly wish I had a magic wand that could remove suffering, transform war to peace, hate into love, and sorrow to joy for all human souls on this planet.

I am at the same time absolutely convinced we are a majority who share this perception, and allow myself to take comfort in that thought.

This year I am sending you my warmest holiday wishes from a country where winter isn’t really winter at all - at least not to anyone with Scandinavian roots.

It has been a very eventful year for me and I will be posting a summary of the things experienced since making my move from the chilly North to sunny Portugal. There are so many things I want to share with you about my new home.

Meantime, allow me to introduce you to a classic Portuguese Holiday Season dessert: Bolo Rei (or ‘Kings Cake’). This is a baked celebration of fruits, raisins, nuts, and icing (or a dusting of powdered sugar) wrapped in a delicious cake. Bolo Rei is sold from bakeries but also homemade and served to holiday guests, family members and friends.

I hope you will be enjoying lots of wonderful warm moments with family and friends over the holidays - regardless of which holiday you might celebrate.

Myself? I have a house full of guests, mulled wine in the making, and a selection of both Portuguese and Danish holiday sweets & goodies decked out for everyone to enjoy.

Thank You for 2023

Before I sign off for this year, I want to thank you (yes, YOU) for sticking around and for showing me such loving support throughout this year.

I cherish every inspiring comment and question, and am truly grateful for being able to continue doing what I love most. So many of you continue to show an interest in following my work, and that truly warms my heart. Thank you so much.

Here’s a massive cyber hug from across the planet straight to you – thank you for making 2023 a truly memorable year.

Have a lovely holiday season and a wonderful New Years Eve!

And for your reading enjoyment: below is an overview of some popular how-to’s that have been featured on the blog.

Aromatherapeutic Smelling Salts (and other DIY Gift Ideas)

Lise

So there are undoubtedly some last minute things that need doing before the holiday break, some of which might be gifts. This post shows you a few things you can put together and add all kinds of your own personal touch to.

Let’s start with these lovely smelling salts (pictured above).

Classic Smelling Salts

Smelling salts have been around for ages. From days of yore, where they functioned as a go-to remedy for ladies who would tend to faint (due to their constrictive corsets). But smelling salts are still in use today. I’m sure you’ve seen them used in televised sports-related situations. Classic smelling salts pack a real punch due to the content of ammonia.

But.

What if smelling salts could have other functions?

Like, say

  • a 'Christmas Spirit' blend to jump-start the holiday cheer

  • a 'Clear The Head' blend to help battle stuffy noses

  • a 'Summer Memories' blend to bring a whiff of summer warmth

  • a 'Calm Your Spirit' blend to aid sleep and relaxation

One might even consider making a lovely personalised gift for someone.

Are you inspired?

Good, then let's get started!

Ingredients & Necessities

  • Small glass bottles that hold 10-15 ml with tight-fitting lids

  • Coarse salt (The Himalayan Crystal salt I used has a fabulous pink color, but you could use normal coarse salt or even decorative colored salts)

  • 25-30 drops essential oil blend per bottle

  • Small funnel (for dripping accuracy)

Method

Plan and combine your blend(s) before you start. Make a note of how much of each essential oil (EO) you want to use. In this example, I have created a small batch I call My Good Morning Pick Me Up blend which consists of

  • Rosemary EO: 1 g

  • Peppermint EO: 0.75 g

  • Menthol Crystals: 0.5g

  • Eucalyptus EO: 0.5 g

  • Tea tree EO: 0.5 g

When you've planned and made your blends, it's simply a matter of

  • Filling the bottle with salt

  • Adding your essential oil blend

  • Capping the bottle and giving it a bit of a shake

  • Rejoicing at your fabulous creativity

If you make different blends and are using the same salt in all of them, do find a way to mark or label your bottles. I did 2 different blends here. The mix including rosemary got a little sticker at the bottom. Optional: make a proper label for each bottle.

How To Use Aromatherapeutic Smelling Salts

  • Uncap the bottle

  • Waft the under the nose and inhale deeply

Note: keep your smelling salts out of the reach of children.

More About Classic Smelling Salts (LINK)

Inhalers

If you happen to have the necessary containers, you can also make personalised inhalers.

Click the picture to see the Clear Nose Inhalers post.

Or click the picture below to make aromatherapy inhalers

Teas

If you have a stock of dried herbs, there are a few ideas for personalised tea blends.

Click the picture below to make Calm Steam Face Tea

Clicking the picture below will take you to the Gentle Steam Botanical Face Tea post.

Finally, there is a guide to how I make my own Personalised Herbal Tea Blends if you click the picture below (for sipping)

Have fun!

Do Tell

Which essential oil combinations would you use to make your smelling salts? Which herbs you you use to make a personalised tea blend?

PS: If you happen to have this book, creating and making your own bi-phase cleansers is both easy and fun