How to Make Vanilla Oil Using the Sun Infusion Method
Lise

Over the years, I've made many oil infusions using numerous kinds of materials and methods. Today I'm going to share a classic, beautifully fragrant multifunctional oil with you using a classic method.
Sun infused vanilla oil is easy to make, fun to do, and smells so delicious it's hard not to love.
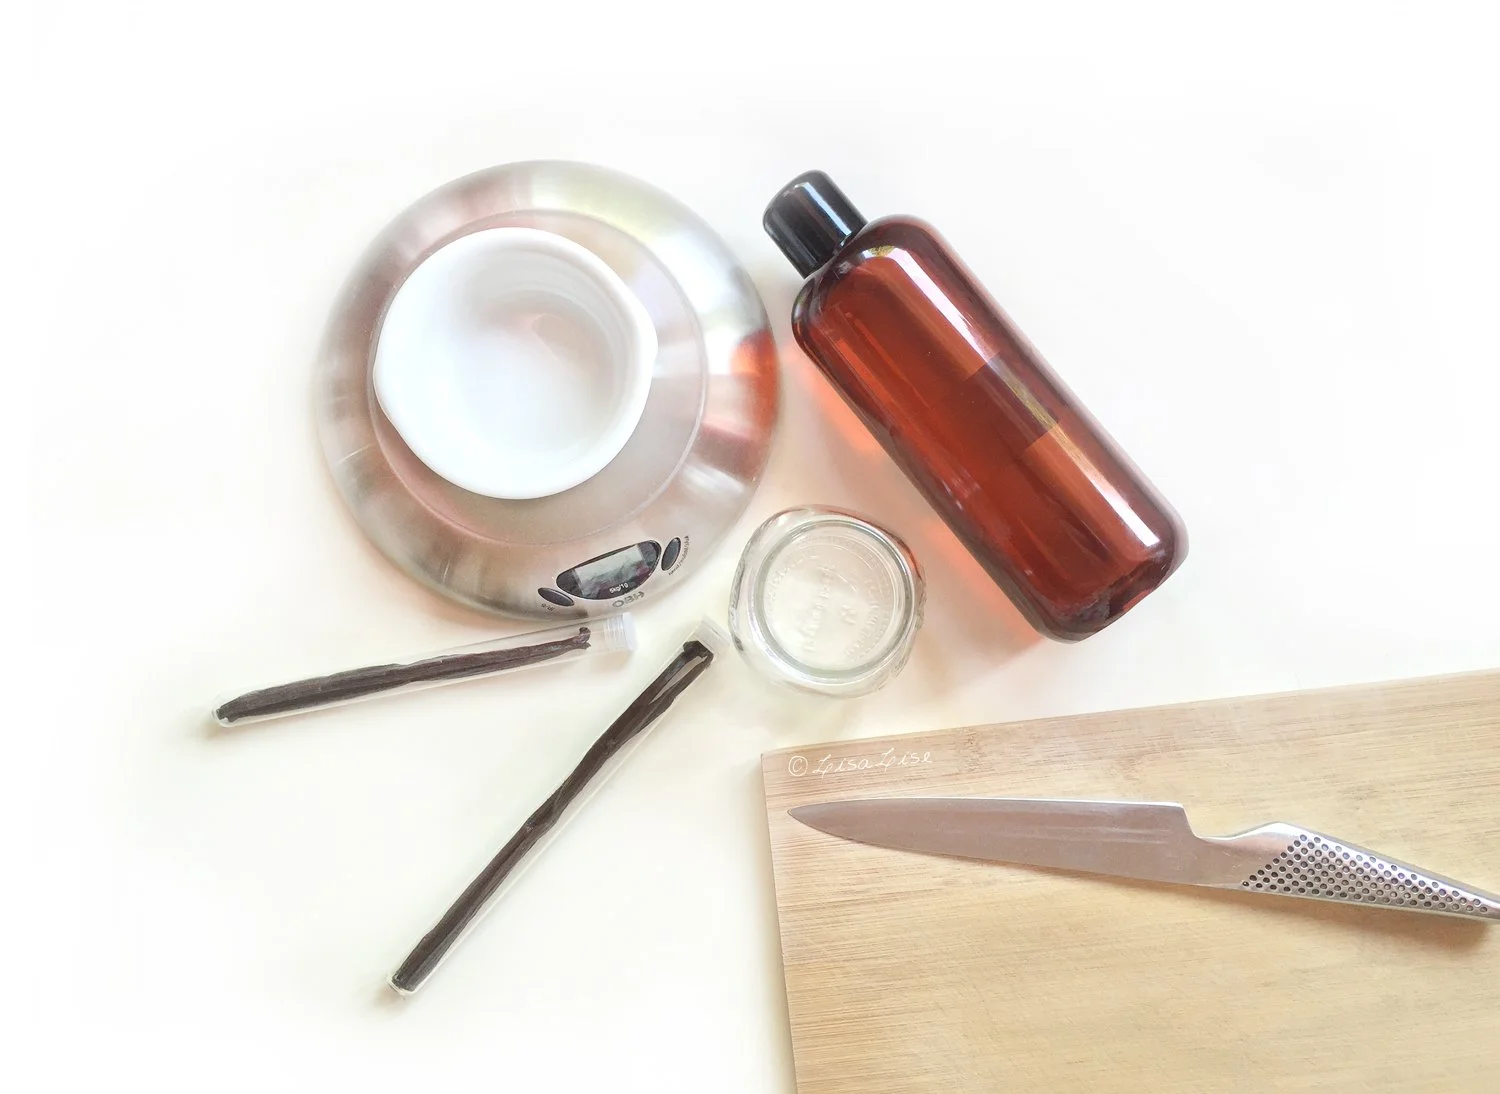
Here's what you need
Vanilla beans
A neutral base oil (I typically use Sweet Almond Oil or Apricot Kernel Oil)
Sanitised jar with tight-fitting lid (canning jars are perfect)
Raw Materials Matter
I know it can be tempting to buy bargain-priced ingredients - especially when it comes to vanilla beans. Bargain beans cost far less than the pricey stuff. My pocketbook can attest to this fact.
But the good stuff is pricier for a reason. I've tested this several times.
Here's a vanilla bean comparison test.

The bottom (bigger) vanilla bean costs over twice as much as the 2 top beans. The beans at the top definitely smell like vanilla, and if I hadn't done a side by side comparison, I might never have been the wiser.
Here's how I put them to the test.
Sniff Test
This test was quite simple: Sniff, then note down immediate reaction
Bargain Beans: yup, that's definitely vanilla
Pricey Beans: intoxicating vanilla-delicious nose candy

Slice Test
On the left: pricey beans after slicing
On the right: bargain beans after slicing
The beans were cut right where you see them. The plump juiciness of the pricier bean is pretty evident when you look at the cutting board (and the nose test is even more evident during the slicing process)
Let's Make Sun-Infused Vanilla Oil
1 part vanilla beans
10 parts oil (I used sweet almond)
Measure your ingredients by weight for accuracy. I made small batches for this comparison test using 5 grams of vanilla to 50 grams of oil for each batch.
The Sun Infusion Method
Slice beans
Place in sanitised jar
Pour oil into jar
Seal jar
Place the jar in a windowsill or similar sun-warmed spot to infuse (temperature 24° - 28°C / 75° - 82°F).
Agitate daily
Infuse for 10-14 days
Strain

Note: If you live in a very warm climate, you may need to place your container away from direct sunlight (so it achieves the mentioned temperature rather than 'cooks' due to too much warmth).
You: That timeframe sounds wrong! Normally, sun-infusing oils takes WEEKS! Not a mere 14 days?!
Me: In this particular instance, normal rules are out the window. You see, vanilla beans are magical. They need only 14 days (and the right temperature) for a good sun infusion.
Honest.
Now, to be fair, you could leave your vanilla beans as long as you please, but in my experience, 14 days of sun-infusion provides the perfect depth of fragrance without ‘taxing’ the oil. It is a bit of a balancing act to use the sun infusion method optimally.
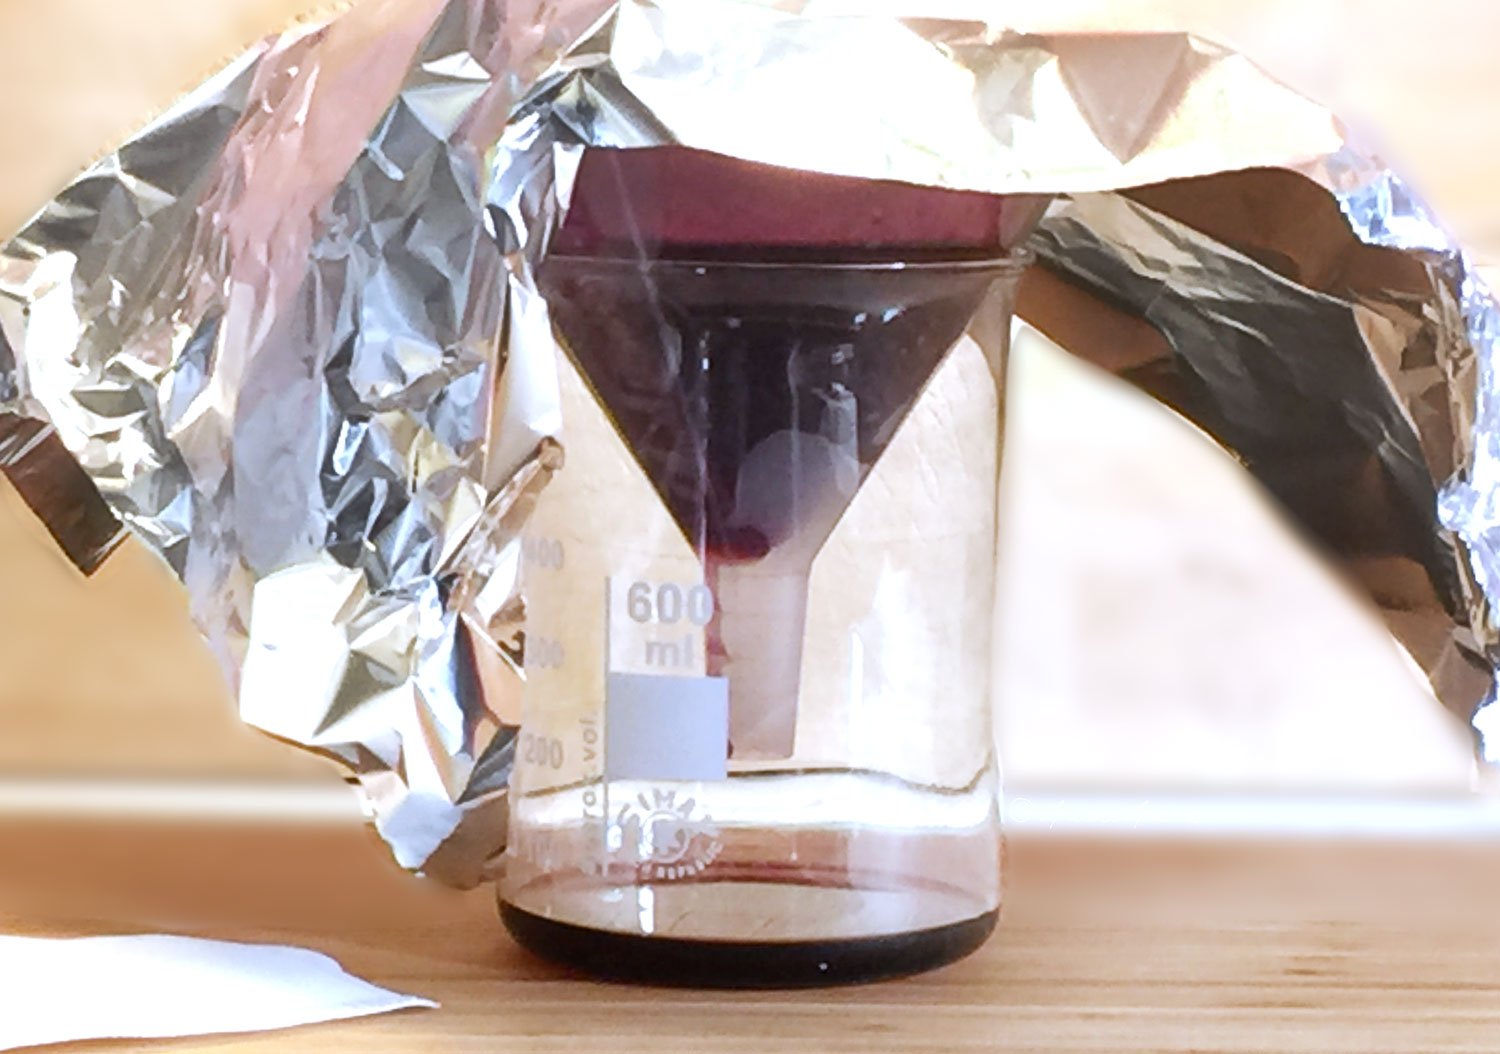
Straining and Batch Comparison
Here's a straining tip that is particularly useful for vanilla-infused oil.
Use 2 large tea filters (the kind large enough to make a pot of tea)


Place one tea filter inside of another
Roll the top down a bit so the filters do not risk separating.
Place the filters inside a clean container (beakers are perfect because you can pour directly from them when you're done)
Pour the oil into the filters
Lift the filter bag up and let strain completely
If necessary, filter again (it usually isn't necessary if you 'double bag')
Transfer the oil to your final container
Rejoice at your expertly strained sun-infused vanilla oil
TIP
There is no need to discard the vanilla bits just yet. Grind them up and use them in a batch of cookies, or pop the well-strained bits into a jar of sugar and leave to infuse. Shake the jar regularly. The sugar can be used in baked goods such as cookies or cakes.
Comparison Test
I'll bet you have guessed which infusion came out best, and you would be absolutely right. The less expensive vanilla beans produced a very nice vanilla-scented oil, but the pricier vanilla beans produced a decadently rich, warm, luxuriously fragrant oil.
Where to Use Vanilla Infused Oil
It's almost more fitting to ask where not to use this lovely oil. Vanilla-infused oil is a fabulous addition to
Body Lotion
Lip Balm
Body Butter
Body Balms
Face Oil
Body Oil
USAGE TIP
While this fragrance is absolutely decadent in small amounts, it can be a bit overwhelming if it is the dominant scent in a product that is applied all over the body. Not everyone likes to smell like vanilla cookies fresh out of the oven.
To avoid the cookie scent profile, try combining your vanilla-infused oil with a few choice essential oils to make a more complex fragrance for your body oils and butters.
Enjoy!
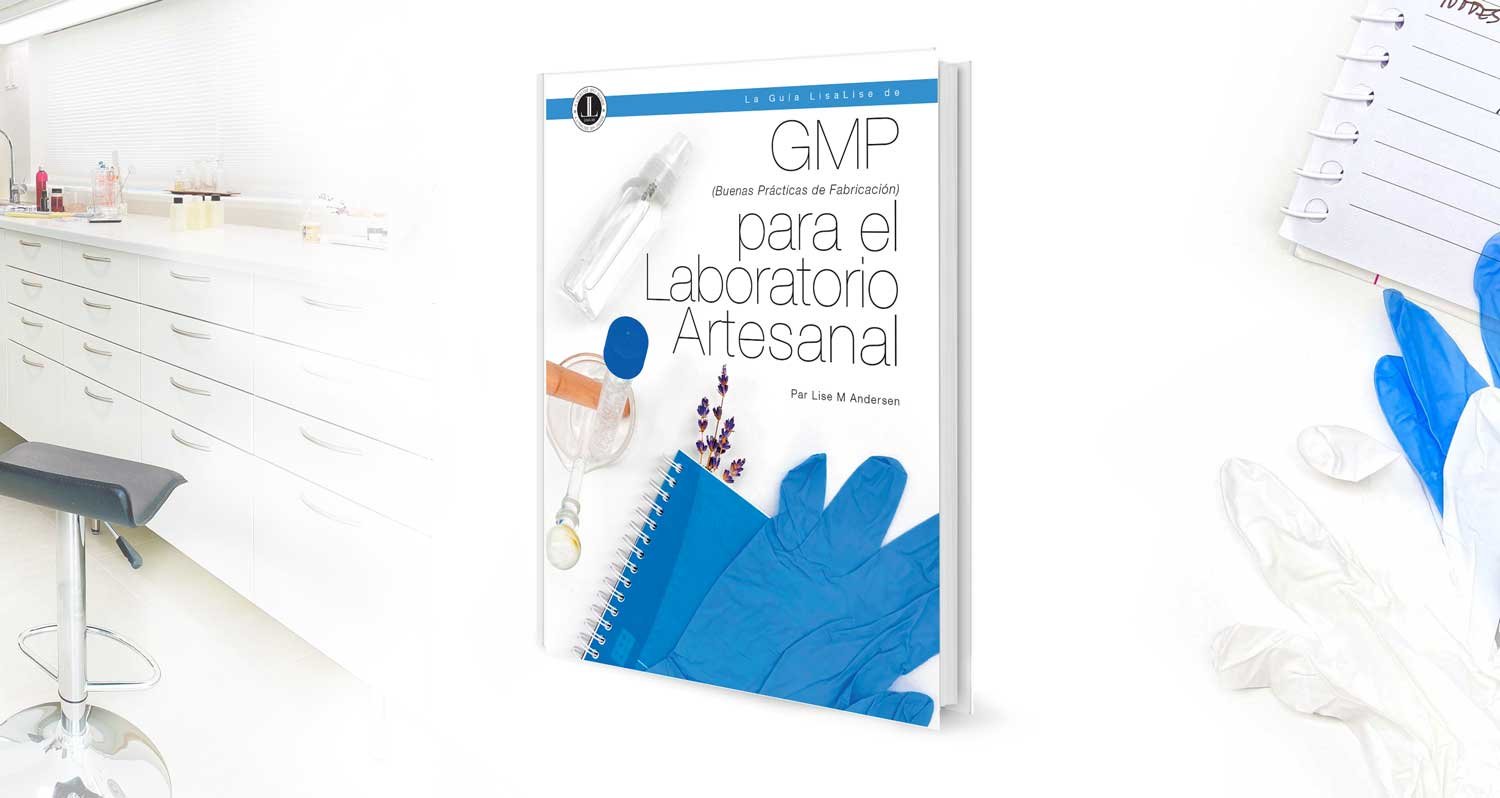
TIP
If you follow good manufacturing practice, it is possible to use your handcrafted extracts in cosmetics for sale. The e-book below can help you get set up and organised.

Also available in Spanish!